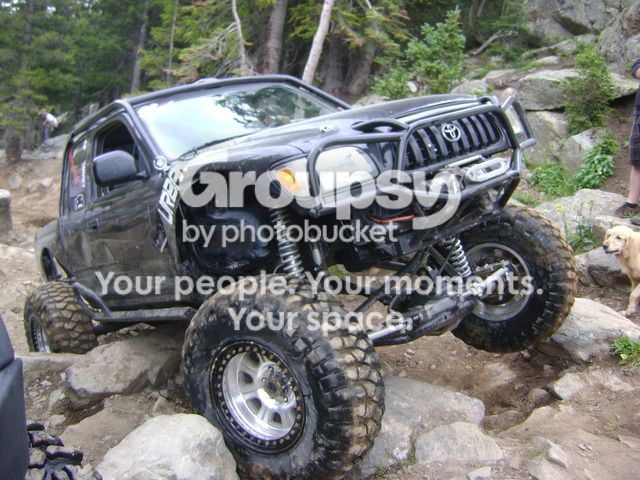
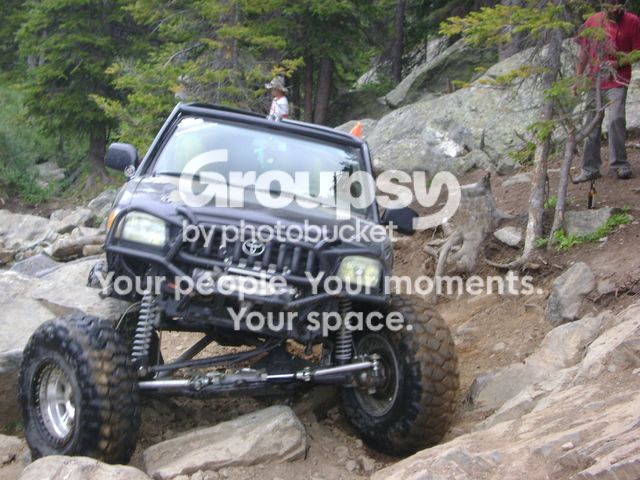
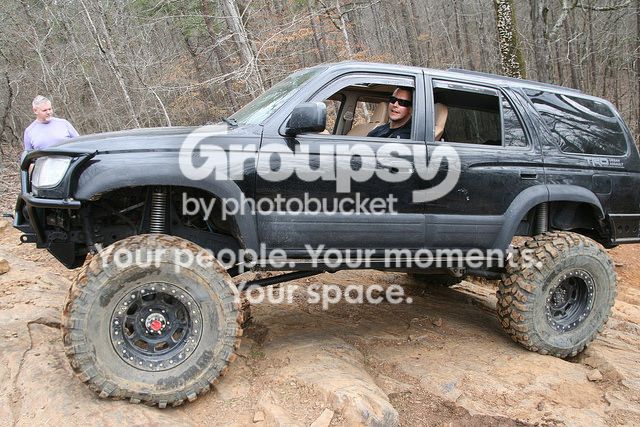
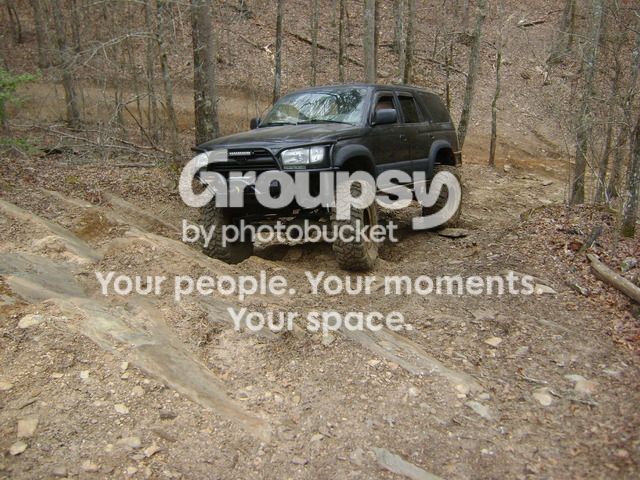
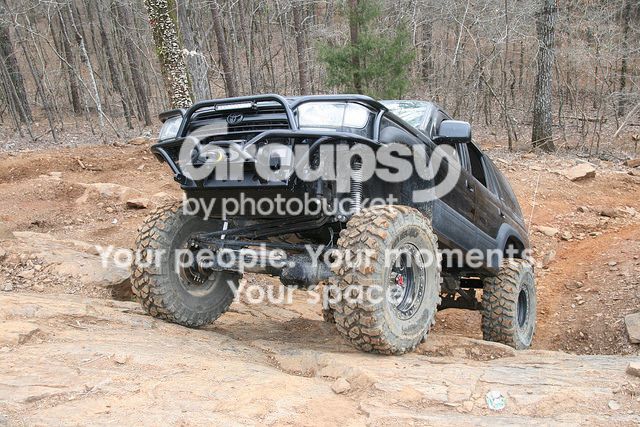
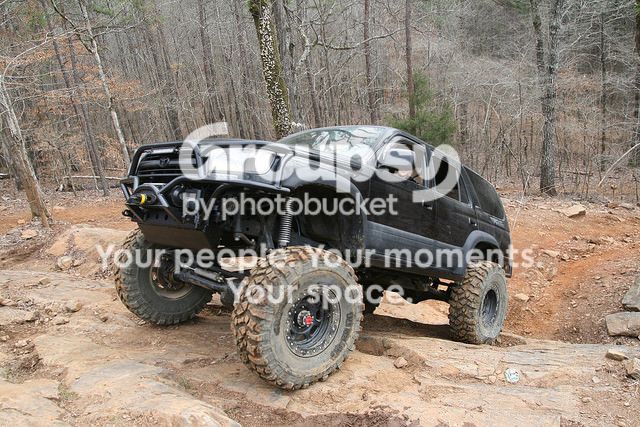
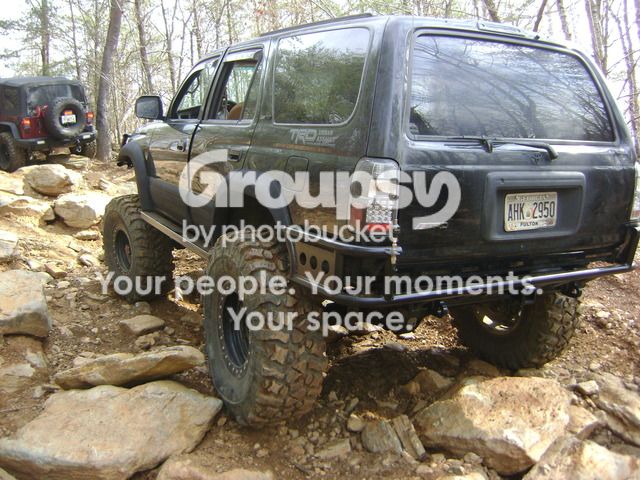
Urban assault's '99 4runner build

Other than that the truck to-do list has been long, but getting shorter, in preparation for the Jambo. New Tie-Rod ends, changed all fluids, re-built beadlocks (after losing a few bolts at Coppinger Cove last weekend), and rotated tires, torqued everything, and checked everything. I wanted to do new sliders before the trip, but it's not going to happen. Down to packing and details.

Thanks for checkin' in.

So stoked to finally see your truck! I'll be getting there Friday night and hope to run with the 4Runners on Chinaman Gulch on saturday
 
[MENTION=90485]URBAN ASSAULT[/MENTION]


DSC01117_zpstmdsuw3b.jpg~original


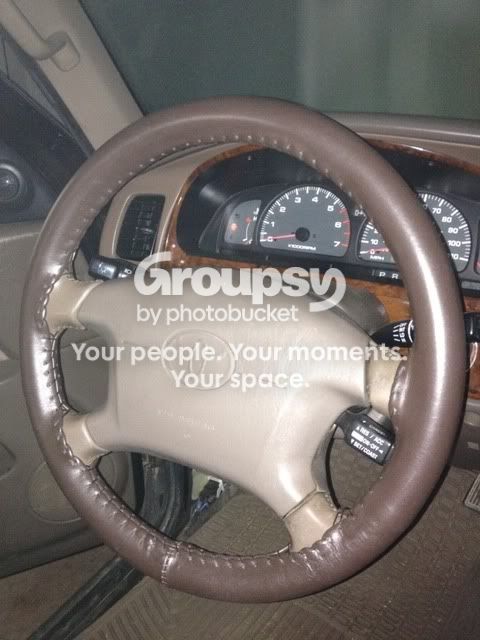
whats good with this steering wheel? cover or re-skin? is there an explanation in your build thread?


....
 
[MENTION=90485]URBAN ASSAULT[/MENTION]

whats good with this steering wheel? cover or re-skin? is there an explanation in your build thread?


....

I used this one:
Leather Steering Wheel Covers Manufacturer and Distributor

And I've been really happy with it. I have had it on there for a few years. I think I did a small write-up on it a few years ago, back in my yotatech days.

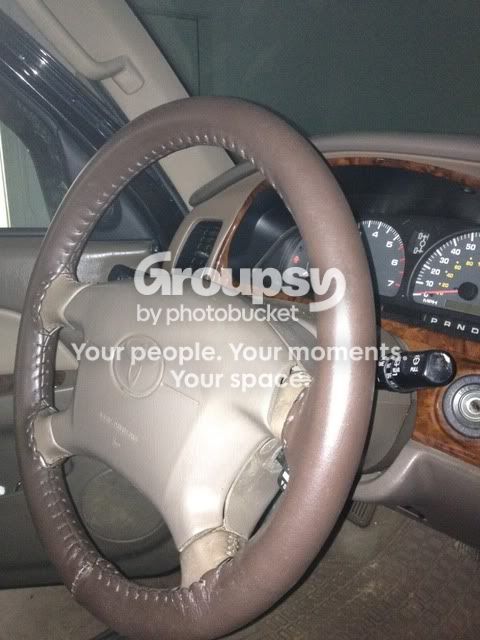
It is genuine leather with lots of color choices. They have a tan, which would likely be a perfect match to factory. However, I was looking for a little contrast, and something that would show less dirt. My factory steering wheel leather looked rough, especially at the 12 o'clock spot.

You stitch this on yourself. Which is time consuming. Save it for a day when you need to clear your head from the rest of the world. Line up a few of your favorite beverages and songs, and settle into the drivers seat. Time consuming but not difficult. If you can lace up your shoes, you can do this.

It does thicken the steering wheel slightly, but I like it, and love the look of it.

Here are a few more pics:
wheel1.jpg~original

wheel2.jpg~original
 
I attended the Colorado Toyota Jamboree back in August. I can't believe it has taken me this long to update. I circled that event almost a year in advance. It was a long way to go, but it did not disappoint, and I can’t wait to get back.

I headed out Monday 8/3 bound for Colorado. 1400 miles, and 20 hours in front of me.
Georgia, Tennessee, Kentucky, Illinois, Missouri, Kansas, Colorado.
I drove 14 hours the first day to Salina, KS. I was exhausted and so excited to get some rest. Checked into a Hampton Inn, and went straight to bed about midnight. About 2 hours later the hotel was struck by lightning, fire alarms went off and water began running down the walls. I was completely disoriented for a few minutes. After realizing what was going on, I just grabbed my stuff, climbed back into the truck and drove off. Obviously, I wasn’t getting back in there that night, and I was planning on getting an early start anyway. Just not THAT early. After about a gallon of coffee I set out for the long painful stretch of Western Kansas/Eastern Colorado. One of the most monotonous, straight, flat, mind-numbing stretches of highway in the US.
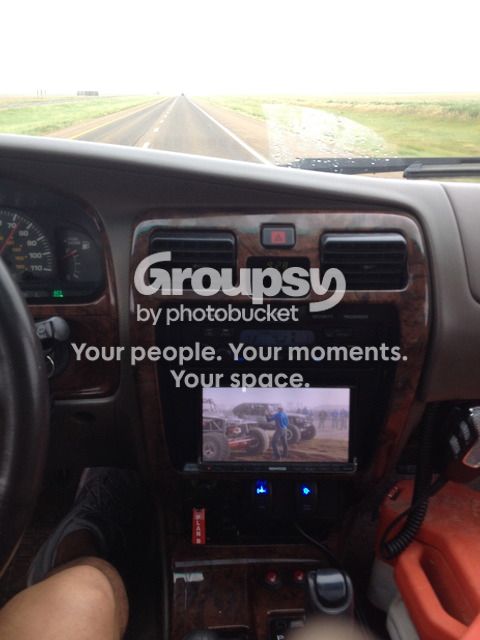
It gave me a chance to catch up on some old KOH videos:
IMG_0774_zpszjlr1if5.jpg~original


After a seemingly endless stretch of road, you finally see the rockies emerging in front of you. A truly welcome site!
DSC01144_zps2s3bvxxh.jpg~original


I arrived in Salida, CO on Tuesday 8/4. I checked into a hotel and parked the truck. I wouldn’t touch it for the rest of the day. Walked through historic downtown Salida, found a local restaurant, drank some local brew, and relaxed in the cool, fresh, mountain air.
I slept-in on Wednesday since I had very flexible plans for Wed & Thurs. I had selected a few trails from Traildamage.com. A great trail resource in Colorado. I’ve been to CO many times, though this was my first wheeling trip. So, I had no reference point, other than TD’s ratings. For Wednesday I chose Lost Canyon, and for Thursday, Pomeroy Lakes.
Traildamage did a better job of recapping Lost Canyon than I could. Here:
TrailDamage.com - Lost Canyon
At first, I was stopping and taking pictures of every old piece of mining equipment I saw from the trail. Relics of history, and of past lives from the late 1800’s and early 1900’s. I love that kind of stuff.
DSC01152_zpssri0xchb.jpg~original


After about an hour, and stopping every 150ft, I realized the stuff is everywhere! Great trail! Not difficult, amazingly scenic, and exactly what I was looking for.
Wednesday afternoon/night the truck stayed parked again and I walked to find more local food, and more local brew. Great little town!
Thursday, I checked out of the hotel since I would be camping from here on out. I headed up to the Pomeroy Lakes trail which is close to Salida, and the Jamboree location. Another perfect trail: TrailDamage.com - Pomeroy Lakes
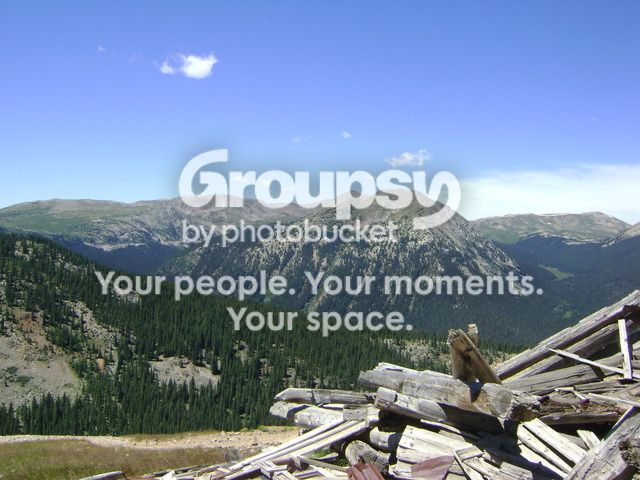
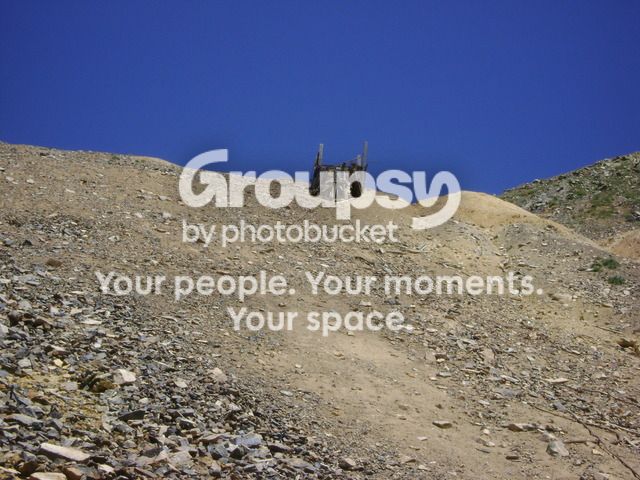
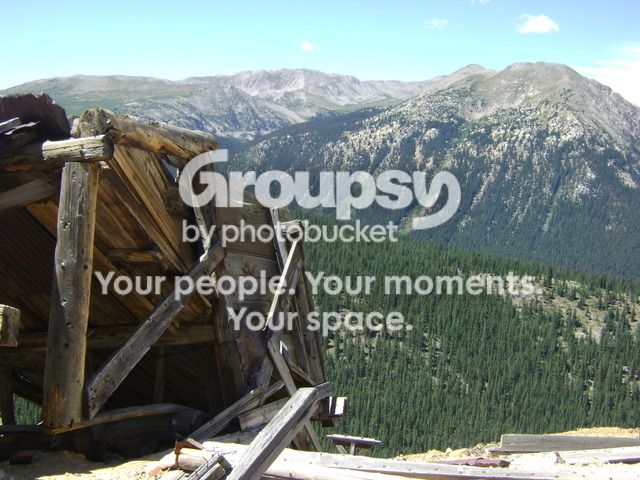
Lots more mining equipment and glimpses of the past:
DSC01156_zpskgfvvtkw.jpg~original

DSC01157_zps6pjphjoy.jpg~original


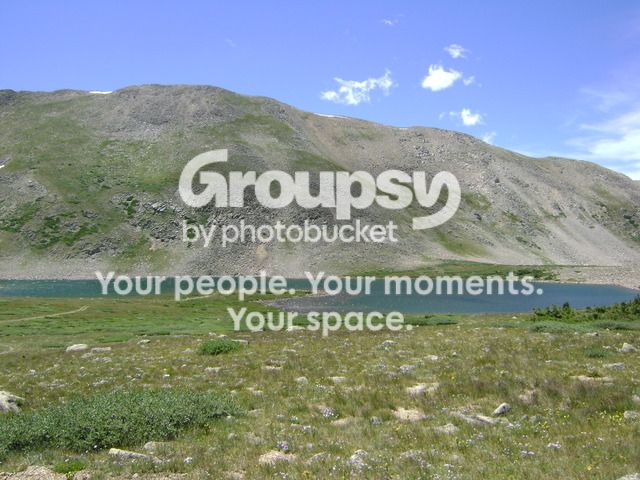
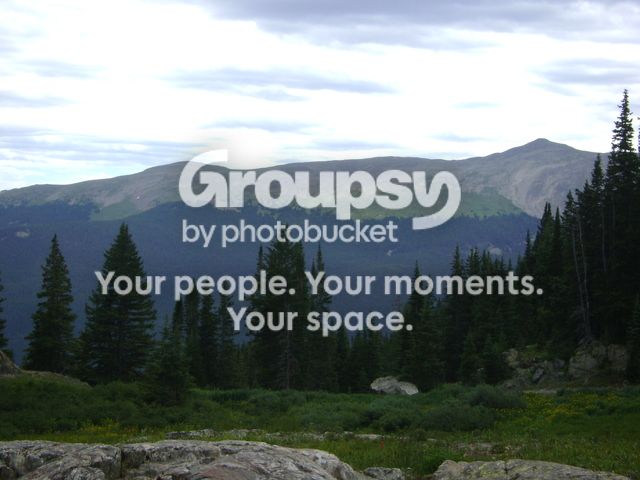
Arriving at the top is stunning! Above tree line, cool and breezy.
DSC01162_zpsnisn9cen.jpg~original

DSC01163_zpsotlqur9k.jpg~original

DSC01164_zps5oqa4qmu.jpg~original


And a perfect spot for lunch:
DSC01167_zpstjkqwcfe.jpg~original

DSC01168_zpswfip3ztu.jpg~original


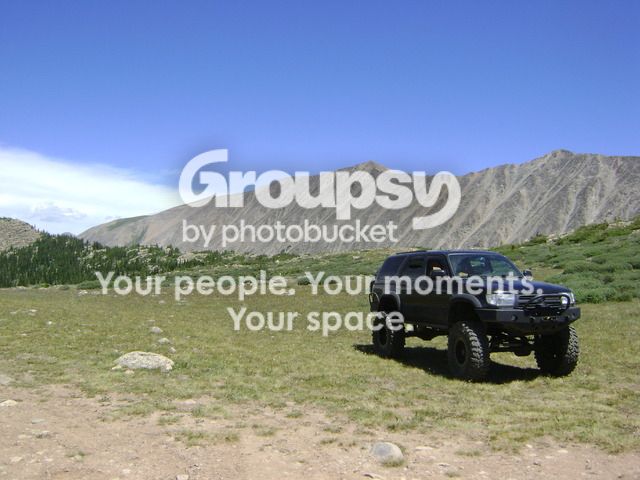
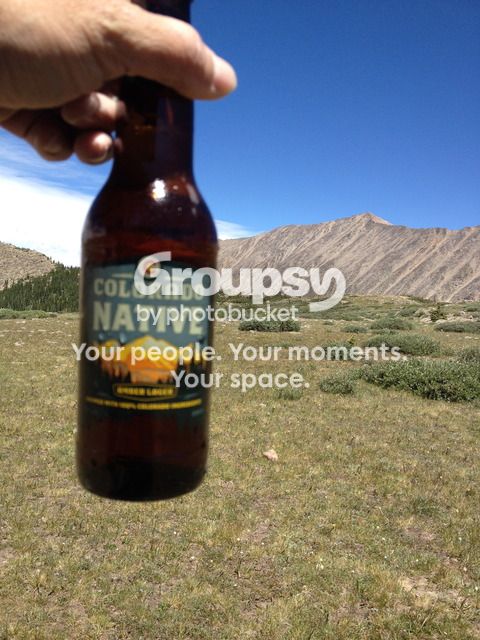
Everything seemed to fit:
IMG_0777_zps5y9ujibd.jpg~original

Another perfect trail!

After I got off the mountain I headed into town to stock the cooler with all the food/drink necessary to get me thru the next 4 days. Then, headed for the Jamboree. [MENTION=17736]AddictedOffroad[/MENTION] and [MENTION=67615]Dirtco[/MENTION] were already there and I spotted them right away. It was an impressive site to see all of the top built Toyota rigs come rolling in to this event. [MENTION=44220]BigFishAllDay[/MENTION] arrived and confirmed I had found a good camping spot. I recognized a lot of rigs from their build-threads and it was great to put trucks with faces, real names and handshakes.
As we discussed plans for the following day, it seemed everybody was going to be doing Iron Chest. Originally, when I registered, I indicated I would do Holy Cross on Friday. I started to get cold feet when everybody else was headed elsewhere. There was another group of rigs coming from Denver and would be meeting at the trailhead. [MENTION=63986]Volcom[/MENTION] said it best, “Holy Cross is one of CO’s legendary trails and if you drove all this way, you have to do it”. That was the nudge I needed, and I was all in. Aaron (volcom) gave me a few directions/landmarks to find the trail and I was set. The next morning I was still hoping for a convoy of rigs lined up at the gate headed for Holy Cross. No such luck. Rolled out solo at 7:15am as it is 2 hours to the trailhead. A beautiful drive though, and you can definitely tell you are heading North in the Rockies as the landscape changes from arid to alpine. Aaron gave me a tip about a sharp 90deg turn in the road, just before the turnoff. Without that tip, I would have missed it. The sign sits recessed off the road, and I would’ve been more worried about making a 90deg turn than looking for a sign. The first of many thanks to Aaron [MENTION=63986]Volcom[/MENTION].

I arrived at the trailhead and fell inline with the group at the trailhead. I would guess we were about 20 rigs to start with. I was a little intimidated as ALL the rigs were extremely well built, caged out, and trailered to the trail. I would later be reminded of the benefits of the trailer.
Holy Cross is an awesome trail. Lots of huge rocks on a narrow, well managed trail.
DSC01171_zpsgokearhx.jpg~original

We quickly traversed and moved over obstacles that would be considered, ‘the best trail ever’’ in the Southeast.
About 2/3 of the way up is French Creek. An impressive section of large boulders generously deposited by the rockies, and annually arranged, and re-arranged with each flood, avalanche, and rock slide. Looking back on it, this was one of my favorite highlights of the trip.
A few pics of one of the other trucks in the group.
DSC01175_zpsztbpyiws.jpg~original

DSC01174_zpseyrl9hb1.jpg~original


Here is an in-cab video of my crossing:
<iframe width="560" height="315" src="https://www.youtube.com/embed/e7we3EaIc2E" frameborder="0" allowfullscreen></iframe>
https://youtu.be/e7we3EaIc2E

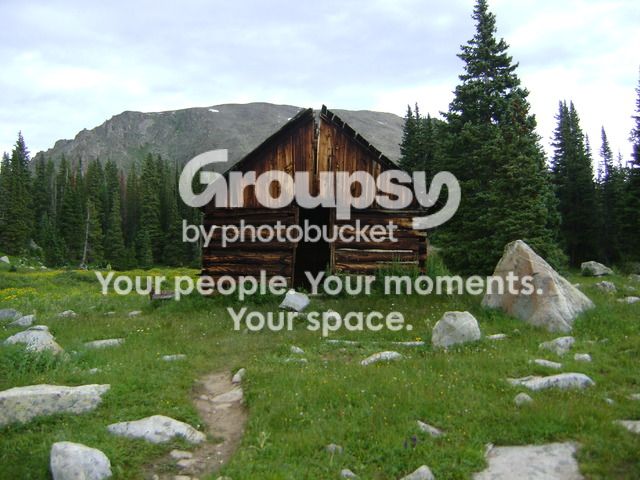
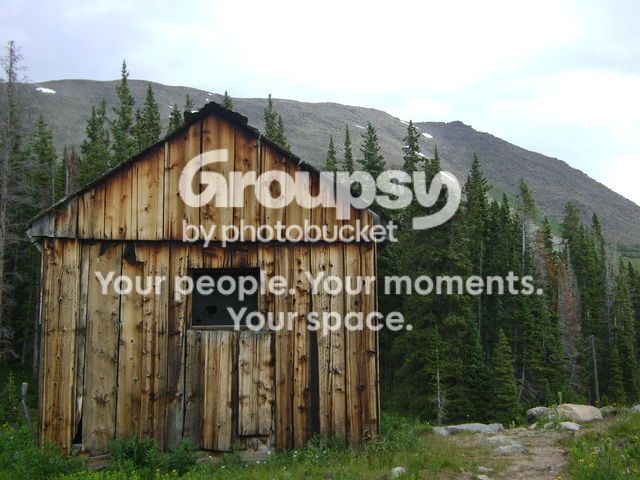
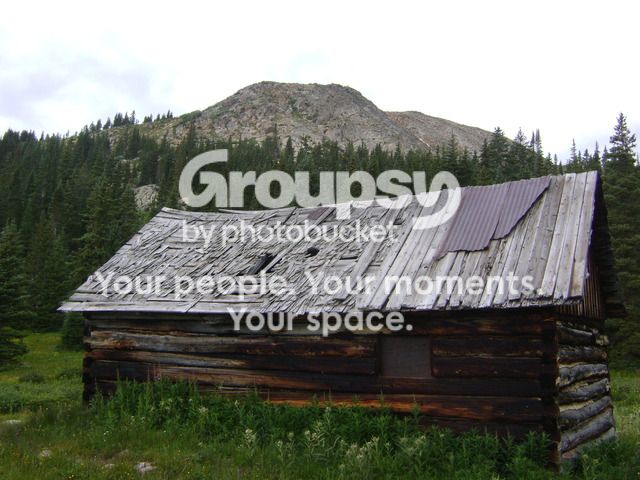
The destination of this trail is Holy Cross City. A centuries old mining encampment with several remaining structures, and a reflection of the past.
DSC01181_zpsgc6x7bcw.jpg~original

DSC01184_zpsknd3hxdo.jpg~original


I doubt any of our homes would be standing if left unmaintained for 150 years in the rockies. These structures were made by hand, with primitive tools, and are simply timeless.
DSC01185_zpswdce4npj.jpg~original

DSC01186_zpsddmvhavx.jpg~original

DSC01187_zpst7hctv2b.jpg~original


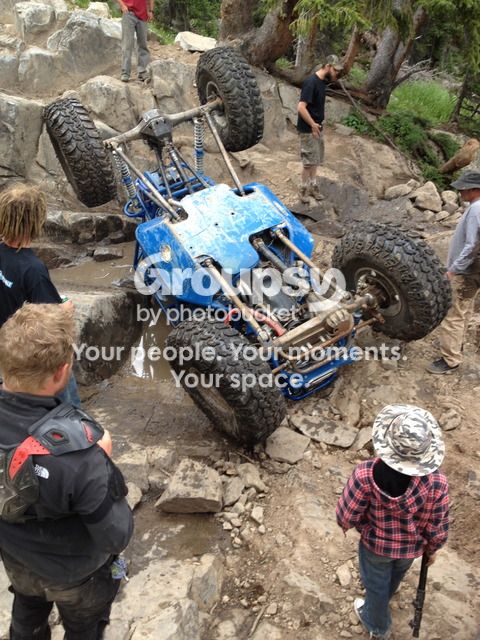
After Holy Cross City, there is one last obstacle, Cleveland Rock. It is optional since the trail continues by foot only after that. I lined up to give it a go. If nothing else, get my tires on it and get my pic. I was fourth in line. The first guy walked it, straight up the left side, with the lowest gear ratio I have ever seen. Barely moving, never broke traction, and essentially drove up a wall. I also saw the benefits of a suck-down winch. That was new to me.
The next guy, in a really well built buggy, did this:
IMG_0790_zps1kpuij7f.jpg~original


After an hour of recovery and restart we all decided to call it a day and start the trek back down.
Several of the obstacles that were challenging on the way up, were dangerous on the way down. Experienced spotting from the local guys helped out tremendously!

I’ll update with the remainder of the trip soon. It includes the best and worst of wheeling far from home. As in, I broke stuff, broke bad, and the wheeling community is an amazing family.

Thanks!

 
Co

Glad to read through the first episode of your CO trip Steve and nice to see some pics. Look forward to the next bit, just not the breaking stuff part so much.
 
Wow, you drove such a built rig from Ga to Co with plans to run some fairly hardcore trails... you have my respect. I drove my XJ from Pa to Moab, Ut back in 01, and it was well built and on 33's (which was huge for an XJ back then). I broke pretty seriously and had to cobble it together for the 2200 mile drive home.
 
You won the long distance award for sure at the Jambo this year!! I was in complete amazement that you drove your rig on 37" Rockers all the way across the country! It was a pleasure meeting you and getting to wheel and "improvise" with you!!!
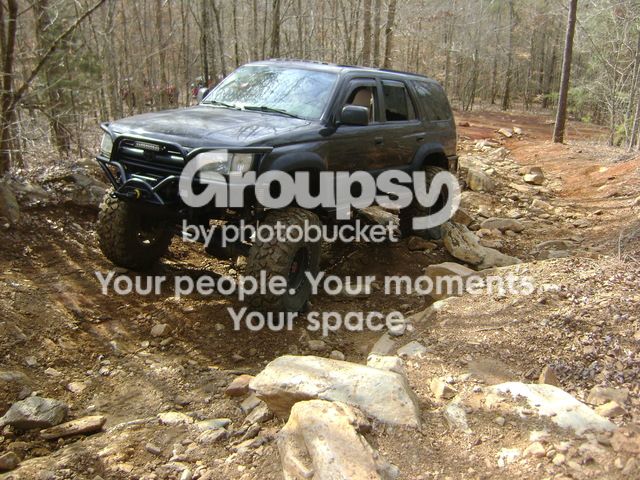
 
Recently I wrapped up my winter project which started with an idea and ended up being a crap ton of work. The genesis of this idea was to lower the ride height of the truck. I did not want to give up any more up-travel from the suspension, so I turned my attention to the body on frame. The original lift on this truck, several years ago, was a 3" suspension lift and a 1" body lift. That allowed me to run 35's with the IFS. After the solid axle, the ride height was higher than desired, but as low as it could go. The plan: Remove the 1" body lift, along with the factory rubber body bushings, and replace with the shortest possible solid poly pucks. This involved the following: (the list doubled as the project evolved)
Remove/Rebuild front bumper
Remove/Rebuild rear bumper
Remove/Rebuild sliders
Clearance inner fenders
Modify front (radiator) skid plate
Tub transmission tunnel
Tub floor above front upper link

I had wanted to rebuild the bumpers and sliders anyway. I've learned a lot over the last several years and have moved away from the armored truck scenario, to a more simple and functional approach.
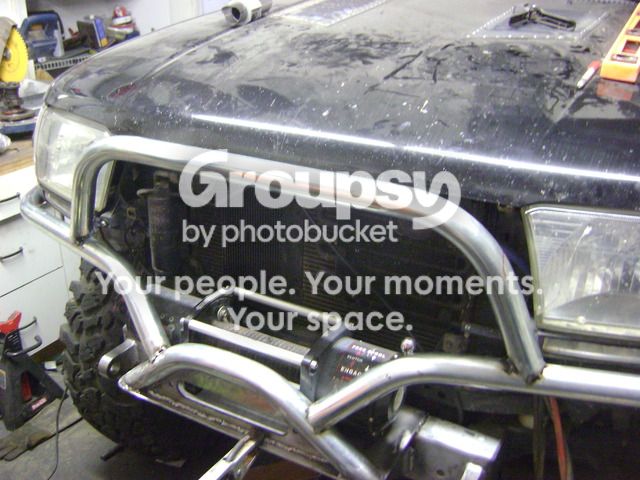
The bulk of the work, and the most notable visual difference was the bumpers.
Everything off and ready for a fresh start:
DSC01194_zpsqg0nmyjp.jpg~original


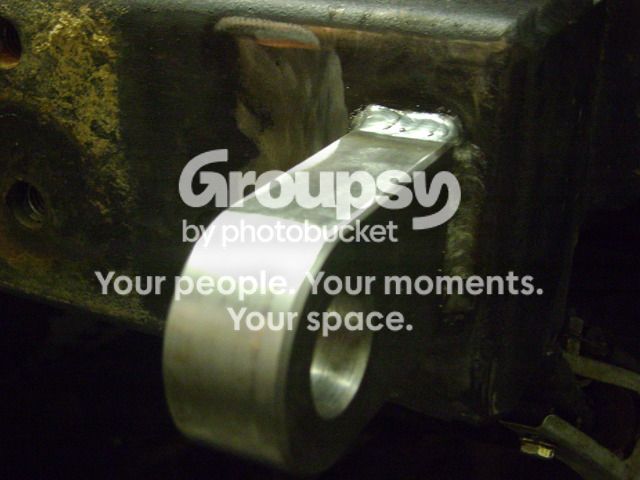
Then added some recovery points:
DSC01196_zpsfud5xs7x.jpg~original

DSC01196_zpsfud5xs7x.jpg~original


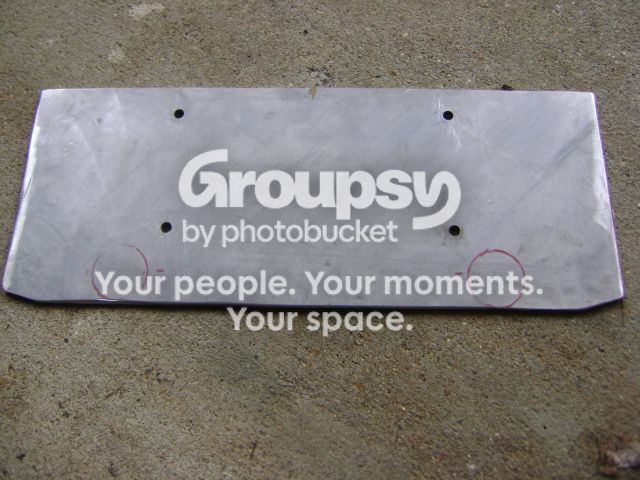
Cut out and drilled a winch plate:
DSC01195_zpswlpchdtj.jpg~original

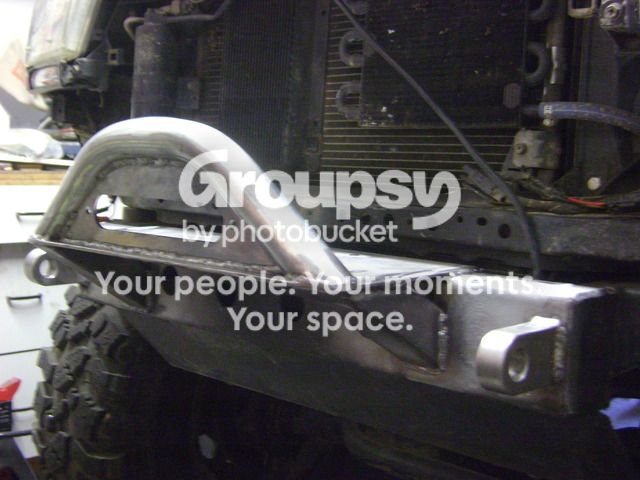
And added the first of many tubes:
DSC01201_zps0ccemgjt.jpg~original


Now that the body is solid mounted, I wanted the bumper to be as close to the body as possible. The winch sits as far back as possible and bolts thru the crossmember.

Starting to take shape:
DSC01202_zpsrv5mcplr.jpg~original


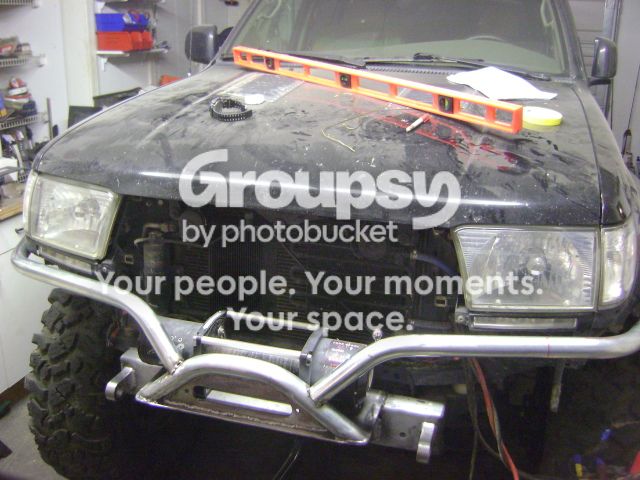
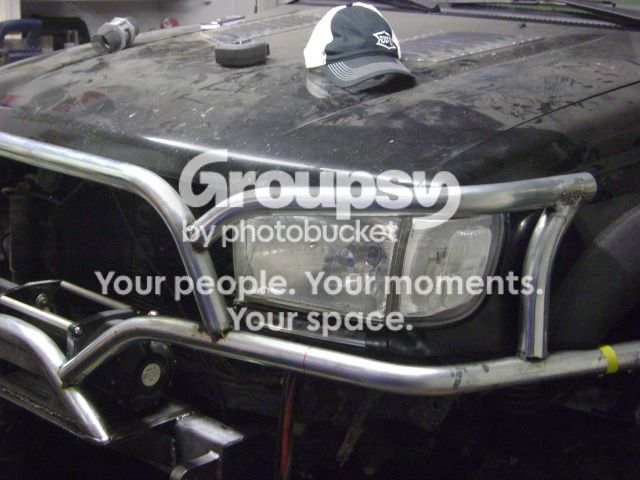
and then a grill hoop, matching the factory lines:
DSC01203_zps3vxsojgx.jpg~original


Followed by some headlight protection, with an attitude:
DSC01204_zpsnkyz2oly.jpg~original


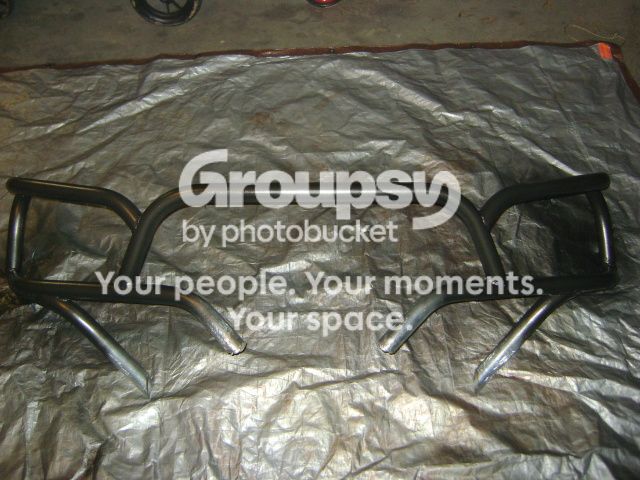
And then all off for finish weld and paint:
DSC01206_zpsxvtpdm5v.jpg~original

The front bumper, not counting the winch plate, weighed 36lbs. My old front bumper weighed in excess of 150lbs.

And the finished product:
DSC01226_zpsgjkrk5xh.jpg~original


So, roughly 100lbs lighter, and decreased the length of the truck by 12".
24886259420_b925c91750_z_zpsxfvidafk.jpg~original


And that's just the front end. Rear bumper update coming next...
 
The rear bumper would be of the same mindset. Tight, light, and strong.

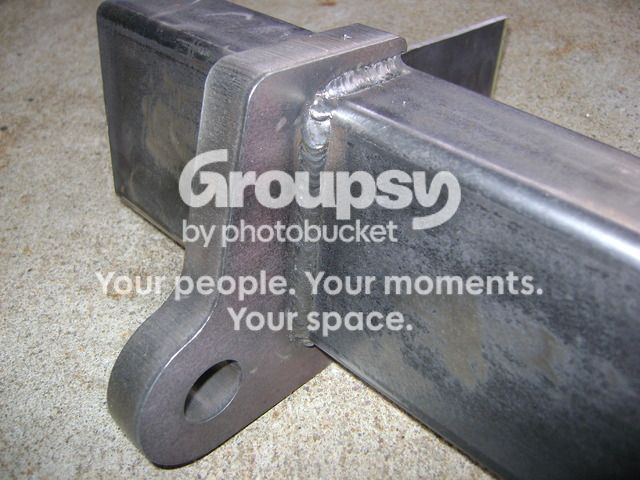
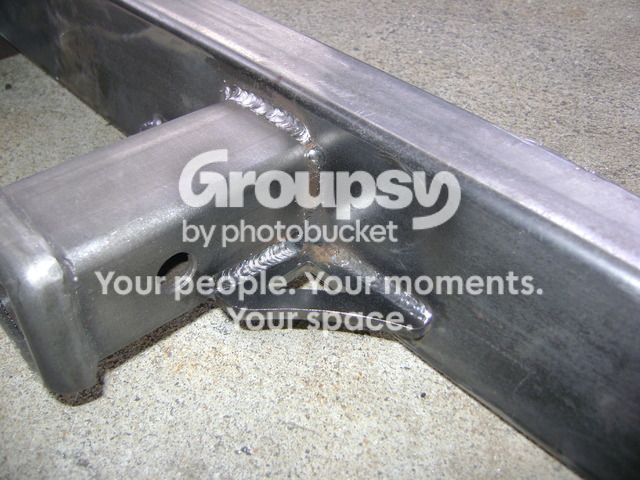
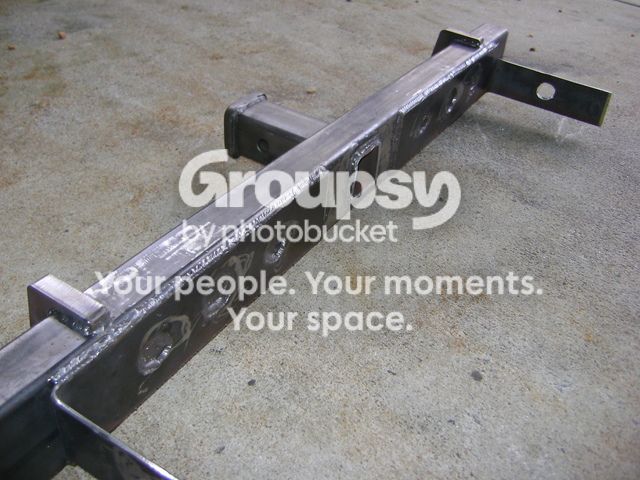
Started with a 2x4 3/16" crossmember, and added some recovery points:
DSC01220_zpslopjcr4b.jpg~original


Followed by a trailer hitch and some gussets:
DSC01217_zpsyvfxqydr.jpg~original


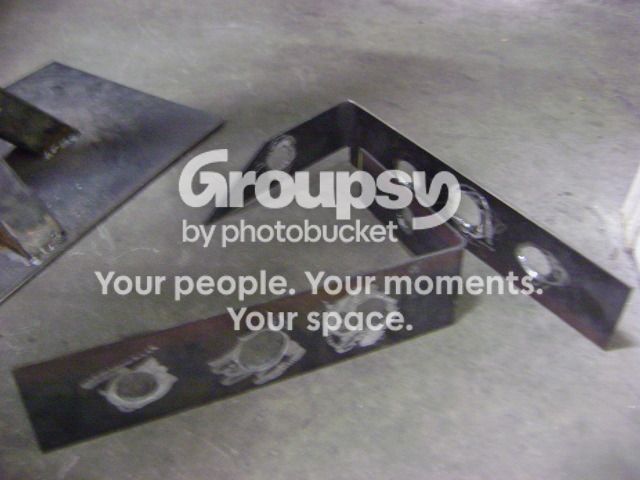
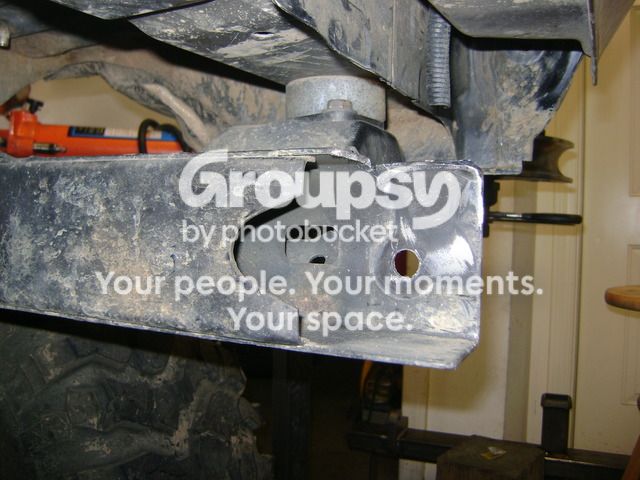
Added some frame plates:
DSC01213_zpslj42iz9y.jpg~original


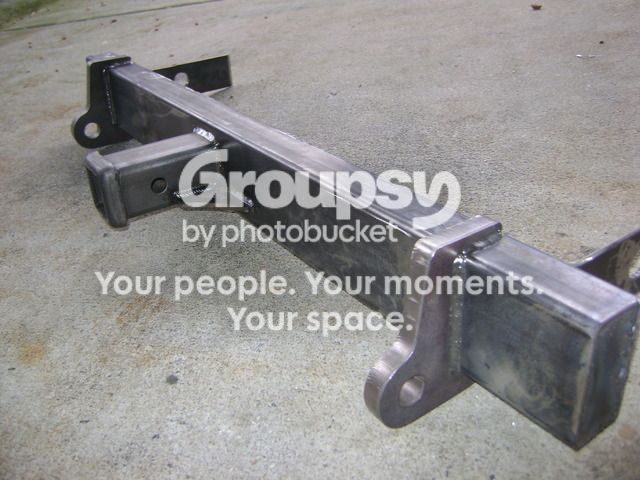
All welded up:
DSC01218_zpsipigzutx.jpg

DSC01216_zps9pavyuij.jpg

Easily, one of my best pieces to date. Yet, it will live a life of anonymity, hidden under the truck. :pout:

Notched the frame for a solid fit:
DSC01215_zps5grylzgc.jpg


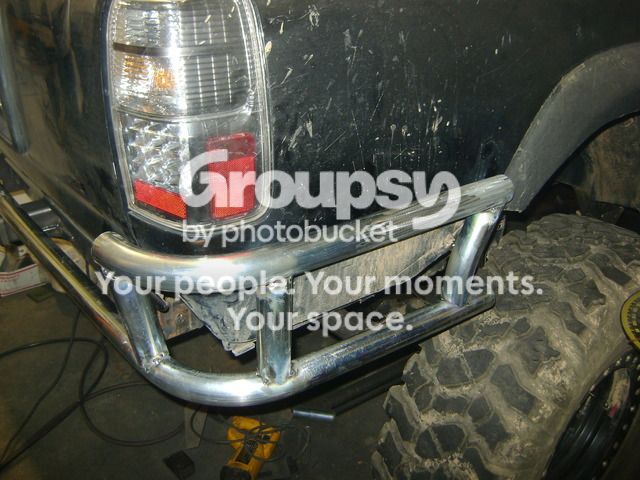
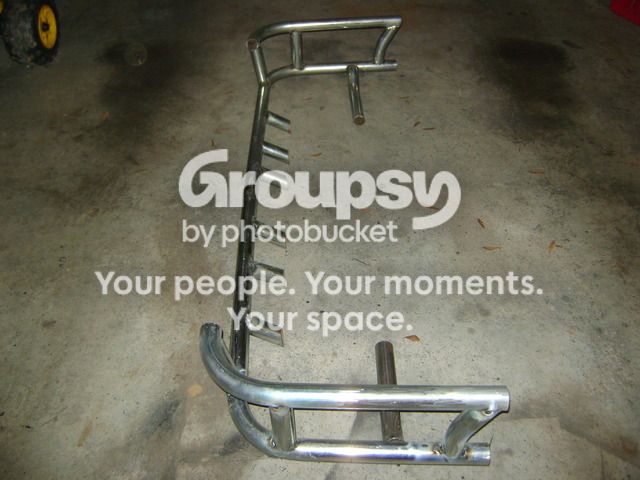
And started adding tube:
DSC01221_zpsar5mxtzf.jpg

DSC01222_zpss9z6m5qf.jpg


All off for finish weld and paint:
DSC01224_zpsx97xrn8n.jpg


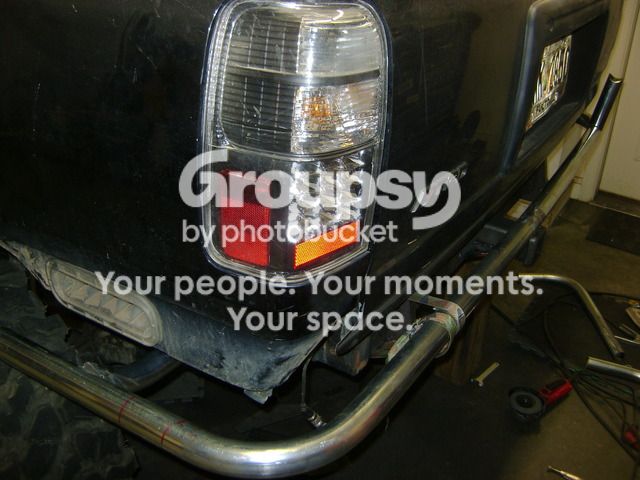
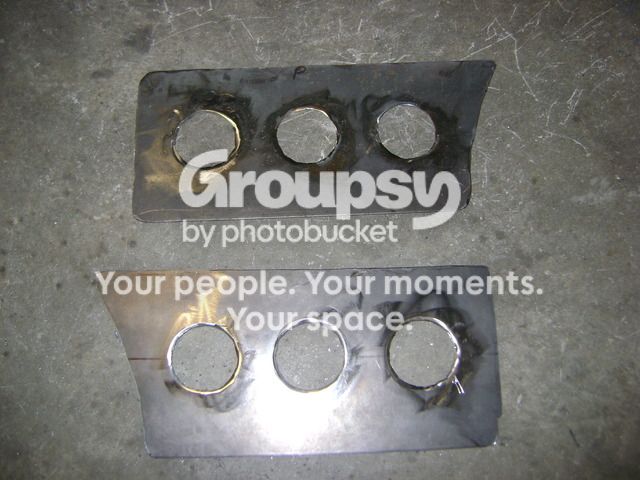
Added some filler plates to the rear quarters:
DSC01225_zpslrilzvv0.jpg


And the finish:
DSC01227_zps5dlw131y.jpg


The spare is now mounted inside the cargo area. This reduced the length of the truck by another 18". All tolled, the truck is nearly 3ft shorter and over 200lbs lighter. In addition, it sits over 2 inches lower. That may not sound like much but it makes a huge difference. Most people's phase 1 lifts are usually 3" and it makes a world of difference. Every piece of tube on the truck, front and back, has multiple bends, rolls, and notches. Several pieces have multiple hours into 1 small section. To give credit where credit is due, lots of inspiration from [MENTION=17736]AddictedOffroad[/MENTION] (filler plates idea) and [MENTION=67615]Dirtco[/MENTION] (6 down-tubes to crossmember and notched frame ideas)

The shake out run to Morris Mtn demonstrated lots of rubbing of the rear bumper at full stuff. So my 3-hole filler plate is now a 2-hole filler plate, along with a re-work of the leading edge of the bumper. I'll add a pic of the changes soon.

Thanks for checking in!
 
Last edited:
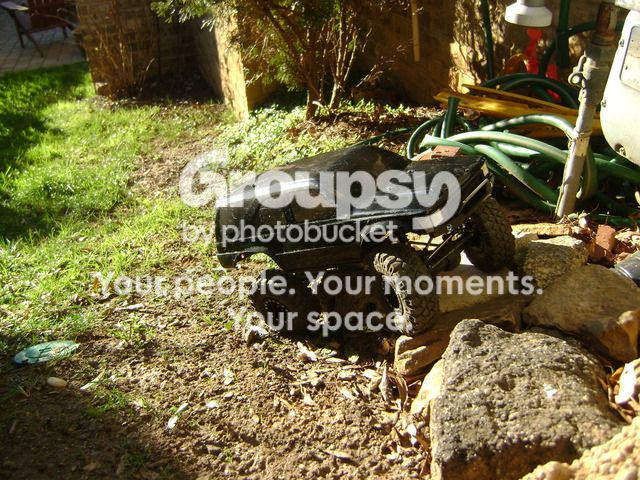
Did some serious wheeling today:

DSC01087_zpsvhttzte7.jpg~original


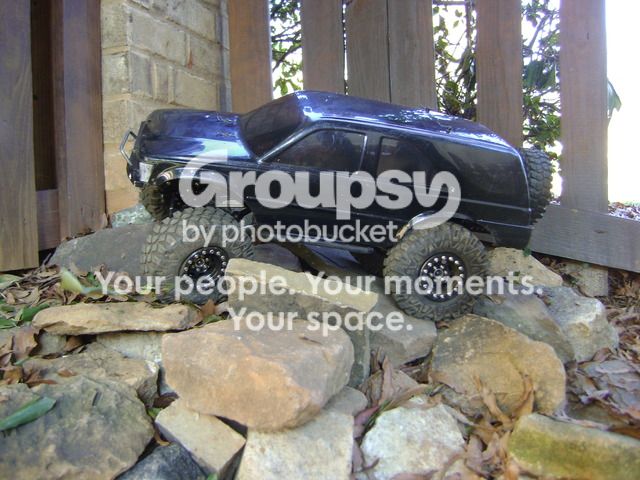
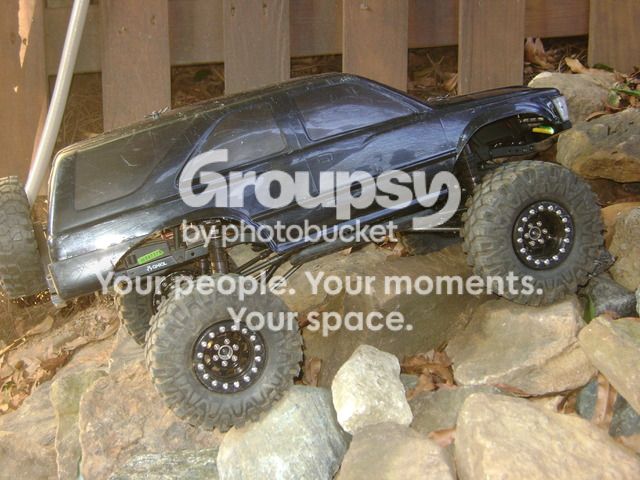
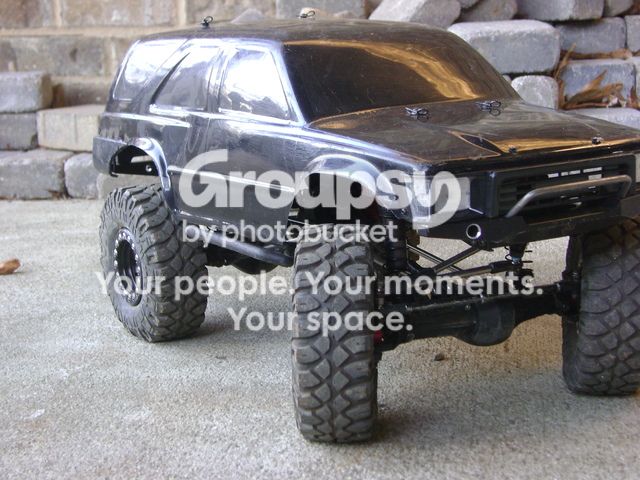
:laugh: Kinda. It's an RC my 5yr old and I built. Its a 1st Gen body because I do not believe they make a 3rd gen. At least not that I could find. Platform is an Axial SCX10 with lots of mods.

DSC01085_zpszjsf4ee0.jpg~original

DSC01086_zps2rswfd1w.jpg~original


We did a 3 link conversion, metal driveshafts, hi-steer kit, beadlocks, upgraded motor, axles and all metal gears. Pretty much a scale model of Papasan's truck. Also has working headlights, fog lights and taillights.

DSC01089_zpsbowkbrll.jpg~original


The build was good fun. It's just a smaller version of what we all do to our trucks.
 
Last edited:
[MENTION=90485]URBAN ASSAULT[/MENTION] did you cut the tabs off your battery box? I was looking at some test fitting today and it seems like the tabs are in the way. Any tips?
 
[MENTION=90485]URBAN ASSAULT[/MENTION] did you cut the tabs off your battery box? I was looking at some test fitting today and it seems like the tabs are in the way. Any tips?

They'll go in. Angle the back tabs down and in. Then use the lid as leverage, or a tool to flex the back wall of the box back away from the battery. The lid will then fit onto the battery. Then tighten the front hex bolts.

Not the best design, but a good snug fit once in place.

I hope that helps.
 
They'll go in. Angle the back tabs down and in. Then use the lid as leverage, or a tool to flex the back wall of the box back away from the battery. The lid will then fit onto the battery. Then tighten the front hex bolts.

Not the best design, but a good snug fit once in place.

I hope that helps.

The battery fits great in the battery box. I was talking about when you put it in place of the old battery holder in your rig. It's right against the antifreeze overflow and tight against the fuze box.
 
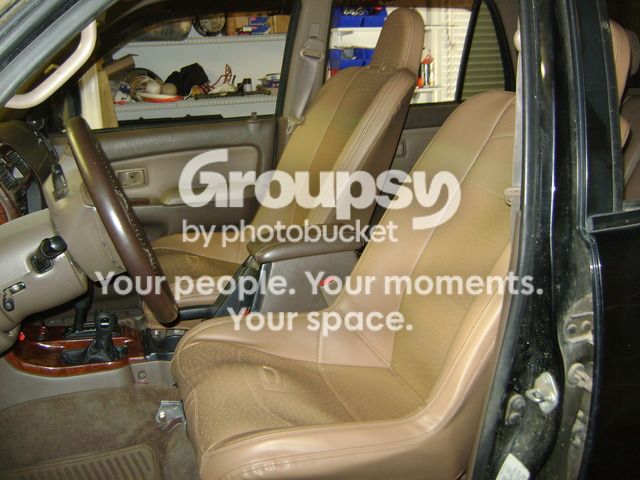
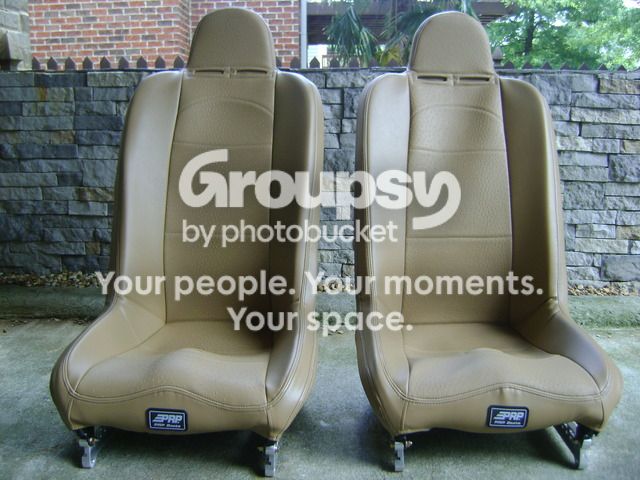
My well-used 16 year old factory seats have seen better days. They have served me extremely well. 300,000 miles and 23 different states. Wheeling trips, camping trips, and road trips. They outlasted 3 dogs, multiple girlfriends, and years of shenanigans. But alas, their job is done.

Enter PRP:
DSC01101_zpsn0iw77z9.jpg~original

PRP Daily Driver Suspension Seats. Tan, with Ostrich skin centers to satisfy my inner pimp. Options/upgrades include: Double stitching, High back 2 slot headrest, extra tall (+4"), Seat Heaters (D&P), and adjustable lumbar support (D only).

The seats look great! I was just looking into PRP today. I might go with the tan suede centers for my inner pimp. :pimp:
 

Members online

Forum statistics

Threads
278,315
Messages
3,554,104
Members
248,016
Latest member
Advally Service

Trending content

Back
Top