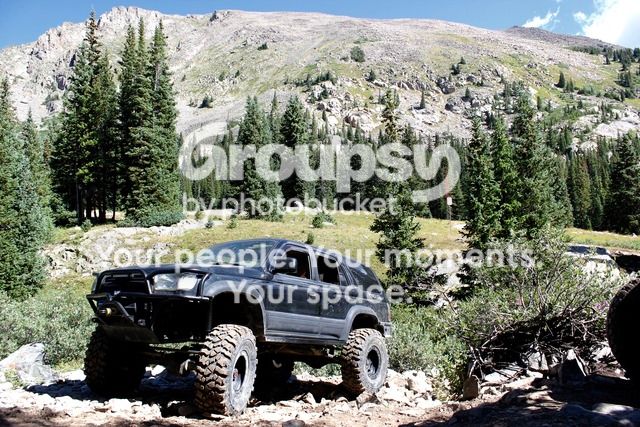
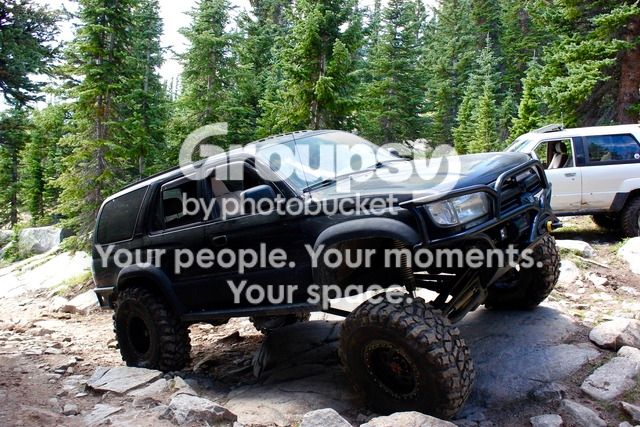
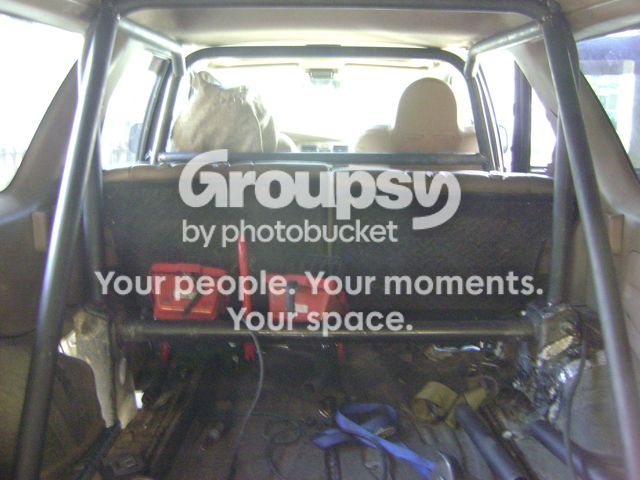
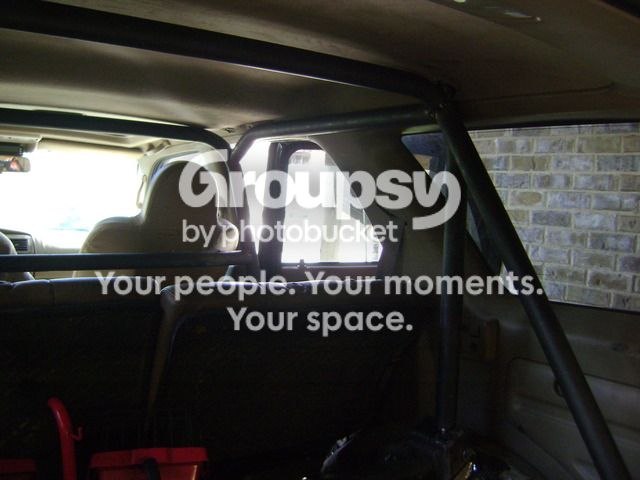
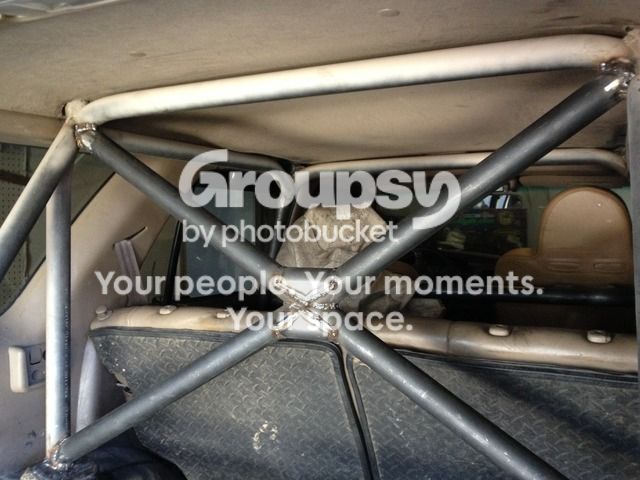
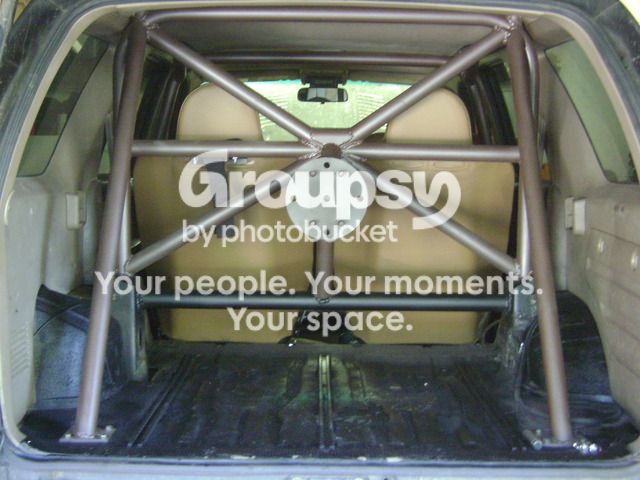
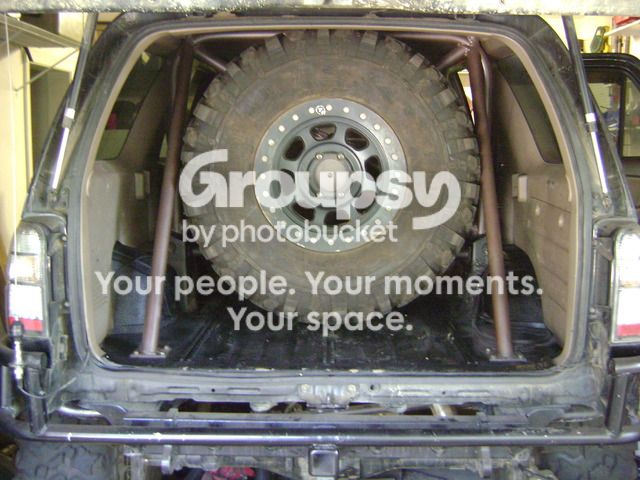
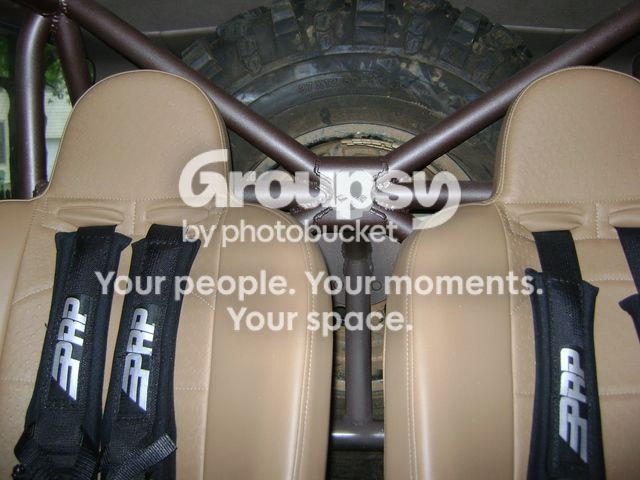
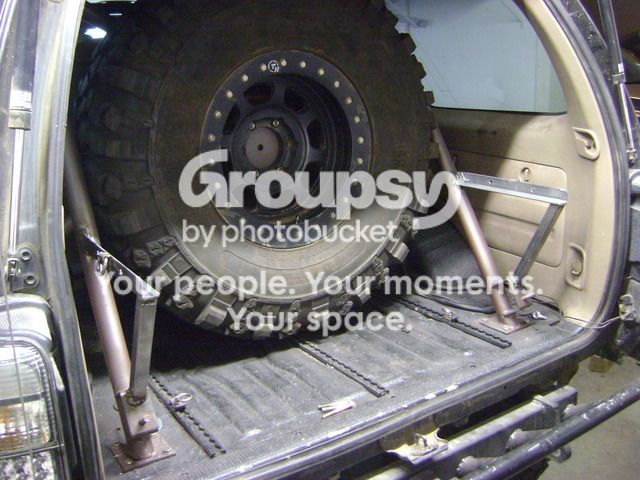
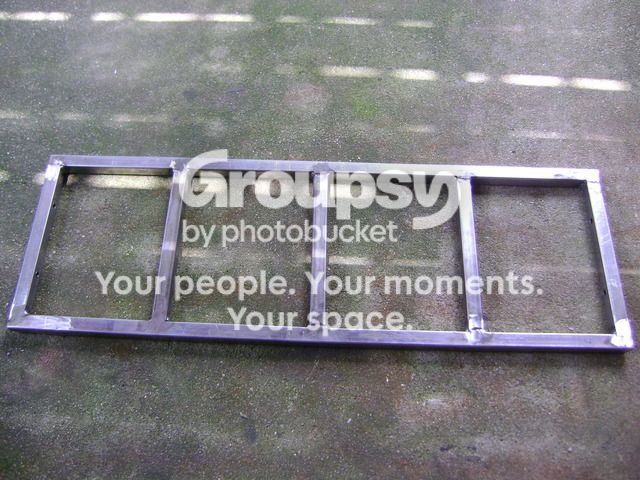
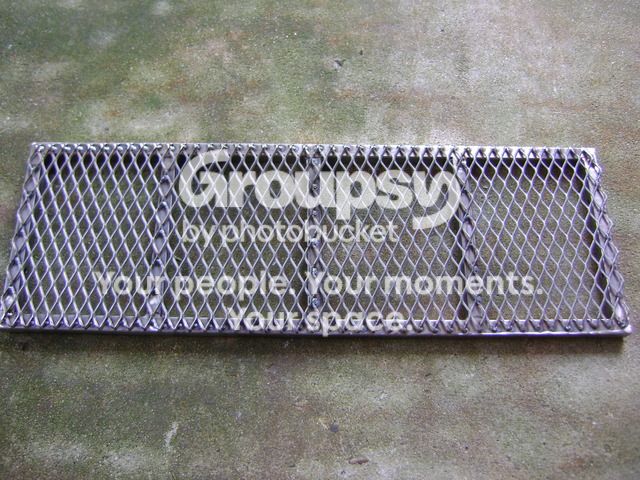
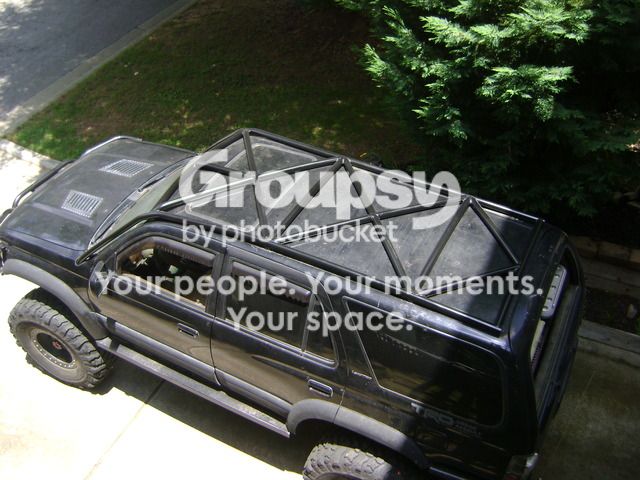
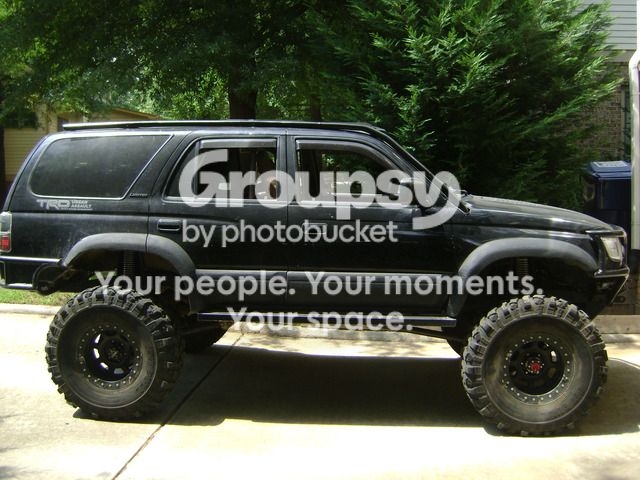
The following is a long overdue update of my build thread. Roll Cage. This project has been on the list for several years and represents a lot of research, rule book reading, web surfing and image saving, cage failure analysis, hand sketches, and bend-tech mock ups. I began the cage in January and mostly finished in March. I have proclaimed it “Done” several times, only to add something, or change something.
The goals of the cage are:
Protect the Occupants - Seems logical enough. Though, there are a lot of cages that are cosmetic, built primarily for accessory attachment, or designed to protect sheet metal rather than people. A flop or rollover in my truck will still do significant damage to glass and sheet metal. However, everybody will walk away and the truck will live on a bit more unsightly.
"Stay In Your Lane" - The scope of this build is a safe offroad cage, that preserves the factory look/design of the truck, suitable for street or daily use, and mostly unimposing to passengers. I have built my truck to be firmly placed in the “Moderate Group” of our rides. I do not, and this truck will not, do 100mph desert runs, or jumps.
Racing Inspired Cage - Please understand, my tired ol’ truck is not going to race anywhere. However, the sanctioning boards of various racing organizations have not just happened upon their cage rules. They are based on structural engineering, testing, and analysis of failures. I read the rule books of Ultra4, NHRA, Rally Sport, and Desert Racing (SCORE). Some key sentences I took away from the rule books and incorporated into my design: (a)
The hoop behind the driver must be a continuous, uninterrupted DOM tube. (b)
Main hoop must have a continuous, uninterrupted, and unbent diagonal tube from behind driver’s head to passenger side frame/floor attachment. (c)
No tube shall terminate midspan of another tube. I only deviated from this on 2 occasions (above windshield and rear cargo roof) due to build plan or general design.
Some rules which are noteworthy, though were not within the scope of this build:
- Anything above 4400lbs vehicle weight requires 2” DOM (ultra4). I’m 5000lbs but could not fit 2” tube in my low clearance design. I used 1.75” DOM, .120 wall as recommended for 4400lbs Ultra4 racing.
- Ultra4 EMC requires a welded door bar, parallel to the ground, connecting A and B pillars.
- Front of cage requires dash bar or cowl bar and an inverted “V” connecting top windshield bar. I can appreciate this structurally, though it was not within the scope of this build.
So with that synopsis of the backstory, on to what you really want. Pictures.
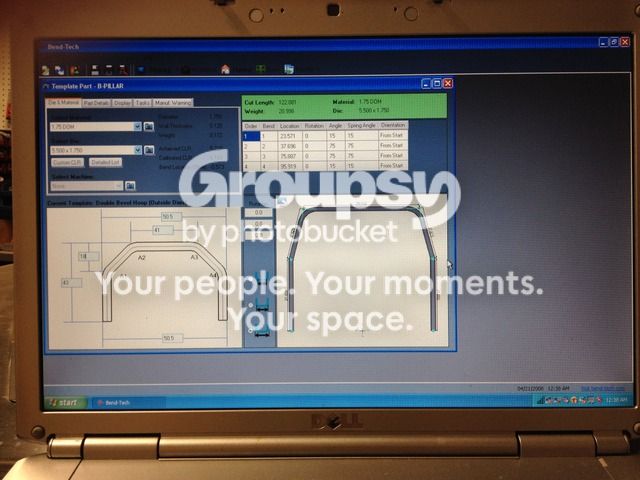
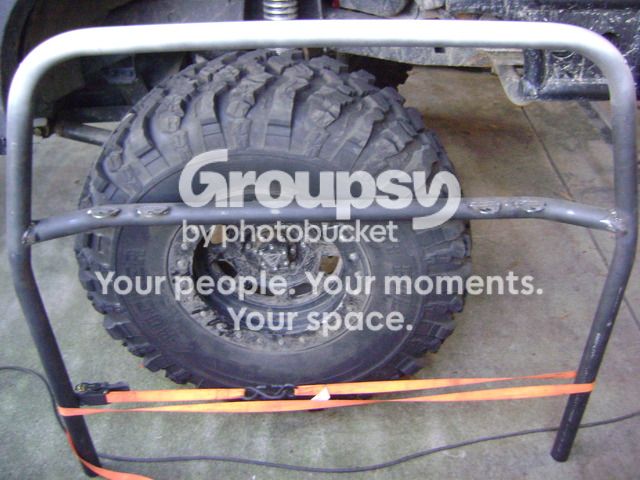
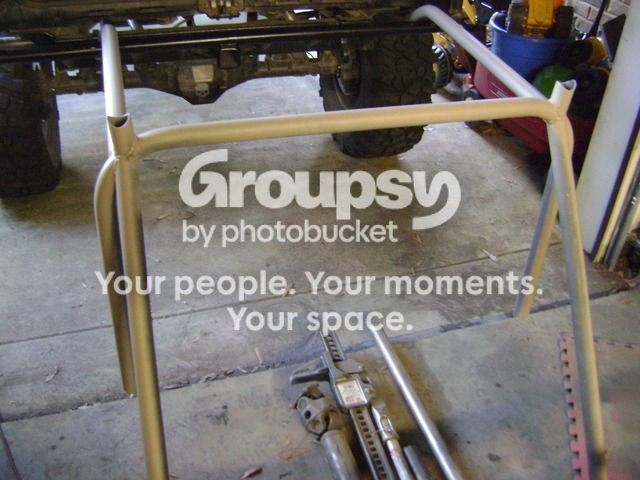
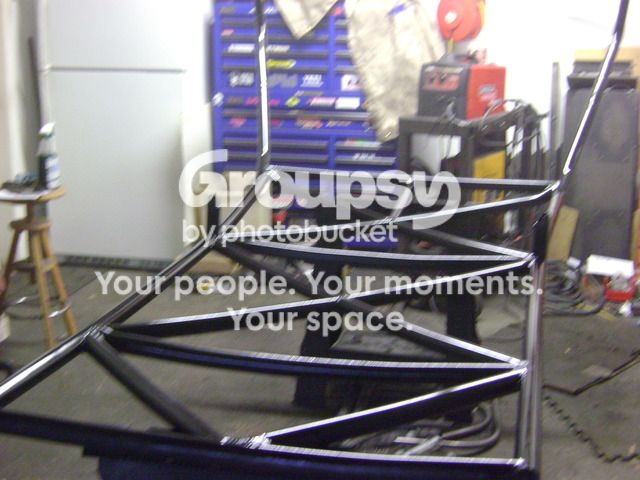
Bend Tech saved a lot of time, and undoubtedly some material, in the hoop design and fabrication. Nailed the B hoop and the C hoop perfectly and had them whipped up and sitting on the floor in about an hour. At this point I was euphoric and thinking I may knock this out in a weekend! However, everything else would be painfully slow progress from here on out and the truck would fight me every step of the way.
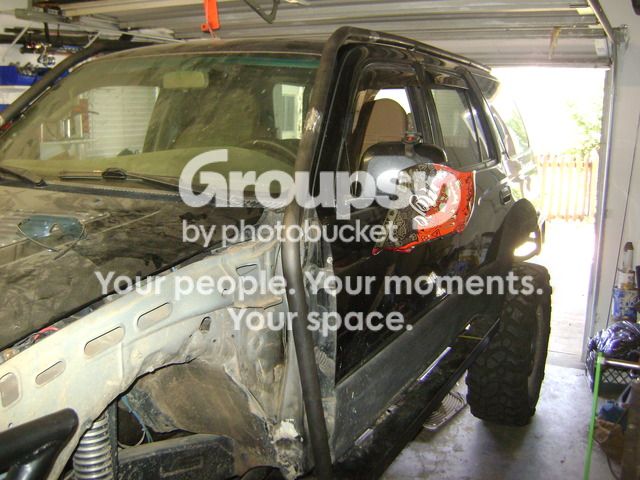
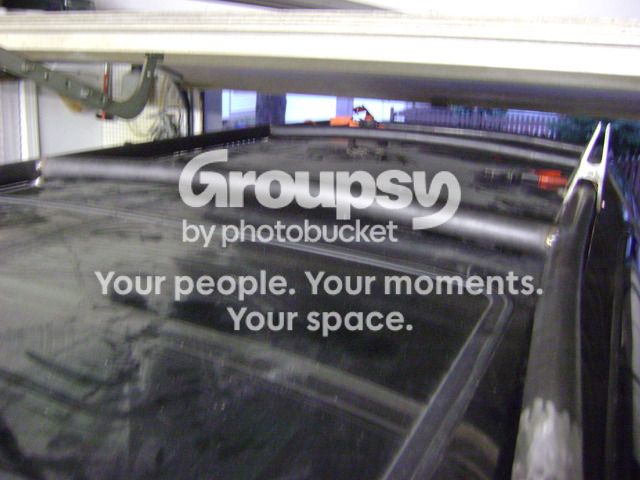
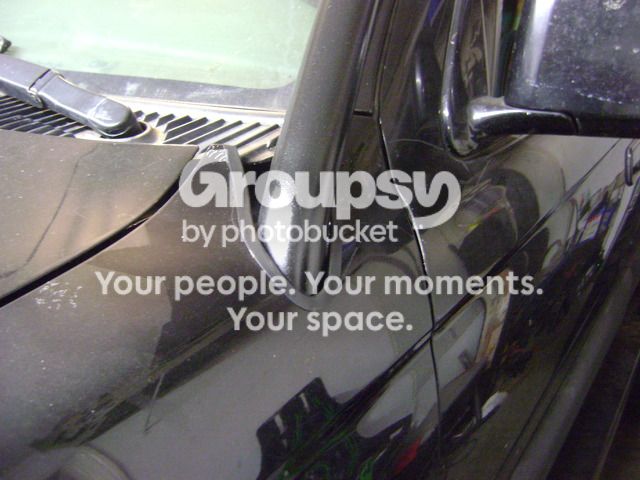
The fenders were difficult to remove since I designed my bumper to hug the body lines and wrap around the headlights. Mocking up the A pillar and the roof portion of the cage. The A and the roof have to be exo since I am 6'3", with an attitude, and building a cage in a Japanese truck. There simply was not enough headroom to do a fully internal cage. This piece, and it's counterpart on the passenger side took forever. It is a 3 bend, 3 dimensional piece. I also used a tubing roller so that the long roof bar would match the curve of the truck and stay tight to the body.
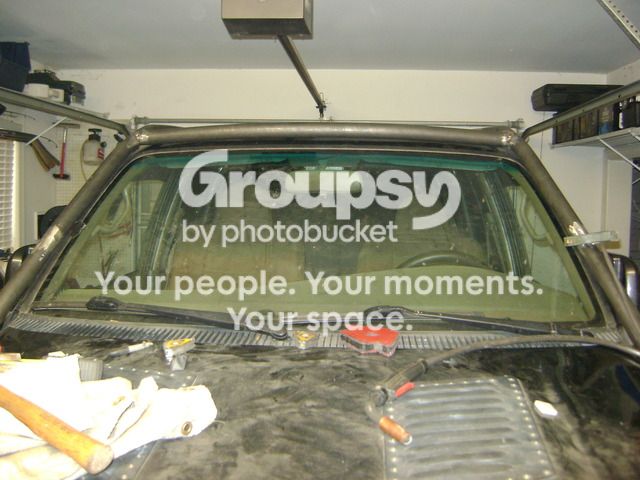
Top Windshield bar and more Tube Roller. Lots of trial and error with incremental changes to get it right and tight. I was shooting for 1/8"-1/4" of clearance all the way around. The body is solid mounted, along with additional body mounts, and reinforced frame. There should be very little movement between the frame mounted cage and body.
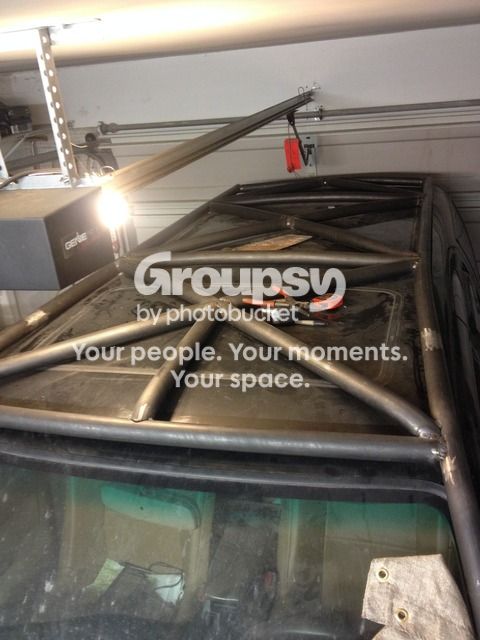
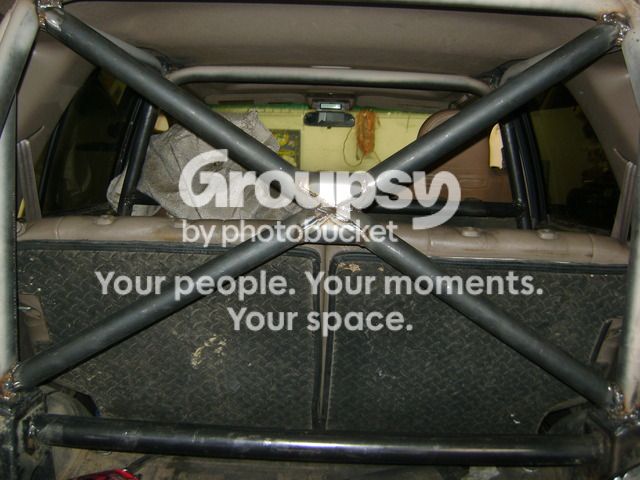
Roof cross bars and more roller.
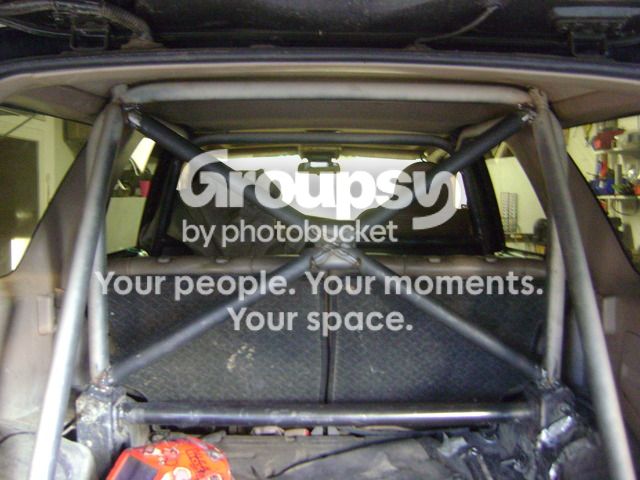
More Triangle!
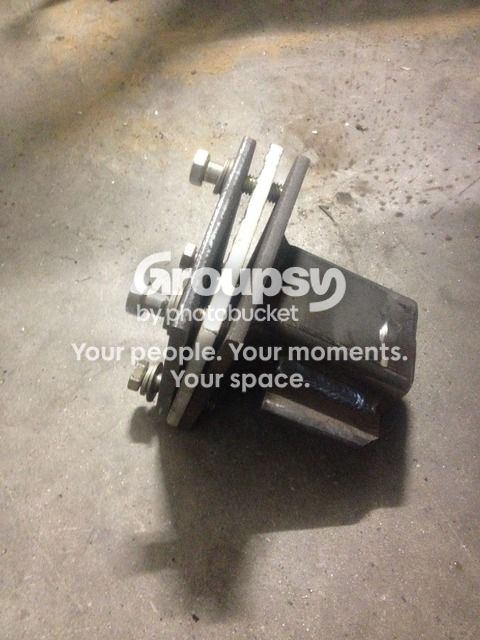
The B pillars and the D pillars mount via 4"x4" 1/4" plates which sandwich the floor with 3/8" Grade 8 hardware. They attach directly to the frame on the underside, effectively becoming additional body mounts. A 4x4 sheet of high density ABS is used to dampen any vibration between frame and body. The A and C pillars are directly frame mounted.
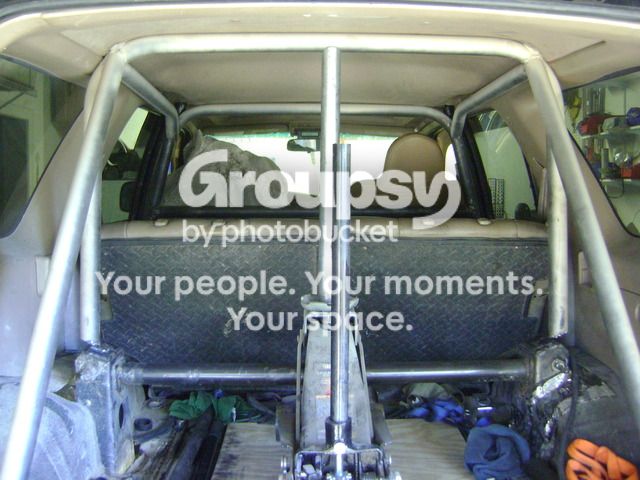
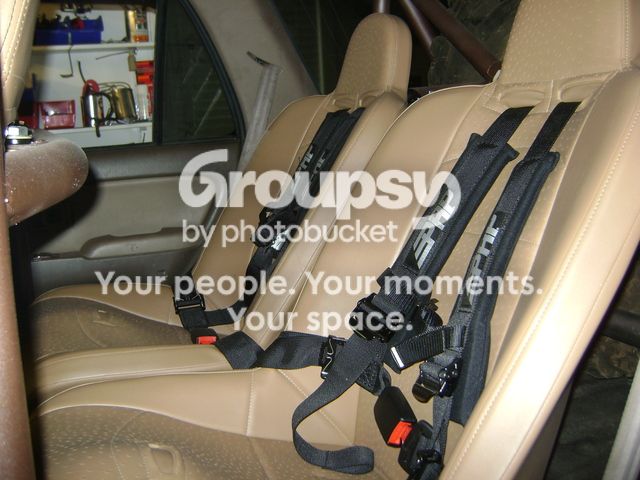
The interior portion of the cage put up a hell of a fight as well. It was extremely difficult to keep everything tight. I designed the cage in 3 sections so that I could remove it, 360 degree finish weld all joints, and then reinstall it. This minimized how many low clearance welds I would have to deal with. The interior cage and the exterior cage are attached via 4 tubes which go thru the roof.
B, C & D, and Exo portion all removed for finish weld and primer.
More updates coming shortly. Too many pics for one post.



imp:
 hwell: