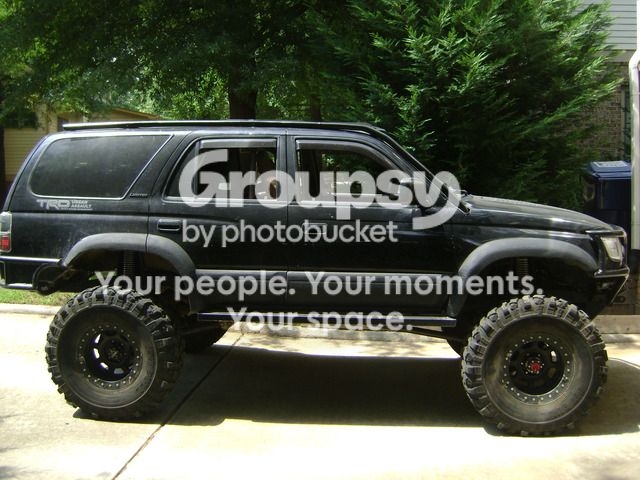
Urban assault's '99 4runner build

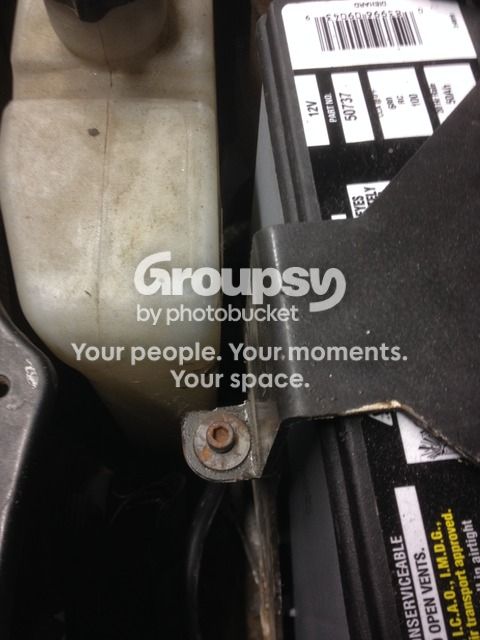
The battery fits great in the battery box. I was talking about when you put it in place of the old battery holder in your rig. It's right against the antifreeze overflow and tight against the fuze box.

Gotcha. Yes. I basically cut the front mounting tab in half. So it has 1 hex bolt instead of 2. Notched around the radiator reservoir.

IMG_0946_zpsnzldodik.jpg~original


The seats look great! I was just looking into PRP today. I might go with the tan suede centers for my inner pimp. :pimp:

Thanks Scramble! I love them. Yes, embrace the pimp.
They are definitely more on the offroad side than the luxury comfort side. However, much better than other suspension seats I have sat in. I considered having the factory leather reupholstered with some updated style, though suspension seats and harness slots was the direction my truck was going. I may do a matching pair in the back as well, in lieu of the the factory rear seats.
 
Last edited:
Hit up Choccolocco Offroad Park yesterday. Choccolocco Mountain Off Road Vehicle Park | Jacksonville, AL 36265

They have done a lot of work on this park and it gets better every time. They also have a digital GPS map, with trails and pins, you can follow with your smartphone.

I rode with a really well built group and we made steady progress thru the park. As a result, not many photos :ohwell:

52400aeeef4dcf84558d760be4ba7838_zps6ogohdho.jpg~original


0fa84d7424a134ec1a74f16a122e3f75_zpsknwukue2.jpg~original

692b30621a22515e45bd7f18a6c50b81_zpsh3uwdtyj.jpg~original

You can see the changes to the rear bumper in this pic. Had to trim it down as I was rubbing bad at full stuff. My 3 hole filler plate and the leading edge was scaled back to a 2 hole plate.
12963360_10154045116952141_7273688987721887898_n_zpsvtdd81mh.jpg~original
 
I had a great time at Windrock Offroad Park this past week for GSMTR '16. http://www.stlca.org/gsmtr/
It is one of my favorite events. Mainly for the people, good times, and some amazing rigs. It rained a lot on Friday which made the trails on Saturday, "interesting". Here is some video from Trail 16. Which is a nice, moderate, meandering, riverbed trail. Until, you have to exit the valley. It is a big climb out with protruding rocks and it gets stupid when wet. As usual, pics do not do it justice but it is extremely steep and slick.
<iframe width="560" height="315" src="https://www.youtube.com/embed/XgPBuD3ZZNw" frameborder="0" allowfullscreen></iframe>
https://youtu.be/XgPBuD3ZZNw
 
I've been experimenting with different GoPro locations. I've done the windshield, though did not feel like it did the trail any justice. Also, lots of video of the sky on hill climbs or climbing up rocks. I guess cameras never truly represent the actual trail.
So, recently I tried attaching to the rear quarter panel. I was hoping to see lots of suspension travel, and a better perspective of the rocks. meh. Not so much.
Suggestions for better camera locations?

Here is some video anyway:
https://youtu.be/vKP3ApxNHdc

<iframe width="560" height="315" src="https://www.youtube.com/embed/vKP3ApxNHdc" frameborder="0" allowfullscreen></iframe>

Also, how to work around the music copyright thing? I had to go back and replace music on my previous vids with some generic public tracks.
 
May sound dumb but I've seen a guy with like a 5' stick coming off the back of his jeep with the gopro on it and I thought that would be a pretty cool angle. Almost like playing a racing game. The only way I've been able to get some pretty cool pics and video is having a friend record as I go by from a distance.

Sent from my SM-N910V using Tapatalk
 
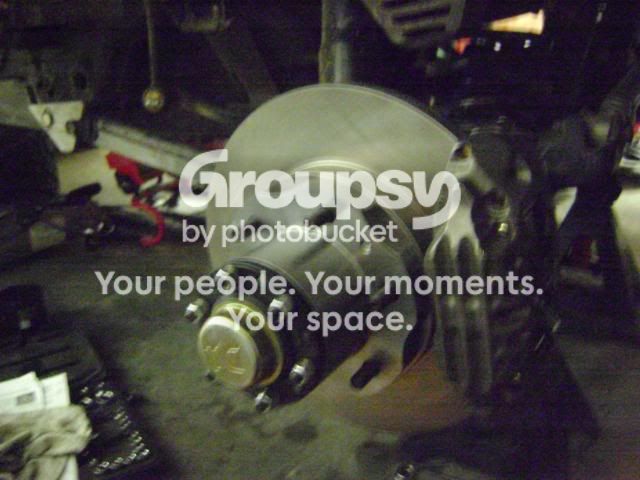
After my Windrock offroad trip, I noticed I lost the end cap off of my rear full float axle. It is just a small tap on cap, and I must have knocked it on something.
It is the small gold colored center cap in this pic:
DSC00734_zps740b719e.jpg~original


It's really just a cap, but the distal end of the axle is exposed when missing. Everybody swears the axle won't work itself out, and I can't imagine the previous tin cap was doing anything other than keeping dirt/water out. Regardless, it looked ominous with the distal end of the axle exposed.
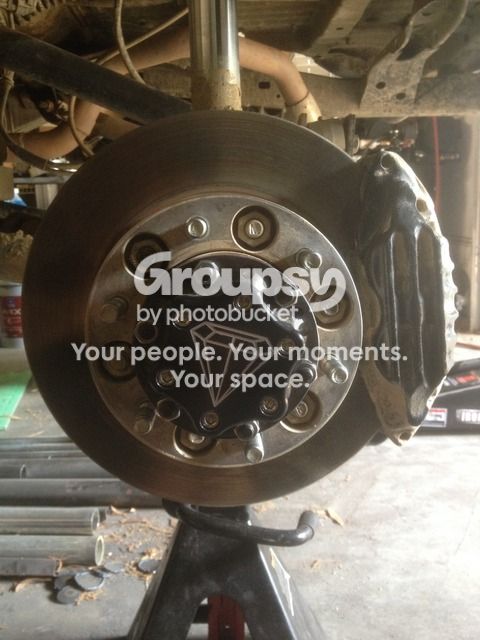
Fortunately, Brian at Front Range Off-Road Fabrication has a pretty trick solution and hooked me up. [MENTION=125440]FrontRangeOffRoad[/MENTION]fab

It is a new flange and bolt-on end cap.
IMG_0996_zps8h8fqlwt.jpg~original


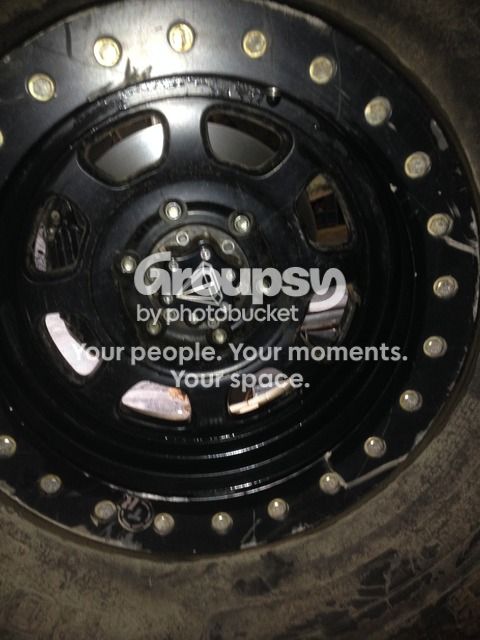
Also has the pimp Diamond Axle logo. Which is about as close to a diamond axle housing as I will come for right now.

IMG_1027_zpsgfzurx5t.jpg~original


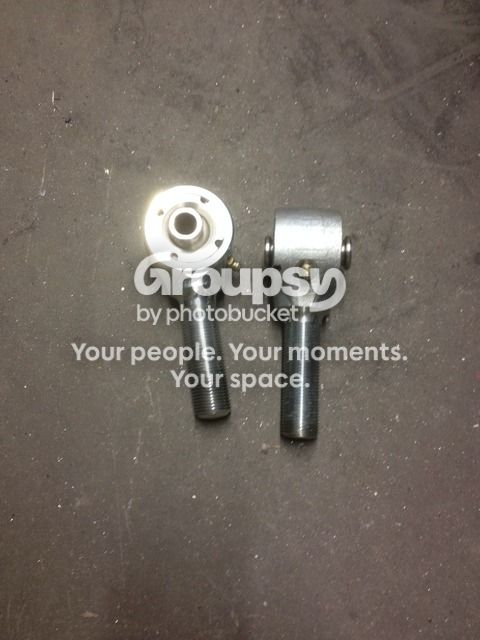
One other small change was getting rid of the heim joints on the rear panhard bar. Those things were clunking and rattling me to death. I switched over to a Ballistic Joint, which is like a currie johnny joint. Greaseable, serviceable, and much quieter.
IMG_0968_zpshqqw17lo.jpg~original
 
Last edited:
Thanks for the thread, cool truck.

I have a 98 Ltd in Black, but the lower door and bumpers are painted silver. I like your paint work, is it mat black or charcoal grey - is it textured paint. Either way, it looks better than the silver on mine.

James
 
Thanks for the thread, cool truck.

I have a 98 Ltd in Black, but the lower door and bumpers are painted silver. I like your paint work, is it mat black or charcoal grey - is it textured paint. Either way, it looks better than the silver on mine.

James

Thanks James! I used the duplicolor, blue label bed liner. This stuff: https://www.amazon.com/Dupli-Color-TR250-Truck-Coating-Aerosol/dp/B002MB6RIY
Good observation on the matte black/charcoal grey. I guess it is both :ohwell:
It was black, but faded somewhat quickly. However, since it is spray on, it is very easy to freshen up and touch up.
Thanks for checking in!
Steve
 
That truck is betchin.

Enjoyed following your build.

I just picked up a black 98 2.7L base model but it's gonna be a daily driver for a bit. I'm runnin 265/70R16, how big can I go without a lift/spacers etc.? Not much wheelin happening in lil rhody...
 
That truck is betchin.

Enjoyed following your build.

I just picked up a black 98 2.7L base model but it's gonna be a daily driver for a bit. I'm runnin 265/70R16, how big can I go without a lift/spacers etc.? Not much wheelin happening in lil rhody...

Thanks! Congrats on your new 4Runner! Endless potential.
It's been a long time since I've thought about lifts and tire sizes. All I can say is do your research and do it right the first time so you do not have to re-do things later. I unfortunately re-did lots of things.
This FAQ thread, among many others, is a great place to start:
http://www.toyota-4runner.org/3rd-g...ormational-threads-must-read-new-members.html
Thanks again.
 
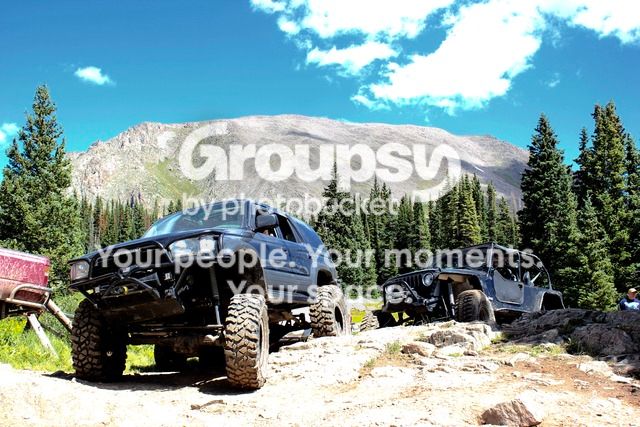
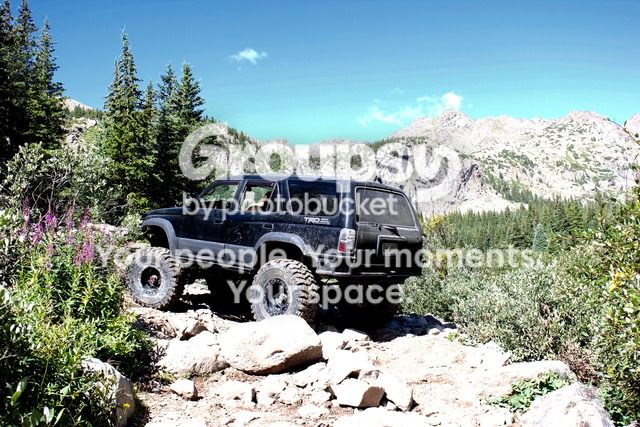
Basically, a picture dump. I had a great time at the Colorado Toyota Jamboree, again! This is a great event. If you are local to CO, then you are truly fortunate to have this annual event in your backyard. If you are from far and abroad, as I am, then this event is truly a destination wheeling/camping/socializing event. Start planning now, and make it happen. Thanks to [MENTION=63986]Volcom[/MENTION] and [MENTION=17736]AddictedOffroad[/MENTION] for another outstanding event.

I did a long wordy write-up last year, but this year I'll just add some pics. My trails this year were: Baldwin Lake, Mt. Antero, Holy Cross, and Chinaman Gulch. Lots of pics from better photographers than me, here: http://www.toyota-4runner.org/off-roading/215519-2016-colorado-toyota-jamboree-aug-11-14th-7.html Also, check out the Colorado Toyota Jamboree Facebook page.

IMG_2463_zpswmsj1hui.jpg~original

IMG_2470_zpscdgegtub.jpg~original

14030868_10153888611876378_1111191765_n_zpsr8cpitwf.jpg~original

IMG_1047_zpskpp3p9ng.jpg~original

13925152_1253294601356505_1813197656125119961_n_zpsg7ckqy1t.jpg~original

IMG_2471_zpsvfiuamej.jpg~original

IMG_2459_zpsdxm4xr0p.jpg~original

IMG_1049_zpszfhixicp.jpg~original


I can't wait to get back!!!
 
A couple of videos from the Colorado Toyota Jamboree 2016:

In Cab perspective of Whale Tail on Chinaman Gulch & French Creek on Holy Cross:
<iframe width="560" height="315" src="https://www.youtube.com/embed/xiJ97Tv2NTQ" frameborder="0" allowfullscreen></iframe>
https://youtu.be/xiJ97Tv2NTQ

And some 3rd person perspective of Whale Tail and Double Whammy on Chinaman Gulch:
https://youtu.be/FIhz6m85cbs
<iframe width="560" height="315" src="https://www.youtube.com/embed/FIhz6m85cbs" frameborder="0" allowfullscreen></iframe>
 
The following is a long overdue update of my build thread. Roll Cage. This project has been on the list for several years and represents a lot of research, rule book reading, web surfing and image saving, cage failure analysis, hand sketches, and bend-tech mock ups. I began the cage in January and mostly finished in March. I have proclaimed it “Done” several times, only to add something, or change something.

The goals of the cage are:
Protect the Occupants - Seems logical enough. Though, there are a lot of cages that are cosmetic, built primarily for accessory attachment, or designed to protect sheet metal rather than people. A flop or rollover in my truck will still do significant damage to glass and sheet metal. However, everybody will walk away and the truck will live on a bit more unsightly.
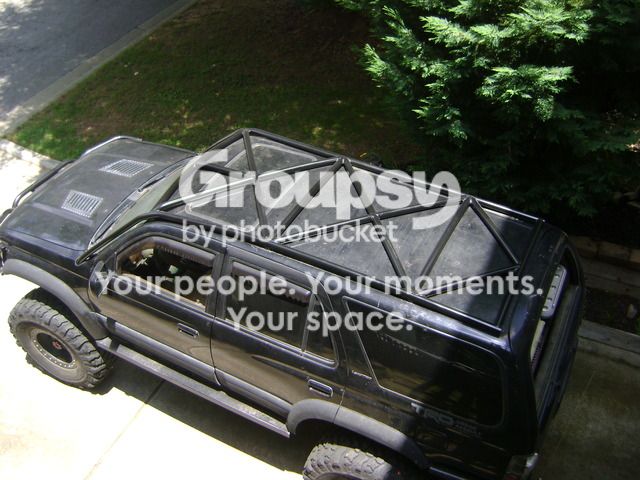
"Stay In Your Lane" - The scope of this build is a safe offroad cage, that preserves the factory look/design of the truck, suitable for street or daily use, and mostly unimposing to passengers. I have built my truck to be firmly placed in the “Moderate Group” of our rides. I do not, and this truck will not, do 100mph desert runs, or jumps.
Racing Inspired Cage - Please understand, my tired ol’ truck is not going to race anywhere. However, the sanctioning boards of various racing organizations have not just happened upon their cage rules. They are based on structural engineering, testing, and analysis of failures. I read the rule books of Ultra4, NHRA, Rally Sport, and Desert Racing (SCORE). Some key sentences I took away from the rule books and incorporated into my design: (a) The hoop behind the driver must be a continuous, uninterrupted DOM tube. (b) Main hoop must have a continuous, uninterrupted, and unbent diagonal tube from behind driver’s head to passenger side frame/floor attachment. (c) No tube shall terminate midspan of another tube. I only deviated from this on 2 occasions (above windshield and rear cargo roof) due to build plan or general design.

Some rules which are noteworthy, though were not within the scope of this build:
- Anything above 4400lbs vehicle weight requires 2” DOM (ultra4). I’m 5000lbs but could not fit 2” tube in my low clearance design. I used 1.75” DOM, .120 wall as recommended for 4400lbs Ultra4 racing.
- Ultra4 EMC requires a welded door bar, parallel to the ground, connecting A and B pillars.
- Front of cage requires dash bar or cowl bar and an inverted “V” connecting top windshield bar. I can appreciate this structurally, though it was not within the scope of this build.

So with that synopsis of the backstory, on to what you really want. Pictures.

IMG_1171_zpseegt2d37.jpg~original

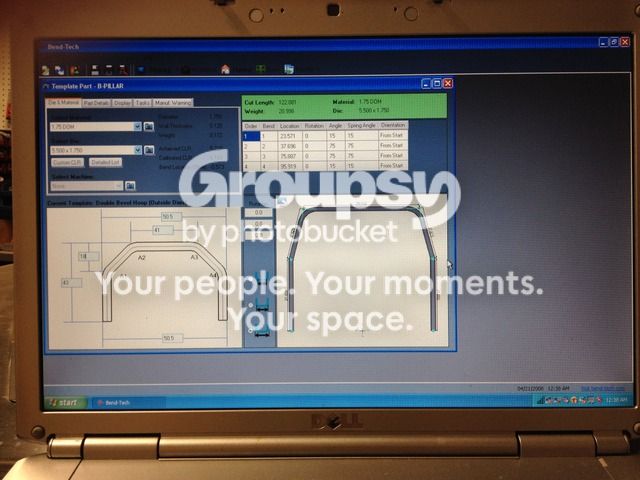
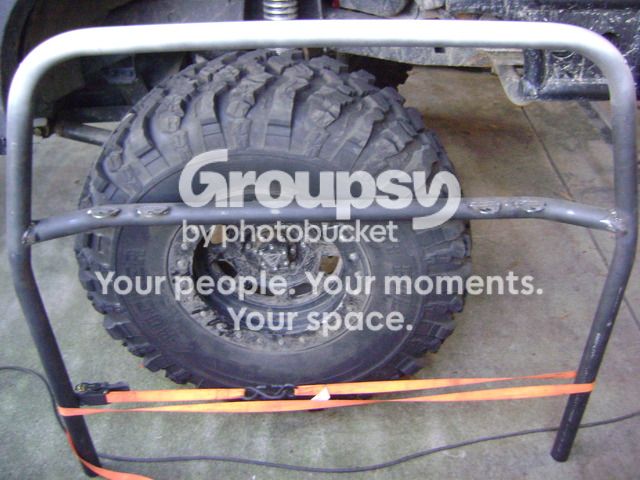
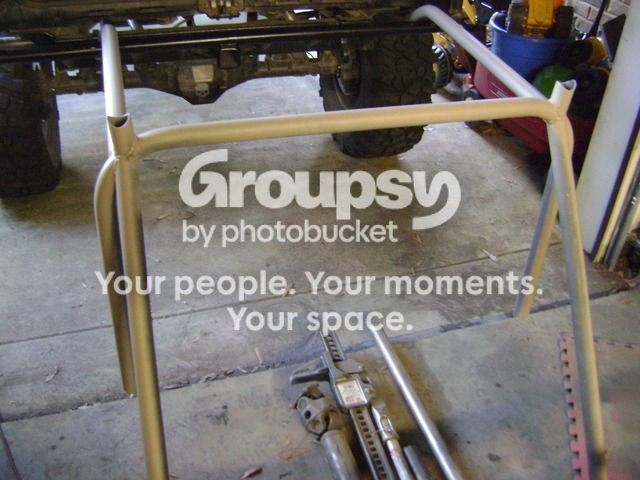
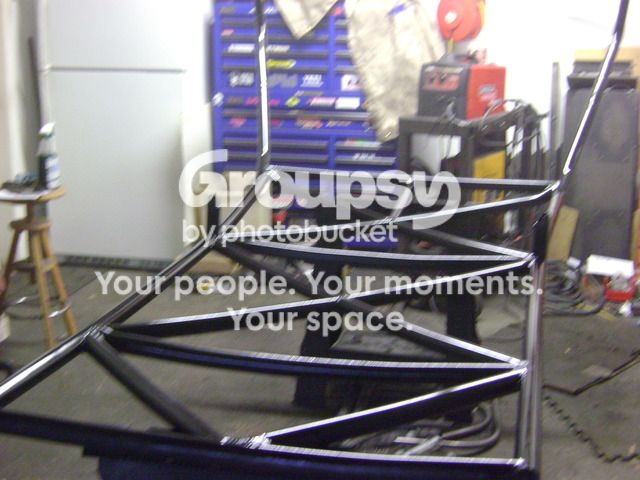
Bend Tech saved a lot of time, and undoubtedly some material, in the hoop design and fabrication. Nailed the B hoop and the C hoop perfectly and had them whipped up and sitting on the floor in about an hour. At this point I was euphoric and thinking I may knock this out in a weekend! However, everything else would be painfully slow progress from here on out and the truck would fight me every step of the way.

DSC01235_zps4hktpci3.jpg~original

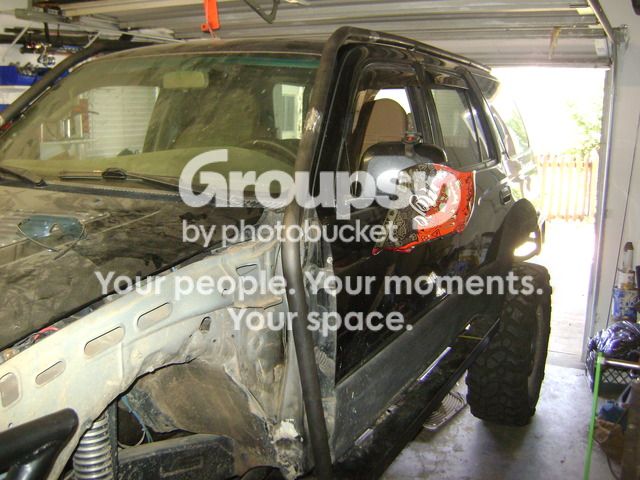
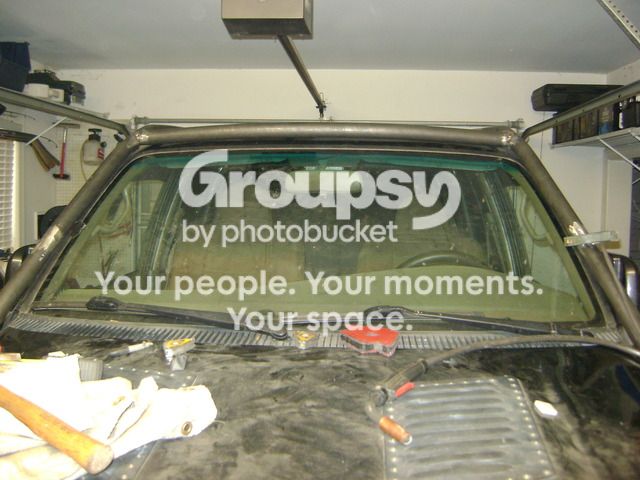
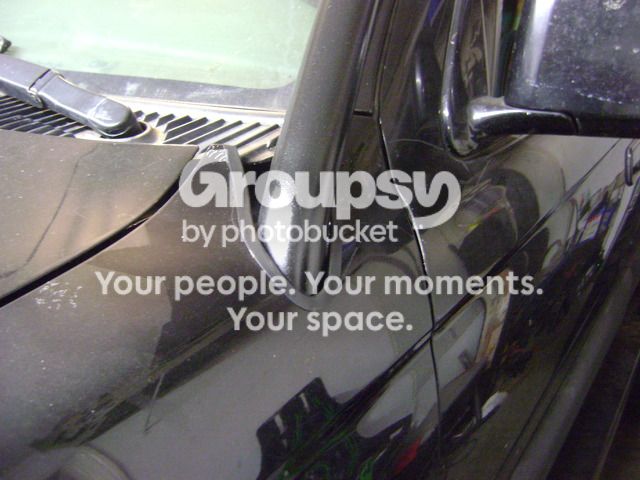
The fenders were difficult to remove since I designed my bumper to hug the body lines and wrap around the headlights. Mocking up the A pillar and the roof portion of the cage. The A and the roof have to be exo since I am 6'3", with an attitude, and building a cage in a Japanese truck. There simply was not enough headroom to do a fully internal cage. This piece, and it's counterpart on the passenger side took forever. It is a 3 bend, 3 dimensional piece. I also used a tubing roller so that the long roof bar would match the curve of the truck and stay tight to the body.

DSC01238_zps2qprxy4z.jpg~original

Top Windshield bar and more Tube Roller. Lots of trial and error with incremental changes to get it right and tight. I was shooting for 1/8"-1/4" of clearance all the way around. The body is solid mounted, along with additional body mounts, and reinforced frame. There should be very little movement between the frame mounted cage and body.
DSC01240_zpsn4vrtfbp.jpg~original

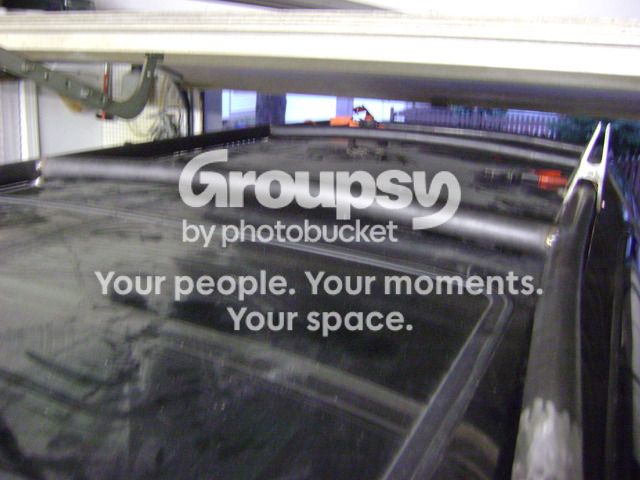
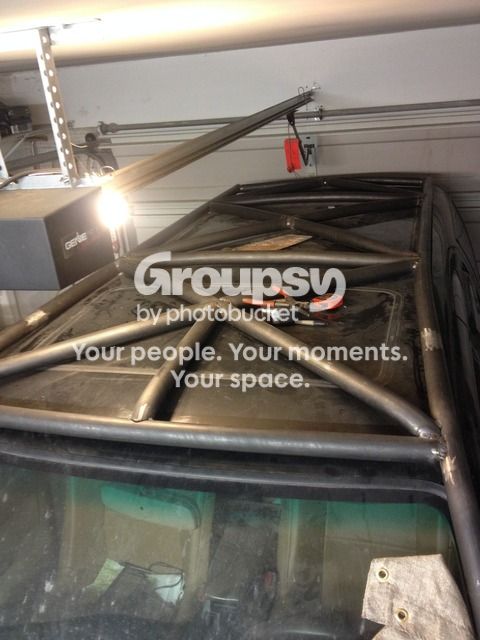
Roof cross bars and more roller.

IMG_1224_zpsl0ern0vd.jpg~original

More Triangle!

IMG_1193_zps9lrvfgur.jpg~original

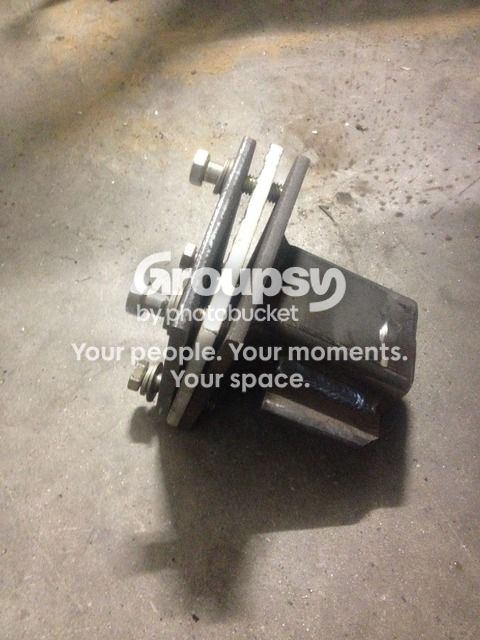
The B pillars and the D pillars mount via 4"x4" 1/4" plates which sandwich the floor with 3/8" Grade 8 hardware. They attach directly to the frame on the underside, effectively becoming additional body mounts. A 4x4 sheet of high density ABS is used to dampen any vibration between frame and body. The A and C pillars are directly frame mounted.

DSC01242_zpsmt00brbv.jpg~original

DSC01243_zpsnzmjgggr.jpg~original

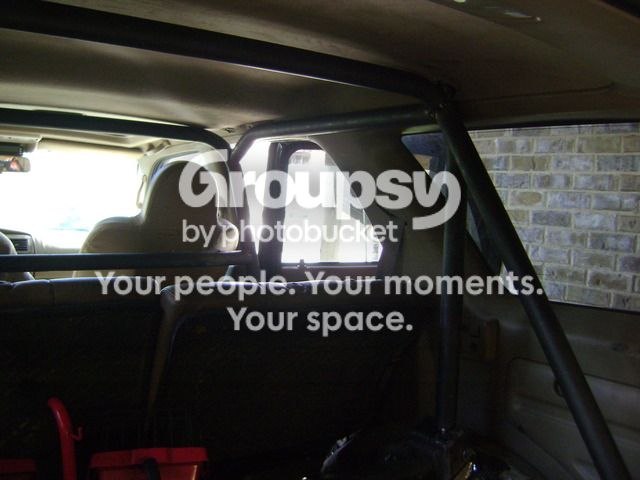
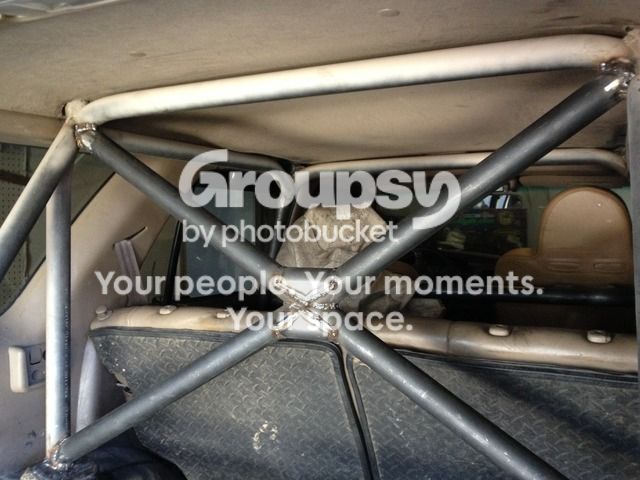
The interior portion of the cage put up a hell of a fight as well. It was extremely difficult to keep everything tight. I designed the cage in 3 sections so that I could remove it, 360 degree finish weld all joints, and then reinstall it. This minimized how many low clearance welds I would have to deal with. The interior cage and the exterior cage are attached via 4 tubes which go thru the roof.

DSC01245_zpsdprfwrhw.jpg~original

DSC01244_zpsu6wz2blp.jpg~original

DSC01241_zps4eckhyqp.jpg~original

B, C & D, and Exo portion all removed for finish weld and primer.

More updates coming shortly. Too many pics for one post.

 
Thanks to my friend Brant for coming over several times and helping me lift on/off the exo portion. No way I could have done it by myself.

DSC01246_zpsybqwdrrm.jpg~original

Once the C & D were back in, I used some red neck engineering to push the hoop up as far as possible to give me enough top clearance to weld the exo portion to the interior portion via the connector tubes.

DSC01249_zpstc9ymw0d.jpg~original


More triangulation for lateral strength. Gusseted with saddle gussets which was another pro-tip I picked up from reading the racing rule books.
DSC01247_zps1nmese4s.jpg~original


IMG_1236_zpss7nnnjdd.jpg~original

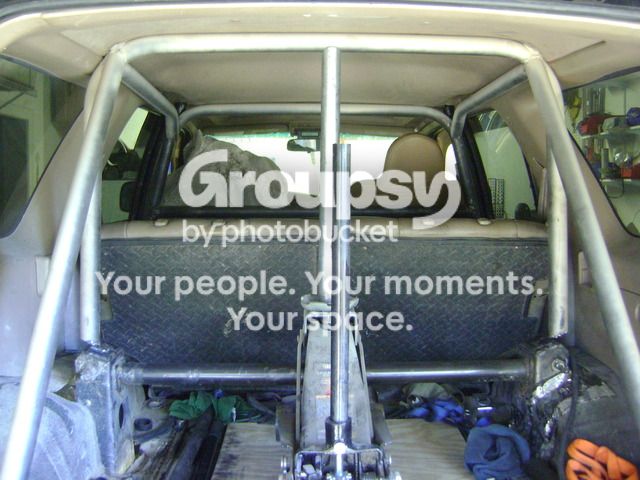
Interior portion coming together with B,C,D operating as 1 unit and integrating the A pillar/roof exo via thru-roof connections at the B and C hoops.

DSC01253_zpsbugmuyvi.jpg~original

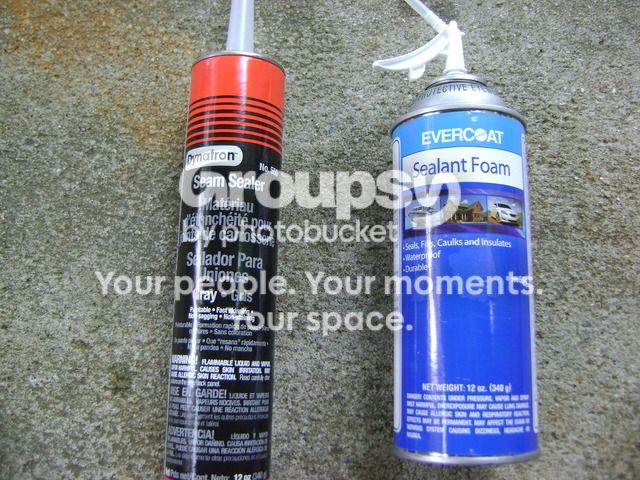
These are the marine products I used to hopefully seal the roof openings. After using them, I have low confidence they will be water tight. I have some other ideas I will try when necessary.

DSC01254_zpsm78kshgu.jpg~original

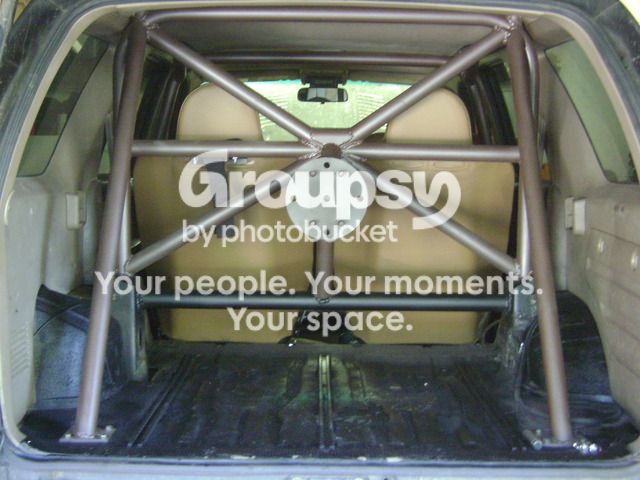
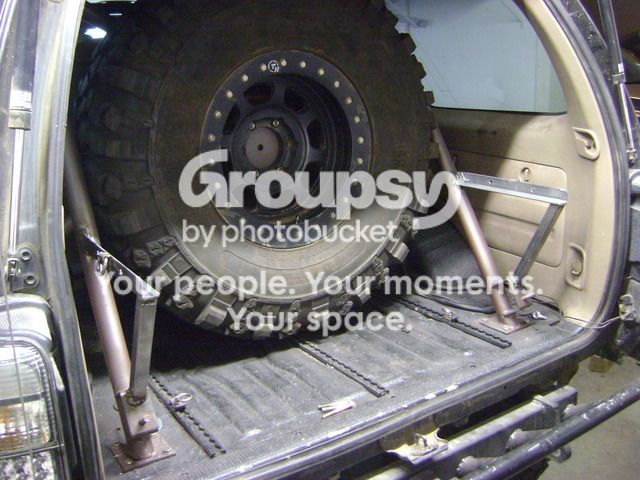
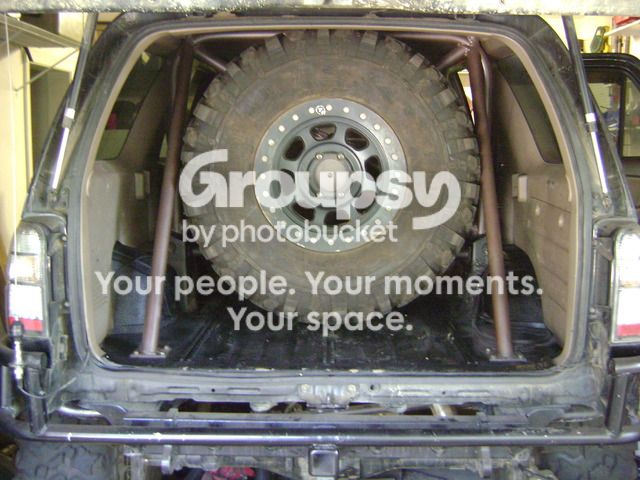
Added an interior spare tire mount. I really like how much more compact the truck is without a 37" tire hanging on the back of it. In addition, the suspension performs much better with the weight directly over the rear axle. I used to have a rear swing out but ditched it. I've been wheeling with the spare in the cargo for about the last 2 years.

DSC01255_zpsyuffxd5v.jpg~original

37" is about as big as I can go in this configuration. I have some ideas on modifications if I ever accidentally go bigger.

DSC01271_zpsrrqwasof.jpg~original

Fenders back on! This step alone took days. Had to modify them significantly top and bottom to fit over the tube. Added some trim to the cut edge to make it look like it is supposed to be there.

DSC01237_zps25xmxhmu.jpg~original

DSC01236_zps67wri8qr.jpg~original

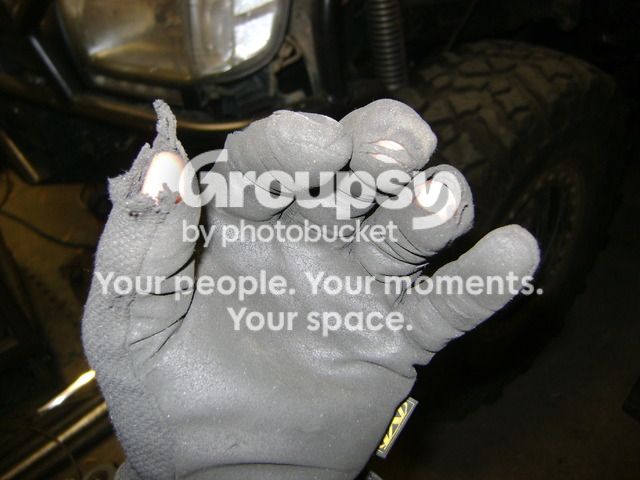
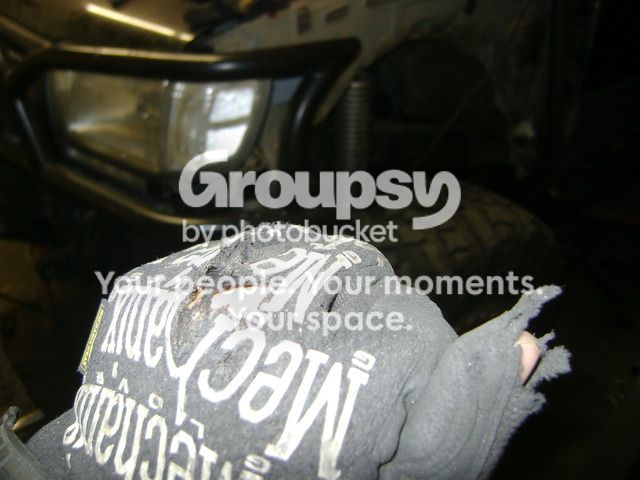
I went thru several pairs of these in the process. Finding a tough glove that still allows for dexterity is difficult.

DSC01266_zpsjlenj9hx.jpg~original

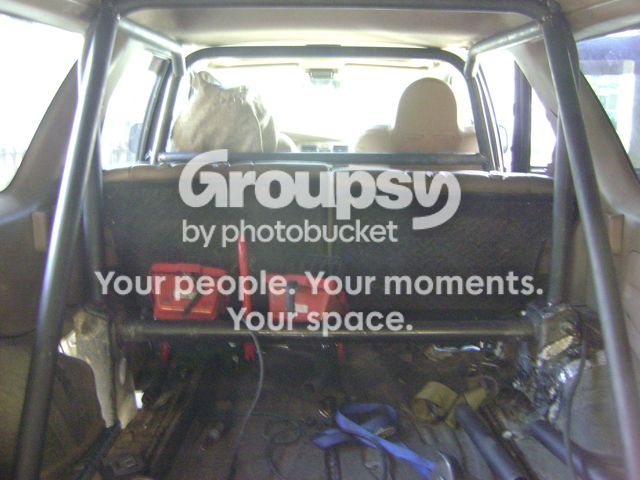
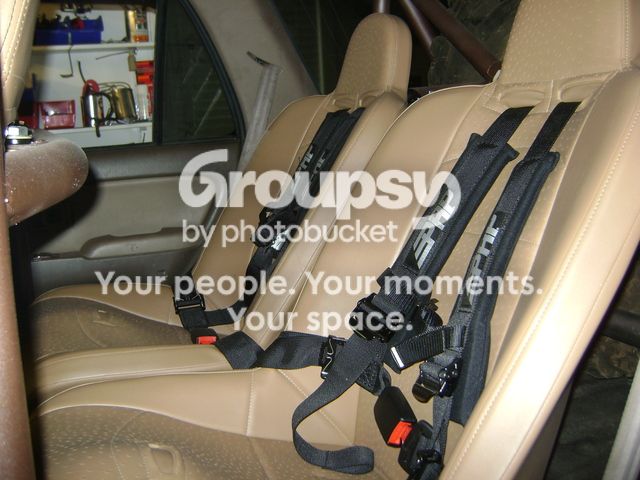
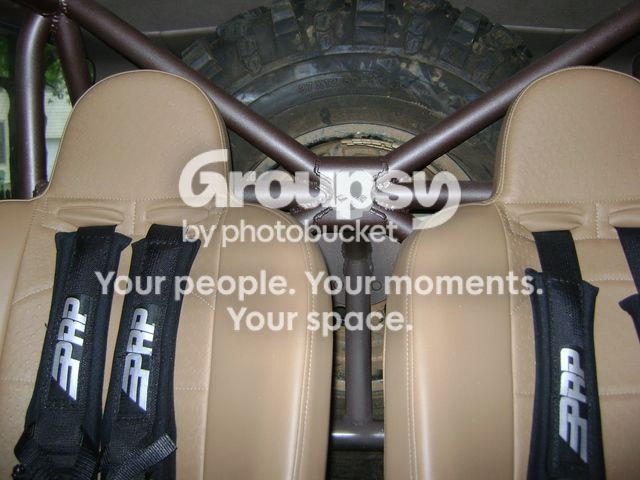
PRP seats and harnesses in rear to match the front. All seats and harnesses are now cage and frame mounted. The rear seats are mostly for kids, and women less than 150lbs; which is another added safety feature. I can squeeze in there but would not want to spend all day back there.

DSC01265_zpsxogiasmp.jpg~original

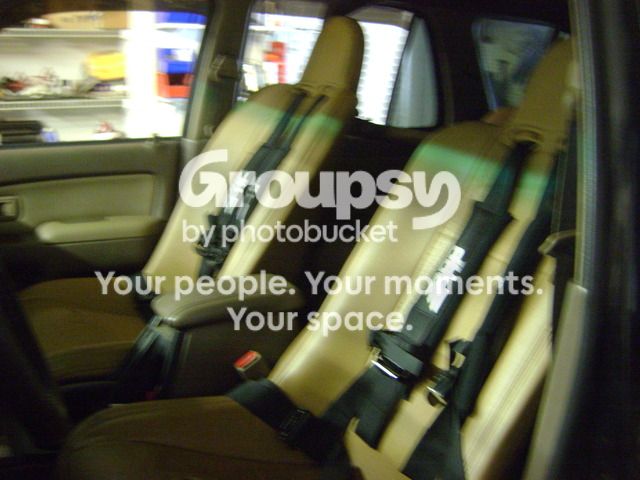
Front seats. I retained the factory seat belt attachments in the front. So, if I am just heading to the store or joy riding the neighborhood I do not have to go full harness.

DSC01268_zpserzcl6ce.jpg~original

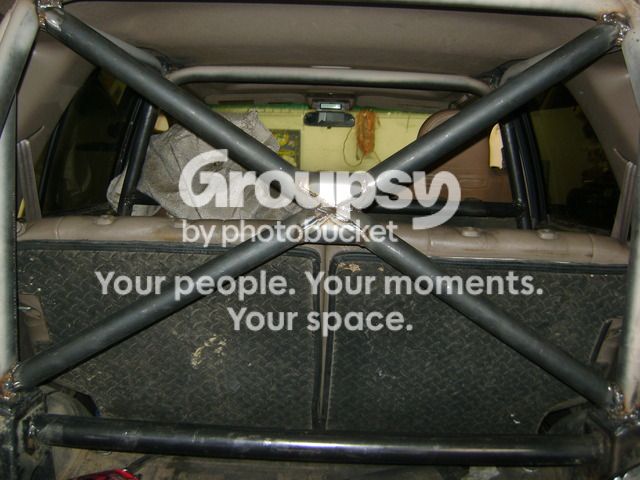
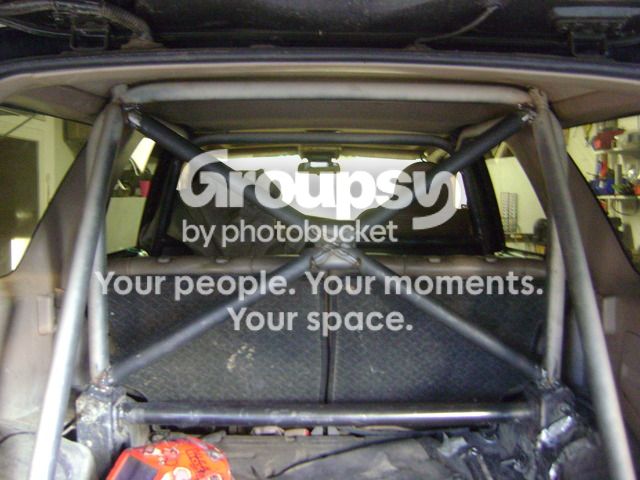
More attitude. The skull and cross bones, or cross tubes, in this case.

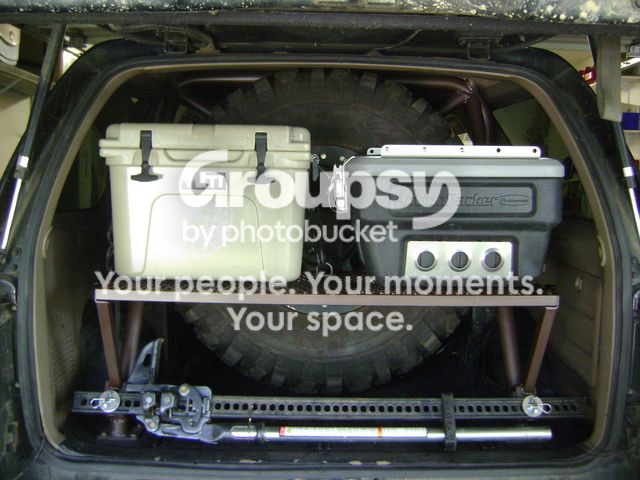
I recognized the fact that the cage and inside spare tire ate up most of the cargo area. It became evident I would need some storage solutions. The storage would have to be easily removable so the spare could be accessed if necessary. Here is what I came up with:
DSC01259_zps0hvocnwp.jpg~original

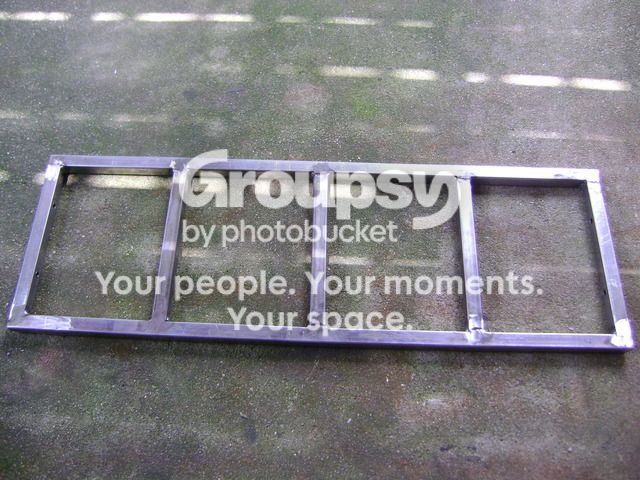
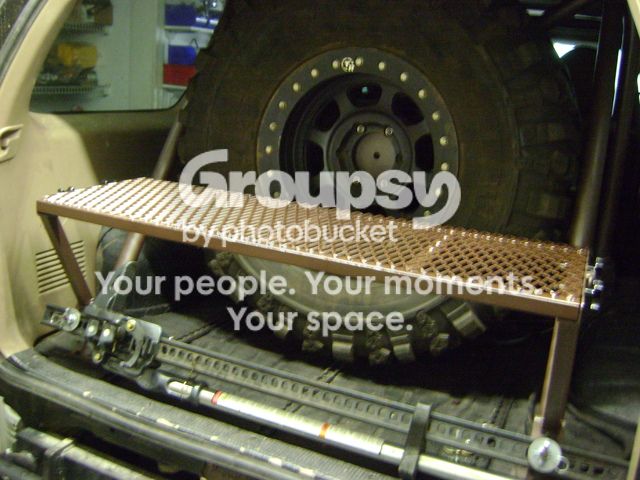
Used some angle iron to make a slide in shelf support and fab'd up some hi-lift mounts at the bottom.

Next was construction of the shelf. 1" tubing in .060 steel to keep the weight down. These are the projects where I wish I had one of the fancy weld tables. Keeping it square and avoiding heat warp while welding was a struggle.
DSC01256_zps9k1sb3wd.jpg~original


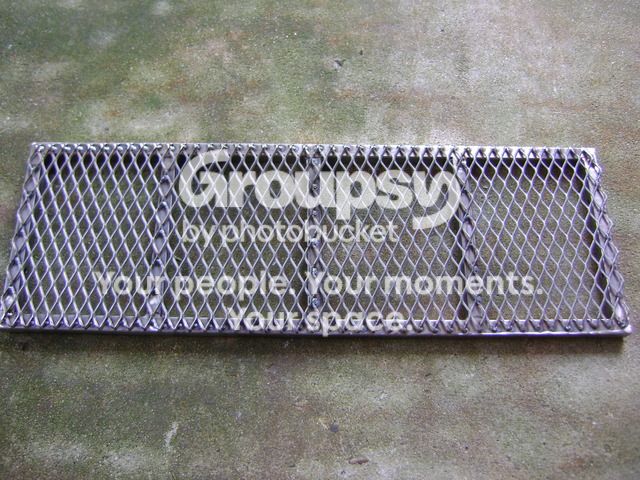
Added some expanded metal on top, and ta-da my new barbecue grill shelf is done!
DSC01257_zpskl5xkgff.jpg~original


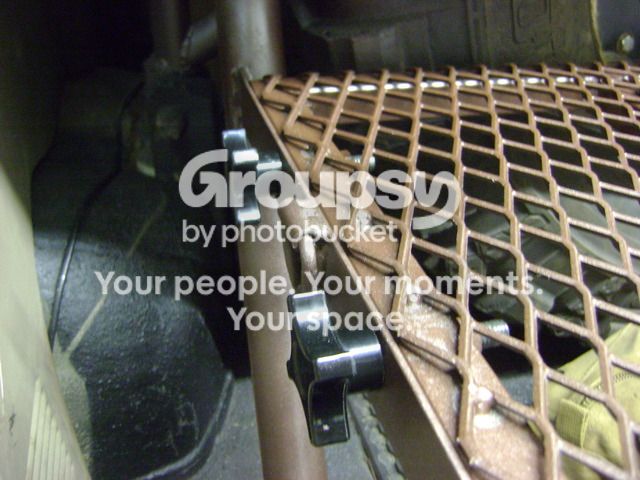
Used 3/8" twist knob bolts to attach, with a welded nut on the shelf, for easy, no-tool removal.
DSC01260_zpswkfhwbaf.jpg~original


In:
DSC01261_zpsflytl0oo.jpg~original


and Done:
DSC01264_zpsai01iogi.jpg~original


Hold for finished pics...
 
So glad to have this major "winter" project behind me! I'm actually a little disappointed in myself for not doing it sooner. Research "cage fail" or "offroad rollover" to legitimately scare yourself. However, the truck fought me on every step. Everything is low clearance, super tight, and low light. I put together strings of cuss words never before heard by man. But ultimately happy how it came out.

View from the top:
DSC01262_zpsz7ttjvwy.jpg~original


View from the side:
DSC01269_zpsy6lfnysv.jpg~original
 
That cage is wicked. Such a nice job keeping it tucked and out of the way. I'll add to the party.....I hate my swingout
 

Members online

Forum statistics

Threads
278,315
Messages
3,554,104
Members
248,016
Latest member
Advally Service

Trending content

Back
Top