Writeup on tranny cooler install???

Nice pictures everyone!

Here's a little cooler comparison for everyone, so you can compare directly.

Tru-Cool #4454 - 11"x7.25"x.75" Price - $54

B&M #70268 - 11"x7.25"x.75" Price - $46

B&M #70264 - 11"x7.25"x1.5" Price - $60


The Tru-Cool 4454 is the same size as the B&M 70268. Both are stacked plate, LPD design. The 70264 (which I am buying) is simply thicker.


Hayden's coolers are not LPD design from what I gather. Not the ones I've looked at anyway. If someone has more info on Hayden, please post it up.
 
What is everyone's opinion on this subject:

Do you mount a remote transmission filter on the input side of the cooler, or on the output side? I'm getting Summit's basic spin-on style remote filter setup, and trying to decide if the fluid will go through it "hot" or "cold". lol. Or more accurately, "hot" and "less hot".
 
Installed mine this weekend with a Magnefine inline filter.


When using an inline filter like that, how do you change the filter? Do you have to buy a whole new one for like $20 each time? Or does a filter come out of that inline style housing?
 
Installed mine this weekend with a Magnefine inline filter.
26593d1269316582-writeup-tranny-cooler-install-img_7618-small-.jpg


When using an inline filter like that, how do you change the filter? Do you have to buy a whole new one for like $20 each time? Or does a filter come out of that inline style housing?
 
The inline filter is all one piece so every 30K or so you change the whole thing. So $20-30 every 30K miles... As far as which side to put it on, "hot or less hot", I don't think it matters much. I think most people say to put it on the "less hot" return side but I wanted to keep the junk out of my new cooler so I put mine on the hot inlet side.
 
I got the B&M 70268

Amazon.com: B&M 70268 SuperCooler Automatic Transmission Cooler: Automotive

And here's the filter

Amazon.com: Transtar Industries M010CB Automatic Transmission Filter: Automotive

I would suggest also getting around 8 feet or so of 3/8 trans hose. The hose that comes with the kit seemed to be a smaller size. The steel lines on our trucks are 3/8 so it makes it much easier to push the hose on especially at the crossmember where the steel lines to and from the tranny end. I also needed extra clamps, washers and some bolts/nuts.

Thanks for the awesome info kball! you :guitar3:

Thanks for all the install pics as well everyone & the good info in this thread. I'll be installing my tru-cool 4454 this weekend and will take some pics and report back on the install.
 
The remote tranny filter should go on the "hot" side. (before it goes through the cooler)

It wouldn't terribly hurt anything to put it on the return side, but per convention the filter would always go before the cooler. No reason not to keep as much gunk out of your cooler as possible.

*Edit: Oh, and i just noticed that on some of the install pics the cooler is mounted in front of the rad support frame. With the cooler that far out from the A/C condenser the radiator fan won't be able to pull as much air through the trans cooler. To be the most efficient you'd want all the cores "stacked", however that does limit you to a tranny cooler core that's less than 1" thick (that's about all the room you have between the frame and condenser core).

Since the tranny really only makes a lot of heat when it's working hard, that would usually indicate you are moving forward at a decent rate of speed and would have good airflow, so mounting a think core out there in front wouldn't really be a problem. Just something to consider...
 
Last edited:
The remote tranny filter should go on the "hot" side. (before it goes through the cooler)

It wouldn't terribly hurt anything to put it on the return side, but per convention the filter would always go before the cooler. No reason not to keep as much gunk out of your cooler as possible.

*Edit: Oh, and i just noticed that on some of the install pics the cooler is mounted in front of the rad support frame. With the cooler that far out from the A/C condenser the radiator fan won't be able to pull as much air through the trans cooler. To be the most efficient you'd want all the cores "stacked", however that does limit you to a tranny cooler core that's less than 1" thick (that's about all the room you have between the frame and condenser core).

Since the tranny really only makes a lot of heat when it's working hard, that would usually indicate you are moving forward at a decent rate of speed and would have good airflow, so mounting a think core out there in front wouldn't really be a problem. Just something to consider...


Yep, filter first makes complete sense. I'm going to go ahead and get the thinner B&M one, so I can mount it right up against the rad.


Are people taking bumpers off to do this? One of the pictures looks like the bumper is uninstalled cause it's a straight on shot....
 
I left my bumper on. Don't know which would be more work, taking it off and putting it back on or just working around it... :shrug:
 
if you mount it on it's side i would put the inlet in the bottom to keep constant pressure in the line...i don't quite follow a previous posters logic about heat following it up...won't it follow it down too? are you talkin about the dissipated heat rising up the side of the core? when moving that will be minimal if at all.
 
Are people taking bumpers off to do this? One of the pictures looks like the bumper is uninstalled cause it's a straight on shot....


I left the bumper on when I had mine installed. Looking back, I think that the job would have been slightly easier if I had removed the bumper, with the way that I mounted the cooler.
 
if you mount it on it's side i would put the inlet in the bottom to keep constant pressure in the line...i don't quite follow a previous posters logic about heat following it up...won't it follow it down too? are you talkin about the dissipated heat rising up the side of the core? when moving that will be minimal if at all.

Heat naturally rises so inside or outside the cooler I'd rather not help it along its way. Same idea as a radiator, in at the top out at the bottom.
 
I left my bumper on. Don't know which would be more work, taking it off and putting it back on or just working around it... :shrug:

There is absolutely no reason to remove the bumper. Removing the grill gives all the access you need.
 
There is absolutely no reason to remove the bumper. Removing the grill gives all the access you need.

I agree. Also, removing the grill is easy, but not breaking the plastic clips that hold it on is another story so have some zip ties ready in case you need to use them to re-attach the grill. That's what happened to me but I like the zip ties better anyways because they hold the grill on tighter, it doesn't rattle, and it'll be easier to take off next time.
 
I agree. Also, removing the grill is easy, but not breaking the plastic clips that hold it on is another story so have some zip ties ready in case you need to use them to re-attach the grill. That's what happened to me but I like the zip ties better anyways because they hold the grill on tighter, it doesn't rattle, and it'll be easier to take off next time.

Nice!

You know when I asked the initial question about removing the bumper.....I kinda forgot the grille came off seperate. Hehe. I've never taken my grille off, and in the spur of the moment typing that question I didn't even think about just the grille itself coming off.
 
The grill can be a little tricky getting off. After seeing this I feel like an idiot. Check this link. It's about headlights but forget about that just look at the first few pics to see how to release the grill. If your tabs are broken off like some of mine were you will have to play with it from the top and bottom on that tongue looking thing. The bottom two tabs are visible and accessible from the front of the grill at the bottom.

'99 headlight Install on '98 - YotaTech Forums
 
The grill can be a little tricky getting off. After seeing this I feel like an idiot. Check this link. It's about headlights but forget about that just look at the first few pics to see how to release the grill. If your tabs are broken off like some of mine were you will have to play with it from the top and bottom on that tongue looking thing. The bottom two tabs are visible and accessible from the front of the grill at the bottom.

'99 headlight Install on '98 - YotaTech Forums

Well I did the install sunday :dancin:

Wanted to thank everyone who provided info & gave me the courage to tackle this myself.

Kball- thanks for all the links and the grill removal link really made that part a breeze!

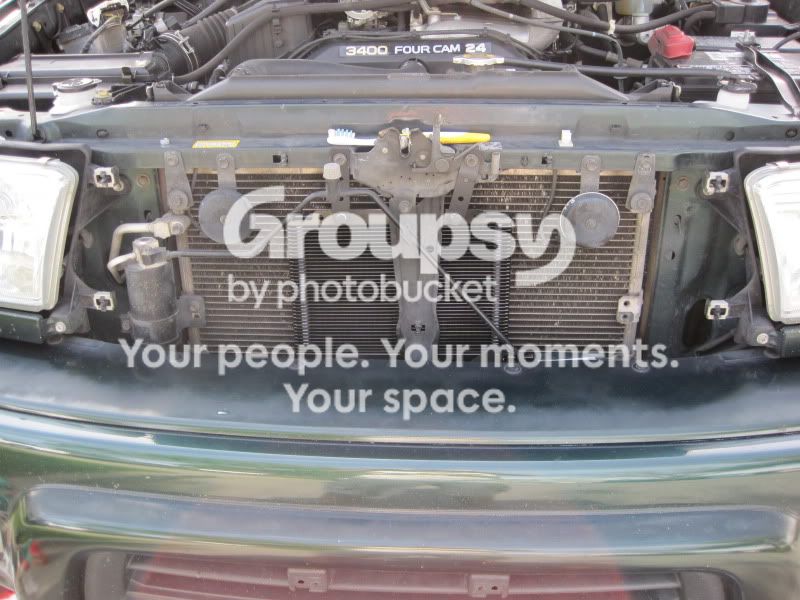
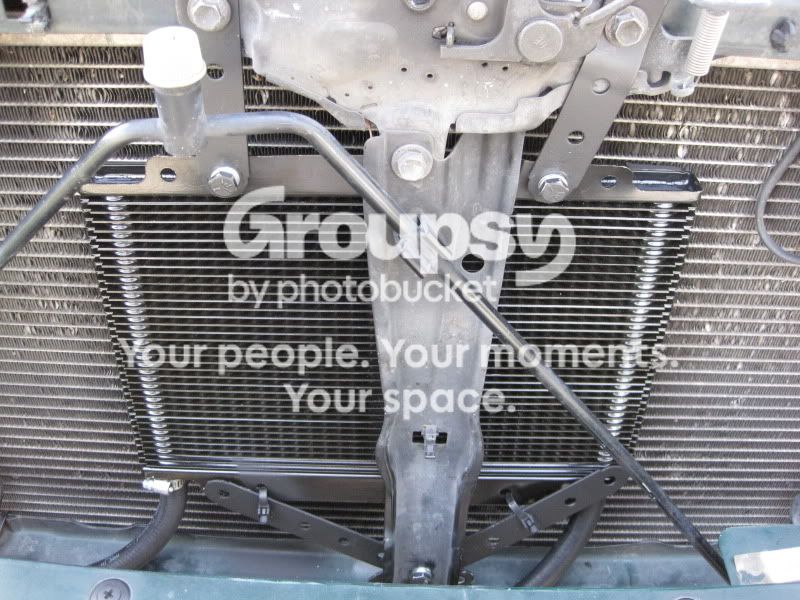
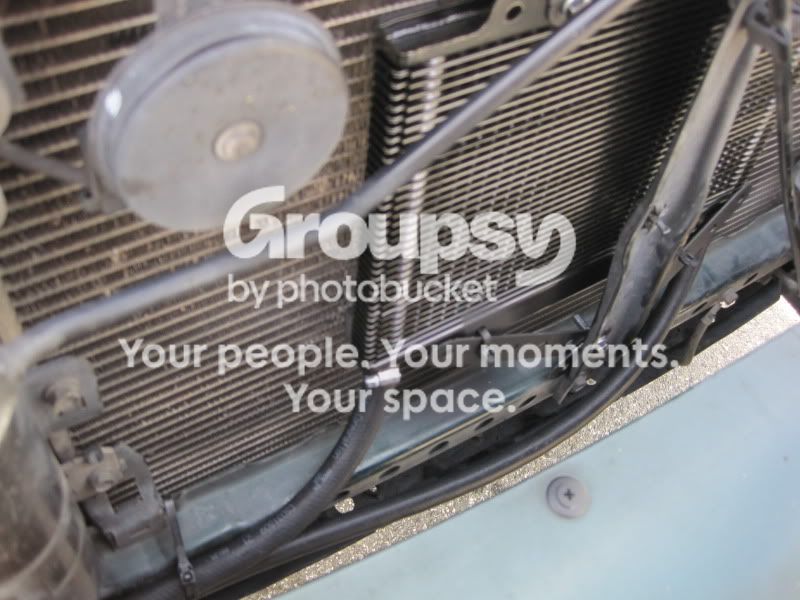
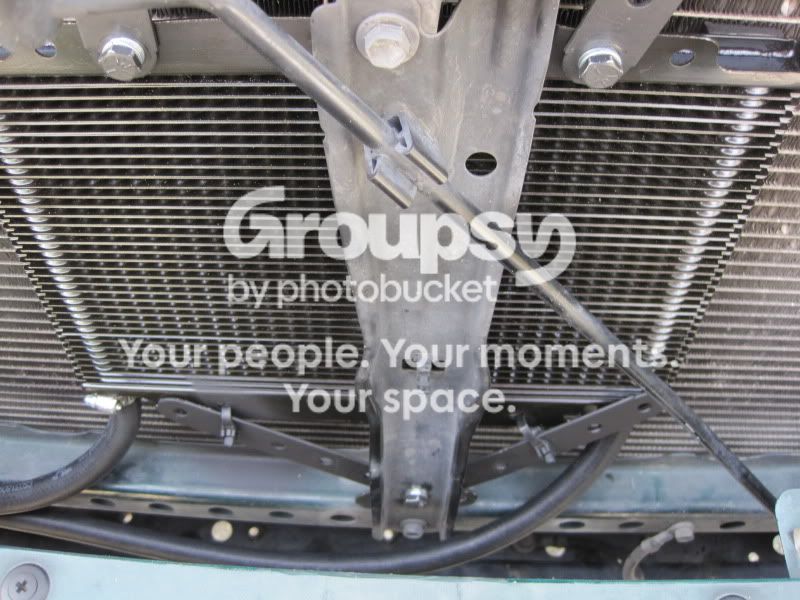
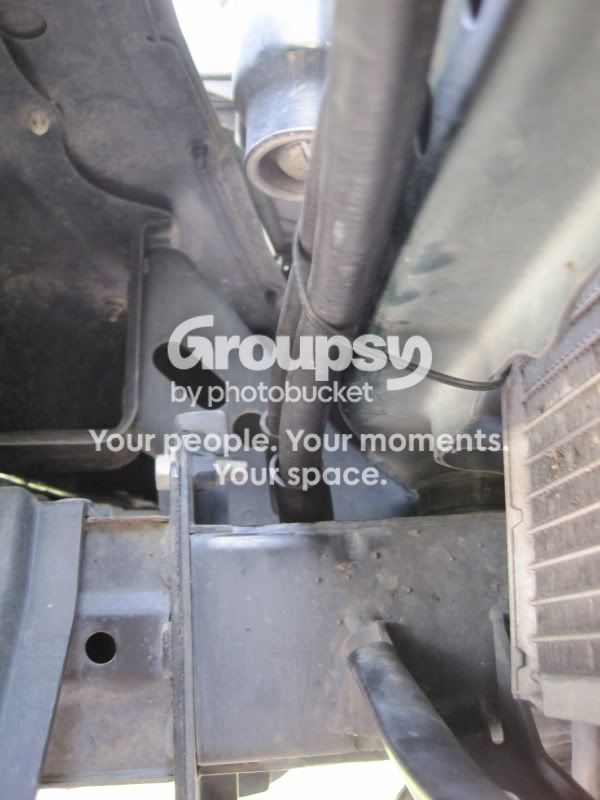
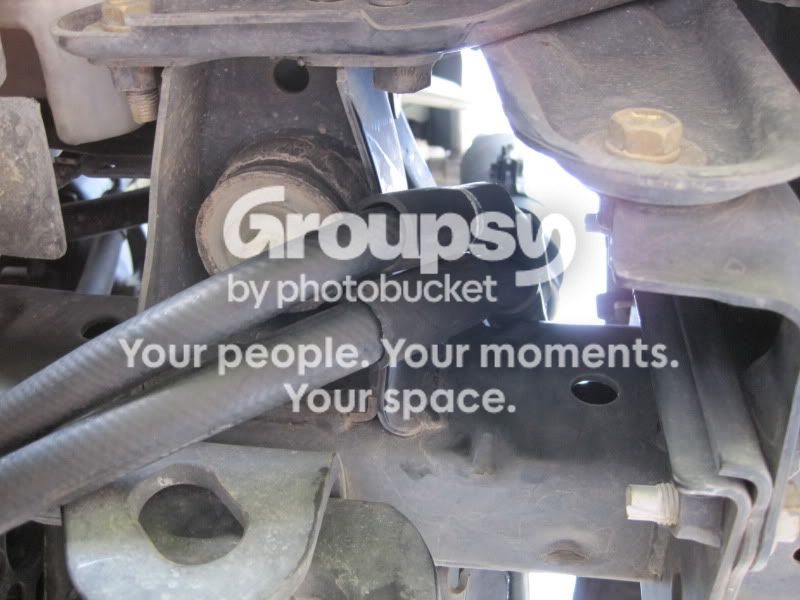
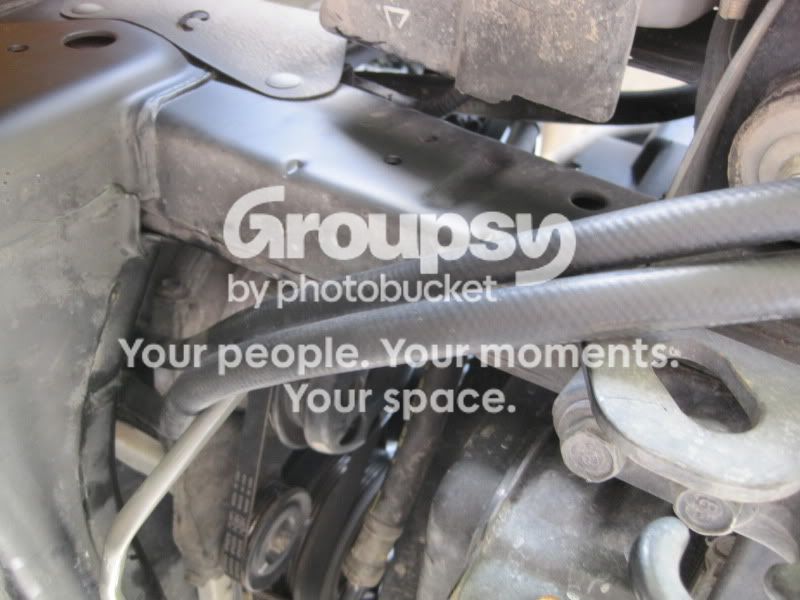
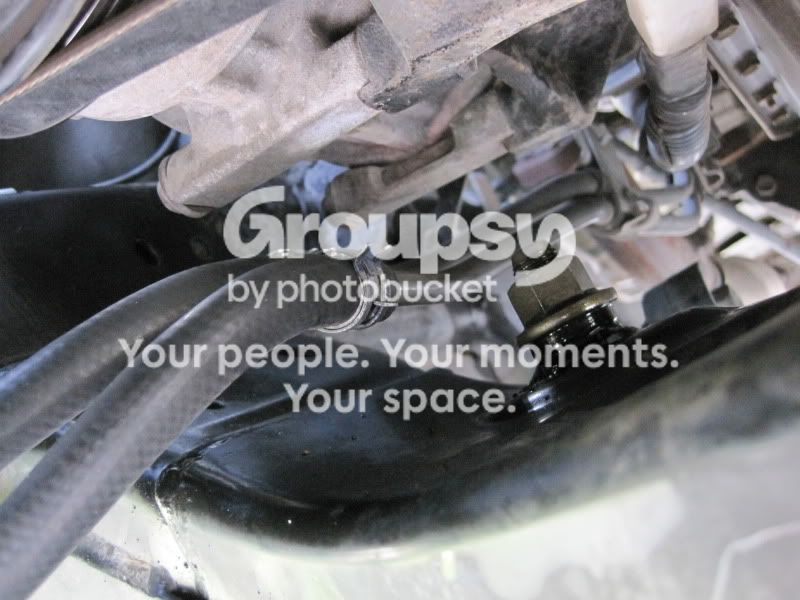
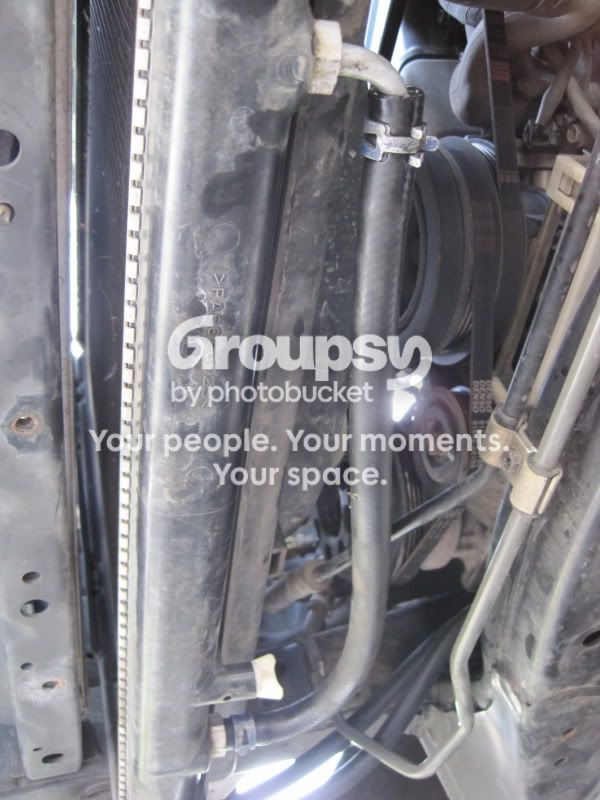
I included a bunch of pics from various angles to try and capture it all. I wanted to run the cooler "stacked" against the AC condenser so this is what I came up with. My only concern may be the bend of the lines heading from the cooler back to the tranny. The radius might be a tad too much for my liking. What do you all think? If anyone has questions, ask away :frog:

IMG_0795.jpg~original


IMG_0788.jpg~original


IMG_0789.jpg~original


IMG_0790.jpg~original


IMG_0791.jpg~original


IMG_0792.jpg~original


IMG_0793.jpg~original


IMG_0794.jpg~original


IMG_0787.jpg~original
 
looks great, nice job. You're braver than I am reusing those spring clamps.. but if there's no leaks I guess you're good to go!
 
Very clean installation! I wouldn't worry about the radius on the hoses...looks just fine to me. It's easy enough to take a peek at them from time to time, for peace of mind. I really need to re-do my cooler install. I was in a hurry and didn't mount it very well...plus I didn't have enough new hose so I ended up using some of the old stuff and just patching it together with hose barbs! Totally ghetto.
 

Members online

Forum statistics

Threads
278,310
Messages
3,554,077
Members
248,016
Latest member
Advally Service

Trending content

Back
Top