1992 T4R 2LT slow build

Ok, so most people use BJ spacers and soften the torsion bars. Correct?

I read a dozen topics/threads and most of them say you don't need diff drop down brackets if you stay under 2" and have manual hubs...
This BJ spacer-thing is a hot topic on many fora but i find that very few threads come to 1 conclusion. So before i throw some €€€ i want to be sure.

They do not sell spacers in belgium (seriously) but i found a company in Finland. They can deliver 2 blocks for €89 without nuts and bolts.

If i go for the spacers, how thick can they be? They sell spacers of 1", 1.5", 2", 2.5" and even 3". (This is actual thickness of the block, not the lift)
I would go for the 2" one and soften the TB.

Combine This with a 1.5" BL and i think i can get a decent lift for some mild offroad trips.
 
Last edited:
Got a delivery today.

IMG-20181029-170234.jpg


Also ordered the bj spacers from AliExpress. (i know... :ohwell: ) Delivery date is between 2 and 12 november.

I just need to play the waiting game. :whistle:
 
Wow, my BJ spacers arrived today. 5 days delivery from Singapore... I'm impressed. Had to pay extra EU-taxes though...

IMG-20181102-123623.jpg


IMG-20181102-123718.jpg


IMG-20181102-124431.jpg


IMG-20181102-123856.jpg


Block itself is 3,8mm (or 1,5") thick. The nuts are rated A2 70. Which is 700N/mm² tensile strength (or how do you say that in english?) and actually good. I expected less for that price. But no rating on the bolts.

Now i need to find some time to get everything installed...

I'm also looking for a steering wheel. PO put in some 'racing wheel' and i don't like it. It will be difficult to find an original one here in Belgium but maybe a wheel from another model will fit too. A corolla or something??
 
Last edited:
Started to take out the old suspension. Boy what a ride...

We have a saying 'good tools are half the work'... Well...

IMG_20181104_171915.jpg


IMG_20181104_172117.jpg


So much for quality...

I soaked the upper bolt from the shocks 3 days ago but no succes. So we 'squared out' the chrome bar. (if you know what i mean...)

IMG_20181104_172055.jpg


IMG_20181104_172028.jpg


Found out that the PO used 2 different wheel-nuts. It kind a worried me a bit.

IMG_20181104_172410.jpg
 
Last edited:
Some more work on the rear suspension...

IMG_20181104_162226.jpg


IMG_20181110_113511.jpg


Old vs new:

IMG_20181110_113633.jpg


The rear is all done. More pictures will follow because it's already dark. Winter time here...
 
Yeah, me too!

The plan was to fit the bj spacers today but no. Someone up there didn't want it to happen.
The day started with a sting from a wasp. Painfull. Put some ice on it and went back to the garage.

I got the ball joint free from the a-arm but but couldn't get the screws out. Looks like they are pressed in or something?

IMG_20181112_103948.jpg


We tried to remove the entire BJ but the lower bolt wouldn't move either.

Then my stomach started complaining and found myself sitting on the toilet for the rest of the day. :barf:

Fun...
 
Yeah, me too!

The plan was to fit the bj spacers today but no. Someone up there didn't want it to happen.
The day started with a sting from a wasp. Painfull. Put some ice on it and went back to the garage.

I got the ball joint free from the a-arm but but couldn't get the screws out. Looks like they are pressed in or something?

We tried to remove the entire BJ but the lower bolt wouldn't move either.

Then my stomach started complaining and found myself sitting on the toilet for the rest of the day. :barf:

Fun...

Get yourself a big hammer and swing away. You don't need to save them anyway's.
 
Yeah, we tried that already...

This is how she currently stands:

IMG-20181113-120412.jpg


Clearly the front isn't lifted yet. Tires are 235/85/R16 (31.7 X 9.3 R16).
I'm thinking of leaving it this way. If we install our RTT and rear bumper with tire carrier, the rear will drop and level out a bit.
 
My next project is to find a way to install our RTT. Problem is, we have no factory roof rails... No rain-gutter either so we will have to drill into the roof.

The idea is to use ISB aluminium rails.

aluminium-profielen-isb-40x16-z_1.jpg


aluminium-profielen-isb-profiel-16x40-z-technisch_1.jpg


(size is in metric mm)

If i drill a pair of these in the roof i can slide in any home made bracket. I got the inspiration from yotatech forum.

Question is, will it hold a RTT?? I guess there is only one way to find out..
Or are there any other options i overlooked?
 
I made some progress this week and replaced a leaking pinion seal.

(sorry for the bad pictures. forgot to bring my camera)


IMG-20181204-194445.jpg


IMG-20181204-195145.jpg


IMG-20181204-195601.jpg


IMG-20181204-195622.jpg


It's not to difficult to do. I found a (japanese?) mark on the driveshaft. Does anyone have any info on this? I'm googleing but without succes... I think i've seen it before on a Landcruiser 60 series.

IMG-20181204-195607.jpg


IMG-20181204-195607-2.jpg
 
Ok, I need some help here. Has anyone replaced the seal of the front T-case companion flange?

The pinion seal of the companion flange of the driveshaft to the FRONT wheels is leaking and need to be replaced. I wonder if you need to take out that transmission support beam-thing i marked in red?

IMG-20190105-131019.jpg


transsupportbeam.jpg


transsupportbeam1.jpg


I'm having a hard time reaching the bolts of the flange. Any hints some of you can give me?
 
Long time, no post. But the project in not dead!

Went to pick up some spare parts. €80 for front indicators (not in picture), rear window relay, steering wheel harness and a complete dash cluster.

IMG_20190302_114843.jpg


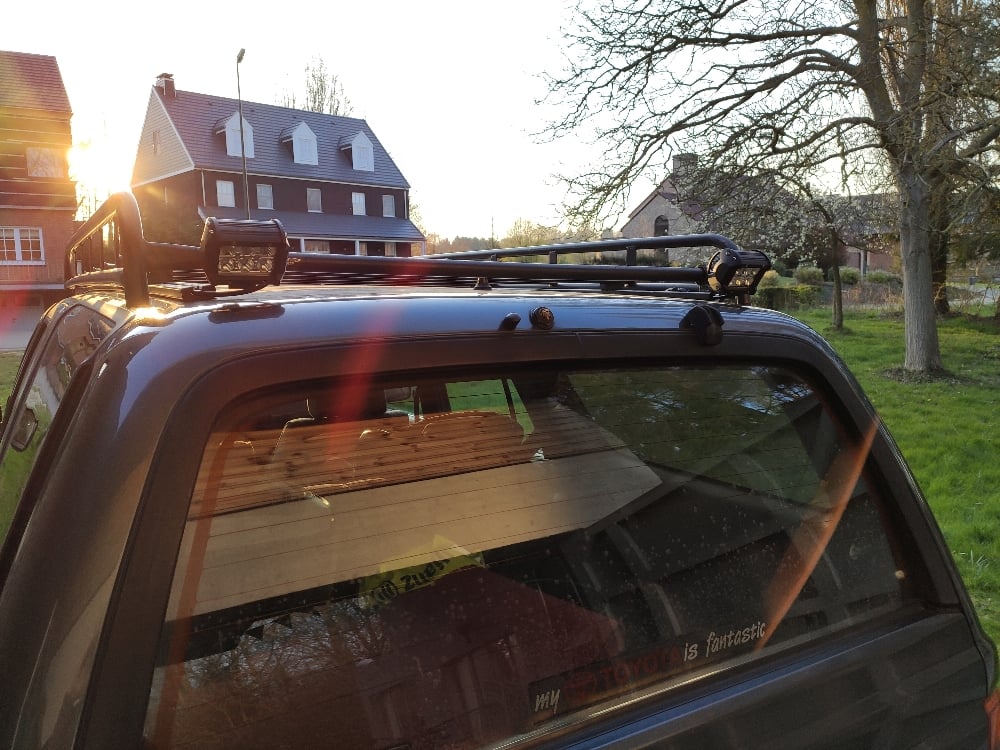
I also installed a roof rack that i bought for €100.

IMG_20190302_115024.jpg


IMG_20190302_115004.jpg


IMG_20190302_115047.jpg


That winch does come in handy when instlling the RTT. :thumb3:

Next up: ordering and installing new front brake discs/pads. The rear gets new brake shoes and cilinders.
 
Front and rear brakes where almost like new when i inspected them so i had time for some other stuff.

The rear window went up only when using the key. We had to open it with the console switch which was a real bummer... There are a TON of forum topics floating around on the internet but none of them worked for me. I spend the last two months figuring out what the problem was but no luck. Until last weekend :jump:

IMG-20190421-164501.jpg


It was not a faulty relay
It was not the wiper safety
It was not a broken switch
It was not a bad motor

It was a cracked lock-switch

lock.jpg


I have no picture of how i fixed it but i just soldered it back together. However, those metal pieces are really, really thin so i don't suspect the fix would last long. I'm planning on installing a new one in the near future. But now i can operate the rear window again with the key!

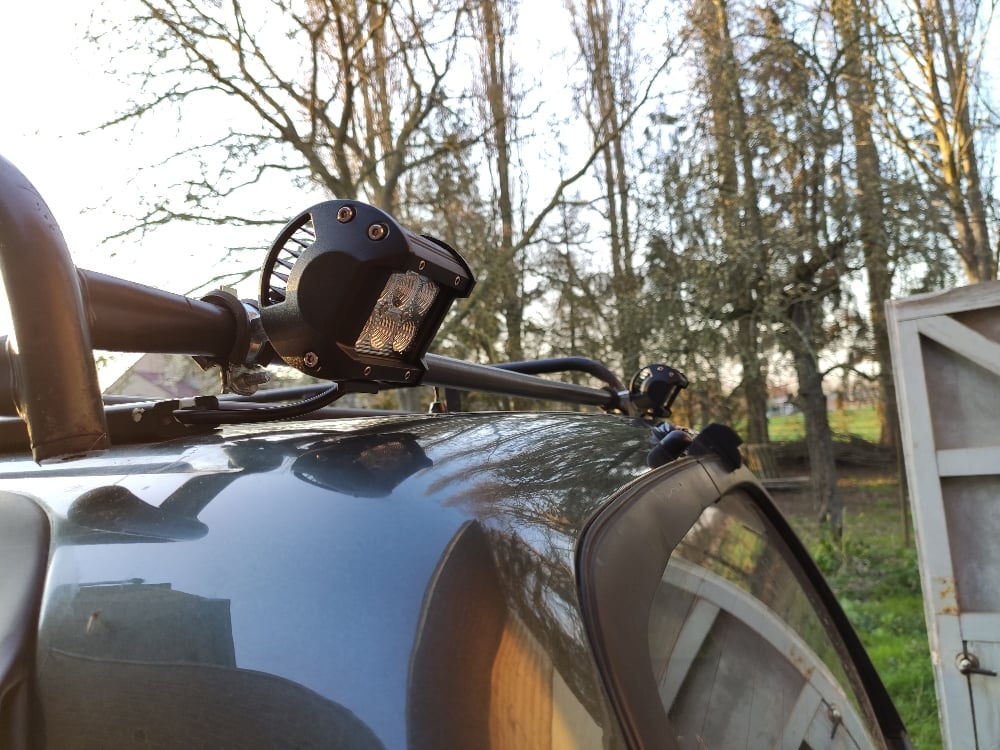
Another thing i did was a bit more fun. I installed my 'given-to-me-because-it-doesn't-work-anymore' light bar. It was a 1 meter wide light bar but only half of the leds worked so i just cut it in half and put it back together.

IMG_20190418_172913.jpg


Home-made brackets...
IMG_20190418_173149.jpg


Ground contact.
IMG_20190418_183645.jpg


IMG-20190418-184242.jpg


It's subtIe and i like it this way.

And last but not least, i made a very simple truck bed with drawers.

IMG_20190418_184641.jpg


IMG_20190418_184539.jpg


IMG_20190418_184602.jpg


IMG_20190418_184630.jpg


I want to install a 12v usb charger in the back but i haven't figured out where to put it...
 
Update

Ok, 6 months have passed and i'm back with e small update.

The most important thing i've done was installing new front discs and bearings.

P9215800.jpg


P9215809.jpg


P9215806.jpg


P9215824.jpg


P9215819.jpg


P9215832.jpg


And then this happend...

P9215835.jpg


P9215836.jpg


P9215837.jpg


This was done WITH a torque-wrench @ 31Nm so it's either a bad bolt or trorqued wrong by PO. Anyway, this one is fixed but i'm planning on chaging all of them just to be safe.

With the front discs removed i also replaced the front shocks and of course new brake pads which was a simple job.

P9225838.jpg


Monroe Adventure if anyone is interested. Nothing fancy.

PA045846.jpg


And because i was into brakes the rear drum's (+ pumps & springs) where replaced too.

IMG_20190611_185903.jpg


IMG_20190611_185915.jpg


USB-charger installed between the front seats. It's a decent one with 4.2 amp. Passengers can charge their devices now :thumb:

IMG_20190504_123608.jpg


IMG_20190504_170734.jpg


And finally a rust-job:

IMG_20190627_161226.jpg


IMG_20190627_161309.jpg


IMG_20190627_161243.jpg


Both sides are done. Not by myself so i spend some €€€€ here. But now i have a rust-free 4runner!! :thumb3:

Coming up: dual battery, engine pre-heater, engine tune-up, and hopefully a rear bumper with swing out.

Like i said, this project isn't dead ;)
 
I need some advice. We replaced the fuel filter yesterday and pumped fuel back in with the built-in hand-pump on top of the filter. Here's a list of what happend next:

  • The engine started normal.
  • Lost power after 2min drive and stalled. (No warning lights on de the dash)
  • Difficult start with lots of white smoke.
  • Run well for next 2min
  • Lost power again.
  • Shut down engine my self.
  • Checked the fuel filter and it was dripping diesel.
  • I tightend the water nipple and the dripping stopped.

IMG_20191206_215405.jpg


It runs fine now but sometimes the idle speed drops well below the normal 700 - 800rpm's.

I'm afraid there is some air trapped in the fuel lines or something. Another cause can be dirt in the fuel tank. It also happend when the tank was fairly empty btw.

So, how do i troubleshoot this? Any help is welcome.
 
Last edited:
Update.

I noticed there is a little breather hole at the top there where the fuel cap is. So i opened the fuel cap and started the engine a few times. It got better and better every start. So i guess there was some air trapped after all.

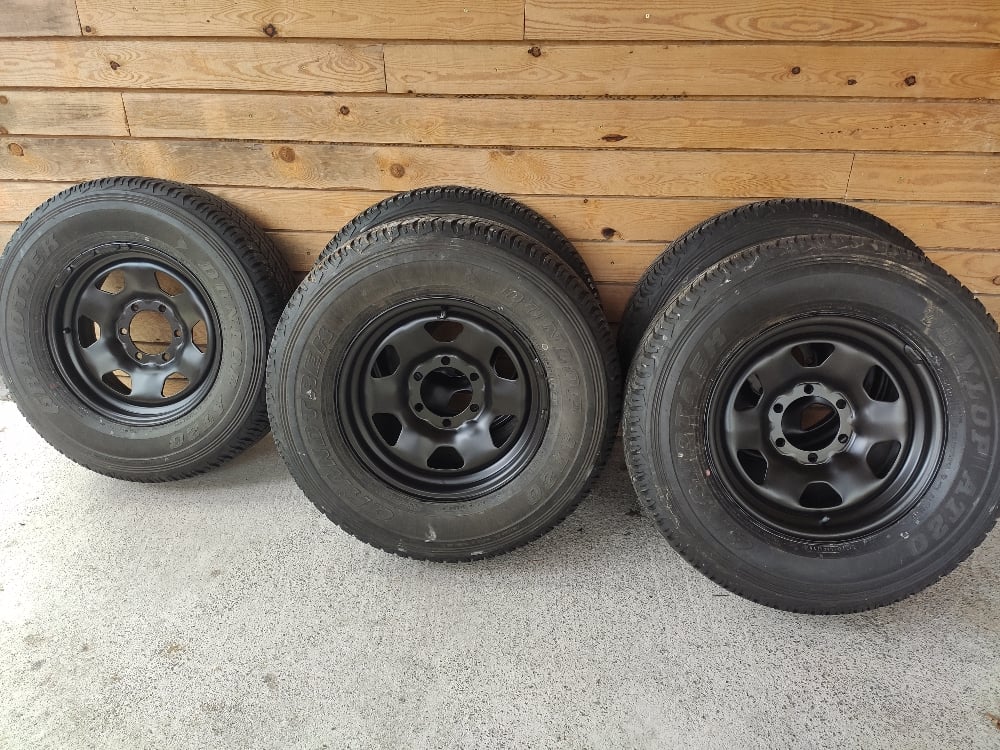
We're off to Italy again between christmas and new-year. Winter tires are mandatory there so i bought new tires and cleaned up the 15" rims that originaly came with our 4runner. We're crossing the alpes via Switserland and i know we will get checked at the border. (every year the same story) So i picked the largest legal-size tires i could get.

PC095859.jpg


PC095862.jpg


DSC00010.jpg


I never drove a 4runner in the snow before :)
 
Last edited:
Installed some rear back-up/work lights today.

6a1360d265ab3b46f84f54f80cdf50db.jpg


a010cb99d42daa7c5ddbf7c7a9dac7b0.jpg


They come on when i shift in reverse or i can switch them on anytime i want.

But how do i route the wires through the roof?

Dual battery and pre-heater are also installed. More on that later.

Ah, rims are painted as well... I'm waiting for my rear bumper to be installed before i put them on.
dc383fc446cc4897d09f70ec051c7045.jpg
 
Last edited:
Thanks for keeping this thread going. Just picked up a ‘92 and I’m going to start at the beginning and do a few of these updates. Great job
 

Members online

Forum statistics

Threads
278,316
Messages
3,554,106
Members
248,016
Latest member
Advally Service

Trending content

Back
Top