aemravan's build thread - project TacoRunner

61c19d29a0690995205daac6b1b16753.jpg

1d035d45e33f4e9f6dcc2273b4bc3d0d.jpg


Sent from my iPhone using Tapatalk
 
When you run out of big projects, you tackle the little ones lol.

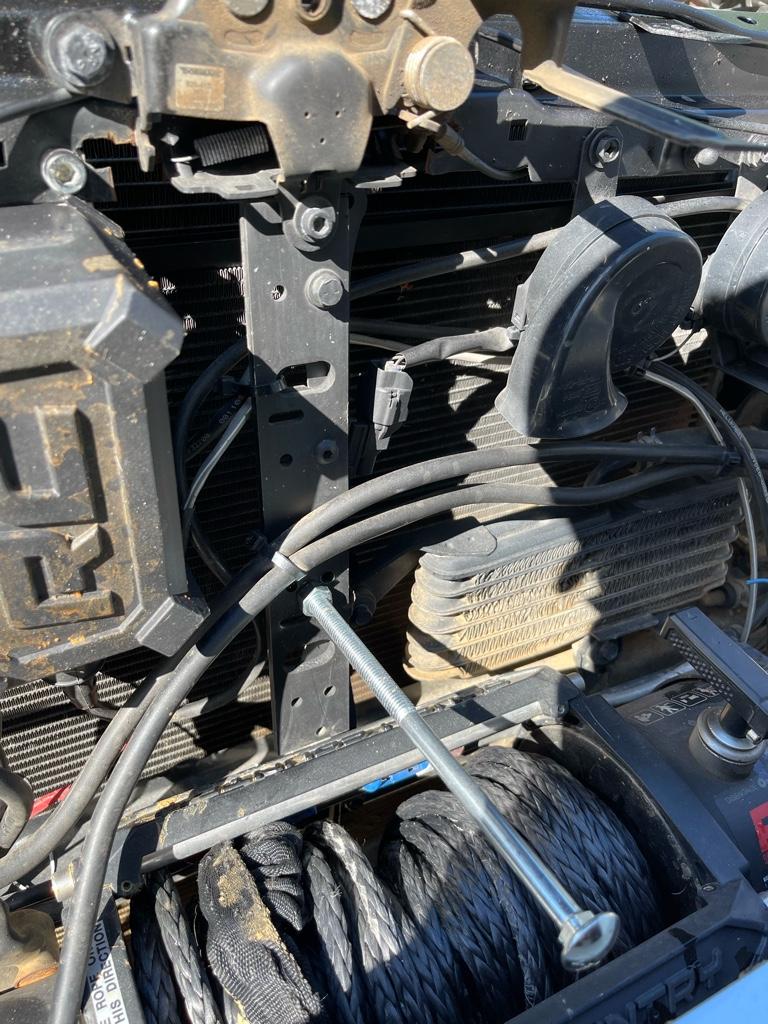
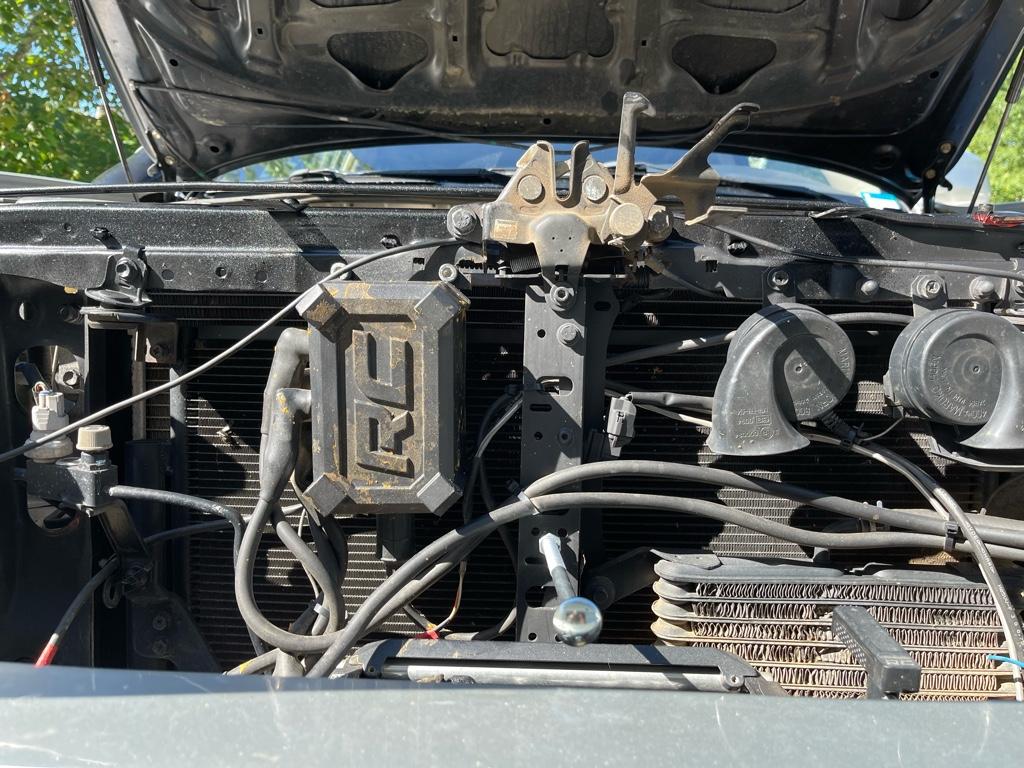
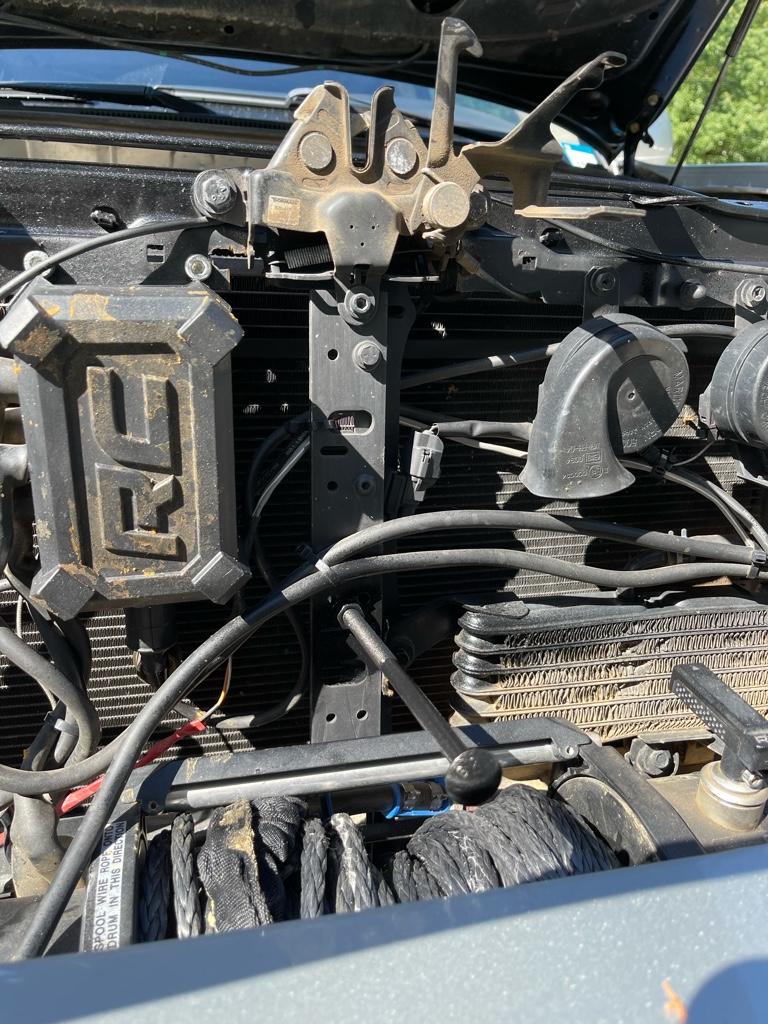
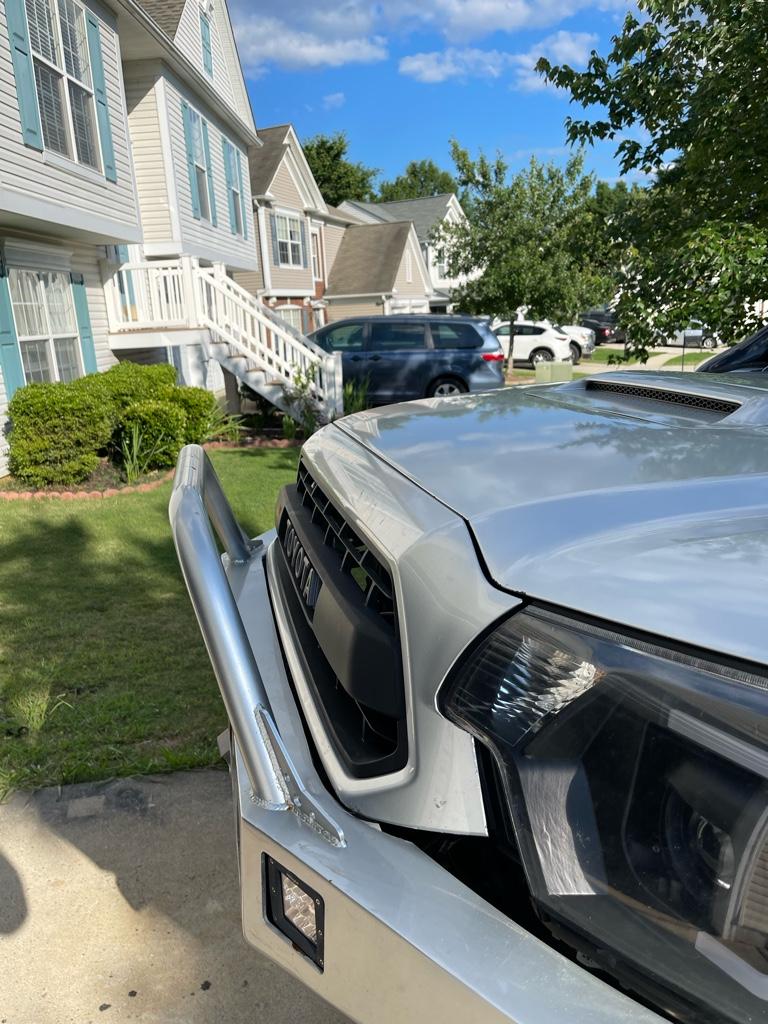
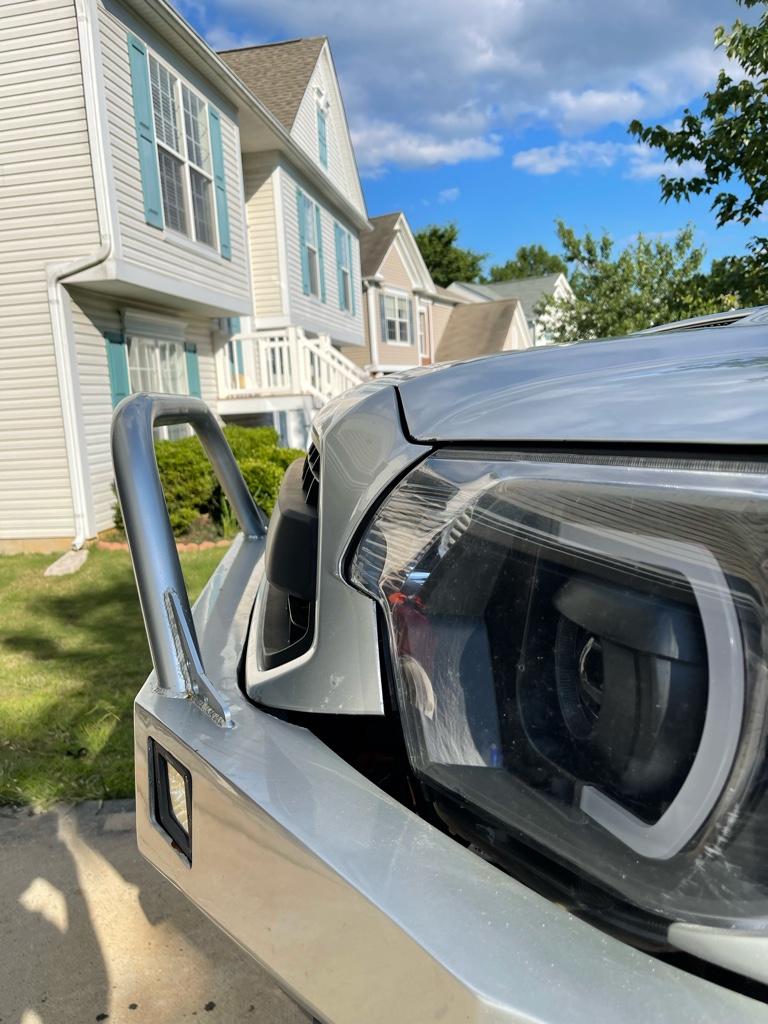
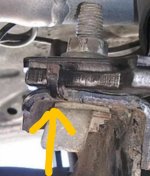
My taco grill has been sagging ever since the swap and I’ve been too lazy to fab up a support rod at the bottom. Fixed this with about 15 minutes of work and an 8” carriage bolt.

190c2eceddf341aafb83ecb624943955.jpg

f1210e33bb12c94d390270c63532531e.jpg

2d11215118efbcbe7a885f458365c6f9.jpg


Sent from my iPhone using Tapatalk
 
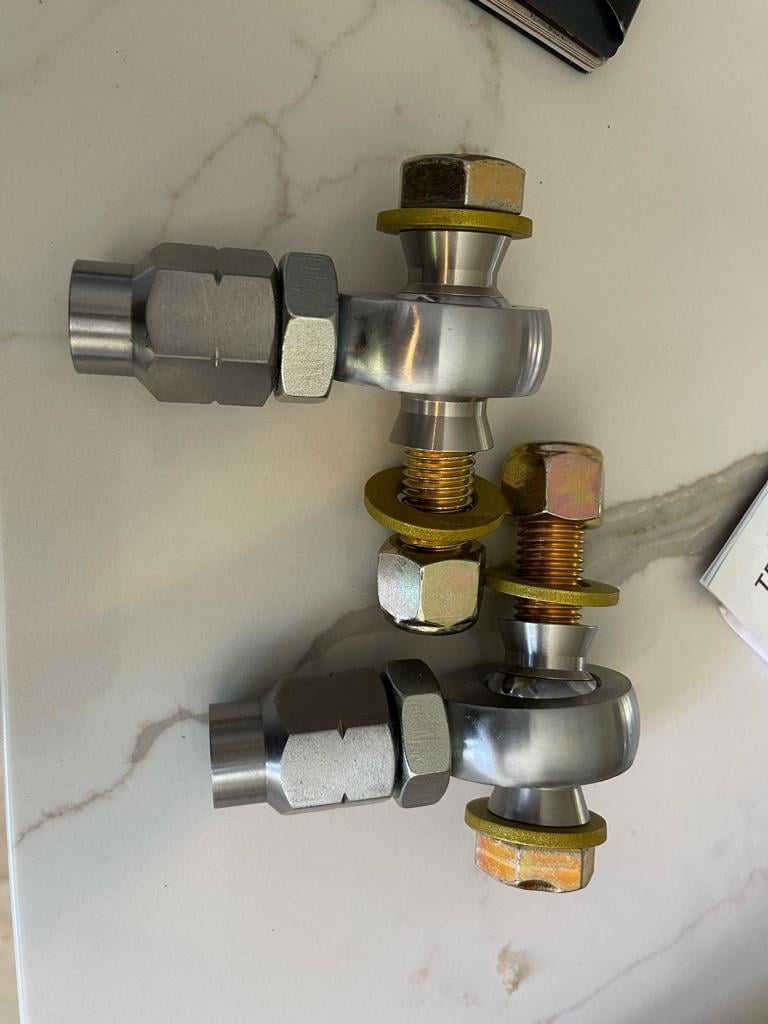
McMaster is insane.. order yesterday afternoon, estimated Tuesday, delivered this morning .. lol. Too bad I already planned on not doing the swap this weekend.. but getting exciting.

437848ed64f4325377cc6375bdce08c8.jpg


Sent from my iPhone using Tapatalk
 
I don’t have a good before picture. But here is what the after grill looks like with the support bolt. So much better
885484d7c24f4c04b2e686ad598a5ef4.jpg

caa1798620774181fa8e956b84255747.jpg


Sent from my iPhone using Tapatalk
 
McMaster is insane.. order yesterday afternoon, estimated Tuesday, delivered this morning .. lol. Too bad I already planned on not doing the swap this weekend.. but getting exciting.

437848ed64f4325377cc6375bdce08c8.jpg


Sent from my iPhone using Tapatalk
You kept the OTE mounting point in the spindle the same taper as OEM didnt you? I had already reamed mine for the larger Tundra taper, so now I'm stuck w them lol.
 
You kept the OTE mounting point in the spindle the same taper as OEM didnt you? I had already reamed mine for the larger Tundra taper, so now I'm stuck w them lol.


Unfortunately no.. since I’m using a heim joint I’m having use a bolt, the bolt I have is 3/4”.. so I’ll have to drill out the taper to a straight 3/4” hole in the spindle.. so in the future I won’t be going to a tundra outer unless I get new spindles and drill out the taper again. This is all in theory still of course.. so we’ll see how this actually works.


Sent from my iPhone using Tapatalk
 
Unfortunately no.. since I’m using a heim joint I’m having use a bolt, the bolt I have is 3/4”.. so I’ll have to drill out the taper to a straight 3/4” hole in the spindle.. so in the future I won’t be going to a tundra outer unless I get new spindles and drill out the taper again. This is all in theory still of course.. so we’ll see how this actually works.


Sent from my iPhone using Tapatalk
Hopefully your good w the parts you have.
Yea I'm stuck with the Tundra taper for now, but I might have a solution, so I'll post up when I figure it out.
 
Did a little de-rusting and rust prevention since I don’t have anything else to work on. I don’t have much rust really so I just knocked the surface stuff down with a wire brush, wiped it off and hit it with a coat of steel-it paint. I’ll let this cure and then give it all a healthy coat of the pb blaster spray on film just as a precaution.

Looks brand new again :)
cb35004e3407c0aaa09d097b75c31a11.jpg


Sent from my iPhone using Tapatalk
 
Have you found decent pricing on steel it? I've seen some ridiculous prices.


I can’t remember what I paid.. but no, it wasn’t cheap, I remember thinking it was a bit ridiculous when I ordered the one can. I’m pretty sure it was off of Amazon


Sent from my iPhone using Tapatalk
 
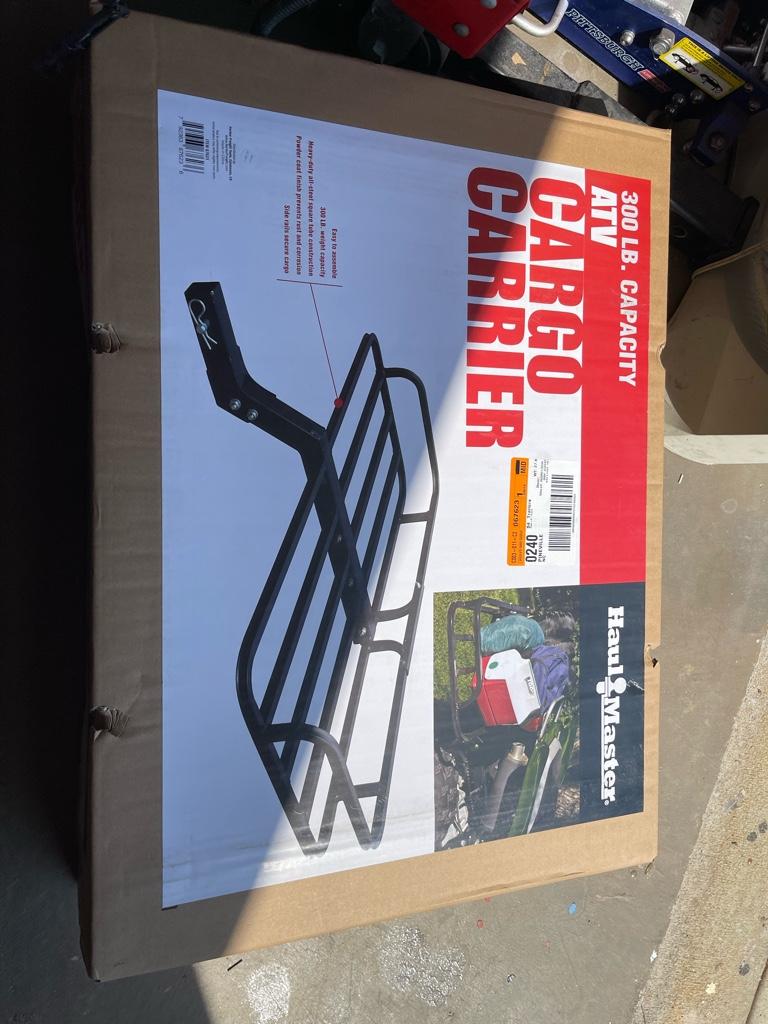
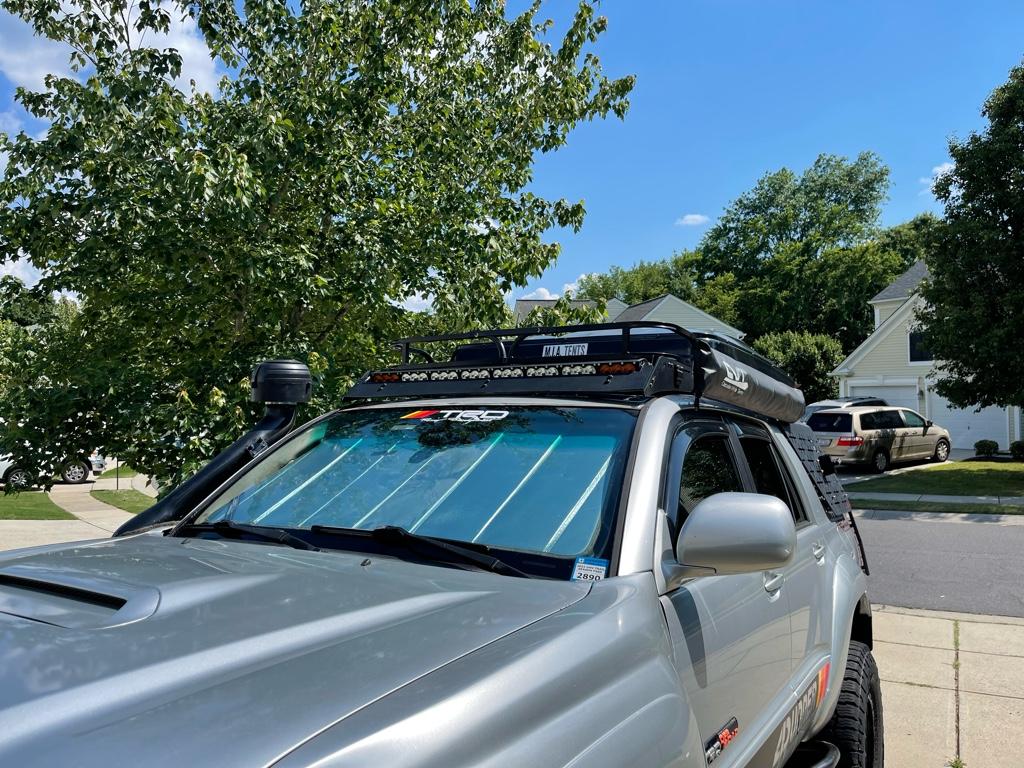
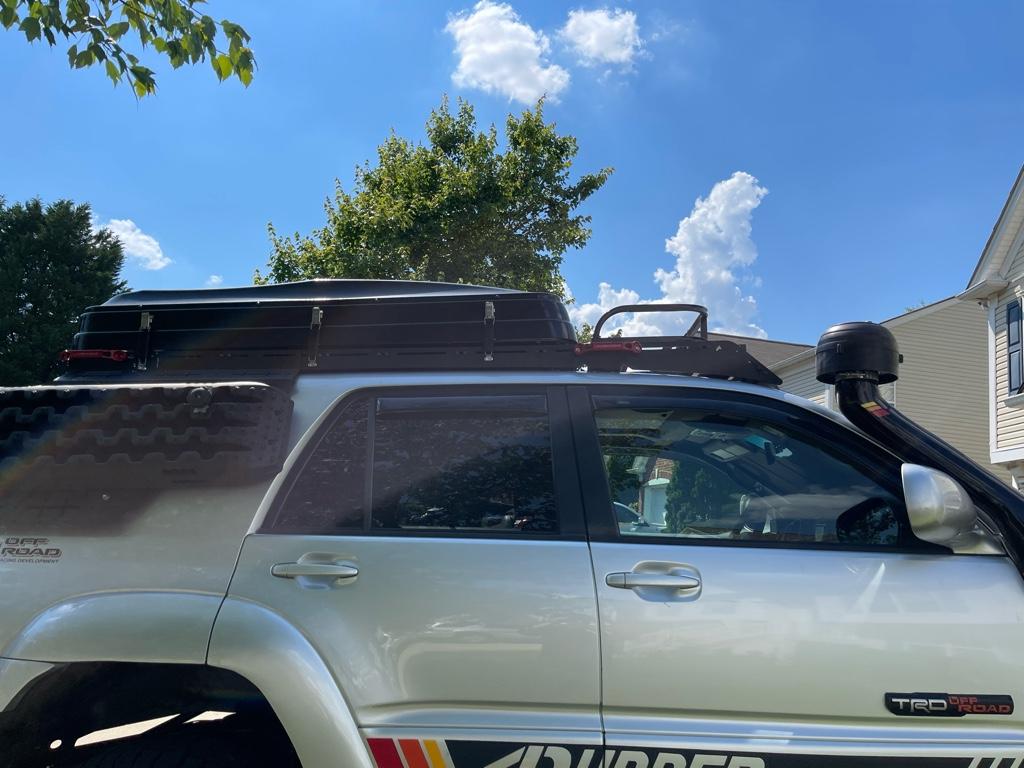
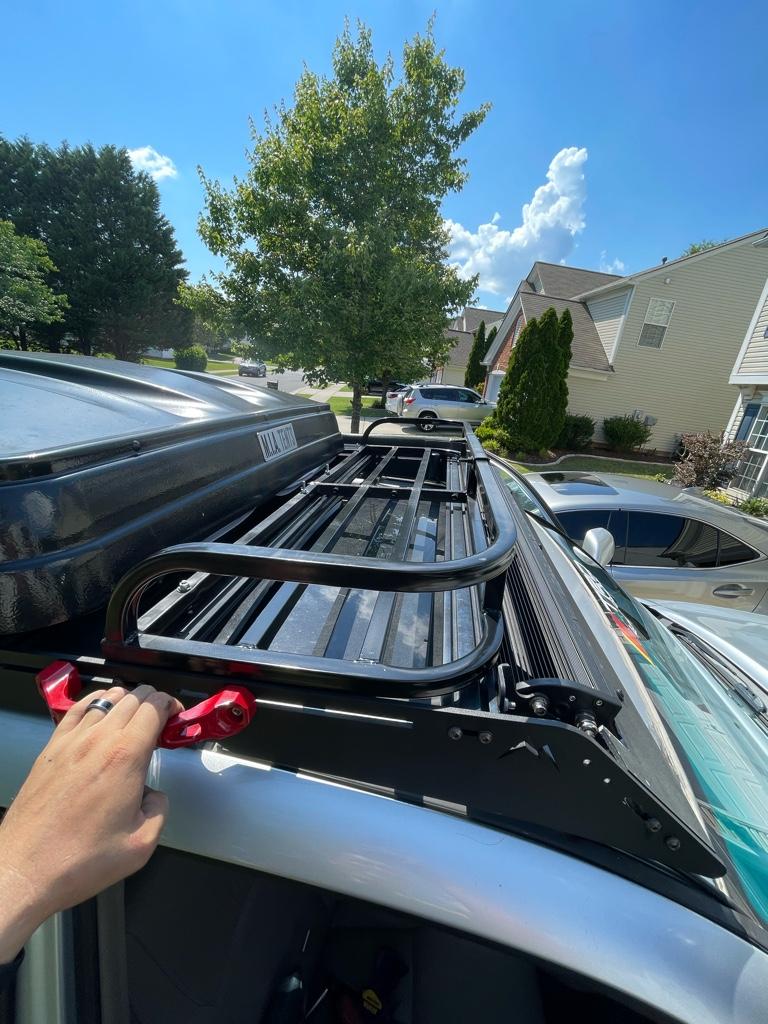
Turned a harbor freight atv cargo carrier into a roof top firewood basket. Not bad for 45 bucks.

27972b6084da3b125d6273e96558ffd3.jpg

1c6413e2a358116fd198b231375956e4.jpg

c7b0a92c2c553b7a04e5be817af7ec7a.jpg

691d9483abe60a0d876d1909dfd54fde.jpg


Sent from my iPhone using Tapatalk
 
The weekend is quickly approaching.. getting anxious about tackling the LC200 steering rack swap along with the Total Chaos cam tabs and (forgot brand) cam eliminator plates project..

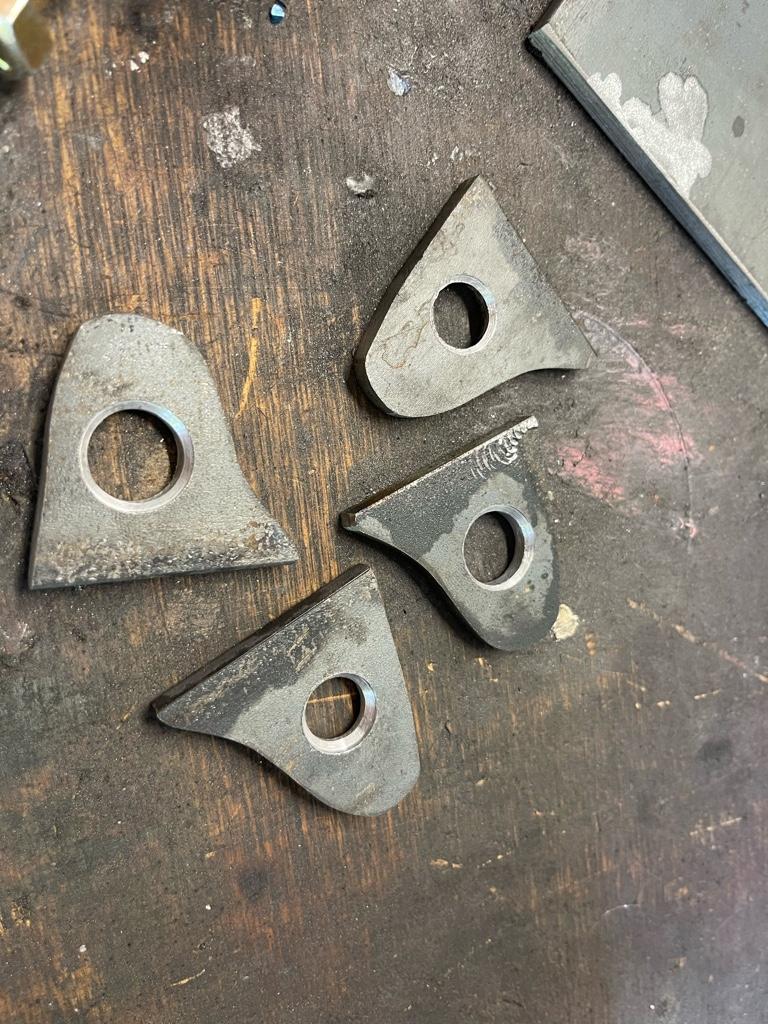
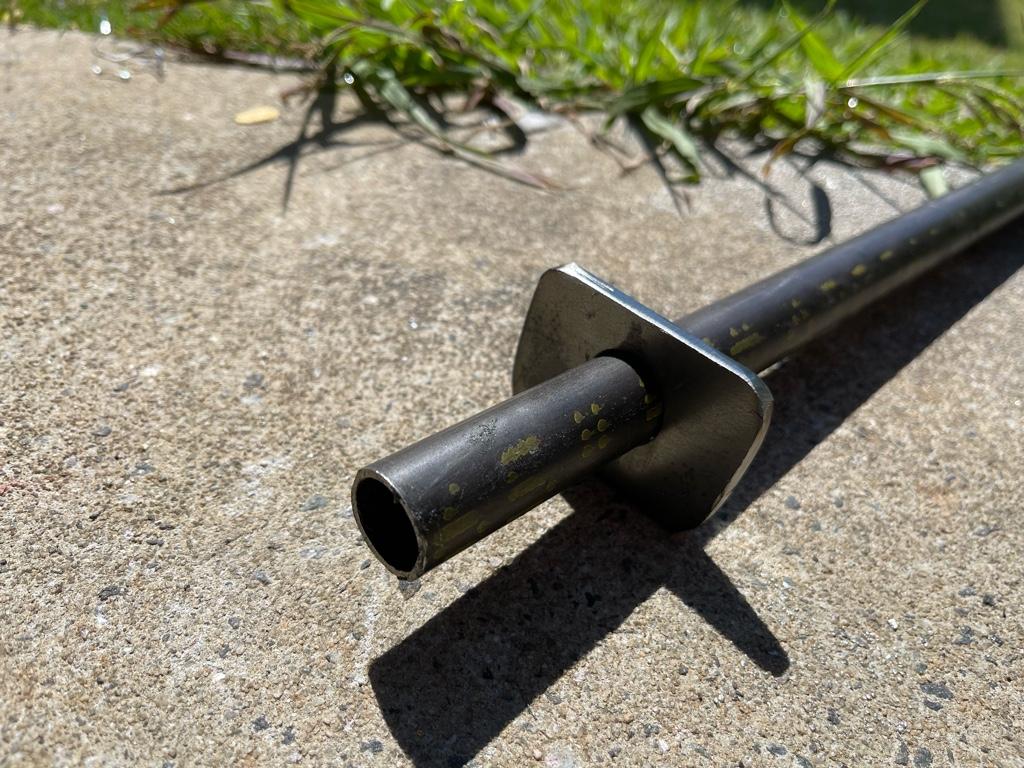
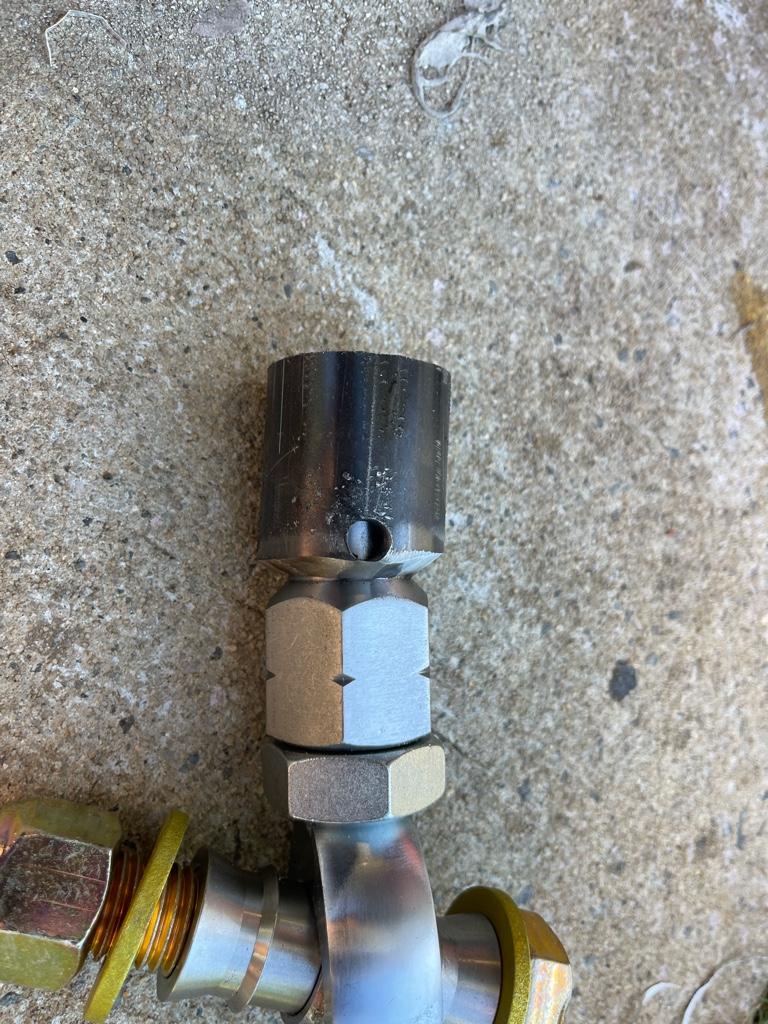
I already made a parts-run to my parents house to drop off all the components, and the remaining hardware arrived from McMaster yesterday. Still not sure exactly how long i'll need the bolts to be so I have 2 different sizes for each side and hoping like hell it works out :)

I thought I had taken off my diff-drop spacers.. but apparently not.. those are still on and I am debating whether to leave them in or take them off after I drop the diff..


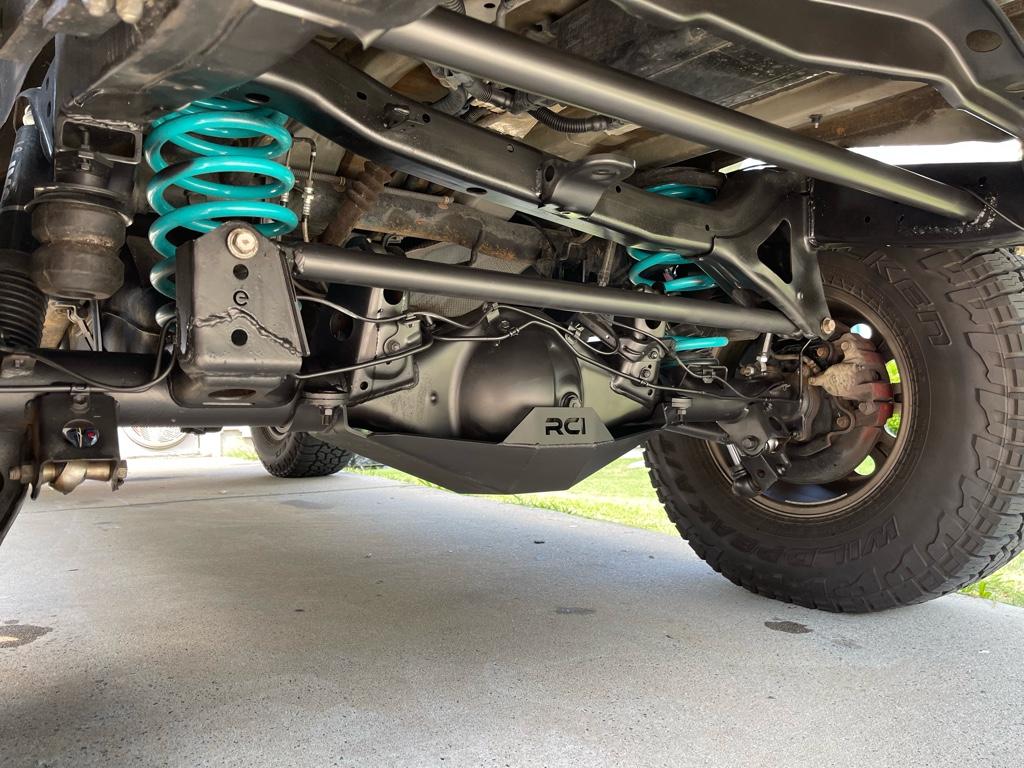
A while ago I bought some lower control arms from Rock Auto, not OEM, but decent quality ones.. I am planning on swapping these in since my OEM ones has over 150k miles on them now and the bushings look tired, and not sure what the condition of the ball joint is after running 35's for the past year.. If I planned to run them long-term I don't think I would use non-oem lowers... but since I have pretty big hopes of going LT sometime in the next 4-6 months I think it should be OK to use non-OEM lower arms for a bit.


The plan for the swap is basically to dis-assemble the entire front end..
-remove the coilovers
-remove lower arms
-remove spindles
-remove axles
-drop diff
-replace motor mounts with 1/4" spacer plates (thinking about lightly tack-welding these to the mounts so they don't move).
-remove OEM rack
-cut-off old cam tabs
-weld on new tabs
-test fit rack
-notch subframe to sit rack down low
-mark and cut passenger side hole
-weld in reinforcement tube/plate
-install rack & center
-drill out spindles for 3/4" bolt
-reassemble lowers with spindles
-test rack
-install diff & axles
-install coilovers
-drink beer.


Sounds pretty straight-forward... but I guess we shall see.. I am still not 100% certain that my outer tie-rods are short enough.. hoping like hell i pulled the measurements correctly, but will find out really quick once I pull the factory rack out, lay it all flat, and pull measurements.. I'll need to do this before I modify anything just in case.. I'm planning on taking 2 full days to do this.. and can't afford to be down for an additional week to come up with Plan b if this doesn't work lol. Wish me luck!

 
Tack welding the spacers isn't a bad idea, but there are tabs built in to the MM horn that won't let them move around much, if at all.
 

Attachments

  • Screenshot_20220602-150629~2.jpg
    Screenshot_20220602-150629~2.jpg
    56.1 KB · Views: 189
Tack welding the spacers isn't a bad idea, but there are tabs built in to the MM horn that won't let them move around much, if at all.

Yea I saw that on your pictures. Just figured there's not going back after this and with them tacked on I don't have to worry about sliding them in place on both sides for the install. I can give them a nice coat of paint before they go on as well to help keep the rust away for a bit. Can't wait to get cracking at this.. last really big project for a while before I can go enjoy the damn thing.. Summer is almost here and I haven't even gone wheeling yet!
 
You might want to wait to tack em down to give yourself a little wiggle room when getting it all lined up, so the bolts go in easier.
I'm going to paint all that metal once I get the clearance needed for the steering shaft.
 
You might want to wait to tack em down to give yourself a little wiggle room when getting it all lined up, so the bolts go in easier.
I'm going to paint all that metal once I get the clearance needed for the steering shaft.


Great point.. definitely did not think of that.. if that’s the case I’ll just get them in place and let them be, not like they can go anywhere.


Sent from my iPhone using Tapatalk
 
Great point.. definitely did not think of that.. if that’s the case I’ll just get them in place and let them be, not like they can go anywhere.


Sent from my iPhone using Tapatalk

Yea I was happy to see those tabs. I really didn't have to fumble with the spacers much at all.
I did have to use the floor jack and a little persuasion with a pry bar on the MMs, to land a couple of the bolts.
 
Yea I was happy to see those tabs. I really didn't have to fumble with the spacers much at all.
I did have to use the floor jack and a little persuasion with a pry bar on the MMs, to land a couple of the bolts.


This is probably a silly question.. but which way do the offset bushings position the rack? Is it to allow left to right positioning to center ? Or front to rear ? I imagine it’s left to right.. correct ?


Sent from my iPhone using Tapatalk
 
This is probably a silly question.. but which way do the offset bushings position the rack? Is it to allow left to right positioning to center ? Or front to rear ? I imagine it’s left to right.. correct ?


Sent from my iPhone using Tapatalk

Not at all silly, I studied Devons FJ write up and the Marlin instructions for a couple days.

The nice thing about Devon's design, is you can take some measurements and move it around a little one way or another, before you drill the hole for the passenger side mount. (I used an old rear upper link sleeve to weld into this position for the frame support).

I focused on pushing it forward as much as possible as well as getting it centered side to side, and then squared it up w the core support. It's not perfect, but it's close.

I wanted it pushed forward to make sure the OTE clears the coil over through all the movement and angles it will see. This might bone me on the steering shaft clearance, but the coil over clearance is the most important parameter imo.

So as a reference, if your looking at the front from the bumper, the bolt hole in the bushing is between a 3 and 4 o'clock position on mine.

Also, the biggest mistake I made was cutting too much frame for the pinion clearance and had to weld some metal back in there to try and keep it from being too weak. This hole only needs to be about the size of a 50 cent piece.

Sent you a dm w my number. Gimme a call if there is anything I can help with.
Hell I might be calling you for advice when I do my final install....hopefully this freaking year lol.
 

Members online

Forum statistics

Threads
278,312
Messages
3,554,085
Members
248,016
Latest member
Advally Service

Trending content

Back
Top