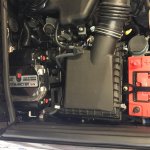
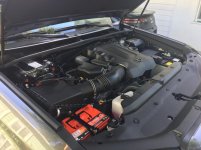
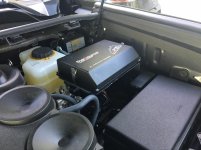
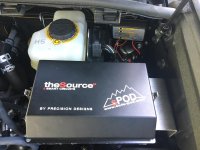
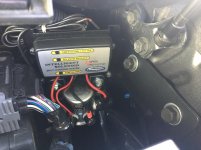
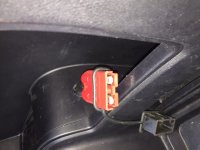
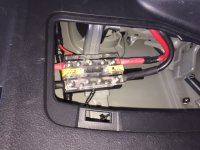
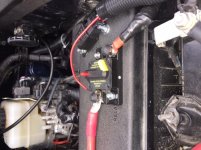
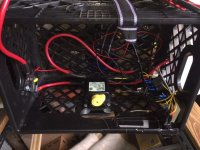
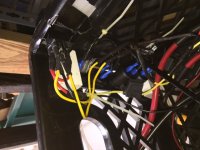
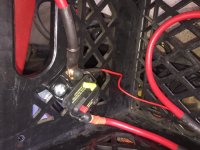
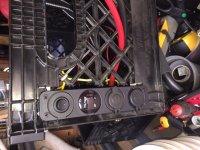
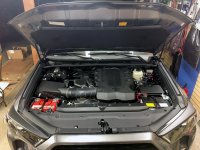
Big progress on the install!!!
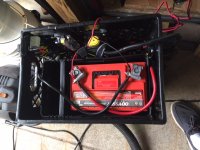
Special thanks to the huge hands-on help from [MENTION=102606]infamousRNR[/MENTION] and vital technical and materials input from [MENTION=144483]Bumbo[/MENTION], most of the dual battery project is completed! The car started right up and the National Luna Isolator did its thing - charged the main starter battery and then charged the Aux battery.
I learned a great deal through this project and really glad to have added knowledge on electrical/dual battery systems that I can share with others.
Most of the work was in calculating wire gauge based on run length, amperage, voltage drop compensation, run times, heat AND in calculating the ring terminal sizes and stud hole sizes for each wire based on where it would be connected. I used the BlueSea Circuit Wizard app on iOS for all calculations.
I went with high quality Temco welding cable with thick shielding that supports high temperatures (221 degrees F), a must when considering the 4Runner's engine bay sees up to 195 degrees F. Temco ring terminals are stout, all tin plated copper to prevent oxidation. Both the wiring and terminals were ordered from Temco in Fremont, CA. If you use these guys, it's cheaper to call in, give your list, and pick up locally in Fremont. If you can't make it to Fremont, go to eBay. Highly recommend their stuff and great service. Welding cable is HEAVY. I'd say I added about 15-20 lbs of wiring up front, including looming and terminations.
I used a heavy duty 16 ton hydraulic hexagonal die press I picked up on Amazon for crimping the 6 gauge and larger terminals to the stripped wire ends. The press literally fuses the individual copper strands and ring terminal together as one solid piece of metal, which makes for a safe termination that helps prevent terminal overheating and fire. This method is preferable and safer than soldering and standard crimping methods for larger gauge wiring with high amperage.
Progress made includes:
- Aux battery terminals installed. Military grade lead with 3/8" studs
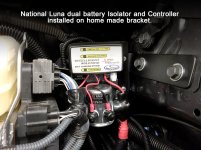
- Aux battery wired to National Luna isolator/controller and the main starter battery. Controller wire installed through firewall.
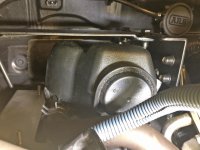
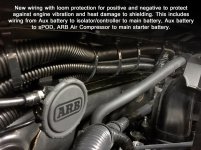
- ARB dual air compressor wired to main starter battery.
- New wiring & 50 Amp short block for sPOD 8 channel accessory unit run from aux battery and Ethernet for LCD touch screen controller run through driver side firewall.
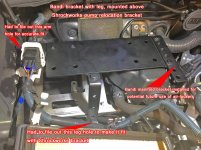
- sPOD bracket is in for powder coating and should be installed next week
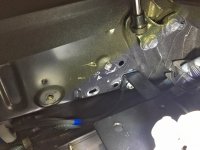
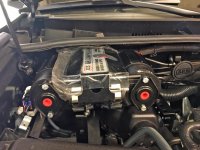
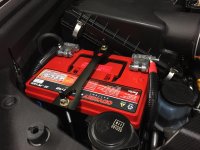
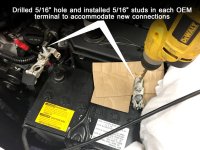
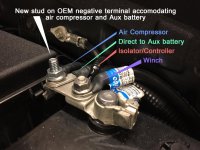
- Drilled 5/16" hole and installed new 5/16" studs/flange nuts in each OEM starter battery terminal connector to accommodate isolator connections, air compressor.
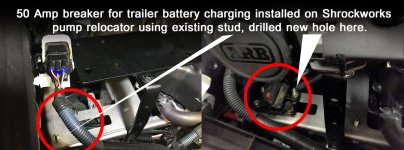
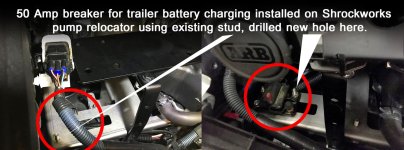
-50 Amp Bussman circuit breaker installed on passenger side, under air compressor for future wiring that will run from Aux. battery to trailer hitch to charge 2 Lithium trailer batteries via Anderson plug (SB50).
-All wiring properly terminated with heat shrink tubing, loomed, taped every 20" with 3" wide high temp electrical tape.
Lessons learned:
-Quality tools including cutters and hydraulic crimpers a must.
-Helper a must for wiring routing and hydraulic crimping.
-Should've gone with different aux battery terminal connectors that had 5/16" studs on them, to match OEM stud size and make it easier to/faster to service batteries simultaneously with the same socket size. Also, the terminations I used don't have any clearance for sockets to fit around them so an open ended monkey wrench is needed, which sucks.
-Should've ordered more wire loom, that stuff goes fast. Sizes of loom diameter don't match wire diameter at all. You'll need slightly bigger loom.
Next up:
-Route wire for National Luna controller under center console and stick on under side of lid with double-sided sticky tape (this reads out both battery's charge and has a jump from Aux battery button on it)
-Install sPOD LCD touch screen in cabin and connect Ethernet cable for accessory control
-Install 270 Amp DC Power alternator, which will give the 4Runner an additional 105 Amps over the stock 165, and augmented wiring based on the awesome write up by [MENTION=83083]rigtec[/MENTION] at "4Runner alternator upgrade (gen 5)".
-Install newly painted home made sPOD bracket and sPOD unit, connect wiring and begin installing accessories (bumper LED light bar and under hood light and more later)
-cut, strip, crimp terminals on new 6 AWG wiring to run from aux battery to circuit breaker to hitch and terminate with Anderson Plug to charge 2 camper trailer Lithium batteries
-Install trailer brake controller (likely in glove box)
-Install air lines and air tank for air compressor
More coming in a week or two!