
You are using an out of date browser. It may not display this or other websites correctly.
You should upgrade or use an alternative browser.
You should upgrade or use an alternative browser.
Cartzo's 87 4Runner Homemade Long-Travel Build
- Thread starter Cartzo
- Start date

Cartzo
New member
It's been a while! I have done quite a few little things to the Yota so I thought I'd give the build an update.
I relocated my rear speakers so they are about and knee level when sitting in the back seat. It was a little tricky because they are 5x7's so I had to put them on an angle so they would fit. They didn't turn out perfectly even with each other, but it's close enough for me! I was surprised how much it made a difference in the sound. Really happy with that.
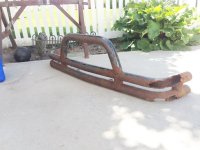
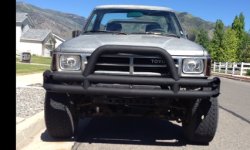
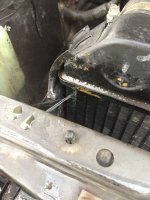
I was sick of my rusted out front bumper so I pulled it off and rhino-lined it with a $14 can. It has held up surprisingly well so far.
I relocated my rear speakers so they are about and knee level when sitting in the back seat. It was a little tricky because they are 5x7's so I had to put them on an angle so they would fit. They didn't turn out perfectly even with each other, but it's close enough for me! I was surprised how much it made a difference in the sound. Really happy with that.
I was sick of my rusted out front bumper so I pulled it off and rhino-lined it with a $14 can. It has held up surprisingly well so far.
Attachments
Cartzo
New member
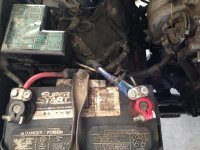
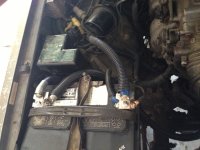
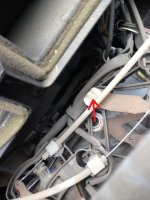
Decided to do a Big 3 Wire upgrade for more current flow from my battery and because the wire from the fuse box to the positive terminal needed replacement. It's nice to know I have solid connections everywhere now. Shouldn't have any random power issues like I was having last winter.
I upgraded my Neg - Chassis, Neg - Engine block, and Pos - Starter all to 0ga wire. I soldered ring terminals to each end for solid connections. I have been told to put a wire from the Pos - Alternator, but I'm still not sure if that's necessary because there wasn't a stock wire that did that.
I upgraded my Neg - Chassis, Neg - Engine block, and Pos - Starter all to 0ga wire. I soldered ring terminals to each end for solid connections. I have been told to put a wire from the Pos - Alternator, but I'm still not sure if that's necessary because there wasn't a stock wire that did that.
Attachments
Cartzo
New member
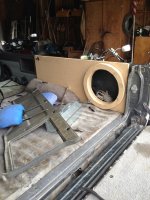
I started working on a sub box to work as my side panel to save cargo space, but I decided I'm just going to build the box exactly to the specs of the sub I'm getting. I'm only going to have one 12" sub instead of 2 so the box will be considerably smaller anyways.
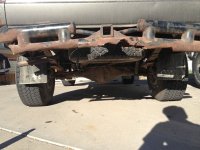
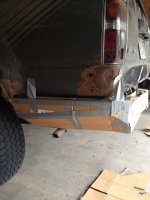
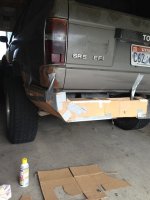
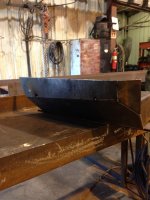
I also pulled off my rusty old rear bumper to mock up a plate bumper that I will start building at work. I work at a metal shop now so I have been gathering up scrap 3/16" plate steel that I'll use for the side panels of the bumper. I'll be using 3x5x1/4" tube for the body of the bumper.
I also pulled off my rusty old rear bumper to mock up a plate bumper that I will start building at work. I work at a metal shop now so I have been gathering up scrap 3/16" plate steel that I'll use for the side panels of the bumper. I'll be using 3x5x1/4" tube for the body of the bumper.
Attachments
Cartzo
New member
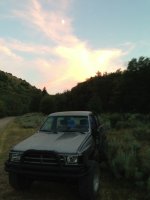
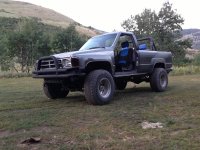
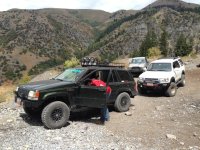
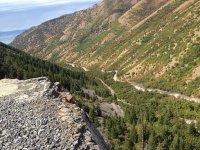
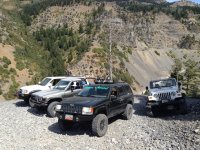
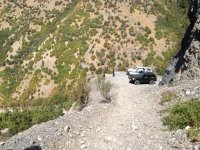
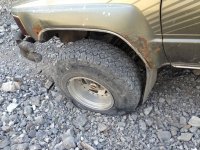
Random Wheeling Adventures
Left-hand to the top of the Switchbacks
Porcupine
Millville (I swear it just gets rockier and sharper every year)
Providence with Snivilous and the USU Off-roading Club
Left-hand to the top of the Switchbacks
Porcupine
Millville (I swear it just gets rockier and sharper every year)
Providence with Snivilous and the USU Off-roading Club
Attachments


snivilous
Senior Member
1st Gen LT IFS:
89 4Runner 4x4 Long-Travel IFS w/3.4L Conversion - YotaTech Forums
If you want help with the rear bumper give me a shout, though it looks like you got it figured! Cardboard is a life saver!
89 4Runner 4x4 Long-Travel IFS w/3.4L Conversion - YotaTech Forums
If you want help with the rear bumper give me a shout, though it looks like you got it figured! Cardboard is a life saver!
Cartzo
New member
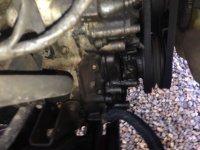
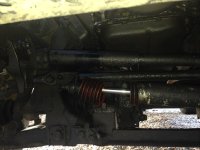
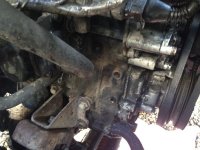
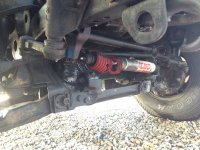
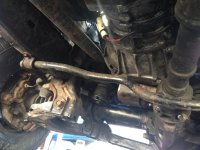
Today I tried to degrease my engine and under-carriage. After 3 cans of degreaser and a lot of scrubbing with a shop towel, it looks a little better but not much. I mostly did it so I can figure out where I'm losing oil. Once I figure it out I think I'm going to tear into it to replace my timing chain and fix the oil leak. When I have it apart I'll give it a better cleaning and some paint.
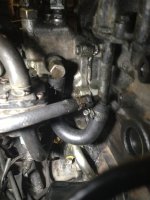
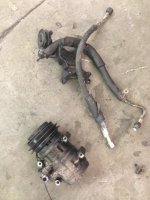
I also decided to black out the yota. Hopefully it looks good. I took off all of the trim and the bumper to get the grill off for paint. While I had the grill off I took out the rest of the A/C components.
I didn't realize how rusty my fenders are.. Would it be worth it to try and repair the rust? Or just chop as much off as I can and get some cheap fender flares?
I also decided to black out the yota. Hopefully it looks good. I took off all of the trim and the bumper to get the grill off for paint. While I had the grill off I took out the rest of the A/C components.
I didn't realize how rusty my fenders are.. Would it be worth it to try and repair the rust? Or just chop as much off as I can and get some cheap fender flares?
Attachments
snivilous
Senior Member
I didn't realize how rusty my fenders are.. Would it be worth it to try and repair the rust? Or just chop as much off as I can and get some cheap fender flares?
Cheap fenders, or fiberglass what you have and make them look almost normal again. If you need help with tearing the engine down give me a holler :bigok:
Cartzo
New member
Cheap fenders, or fiberglass what you have and make them look almost normal again. If you need help with tearing the engine down give me a holler :bigok:
Thanks will do
 The only fender flares I can find that I would be able to chop the rust off are these Bushwacker's:
Bushwacker Cut Out Fender Flares
Pretty much $400 for a set... I'm eventually going to end up replacing everything that is currently rusty and re-painting. It almost seems like it would be easiest to find a donor truck with a perfect body and just swap them because pretty much every panel has rust besides my passenger door and hood. If that's the case then I might as well just save the $400 and deal with the rust until then eh?
Cartzo
New member
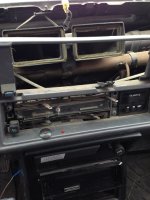
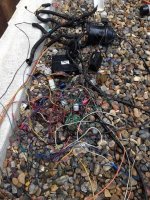
I took out the aftermarket alarm and cruise control systems the previous owner put in. The wiring was horrific. I can't believe how much cleaner it looks on the interior and even the engine bay. I pulled my dash apart to get the dumb little lights out. My heater control lever has been messed up for a while. I found out that the plastic clip that holds the lever at its pivot point is missing. I have tried looking for a replacement online, but without a part number there isn't much I can do. I'm thinking I'll just make something that will hopefully work better than the stock set up.
Attachments

slacker
New member
It almost seems like it would be easiest to find a donor truck with a perfect body and just swap them because pretty much every panel has rust besides my passenger door and hood.
so if your willing to do this amount of work .. check us out .. toyotafiberglass.com our panels will last . easy to install and stronger then the OE steel
.
Cartzo
New member
so if your willing to do this amount of work .. check us out .. toyotafiberglass.com our panels will last . easy to install and stronger then the OE steel
.
Fiberglass is tougher? I don't have any experience with it. It won't crack or break if I get bumped or get up against a rock?
slacker
New member
ABSOLUTLY ... no question . it's 21st centery materials , not the 1960's stuff most people think of when you say fiberglasss
sledgehammer.mp4 Video by bj_bumperboy | Photobucket
there are some other vids here Precision 4X4 Center right on our front page , even a comparason to the OE steel panel , which didnt make it past the 2LB hammer .....
YES , you can break our fiberglass , but its pretty tough stuff . stronger then the stock steel and wont rust
.
sledgehammer.mp4 Video by bj_bumperboy | Photobucket
there are some other vids here Precision 4X4 Center right on our front page , even a comparason to the OE steel panel , which didnt make it past the 2LB hammer .....
YES , you can break our fiberglass , but its pretty tough stuff . stronger then the stock steel and wont rust
.
Cartzo
New member
ABSOLUTLY ... no question . it's 21st centery materials , not the 1960's stuff most people think of when you say fiberglasss
sledgehammer.mp4 Video by bj_bumperboy | Photobucket
there are some other vids here Precision 4X4 Center right on our front page , even a comparason to the OE steel panel , which didnt make it past the 2LB hammer .....
YES , you can break our fiberglass , but its pretty tough stuff . stronger then the stock steel and wont rust
.
That's awesome! About $1600 to get everything I would need (including the hood scoop :eyebrows: ) I'm kind of liking the high clearance fenders. I'm wanting to do long travel IFS in the future and I'm wanting a desert runner look. Would you recommend the high clearance for long travel?
Cartzo
New member
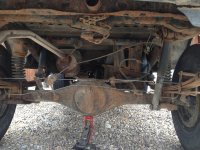
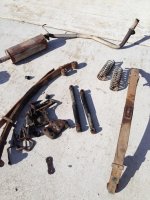
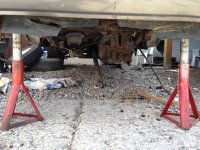
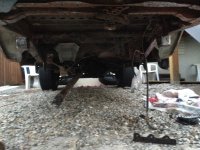
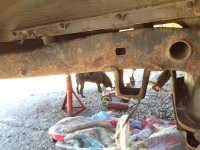
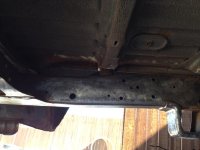
Pulled out the axle and the leafs today. Man were those leafs a *****.. I could not get the driver side hanger pin out to save my life. I even sawed off the rusted out muffler to make some room so I could pound on it with a sledge. Didn't even budge. I ended up just using the saws all to cut the bolt on the inside of the frame mount. The other side slipped right out. It was pretty frustrating, but everything's out and ready to go now!
I'm wanting to sandblast and powdercoat my axle. I can't decide if sandblasting would be a good idea or not.. I could use a wire wheel, but I want absolutely every bit of rust and build up off and have a nice durable coat of black that will last forever. I also want to look at armoring it up.
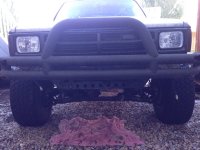
Here it is with the blacked out grill
I'm wanting to sandblast and powdercoat my axle. I can't decide if sandblasting would be a good idea or not.. I could use a wire wheel, but I want absolutely every bit of rust and build up off and have a nice durable coat of black that will last forever. I also want to look at armoring it up.
Here it is with the blacked out grill
Attachments
Similar threads

- Replies
- 0
- Views
- 353

- Replies
- 2
- Views
- 3K
Members online
Total: 5,774 (members: 6, guests: 5,768)
Forum statistics
Trending content
-

-

-
-
-
Thread 'Fixed: Dead Instrument Cluster in 2003 Toyota 4Runner (Corrosion Issue)'
- TheSpeakGeek
Replies: 9