COB's 4Runner Timeline (Pic Heavy)

this all looks very expensive, I hope your wallet is doing okay.
I saved up a lot beforehand, I'm doing great. Thank you for your concern :P

lol, it seemed like there wasn't a single 4WD down here! Well they were ok but either they wern't in good condition or the dealer was a.....I'm not going to go there lol.

Well the Highlander wasn't bad, it was slow. If it was the Limited V6 AWD, there might have been a better chance of me keeping it. But a Base 2.4 FWD....uhh, no thanks. lol.

The V8 is a fing rocket....here's my accel. clip that's on YouTube. 2003 Toyota 4Runner SR5 V8 2WD Acceleration Demo - YouTube

I told everyone on Facebook I was going to get another....even tho it took me like what, 2 months? Oh well, it payed off in the end.

On another note, when do you forsee being done?

Damn, I thought this was your build thread for a second. Patience... I'm working 8 hours a day on it. Don't worry, you'll know when it's done.

Man, this is awesome. Can't wait until it's finished!
Thanks dude!

So let's just say... Working on 4Runners = Kung Fu

By the time this is over, you will be:

+1 with BFAD. No more grasshopper here.

How hard was it to pull the dash? Mine seems to be coming apart at the joining seems, due to the sun hitting it day after day.

I used to work all day with low voltage wiring. Wiring is the biggest PITA known to man.

lol thank you guys, I owe it to John, really.

I was surprised, it was actually really easy to remove the dash. The process is just time consuming.

Biggest pain in the ass is correct!


Alright, stuff that went down today...

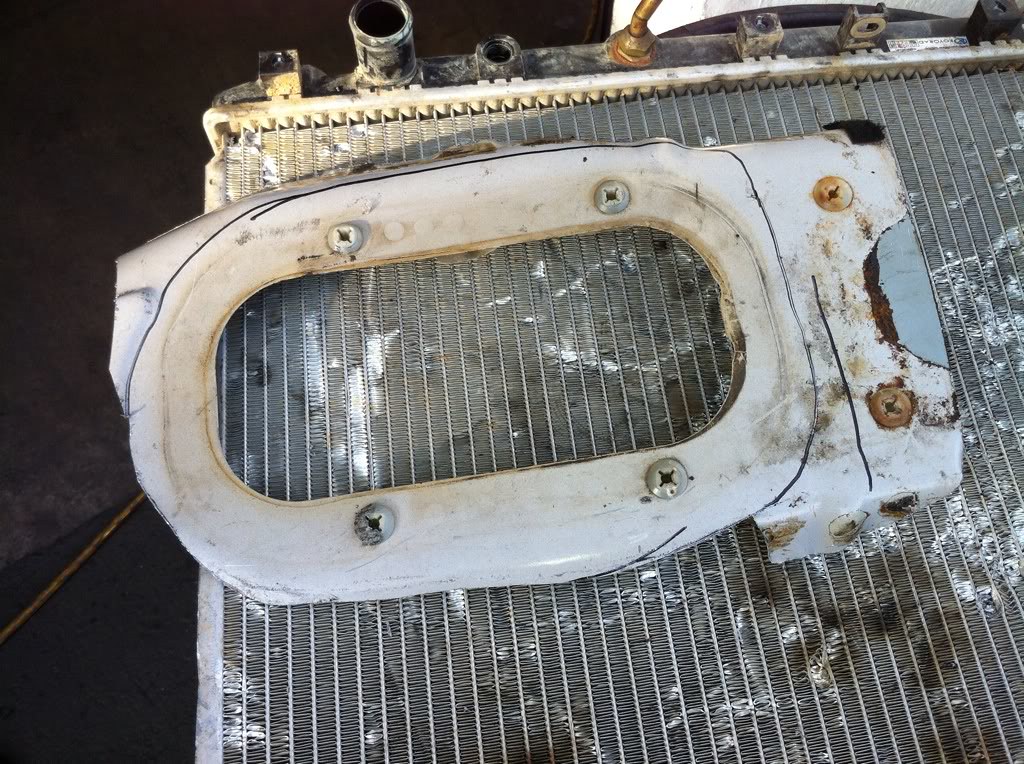
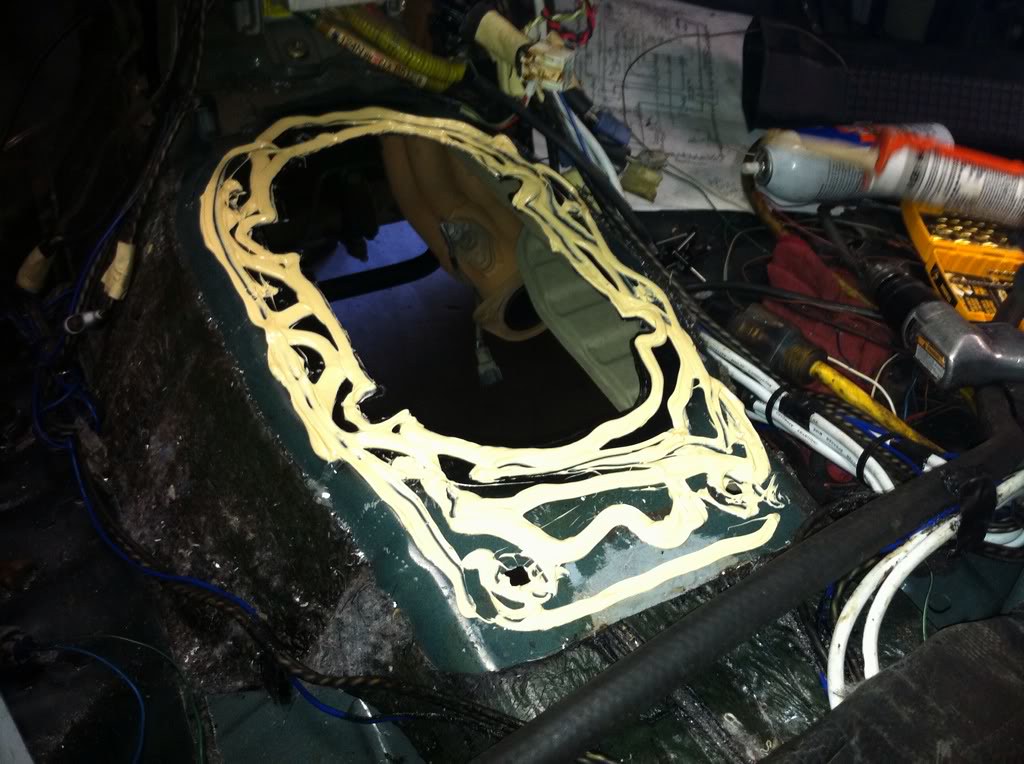
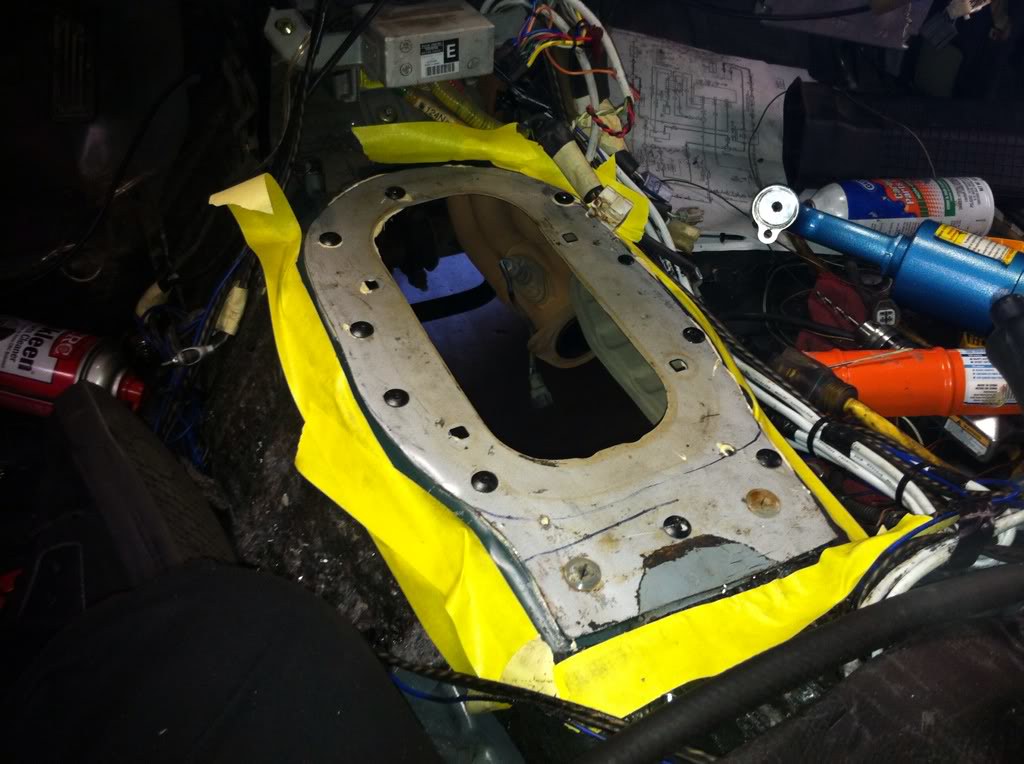
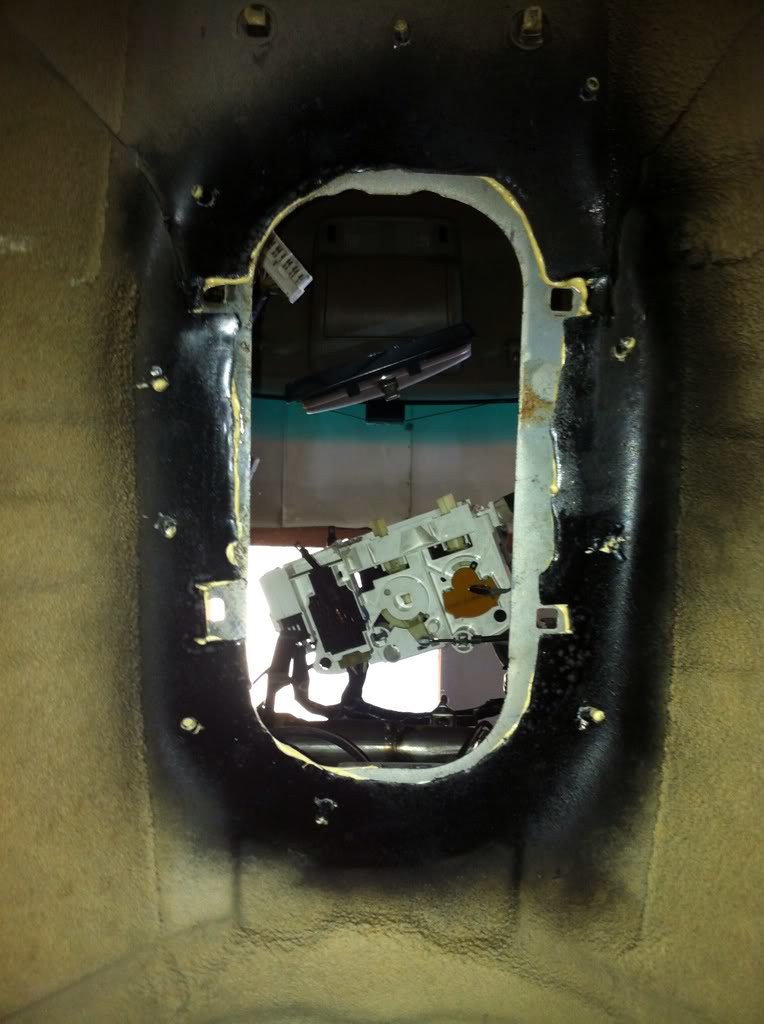
Remember that transmission tunnel? Here it is in the process of being trimmed down to size.

35020552074_f24fd62f7f_b.jpg


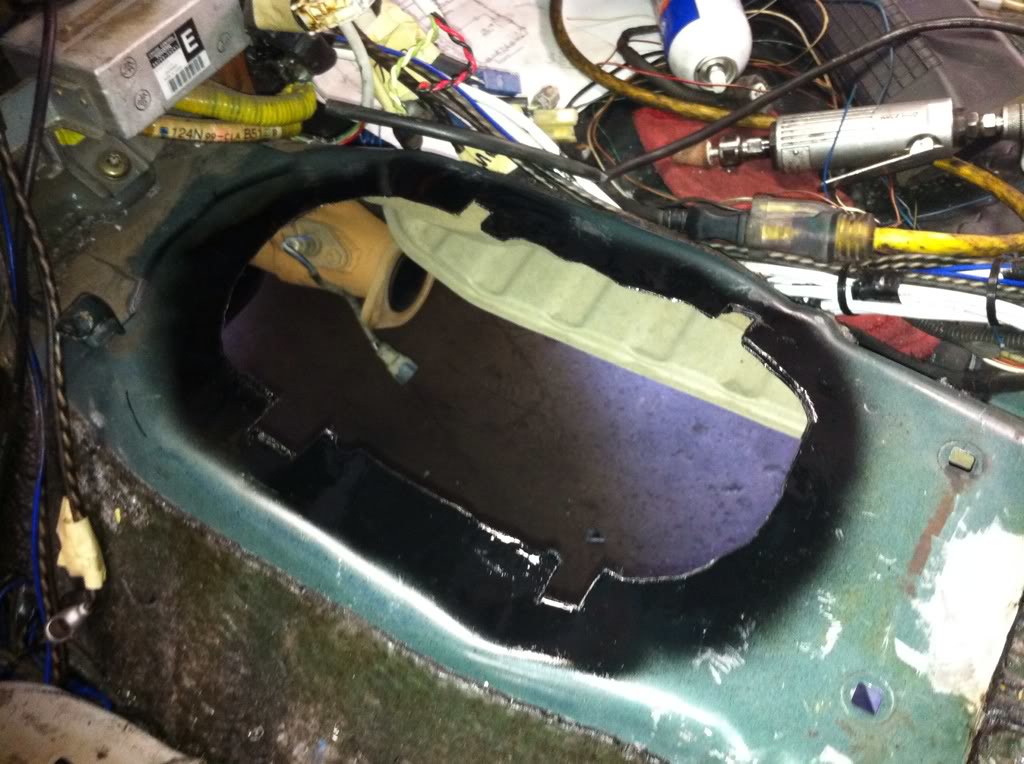
Here you see the tunnel in the truck, cut out to match the size of the hole on the donor truck. Some spray engine enamel for rust protection:

35020551834_32e4252b6b_b.jpg


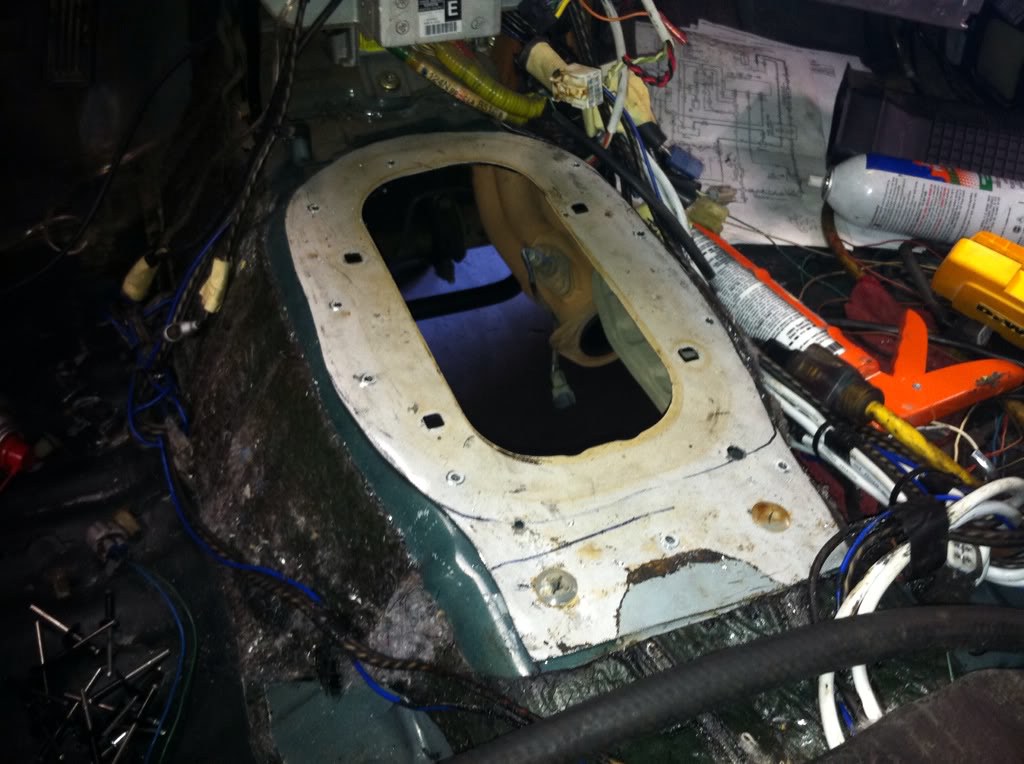
Cut and fit, ready!

35020551494_15befeb0f0_b.jpg


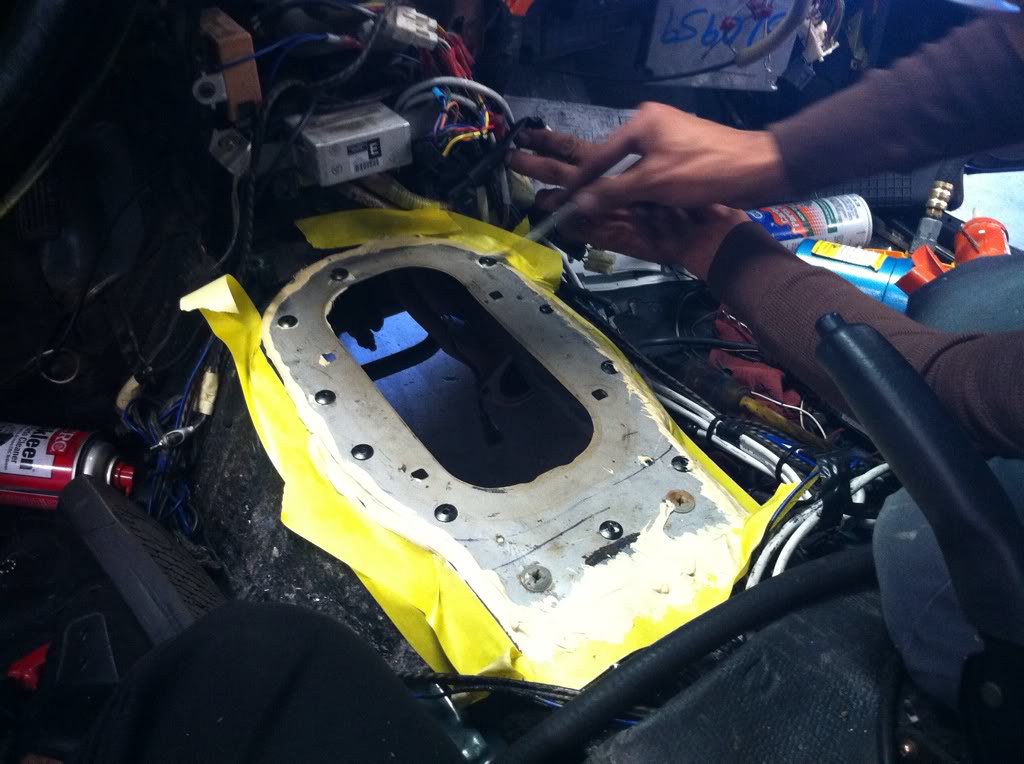
A body shop bud named Nelson came down and helped out with the build.

35020551764_95c4903136_b.jpg


35020553044_c8e2605635_b.jpg


35020553264_c8af4fd5ef_b.jpg


35020552254_73ec7df329_b.jpg


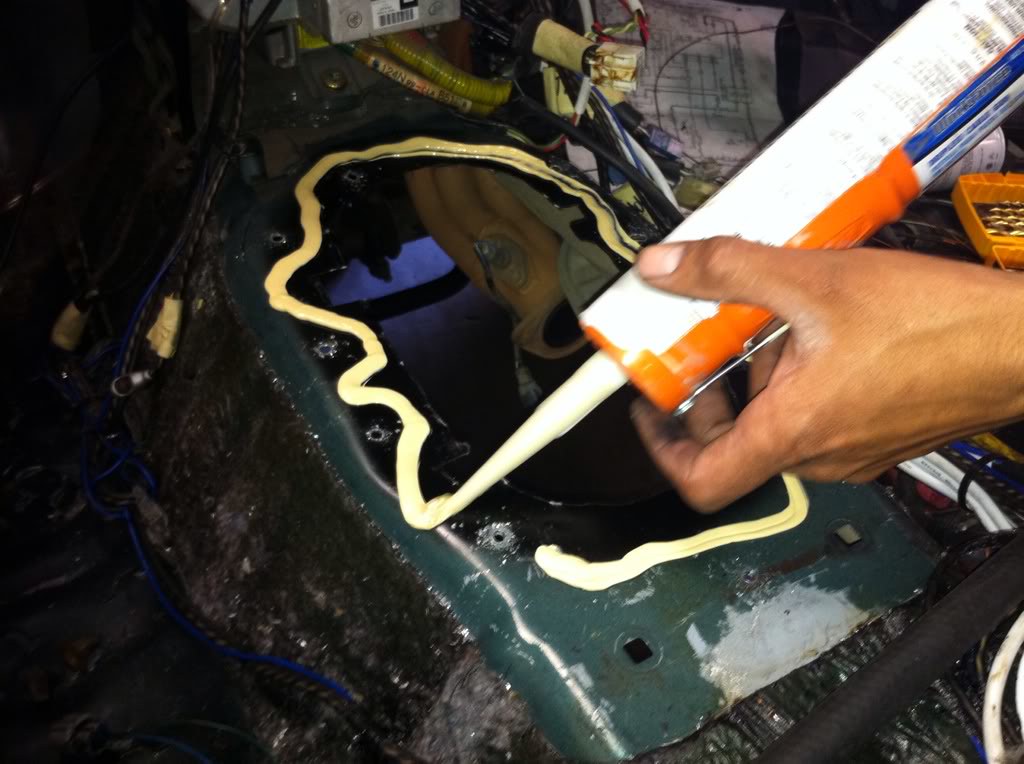
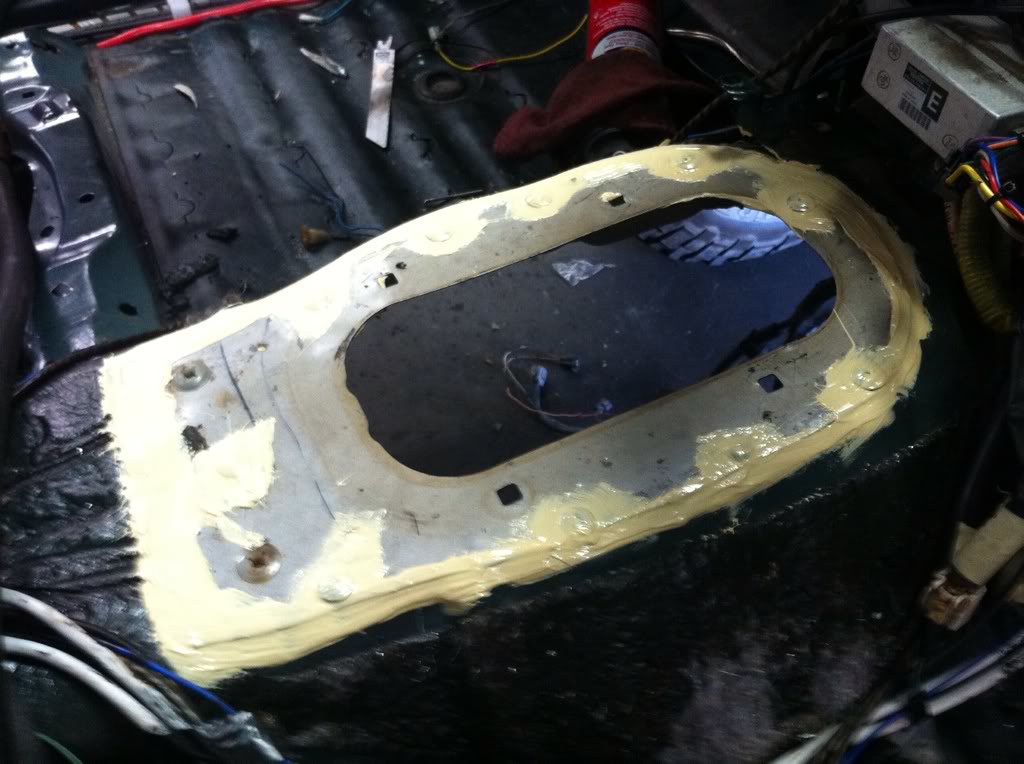
Riveted that sucker on tight and cleaned up the silicone:

35020553754_fdbaebc1b9_b.jpg


35020551644_cc1d70c523_b.jpg


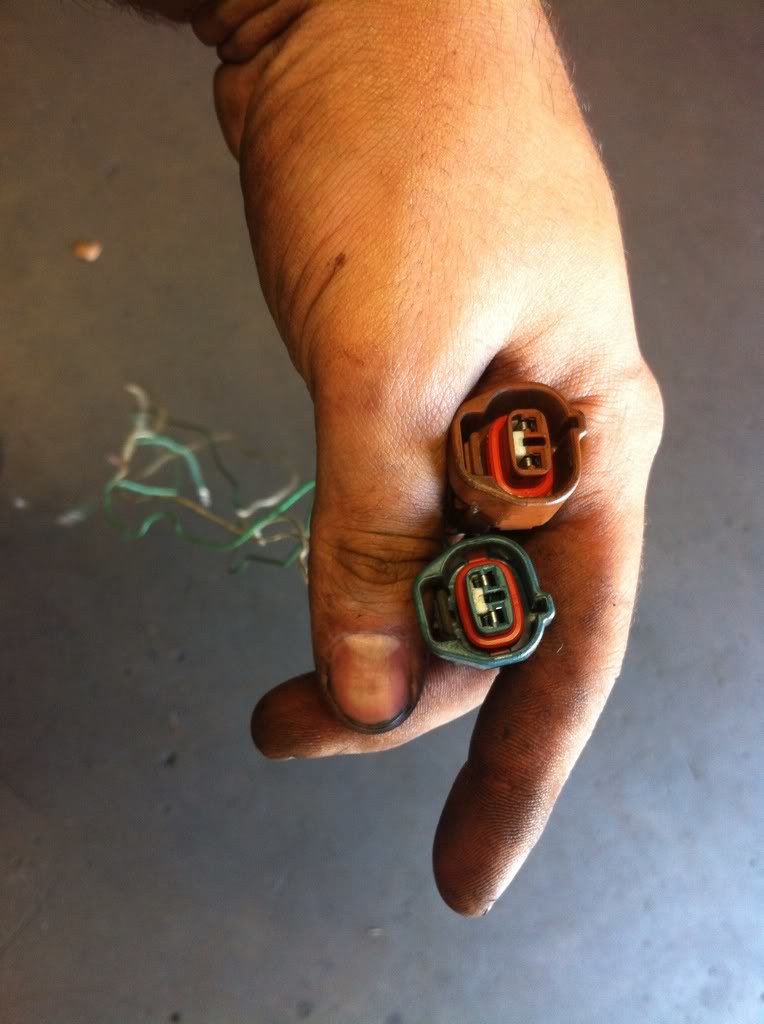
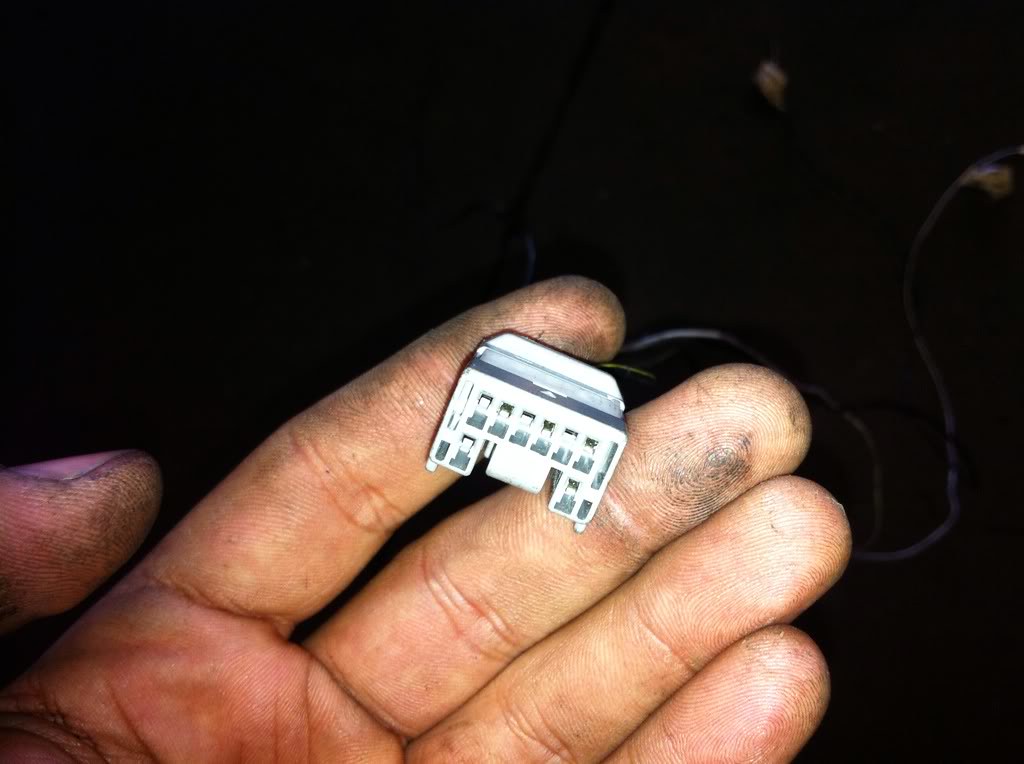
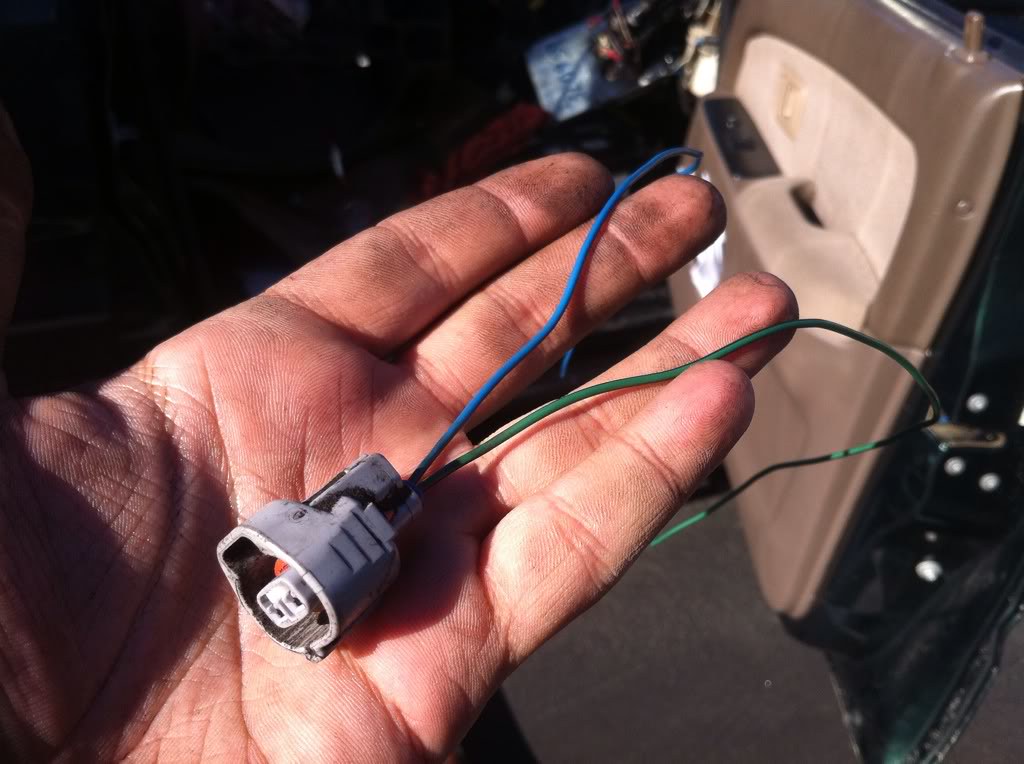
ADD solenoid wires removed from harness, all the way with contacts on both ends:

35020553584_89dda78793_b.jpg


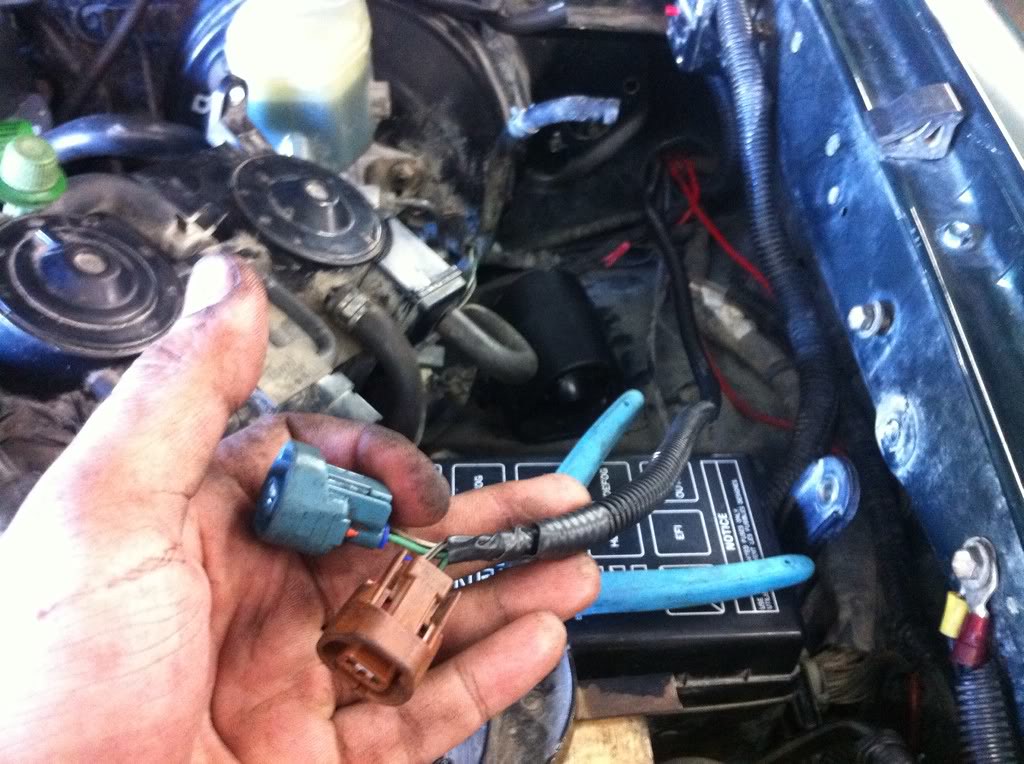
It was really easy to add the contacts to my existing harness. Here are the wires installed in the truck.

35020551944_8db7223ba6_b.jpg


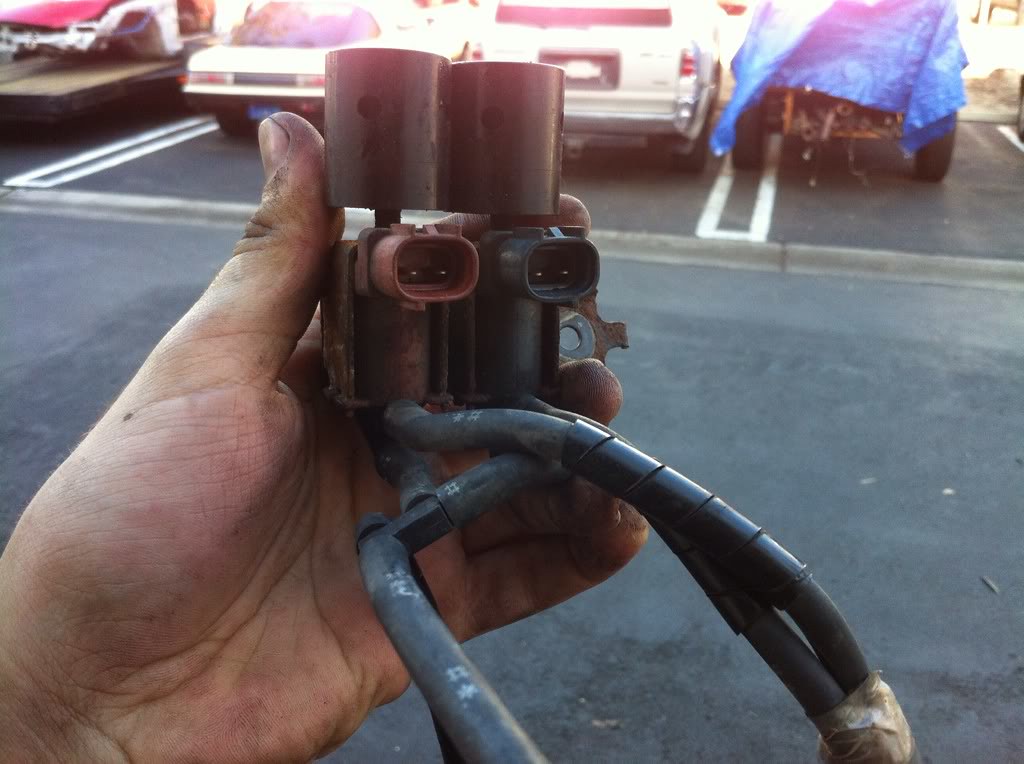
ADD vacuum solenoids, these are what actually connect and disconnect your front differential:

35691164092_89e26643e9_b.jpg


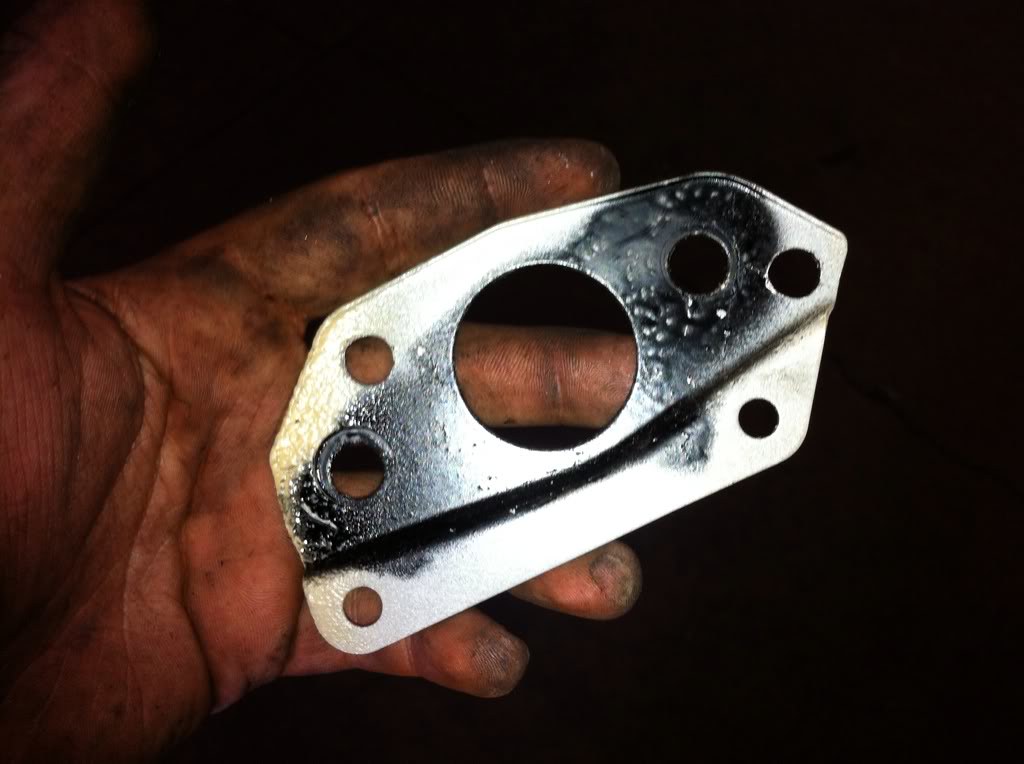
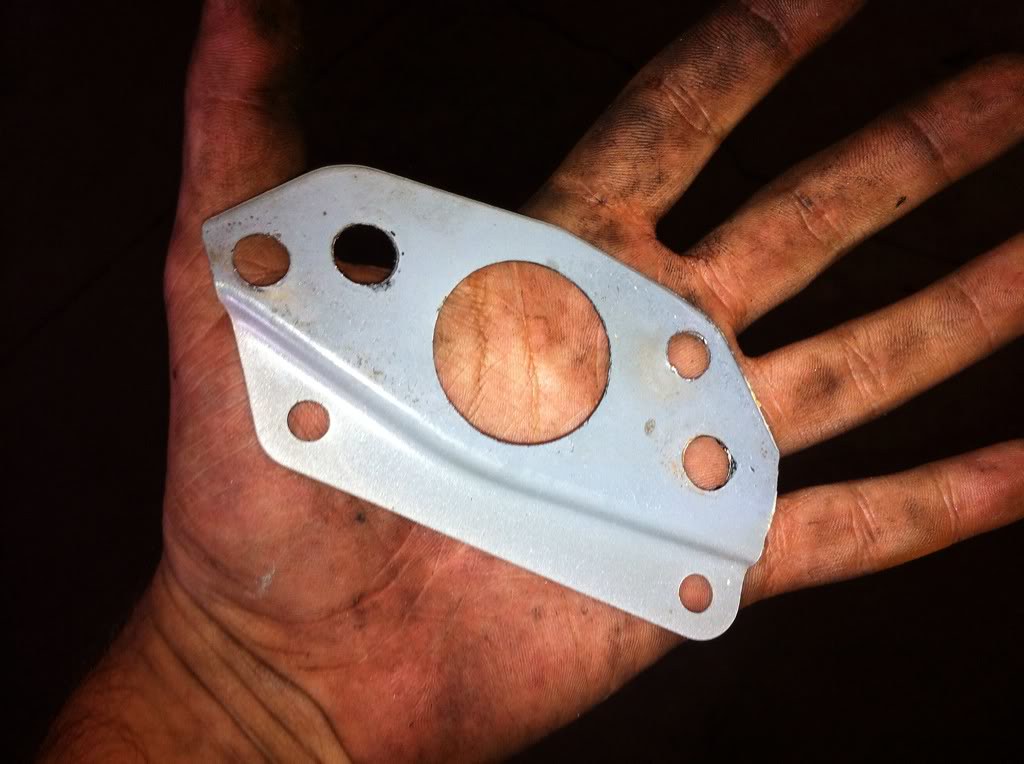
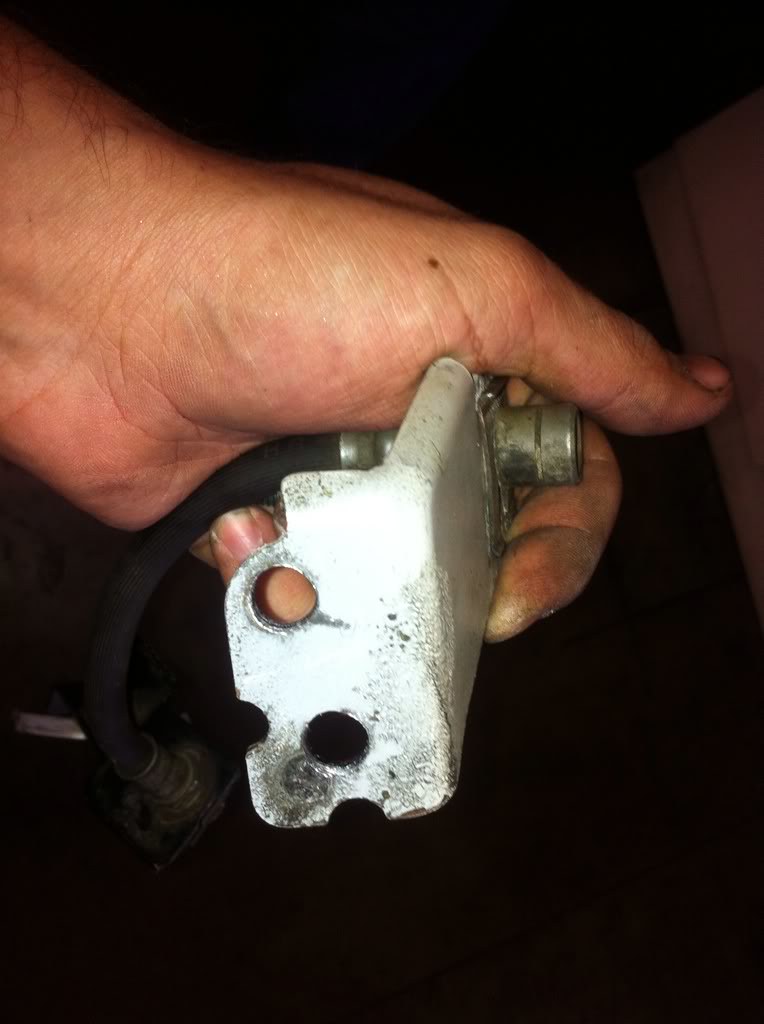
Clutch mount/master cylinder reinforcement plate, removed from donor to be added to my truck for added firewall strength. The black is the paint from making the clutch master template.

35020552814_eb2388f83b_b.jpg


35020551594_083e1d72f6_b.jpg


35020552594_ff44514029_b.jpg


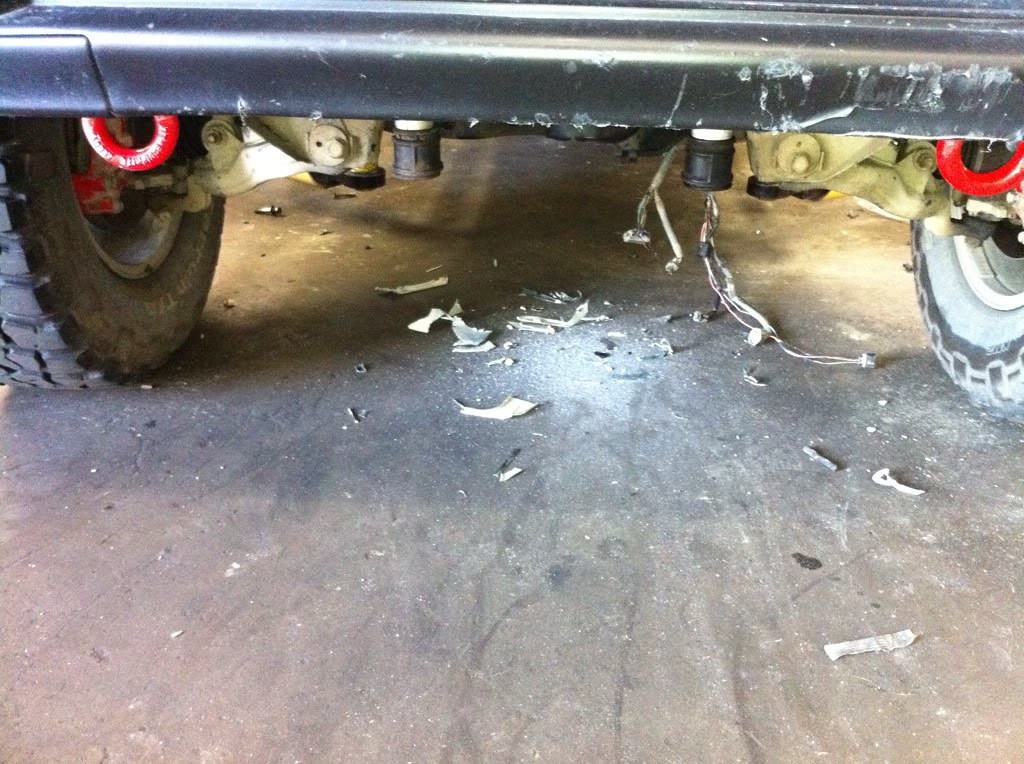
Remnants

35691164372_8b239c29fe_b.jpg


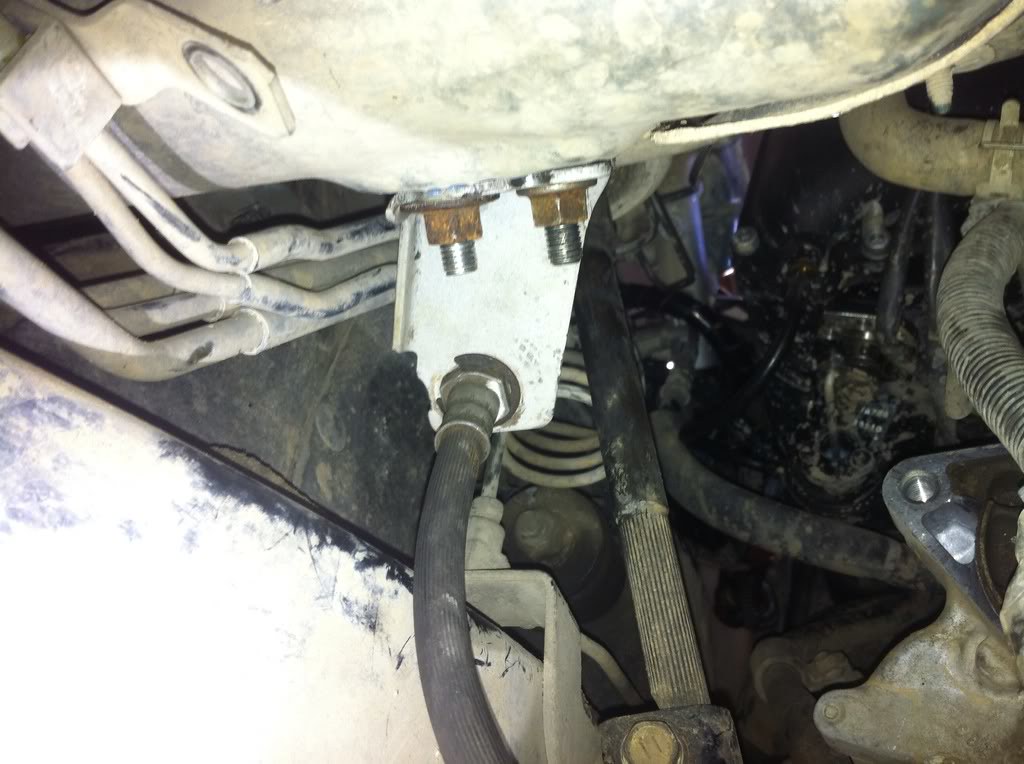
I've got the brackets drilled off of the truck for the clutch lines. Going to install them tomorrow. The wiring is not fully completed for the whole truck, but the transmission can still be installed before it's all completely wired.

Stay tuned :guitar3:
 
Last edited:
When finished of course. Can we hear that glasspack:thanks: I just noticed it when your exhaust was off. And my curiosity kills me!!! Loving this build.
 
When finished of course. Can we hear that glasspack:thanks: I just noticed it when your exhaust was off. And my curiosity kills me!!! Loving this build.

It's loud as almighty hell, lol. I'll do my best to make a good video.


Updates:

I wired the clutch start cancel switch and the clutch switch. (clutch cancel shown)

35478849220_5272fef0ff_b.jpg


Drilled out the spot welds on this bracket for the clutch hydraulic line.

35027250064_1689a4338e_b.jpg


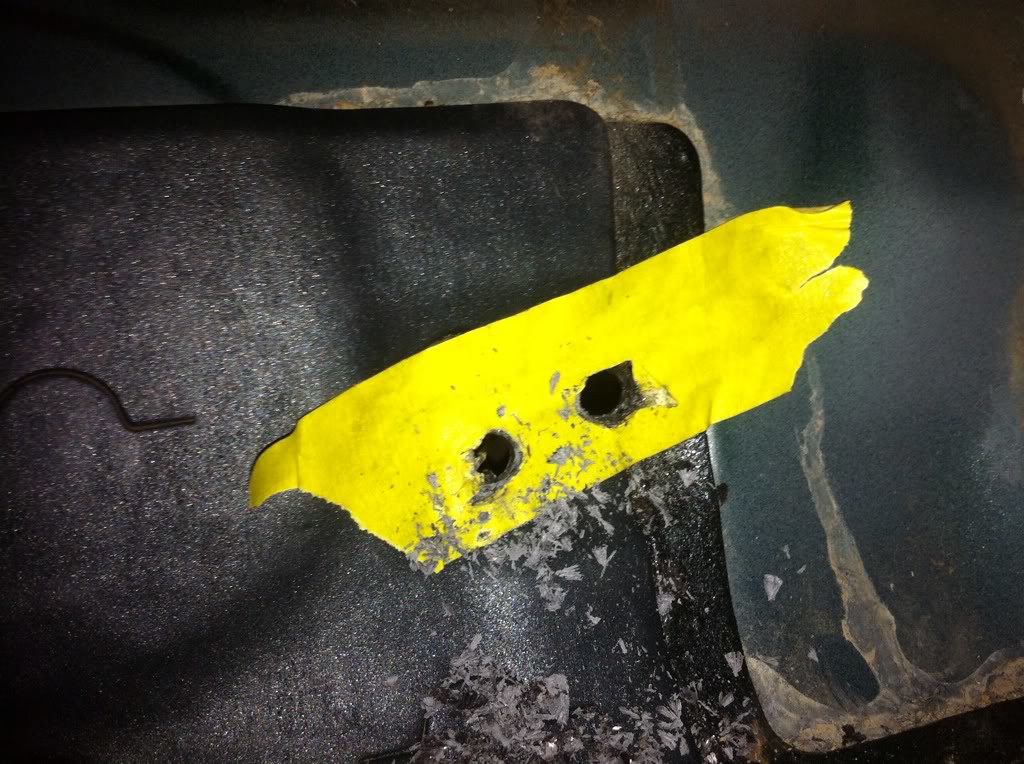
Drilled holes in the floorboard and bolted the bracket up to my truck rather than welding.

35057515863_d50be53056_b.jpg


35478849320_a9bb737884_b.jpg


Then came time for this :D

35478849430_977972311c_b.jpg


35697680582_6933301a37_b.jpg


35027250304_0e0894c7e3_b.jpg


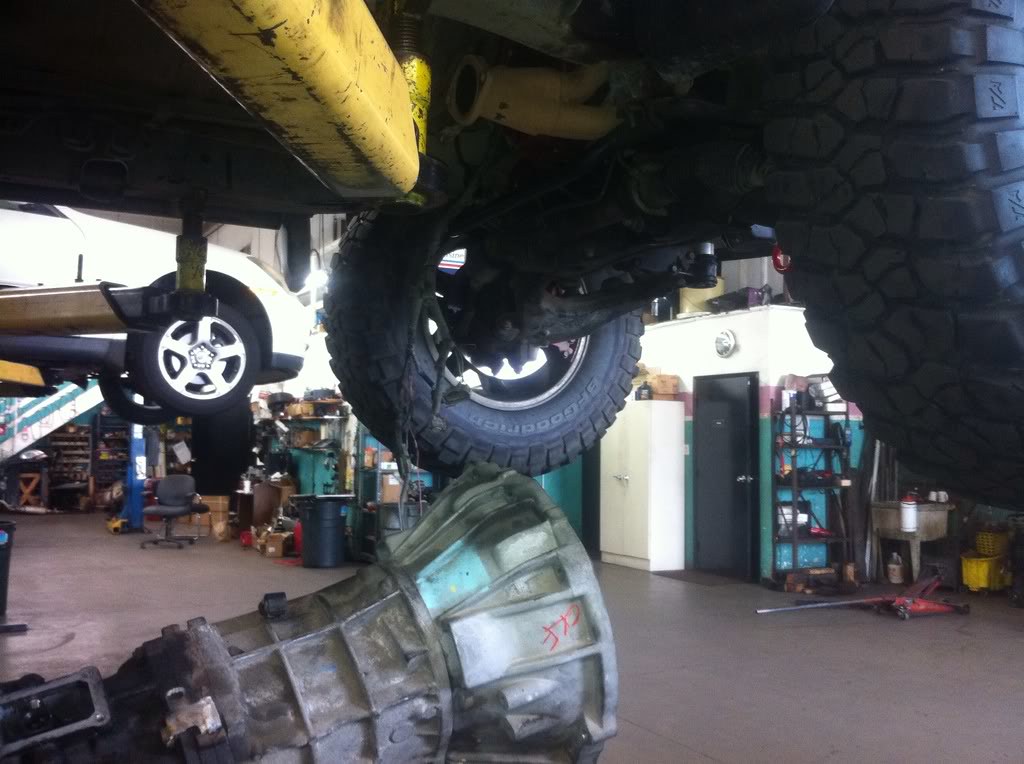
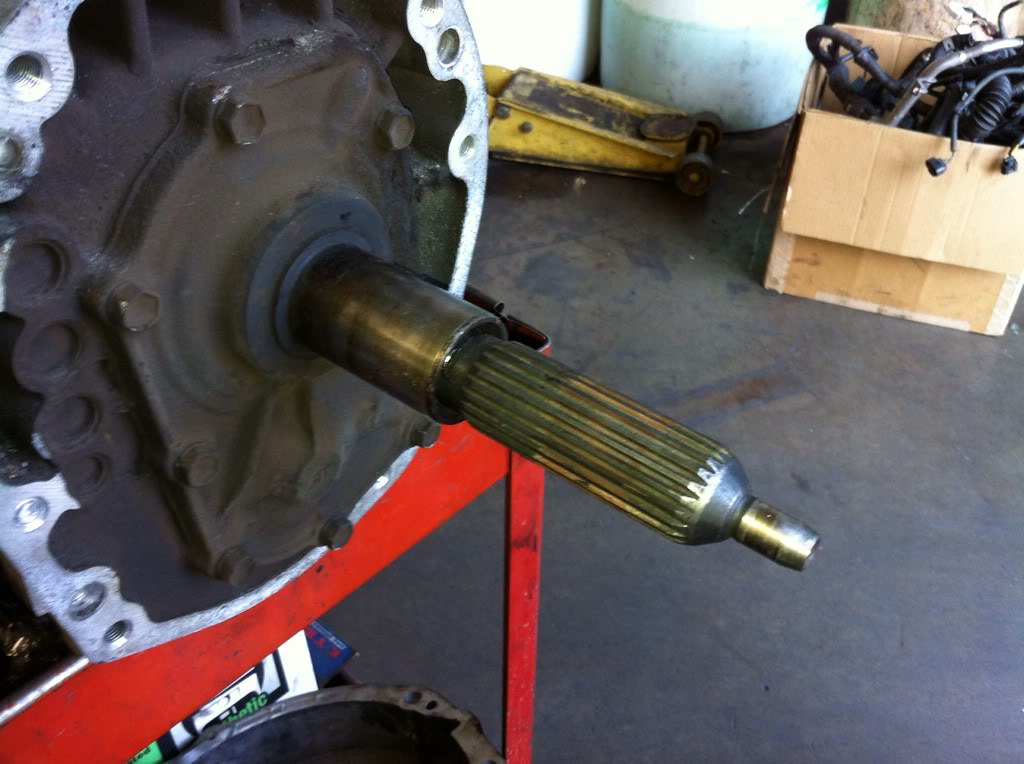
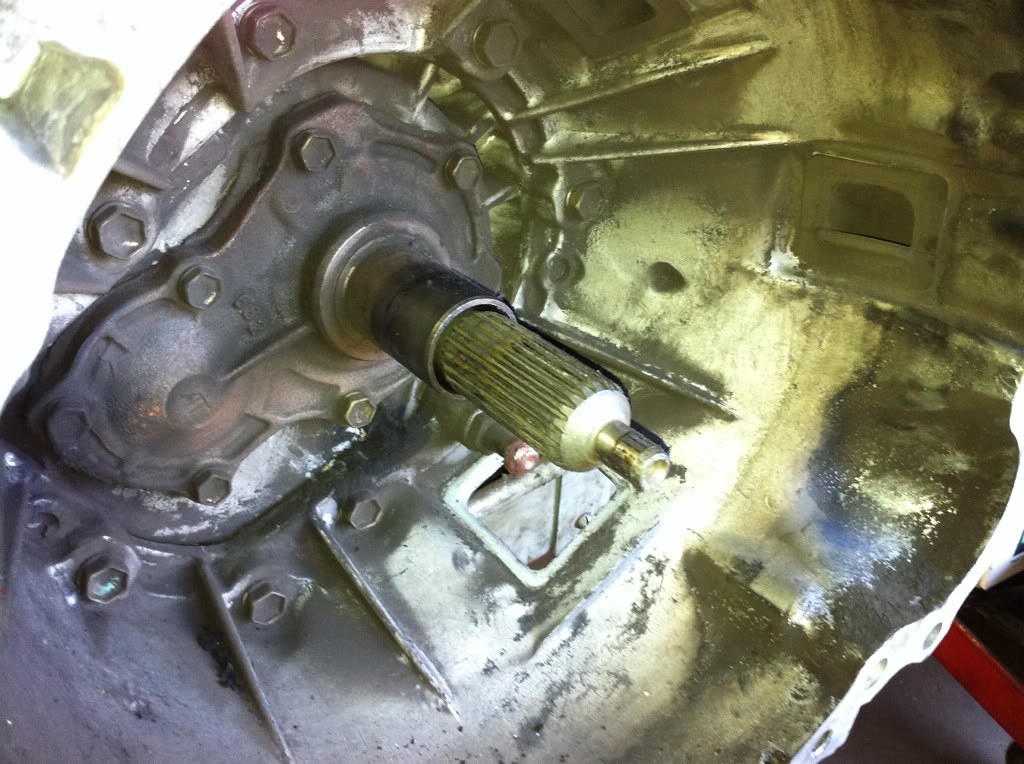
Too bad, the input shaft is about 30mm too long. The transmission had to come back down.

35697680522_fb8ec50f3b_b.jpg


Compared to a proper length input shaft on a 2WD W59.

35027251084_741692ff76_b.jpg


John's got a way to grind the input shaft to proper length, which will be followed by the immediate installation of the transmission.

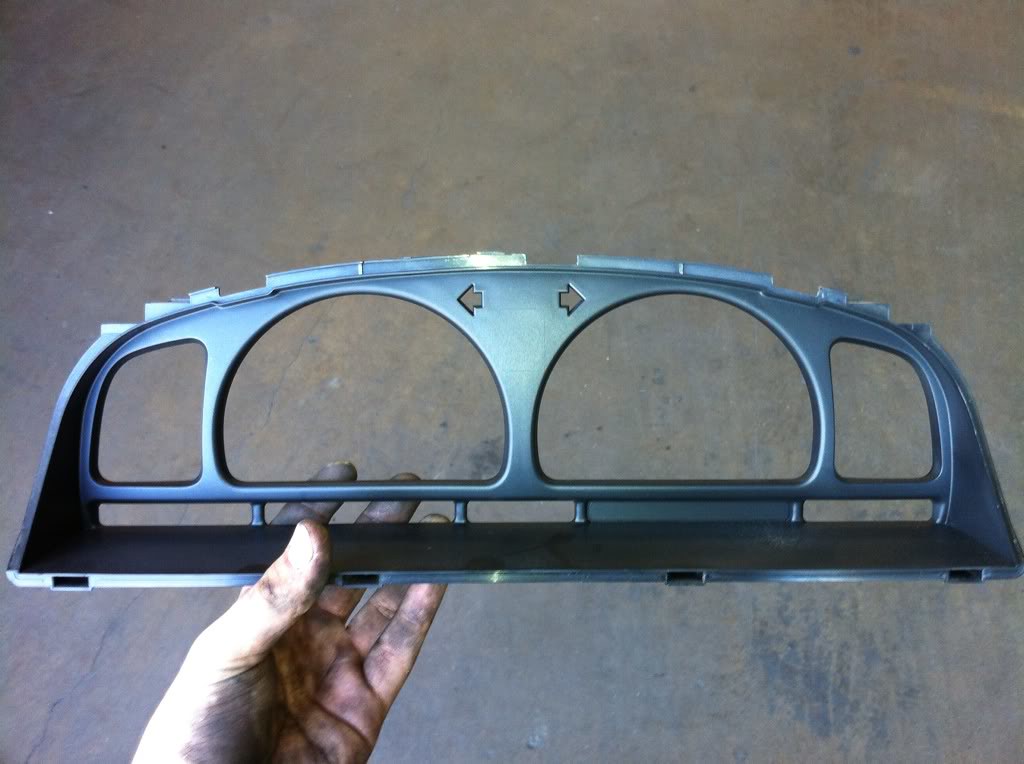
Here's a pic of the gauge cluster insert from the donor. This will go into my cluster to eliminate PRND2L.

35697680552_67f405b3f9_b.jpg
 
Last edited:
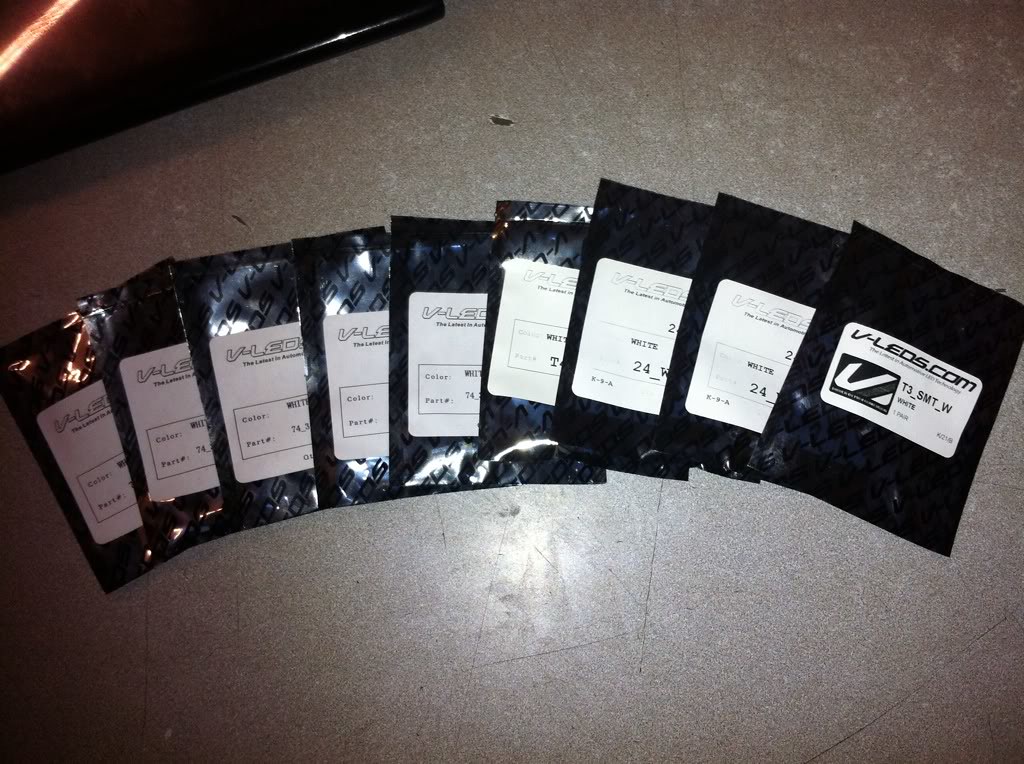
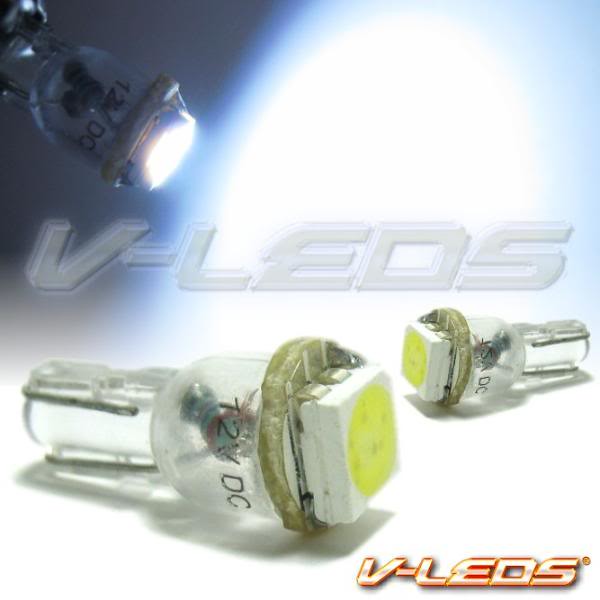
These will go in when the dash goes back together. VLED's was having a 50% off sale. All 6k white.

35478849100_1b468ef434_b.jpg


2 T3 wedge and 2 T4 wedge (1 for AC button, 1 for hazard button, 1 for rear defrost button and 1 for rear window button.)


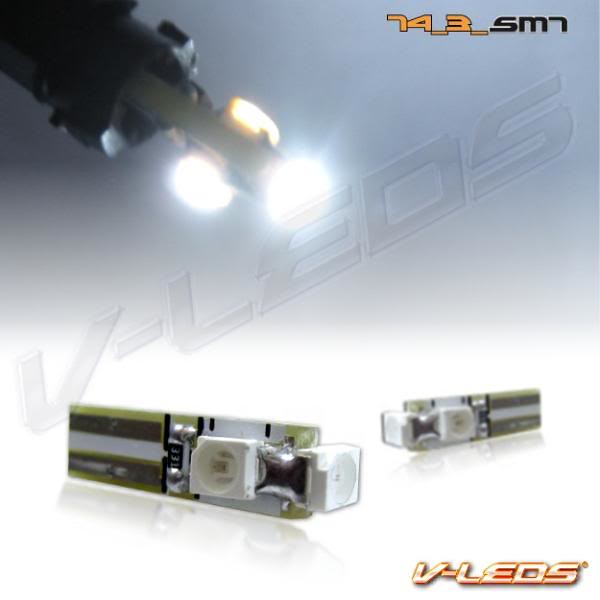
10 #74's (2 for HVAC, 1 for ashtray light (rerouted to cig lighter), 1 for glovebox, 1 for keyring, 2 for gauge signals, 2 for boost gauge, and one extra)
6K WHITE 3 LED WEDGE BASE DASH LIGHT BULBS 37 74 | 1 PAIR B/O

35057515663_5c8d12f2bc_z.jpg


4 #24's (3 for gauge cluster, 1 extra)
SMT HIGH POWER WHITE WEDGE BASE LED LIGHT BULBS 24 | 1 PAIR

35478849020_7d3bb6136e_z.jpg
 
Last edited:
dude i see your edit on the "2wd w59". I was reading that earlier and was thinking if its a 2wd r150 then why dont you just tear it apart and swap input shafts LOL i have read up on the trans swaps and i think the easies and best for wheeling perspective would be use a w56 with a w59 bellhousing, old school reduction box and then a marlin adapter then the taco tcase. :) start your wheeling life out with dual cases . Thar setup saves you the money of the first dual case adapeter.


Good luck with the swap
 
WTF? i ordered from VLEDs and only got half of my order!, Those multi-LEDs are still back ordered for me. freaking monkeys!

BTW this build is incredible i've been watching this and im loving it. It's like watching overhaulin.
 
dude i see your edit on the "2wd w59". I was reading that earlier and was thinking if its a 2wd r150 then why dont you just tear it apart and swap input shafts LOL i have read up on the trans swaps and i think the easies and best for wheeling perspective would be use a w56 with a w59 bellhousing, old school reduction box and then a marlin adapter then the taco tcase. :) start your wheeling life out with dual cases . Thar setup saves you the money of the first dual case adapeter.


Good luck with the swap

Hey, that's not a bad idea for a set up! I can't even comprehend the crawl ratio! There's still a lot to learn with the stock 4LO and getting a feel for things, but someday dual cases would kick some serious ass.

Lol yeah, good catch on the typo :P

What's the possibility of some badass upper and lower links? I saw the ones you made for Jay in person, extremely impressive. I'm very interested. What other things do you make? Panhard bar?


WTF? i ordered from VLEDs and only got half of my order!, Those multi-LEDs are still back ordered for me. freaking monkeys!

BTW this build is incredible i've been watching this and im loving it. It's like watching overhaulin.

Looks like they had a successful sale, haha.

Thank you man, overhaulin' is one of my favorite car shows!


can't wait to pick your brains james, keep it up with the pictures!!

braaaaaaaaaaaaaaains :hungry: More pictures, coming up!


Awesome work on the conversion, cant wait to see it done!

Thanks man! I can't wait either!!


Big plans now. I'm finally considering all the 4WD goodies/flexy suspension stuff that would have been poser-toys for a 2WD. No more untouched rock sliders. Definitely going to be springing for some belly pans. That'll be real interesting with the custom transmission crossmember... a Lil' Skips gas tank skid, dual batteries, rear e-locker or dual ARB lockers, longer LC rear shocks, front bumper, rack, lights, high lift jack, shovel.... I need!

A body lift is one of those items, but redoing the sliders and modifying the CBI would suck a fat one. 1" might be best to avoid the extra work. I will at least make sure that the BL is taken care of before installing a front bumper.


Here are the updates for December 5th, 2011:

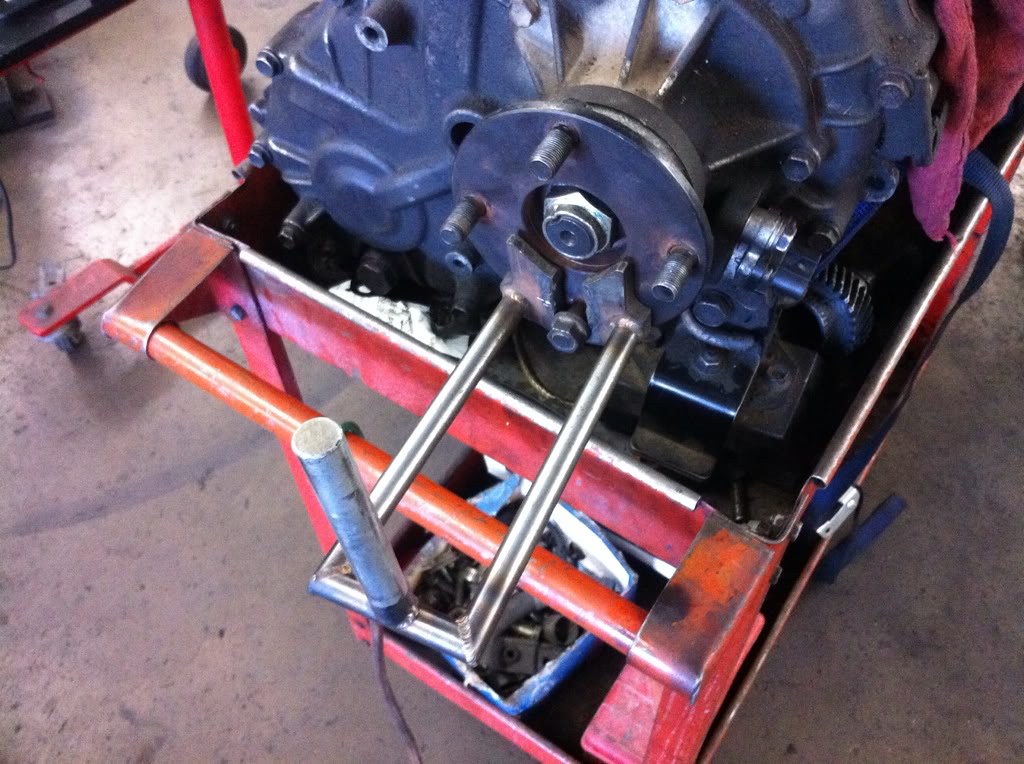
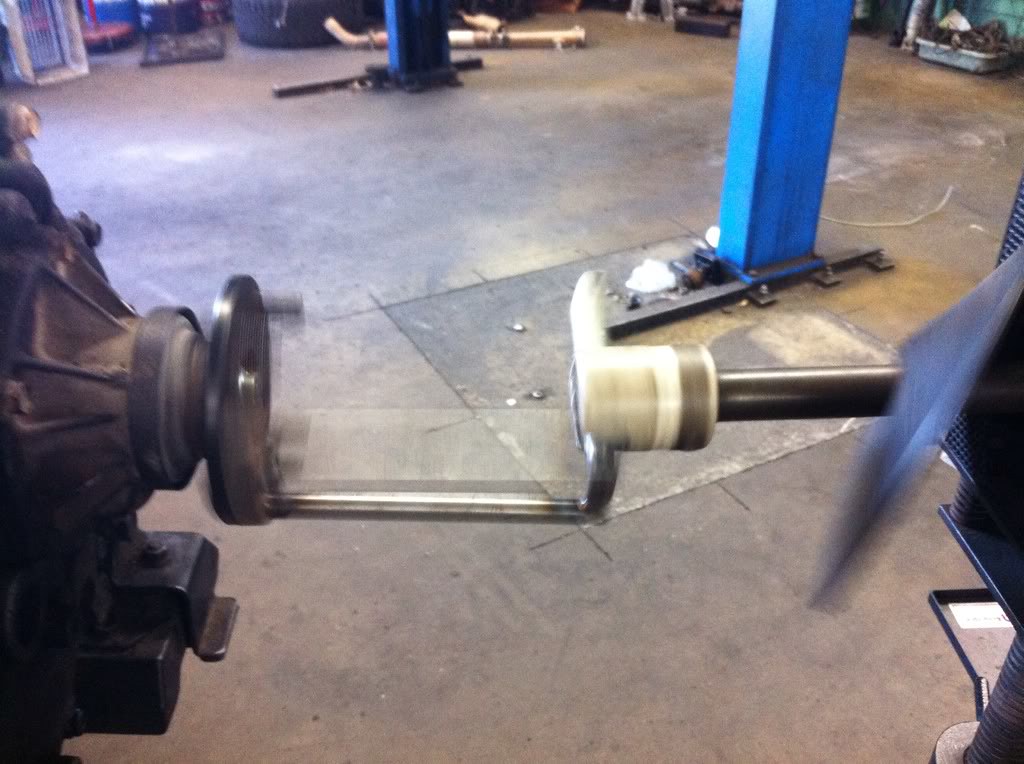
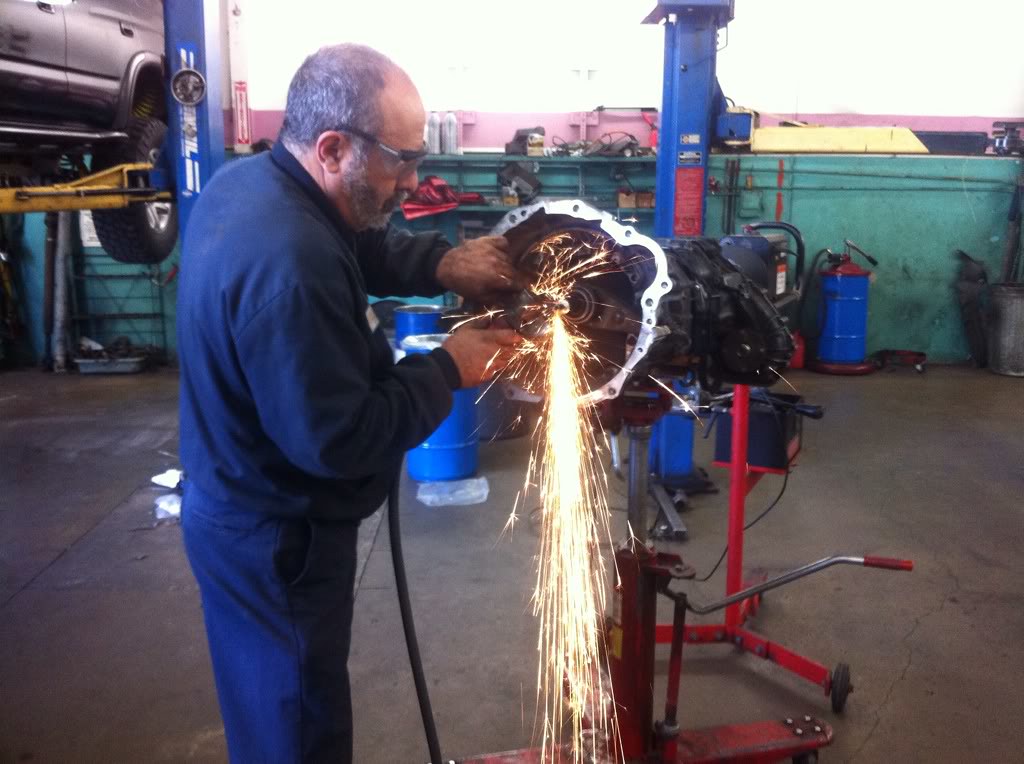
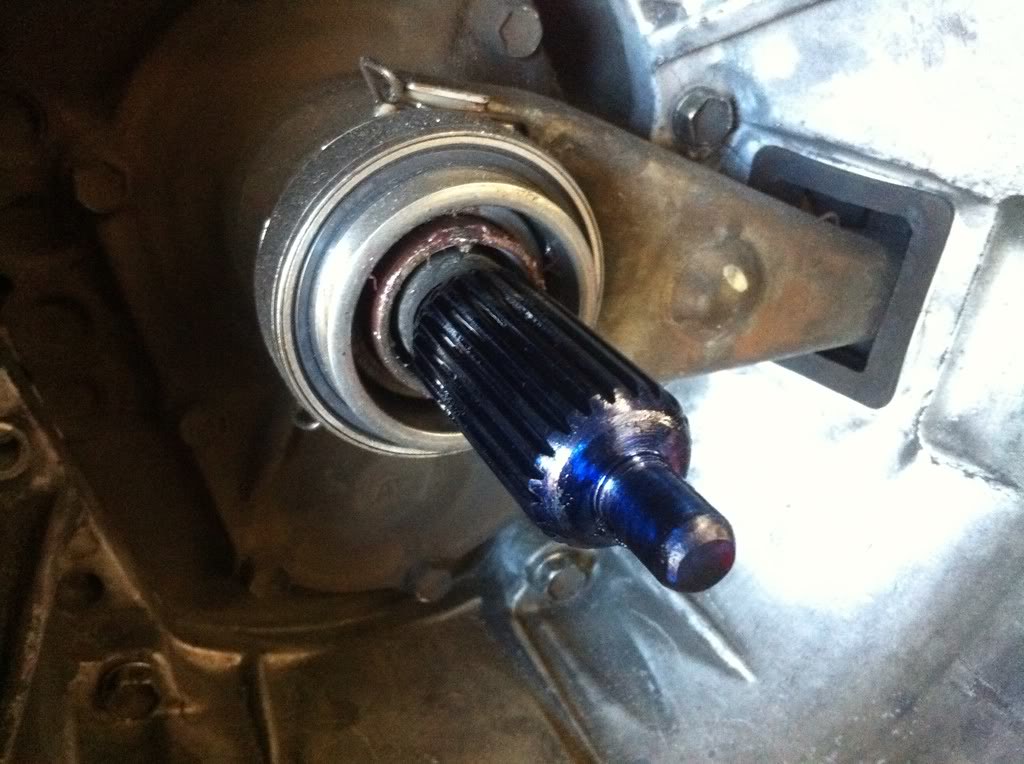
The problem resulting in the transmission not bolting up was the length of the input shaft. Ideally, we need to trim 20mm off. John knew a way to turn the output shaft to keep the input shaft spinning.

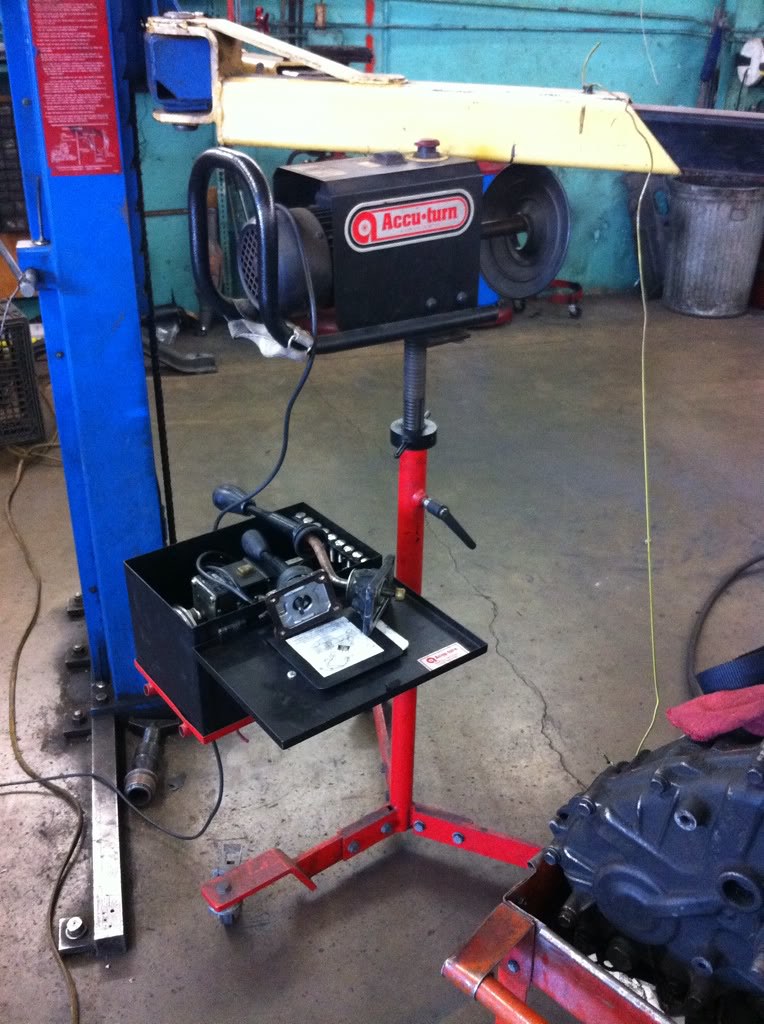
Say hello to the On-the-car brake lathe!

35045125404_f17537ecaa_b.jpg


The On-the-car brake lathe does a terrific job of spinning rotors, so why not transmissions?

35045127314_7ed1a80edb_b.jpg


35496760720_b5021d8894_b.jpg


<iframe src="http://www.youtube.com/embed/5shDTQi_EsE" allowfullscreen="" frameborder="0" height="480" width="853"></iframe>


John trimming down the R150F input shaft with a grinder, all by hand.

35075499463_fe0323c98f_b.jpg


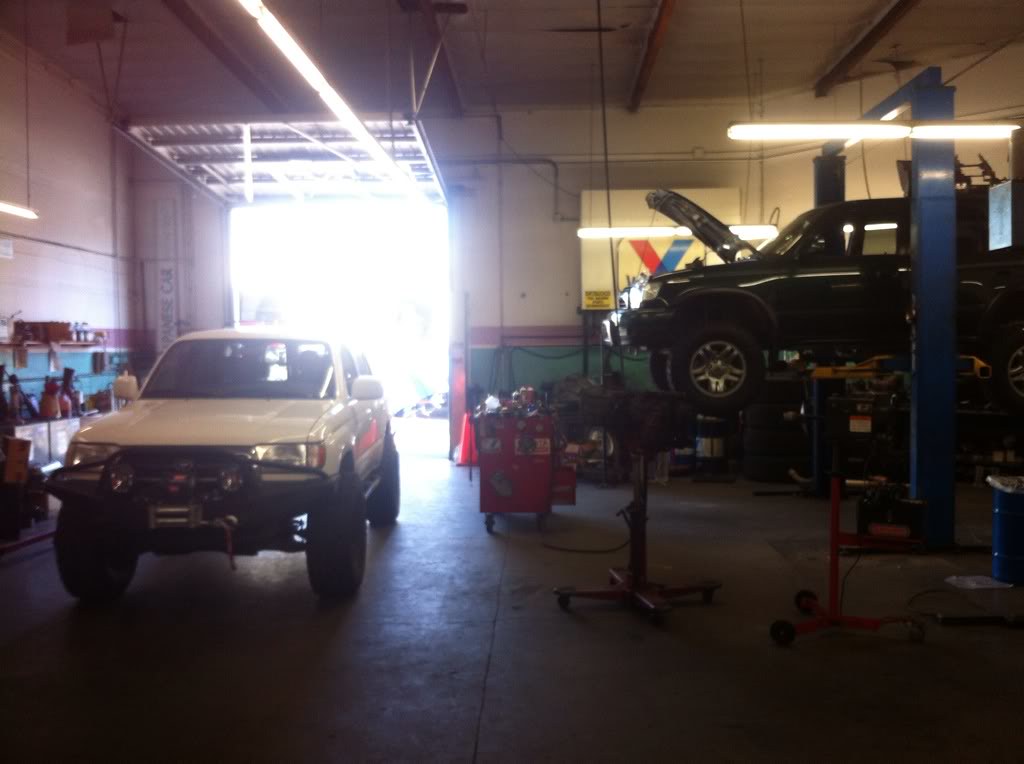
The shop just about turned into a 4Runner off road shop!

35715484622_f61dac19e1_b.jpg


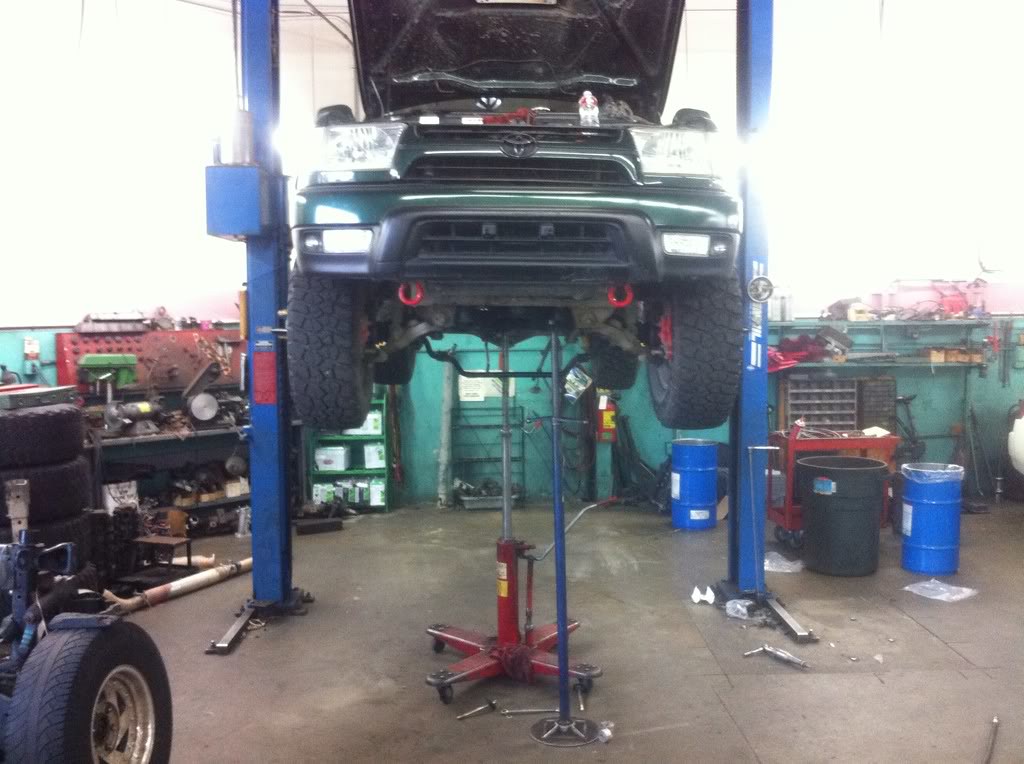
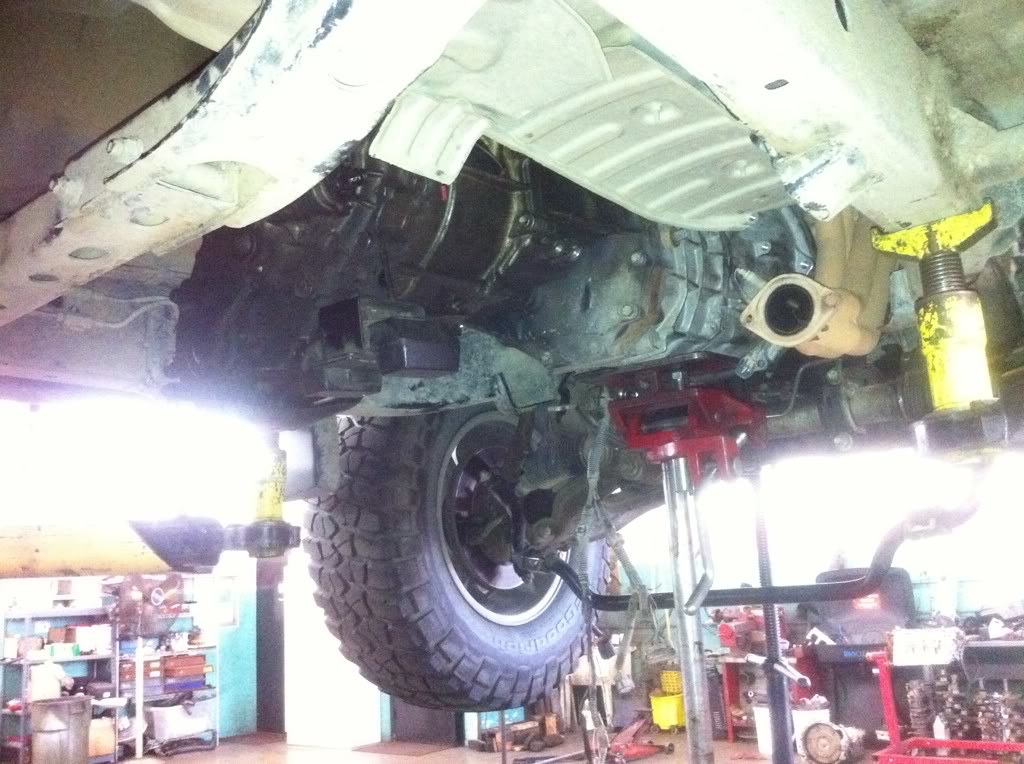
With the input shaft correctly shortened (shown here coated with DYKEM blue layout fluid), the trans went back up.

35496752570_f05e4b9cb1_b.jpg


35045121224_a526e642a9_b.jpg


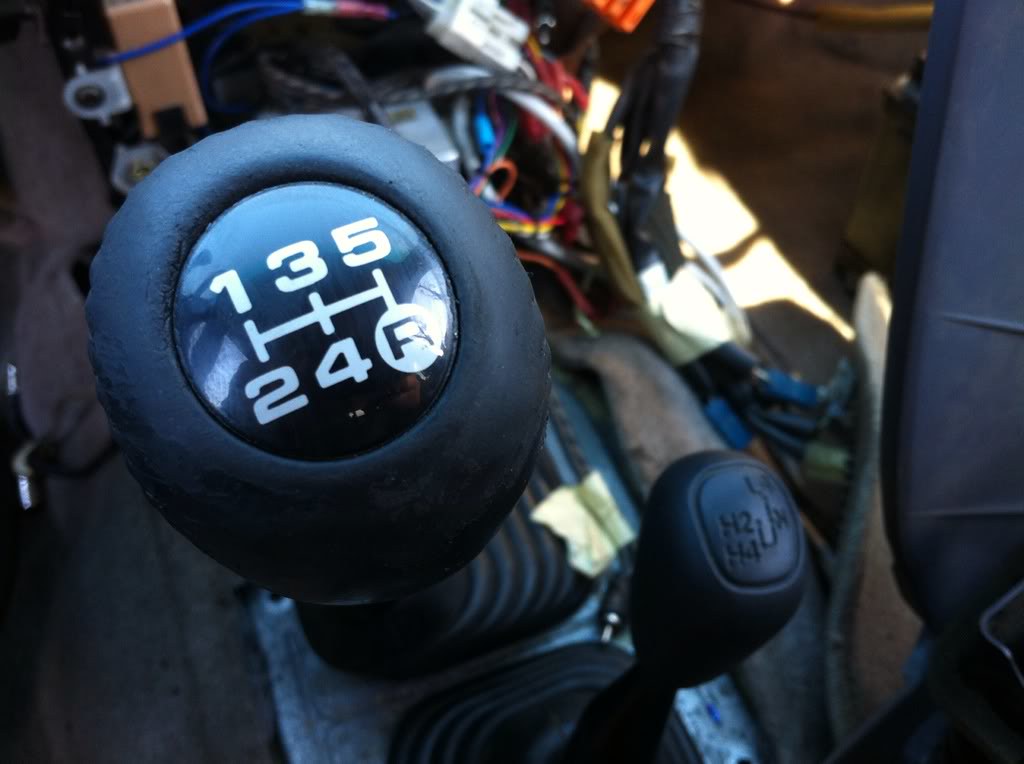
Shifters installed

35753349091_dba0003e09_b.jpg


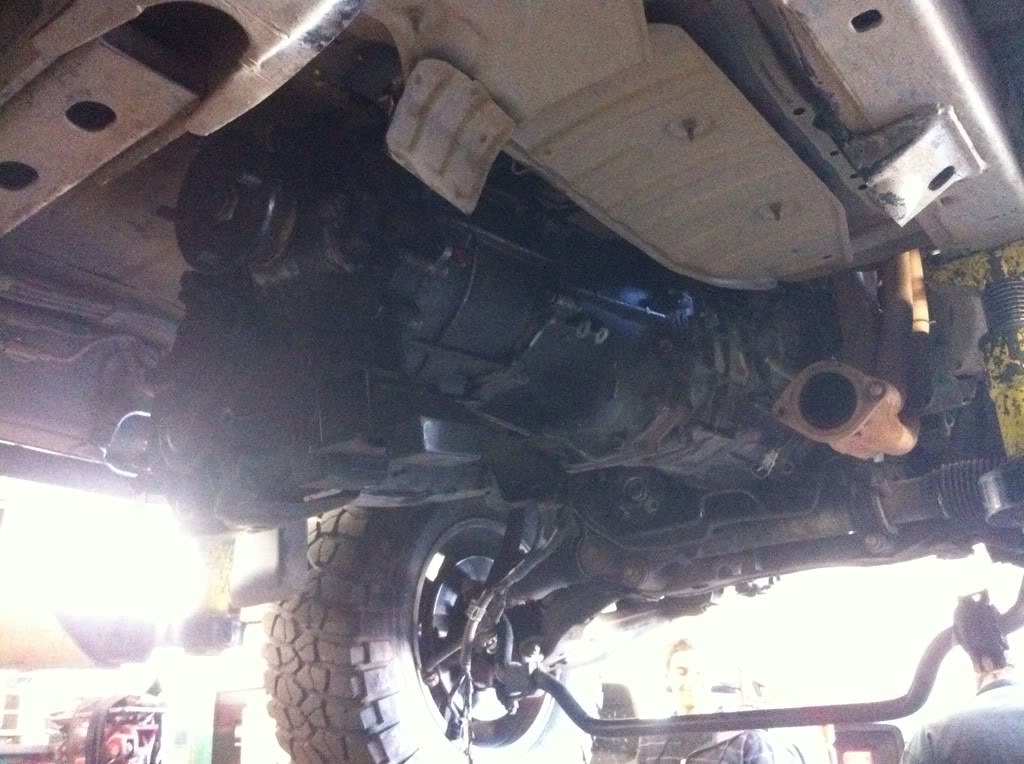
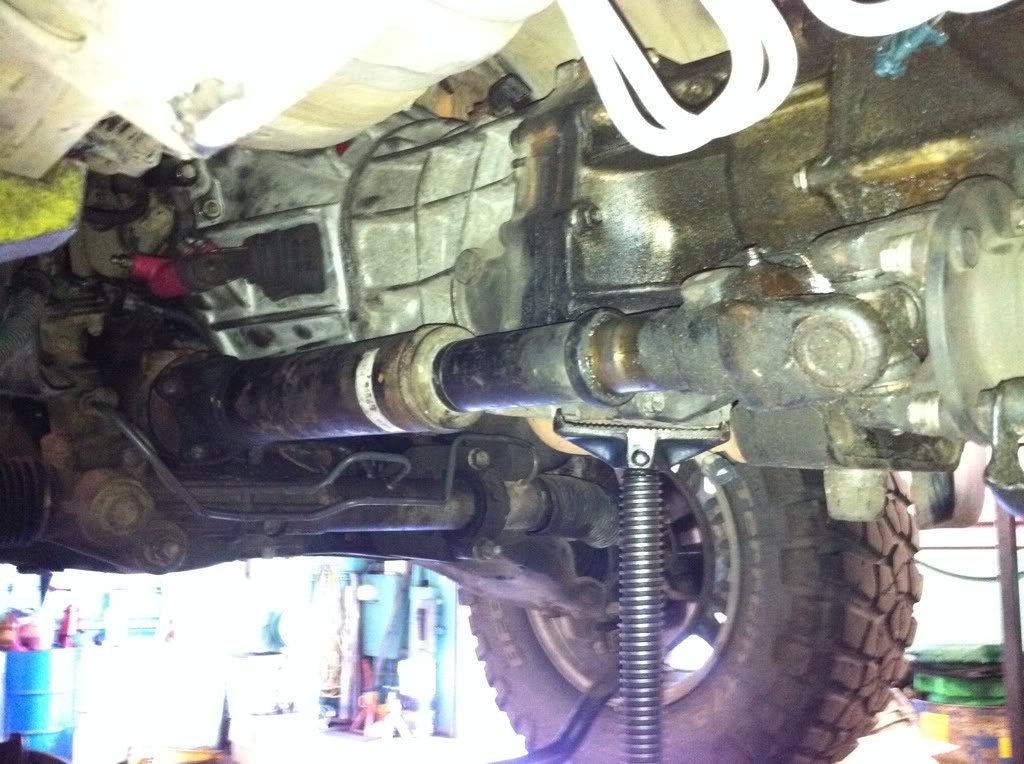
The front driveshaft fit well, the slip yolk is extended about one extra inch.

35496766200_44167cda99_b.jpg


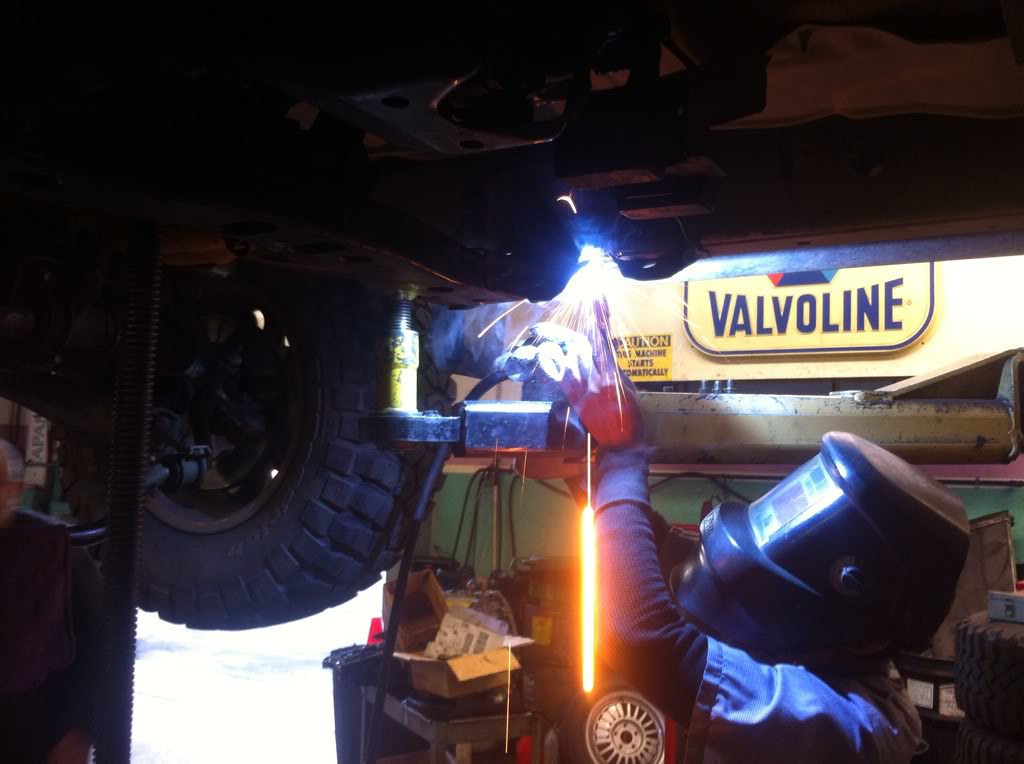
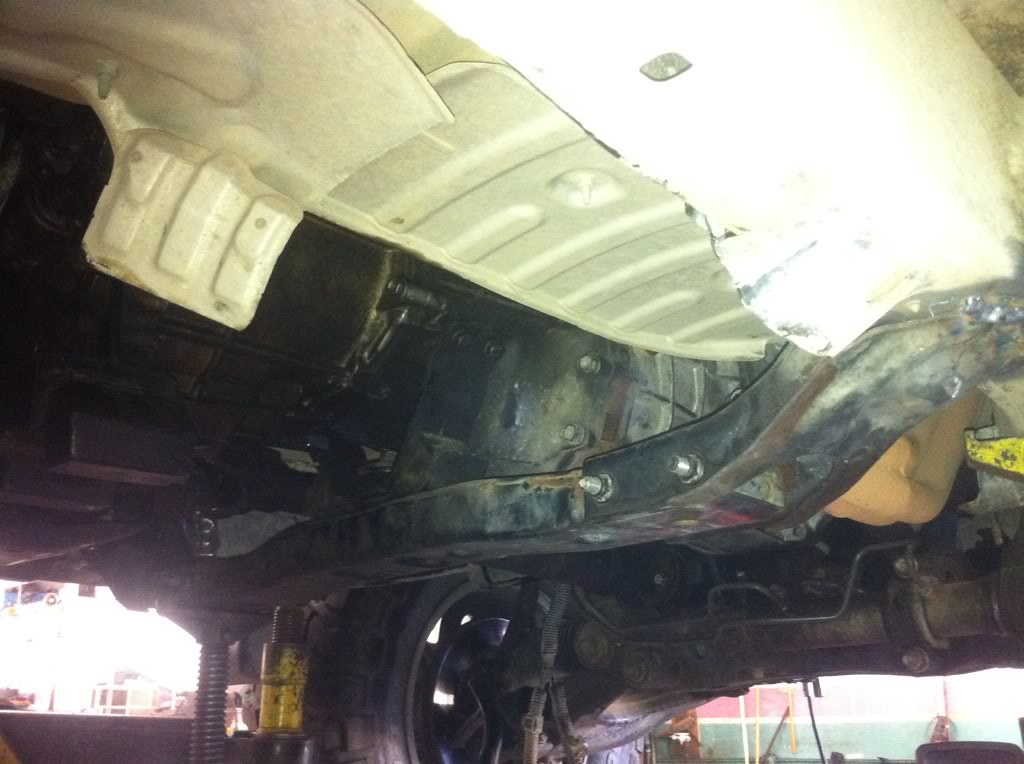
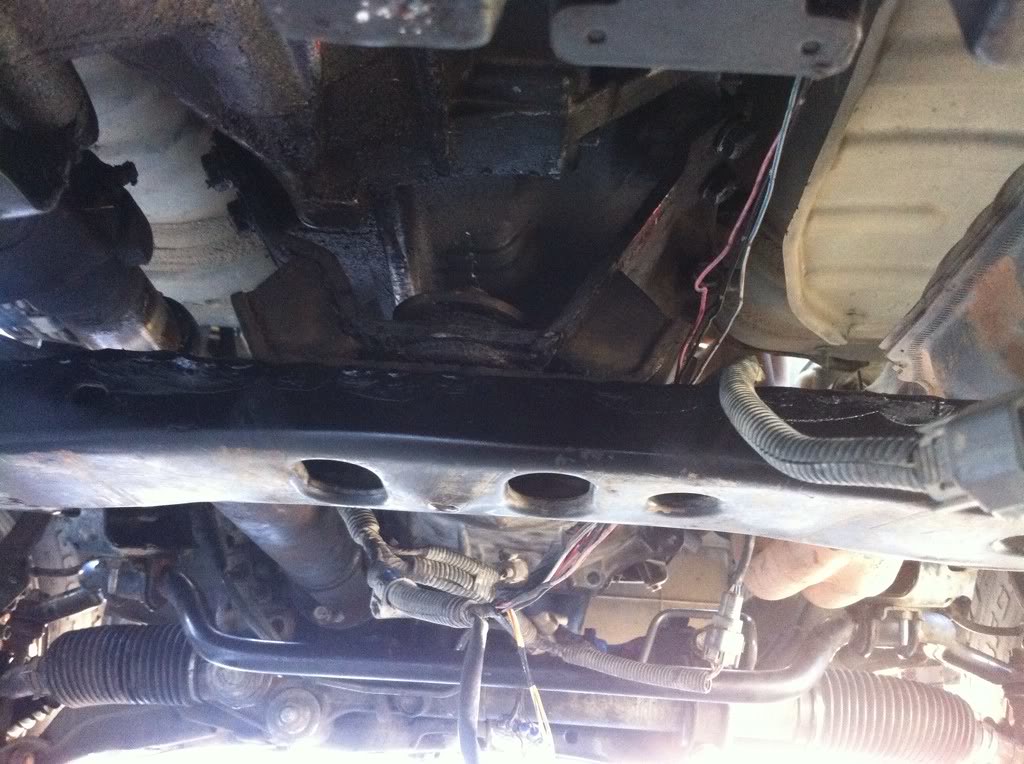
Nelson did the welding on the transmission crossmember that I cut off of the donor:

35496752720_570ed6aea3_b.jpg


35075491943_7496e2f1f5_b.jpg


35753332591_d2cd952e9e_b.jpg


35496760620_5eca12b1c8_b.jpg


35496760970_d3b23023a1_b.jpg


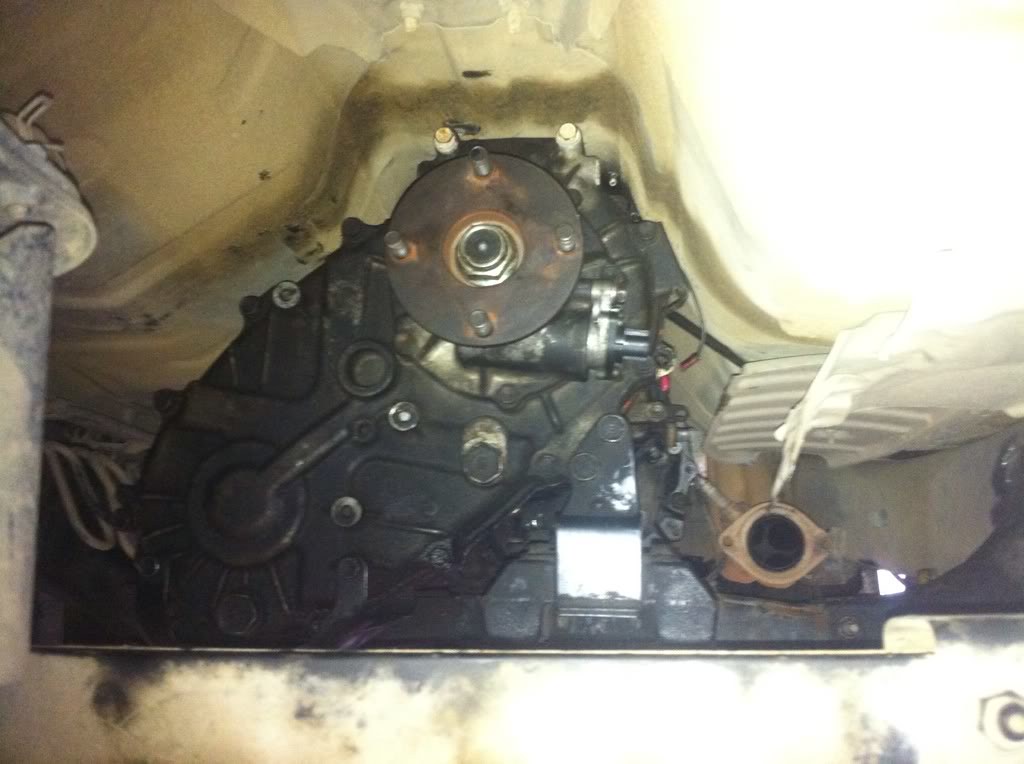
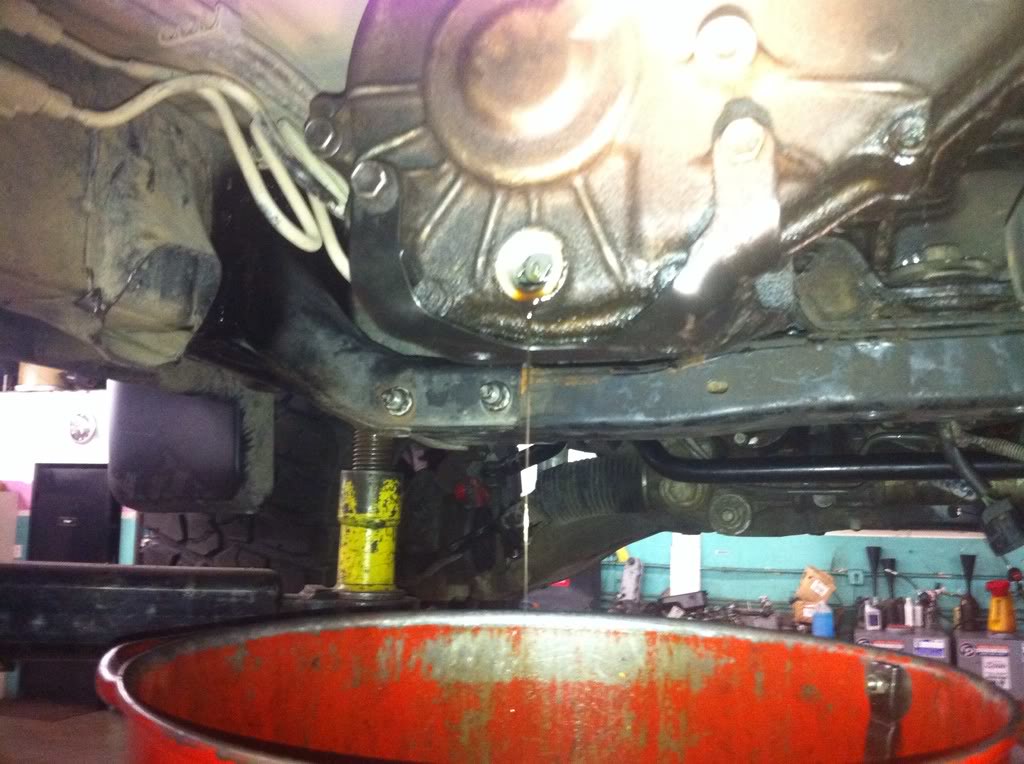
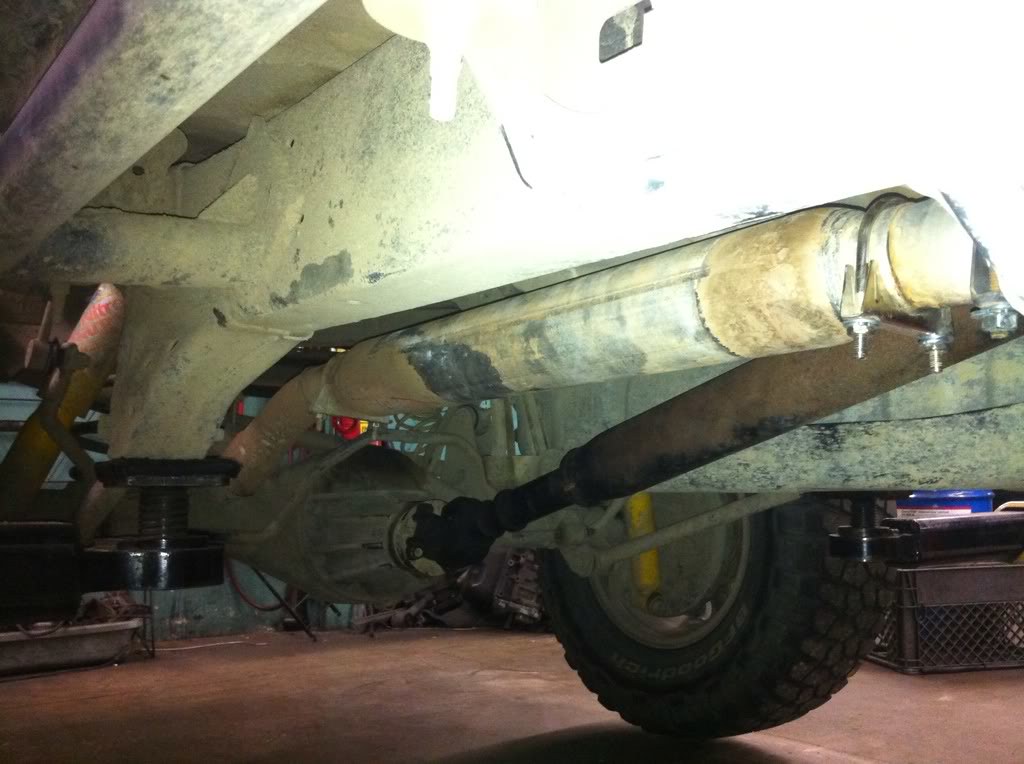
Turns out that the transmission was not leaking, it was the transfer case. It had a leak at the fill plug, which was missing a gasket. T-case filled up with fresh 75W90.

35045123414_89194b36df_b.jpg


Reinstalled the rear driveshaft (slip yolk very compressed... barely a 1/4 inch of movement). This will have to be shortened.

35496766050_d17d52c6ea_b.jpg


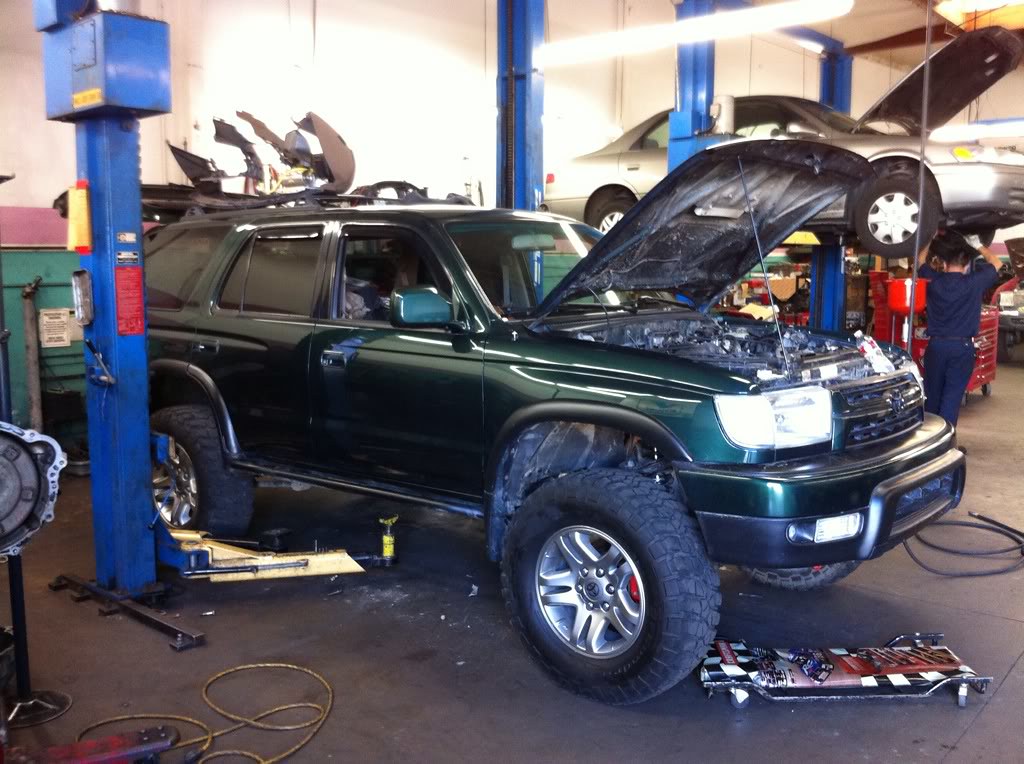
Tomorrow, I'm taking both of the trucks home. The 99 will not be 100% done, but certainly drivable. The 2000 will begin part out very soon, I'll post a new thread in the classifieds when that happens.

I love this forum, thank you for the support, guys.

 
Last edited:
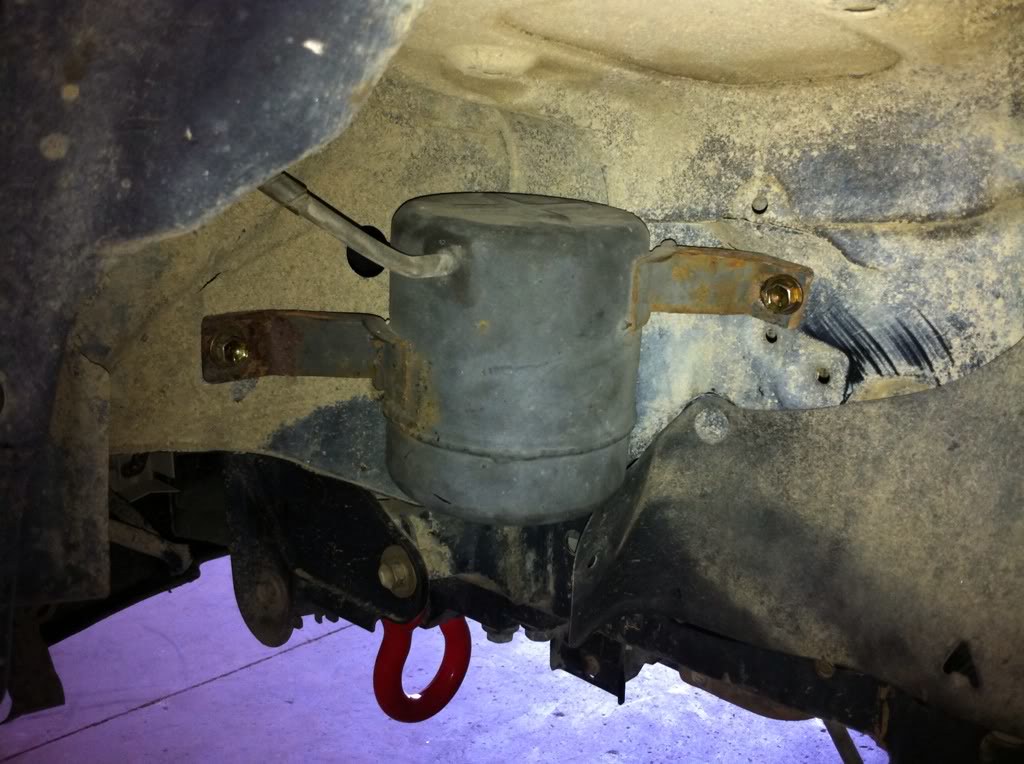
Differential Vacuum reservoir installed

35753348921_c2d55db9a1_b.jpg


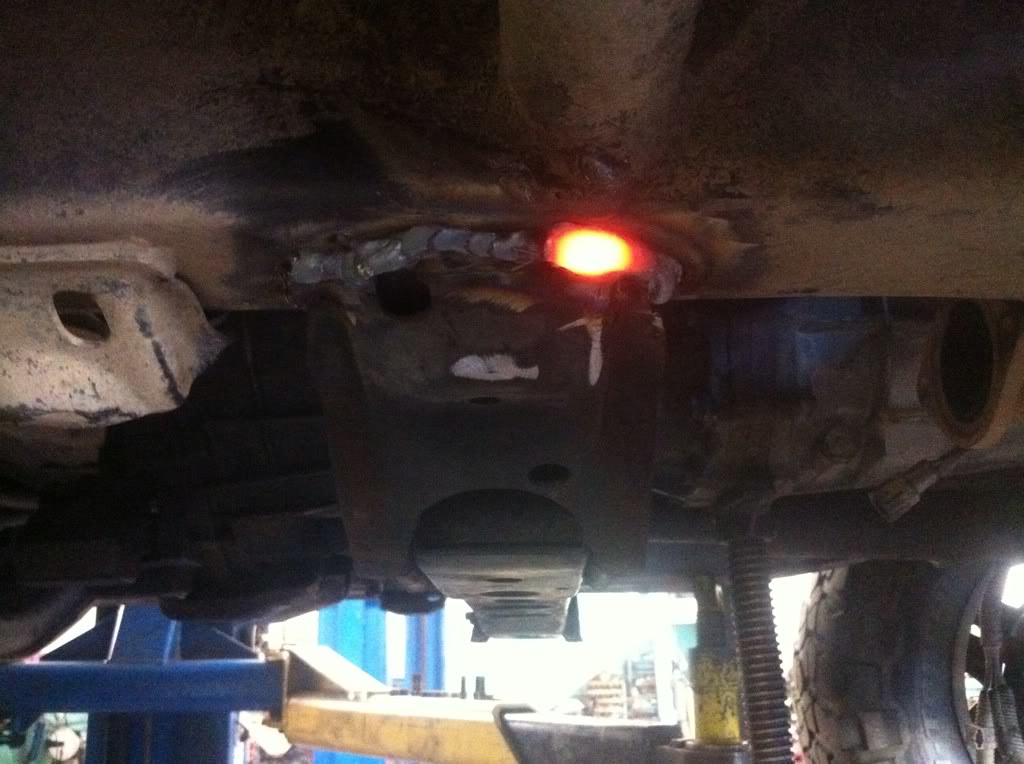
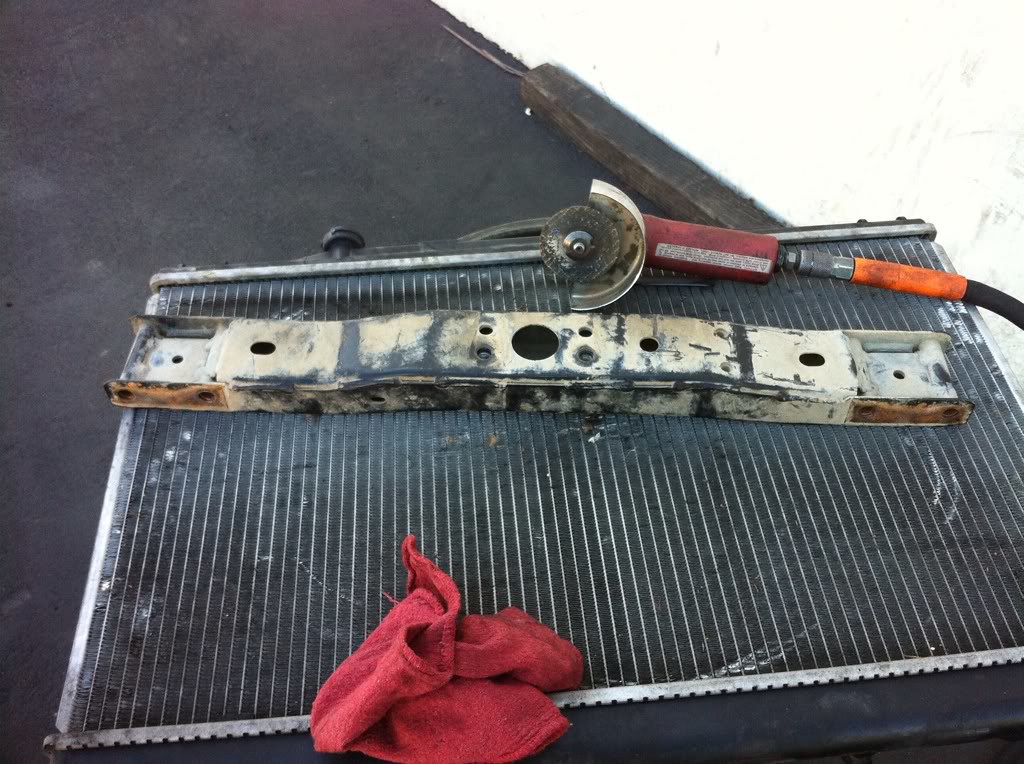
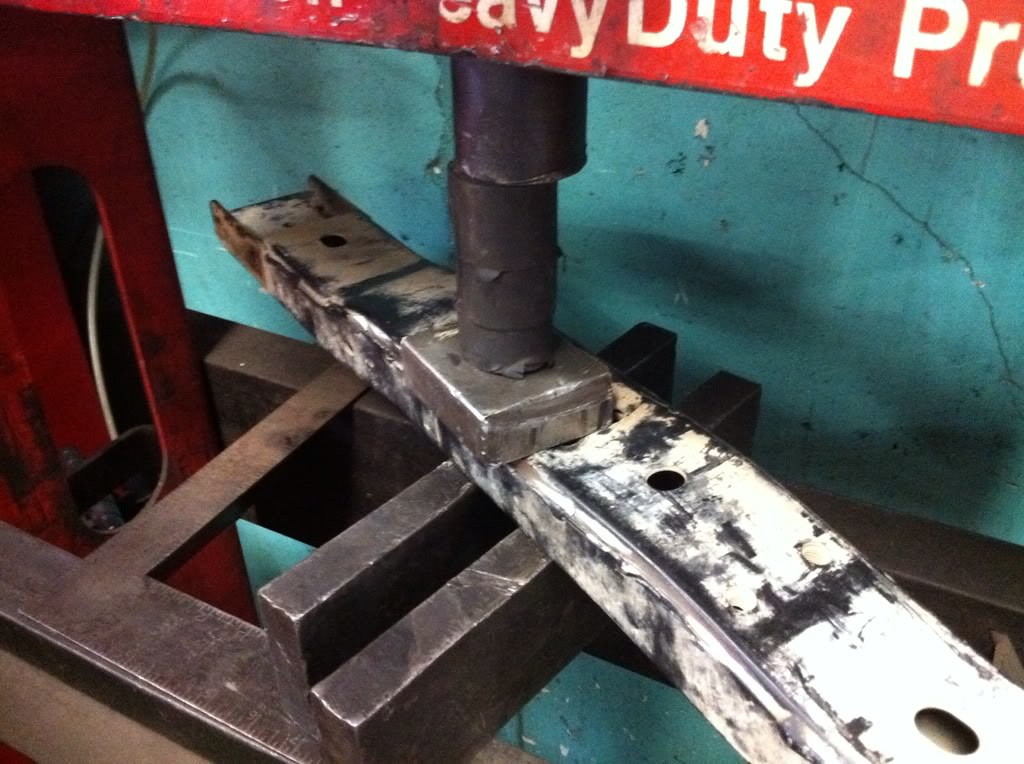
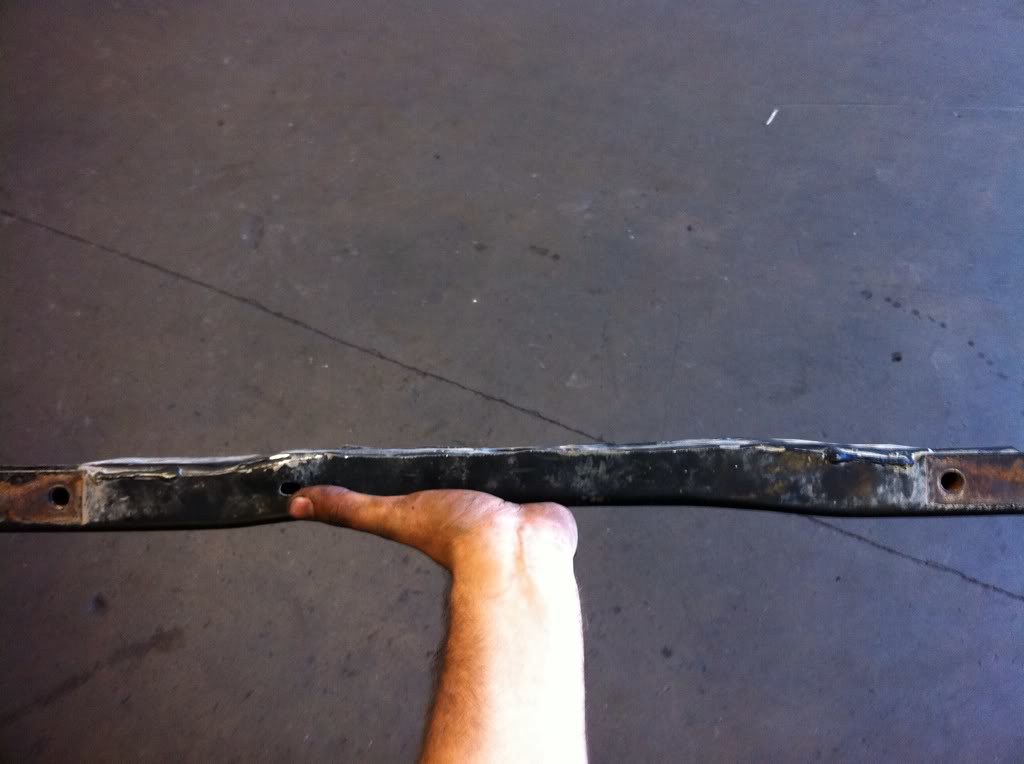
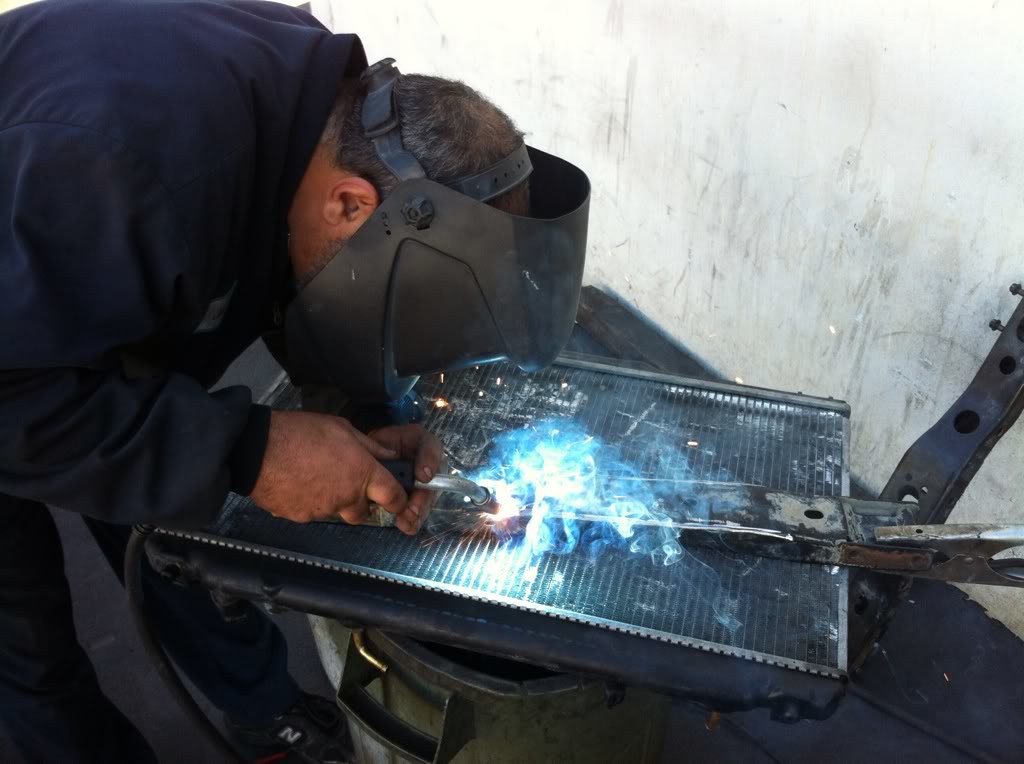
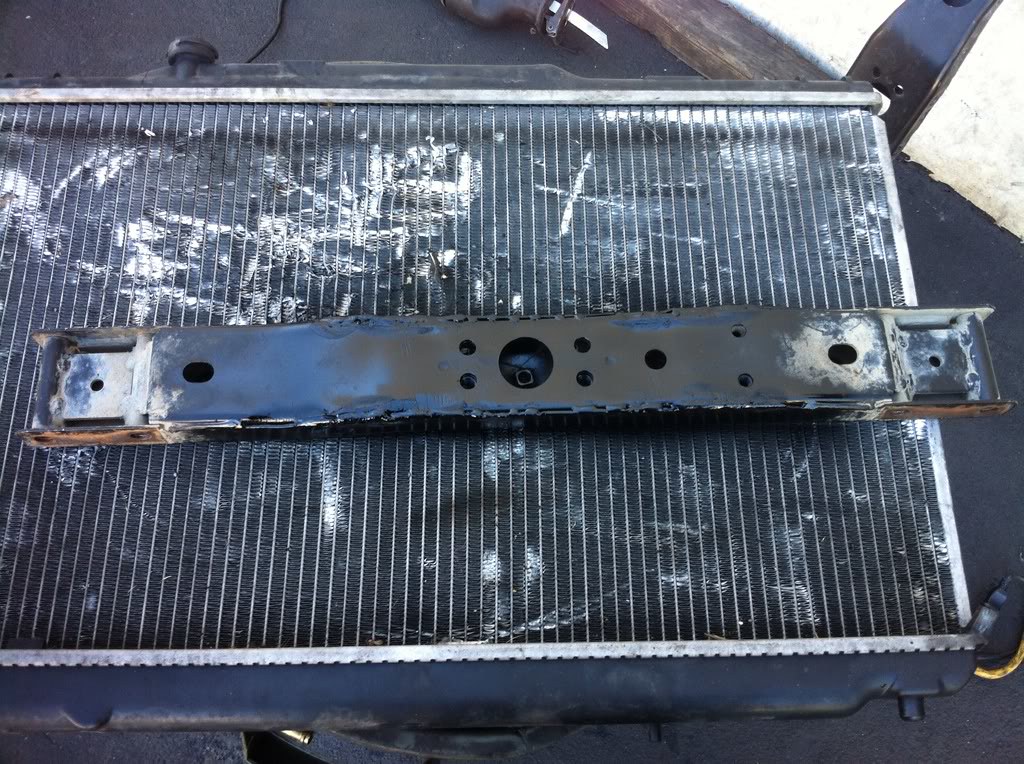
Since I had to cut the crossmember from the donor truck, the side mount portions were inevitably a bit shorter where they meet the frame. The center part of the crossmember sits up higher when in place, thus the transmission is sitting a bit too high. The transfer case was rubbing against the body. To fix this problem, we pulled the center section of the crossmember, cut the welds with a grinder, pressed the whole center downward to lower the transmission mounting point, and welded it back together.

35075496143_341c8375c6_b.jpg


35496755200_faf180050b_b.jpg


The mounting location is effectively lowered.

35496757800_27fa9615b2_b.jpg


John welding it up.

35496757910_afafe34714_b.jpg


Protected from rust with engine enamel.

35496755410_4bbd4b60f2_b.jpg


35496763950_7cef25094c_b.jpg


The moment of truth... I moved it from the lift that it's been at for over a week. Clutch start cancel button works, the truck runs and drives.
<iframe src="http://www.youtube.com/embed/9PeJYeMhXuY" allowfullscreen="" frameborder="0" height="480" width="853"></iframe>


Say hello to my little friend(s)!

35075499173_7e25cf5535_b.jpg


I just needed to wire up the transmission stuff, like the reverse light, 4HI and 4LO. The ADD actuator vacuum lines haven't been completely hooked up yet either.

35075493163_29f876e2ce_b.jpg


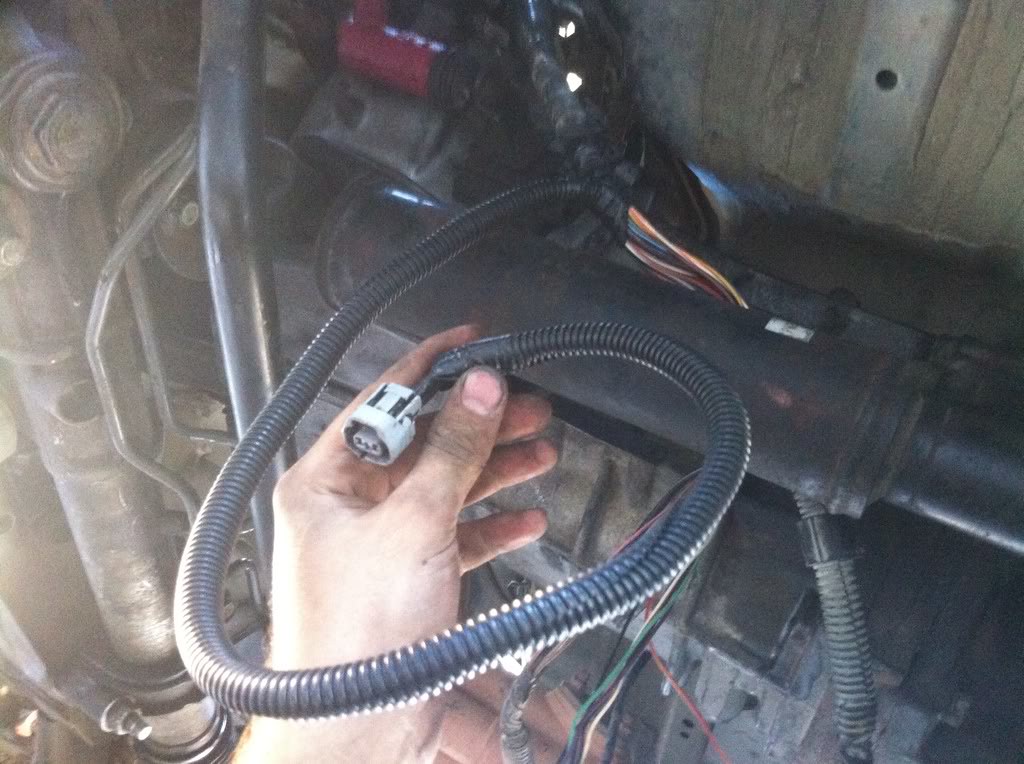
I'm using wires that used to serve as the automatic transmission wires. I changed the tips on all of the wires with the correct color for the function I'm using it for based on the OEM wiring diagram.

An example of part of the added wiring, this being for the front diff.

35075497343_e78a514df3_b.jpg


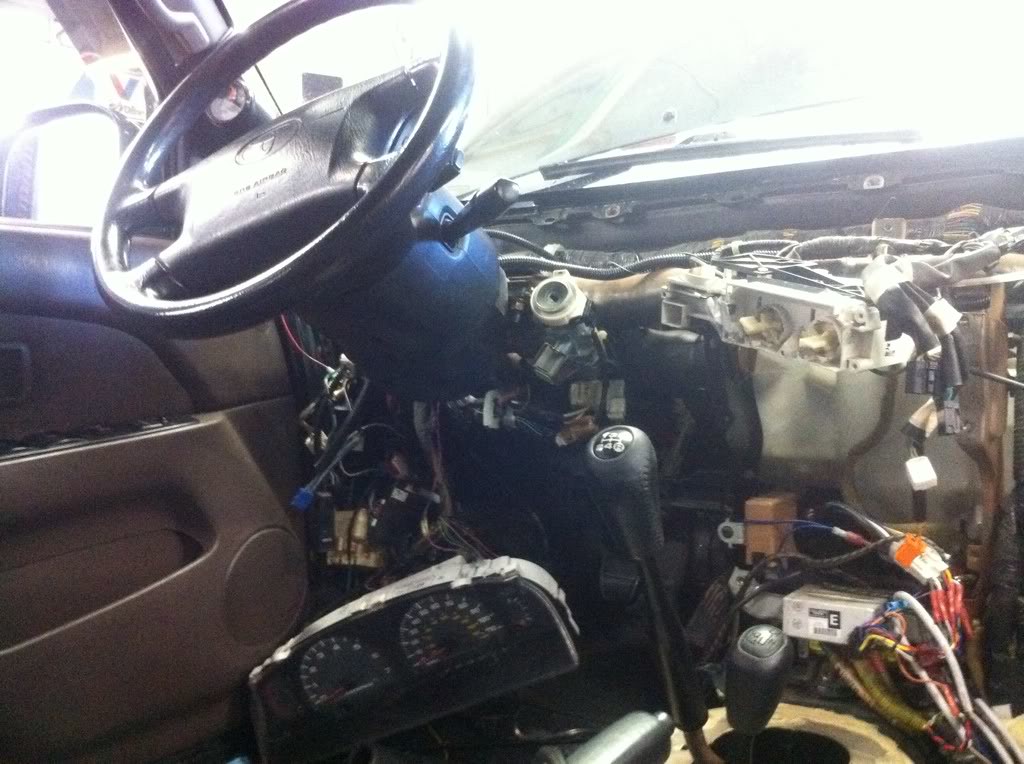
I drove it home today finally. It has no dash, no interior, just a drivers seat. All wiring is showing... pretty cool. It's a load of fun to drive, even going light on the clutch to let it break in. I'm gonna be doing a lot of driving tonight.

Tomorrow, I'm gonna work my hardest to get this thing done.
 
Last edited:
wow, just wow, i am astonished...very impressive work here. Easily my favorite thread on this site possibly! congrats bro! the thing is soo damn sweet!! :tongue:
 
I'm so sick and tired of seeing the same d*mn mods over and over on this forum!!! Why can't someone think outside the box and do something even remotely original or challenging???? This forum sux - I'm out!

:biggrin2: :wink2:
 
Last edited:
I'm so sick and tired of seeing the same d*mn mods over and over on this forum!!! Why can't someone think outside the box and do something even remotely original or challenging???? This forum sux - I'm out!

:biggrin2: :wink2:


Yah....I know! Whey can't someone install a Flux Capacitor or something??? ;)

Great work C.O.B! Can't wait to see it all buttoned up with some wheeling pics to go with it! :)
 

Members online

Forum statistics

Threads
278,310
Messages
3,554,079
Members
248,016
Latest member
Advally Service

Trending content

Back
Top