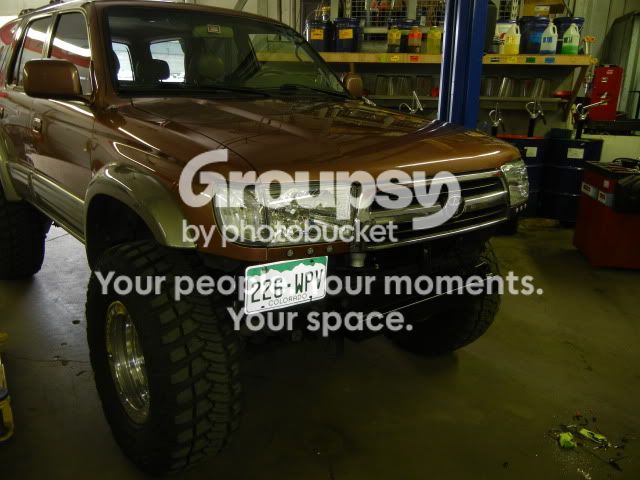
Dirtco's 1999 4Runner Build

NICE! I've done some moderate trails with my little tent trailer once... when I got it back home... my tow package (which was bolted on at the time) had come down about 1", and the crank jack on the front was twisted sideways from all the bolders I hit! lol!

I've since had the tow package welded to the frame, and fixed the crank jack.... but would definitely benefit from having some 33" tires on there, and some heavy duty shocks and springs! lol!
 
I think that's the first time I've seen a "Trailer Flex Shot". :fro:

You seem to be running into alot of those goats on recent trips. I've never seen one personally, but I'd imagine it's a cool sight. We've got lots of Bighorns down here, and in the areas of CO that I frequent, so I've seen those, but never mountain goats.
 
We've got lots of Bighorns down here, and in the areas of CO that I frequent, so I've seen those, but never mountain goats.

Did someone say Bighorns??? I've got 5 in my driveway right now.... ;)

P1120462.jpg~original
 
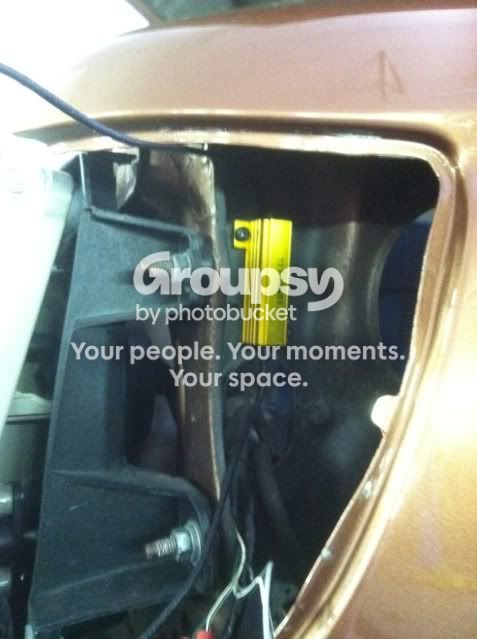
When I took off the front bumper I lost my turn signals. On my last 4Runner I converted the corner marker lights to turn signals using bright LED bulbs and a modified flasher. I decided to do the same thing on this one, so I bought some bulbs and load resistors.

DSCN0575.jpg~original


088c604d.jpg~original


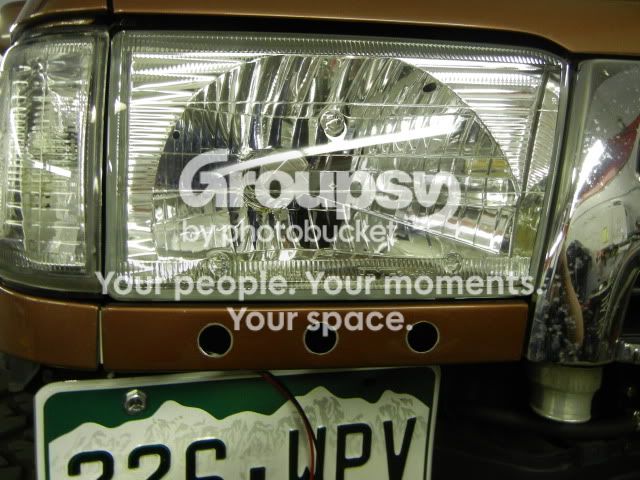
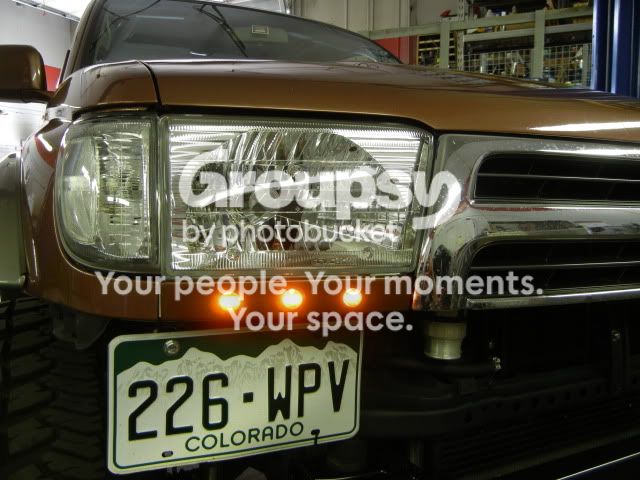
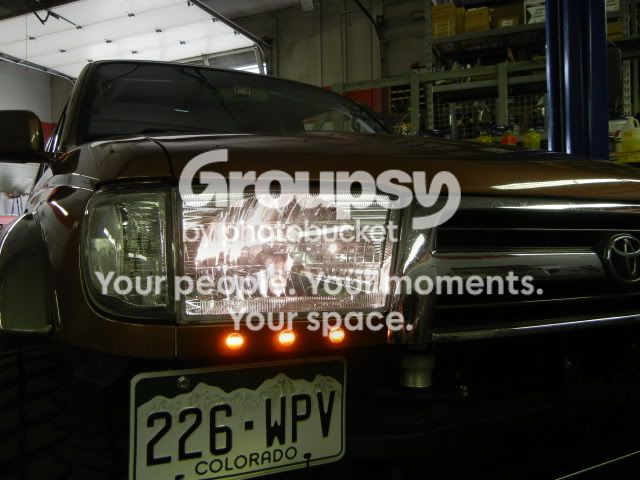
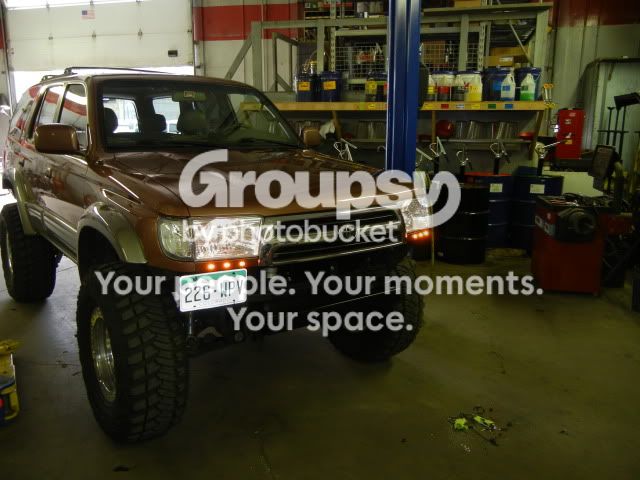
The Turbo 4Runner did not have front marker lights but I figured on this one I should (to keep the police happy). I thought about it for several days, then I saw an Audi that had the LED day time running lights. It gave me an idea.

I bought six 1” LED lights that are clear (to match the headlights and clear corners) but have an amber light. I mounted them in the panel below the headlights. I like the way they turned out, but I’m debating switching them back to my turn signals. It seems like the corner markers are not bright enough and people don’t see them all the time. I’m going to give it a week or two, then decide.

DSCN0576.jpg~original


DSCN0579.jpg~original


DSCN0580.jpg~original


DSCN0581.jpg~original


DSCN0582.jpg~original

Hey dirtco,
Any chance you could post the link where you got these? I took a look through LED Lights, Bulbs & Accessories - SUPER BRIGHT LEDS but can find where they are. I will be installing my bumpers in a couple weeks and would like to have the lights ready to go when they get here
Thanks,
 
NICE! I've done some moderate trails with my little tent trailer once... when I got it back home... my tow package (which was bolted on at the time) had come down about 1", and the crank jack on the front was twisted sideways from all the bolders I hit! lol!

I've since had the tow package welded to the frame, and fixed the crank jack.... but would definitely benefit from having some 33" tires on there, and some heavy duty shocks and springs! lol!

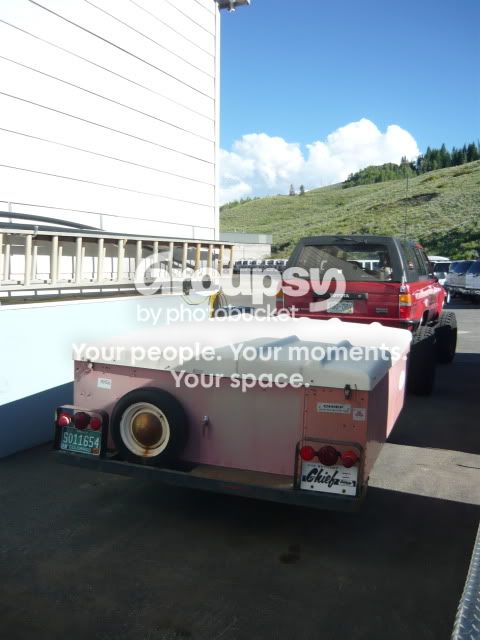
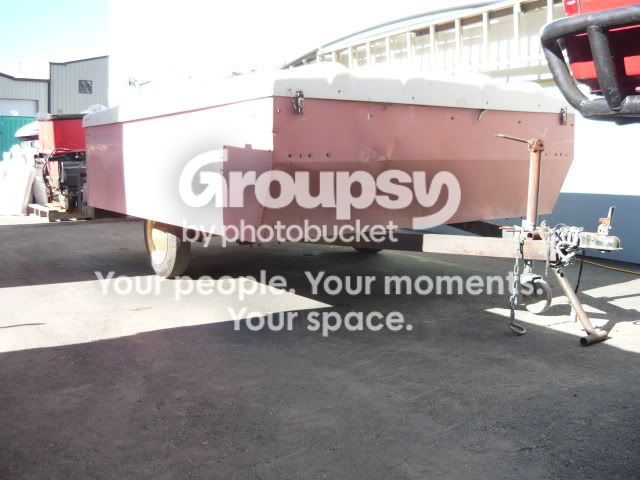
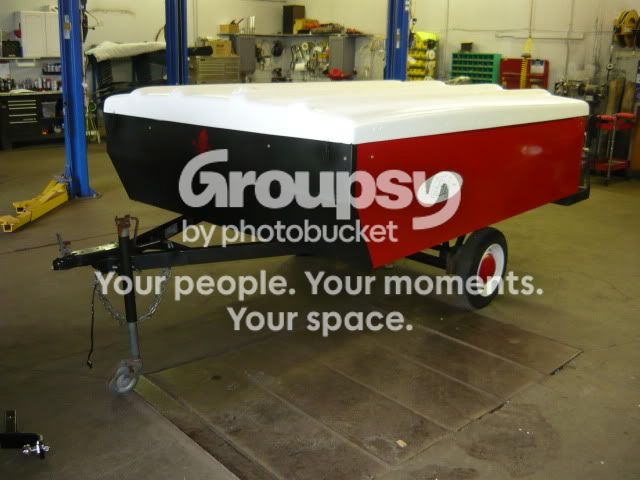
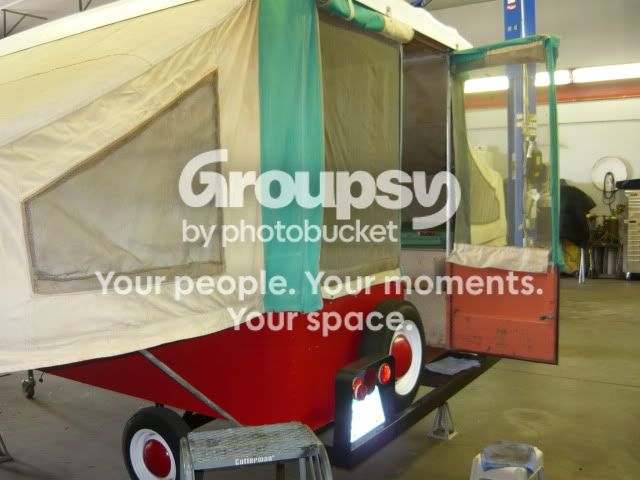
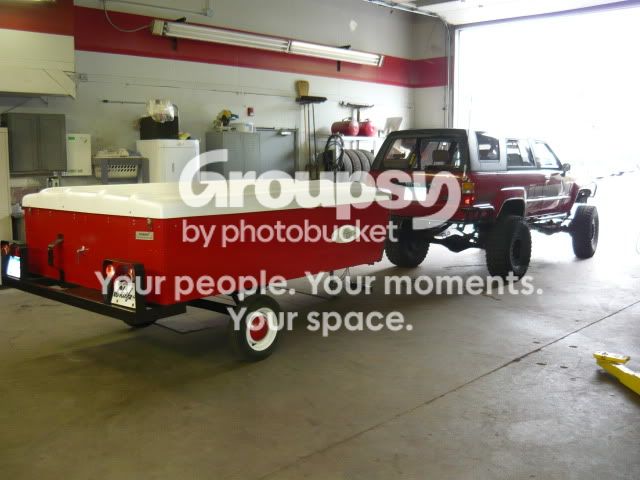
Thanks! Yeah, wheeling with a stock tent trailer can be a little rough! I bought an old antique tent trailer for cheap, and did a decent little restoration on it. I also lifted it 11" so I could tow it behind the Turbo 4Runner and take it down easy to more easy/moderate trails! :D

It was a fun project, but I ended up selling it.

Before

P1020284.jpg~original


P1020280.jpg~original


After :cool:

P1020355.jpg~original


P1020370.jpg~original


P1020357.jpg~original
 
I gots a question on the FROR full float setup!

Did you lose the speedometer when you disabled ABS? I've heard that the speedometer will go out sometimes if you remove the rear wheel sensors. If so, did you install a VSS on the t-case?
 
I gots a question on the FROR full float setup!

Did you lose the speedometer when you disabled ABS? I've heard that the speedometer will go out sometimes if you remove the rear wheel sensors. If so, did you install a VSS on the t-case?

Yes, the speedometer still works. I noticed when I first start driving the 4Runner in the morning (or after it's been setting at work all the day) the speedo takes a few seconds to kick in, but after about 10-15 seconds it works fine. I didn't even notice it at first; I mainly use my GPS unit because the speedo is off so much. I saw the needle jump one day after work, and I kept an eye on it after that.
 
You've got a great setup there, Dirtco. Where's the pictures of the whistle pigs? I bet you saw a couple hundred that day @ that elevation. My Wife wants one of those guys as a pet.

My dogs hunt those poor bas****s all day long when we're at our place in Montana. They are every where. Fun to pick off with a .223 also.
 
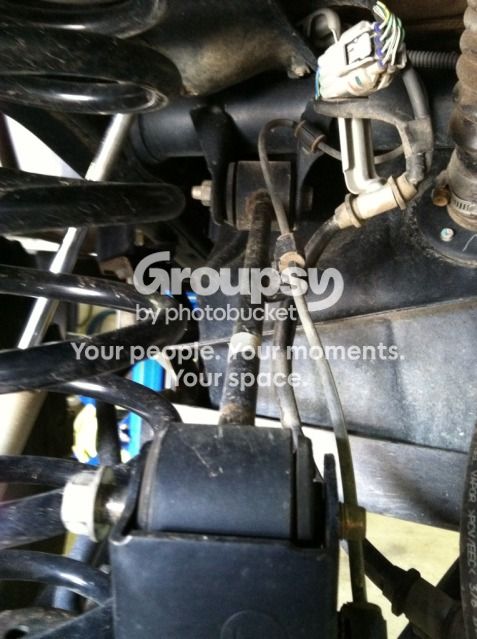
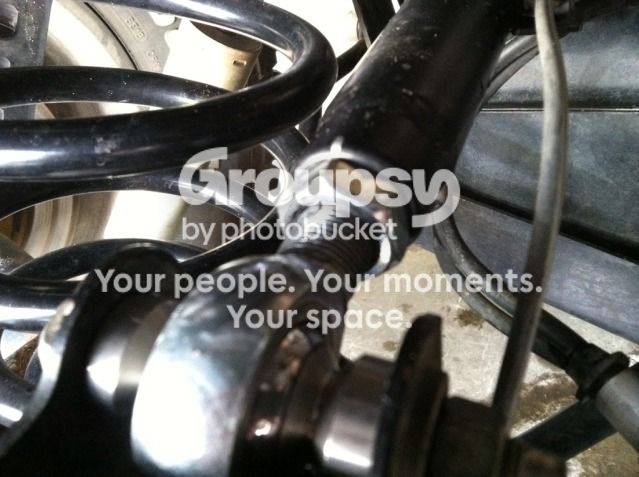
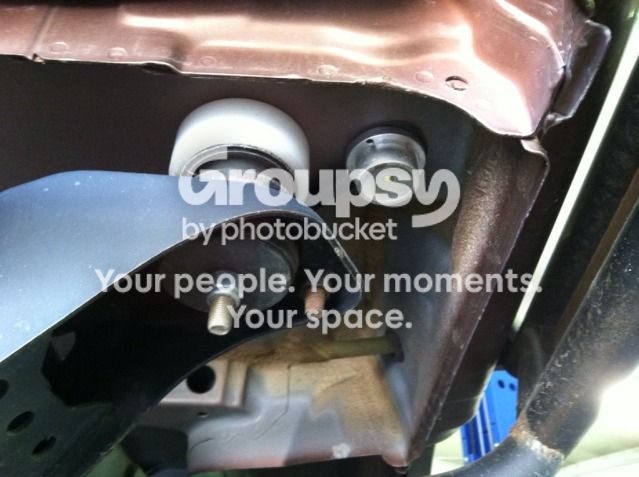
I’ve always been a little weary of the stock rear upper control arms, they are tiny and there are several people who have had failures. After seeing Ripcord’s UCA failure it moved to the top of my list, I also wanted to dial in my pinion angle.

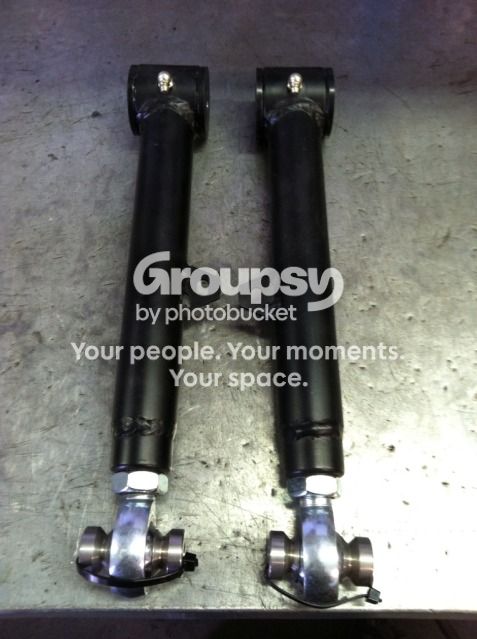
I thought about making my own, but I decided to just buy the ToyTec links instead.

Here’s the old link, not very impressive.

4d3d8bf6.jpg~original


And the new links, these should hold up a lot better.

c6ce2d68.jpg~original


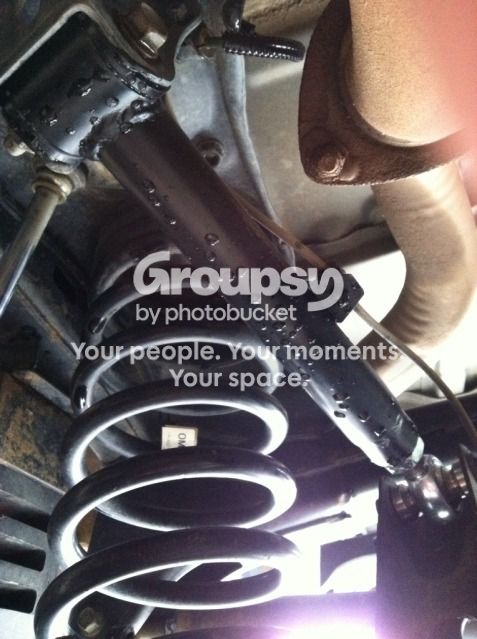
Installed

6adee51c.jpg~original


Make sure you use one of the old links as a jig, get both arms to the same length, and then count threads to evenly adjust your pinion angle. One of my arms was slightly longer than the other, without jigging and measuring them you could run into handling and alignment issues. I didn’t take any pictures of the pinion angle before the install, but here is a picture of a stock 99’ 4Runner that was out in my parking lot.

55f53d46.jpg~original


And here is what mine looks like after the new UCA’s

989cbcaa.jpg~original


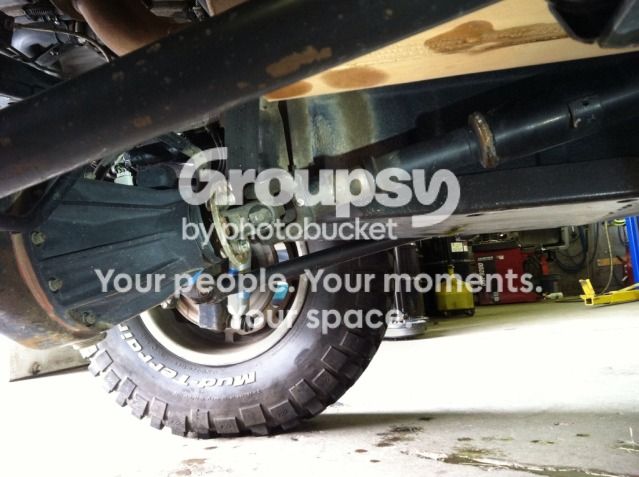
Looking at this picture you can see that they could use just a little bit more adjustment, but the pinion angle is a lot better than it was.

da628691.jpg~original


Here is the reason I have not adjusted them more; only a 3rd of the joint is threaded into the link. I’m comfortable with them right now, but I’m not going to adjust them any more until I do some more research on thread engagement for a joint this size. I’m sure it would only take a turn or two, but better safe than sorry. The other issue is that the track bar is getting close to the axle housing at full compression. Like I said above, it’s still a lot better than it was.

e9f5b7d1.jpg~original
 
Man those things are beefy.. Are you looking to upgade the other control arms or have you already? I need to do this upgrade as well.

I'm wondering if these links help keep the ds from hitting the tank and tank skid.
 
Man those things are beefy.. Are you looking to upgade the other control arms or have you already? I need to do this upgrade as well.

I'm wondering if these links help keep the ds from hitting the tank and tank skid.

Yes they are! I have the Sonoran Steel lower arms (.250 wall w/ stock bushings) and the Sonoran Steel adjustable panhard bar, with the ToyTec UCA's I'm set.

I'm not sure about the gas tank issue, but I have the Lil' Skip skid plate and I've had no issue's with the driveshaft hitting the tank. One nice thing about rotating the pinion up (besides for the pinion angle), it lifts the driveshaft up and out of the rocks. The 3rd Gen 4Runners are pretty good about driveshaft protection since the gas tank hangs so low, but I still got mine a little bit on the weld of the shaft and slip yoke. I've been thinking about getting the driveshaft re-tubed in heavy wall .120 tubing (both of my last 4Runner's were), but I might wait and see how this pans out first.
 
Here is the reason I have not adjusted them more; only a 3rd of the joint is threaded into the link. I’m comfortable with them right now, but I’m not going to adjust them any more until I do some more research on thread engagement for a joint this size. I’m sure it would only take a turn or two, but better safe than sorry. The other issue is that the track bar is getting close to the axle housing at full compression. Like I said above, it’s still a lot better than it was.

e9f5b7d1.jpg~original

Typically, the width of the bolt threads need to be engaged into a nut (eg:1/2" bolt with 1/2" thread engagement). With that said, I don't know about rod ends. I'll be following to hear that answer.
 
Okay, I finally finished wiring the rock lights and aux reverse lights. The details were a few pages back, so I brought them back to get everyone up to speed.

I also started working on my rock lights, and wiring the auxiliary reverse lights. I’ve found that rock lights are not just nice for wheeling in the rocks at night; but also for camping, recovery, airing up, and trail repairs.

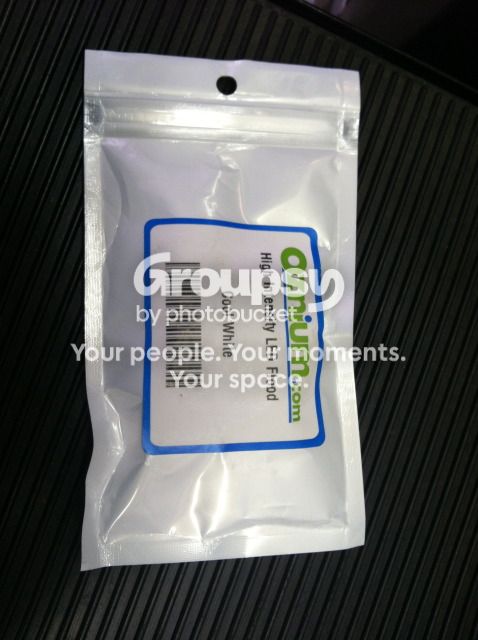
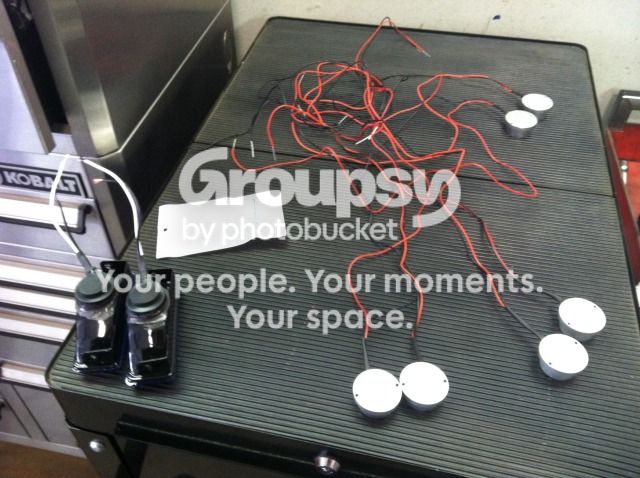
I used two different styles of lights; the first are Oznium waterproof LED floodlights, they are small but very bright for the size!

High-Intensity LED Flood Light

IMG_0340.jpg~original


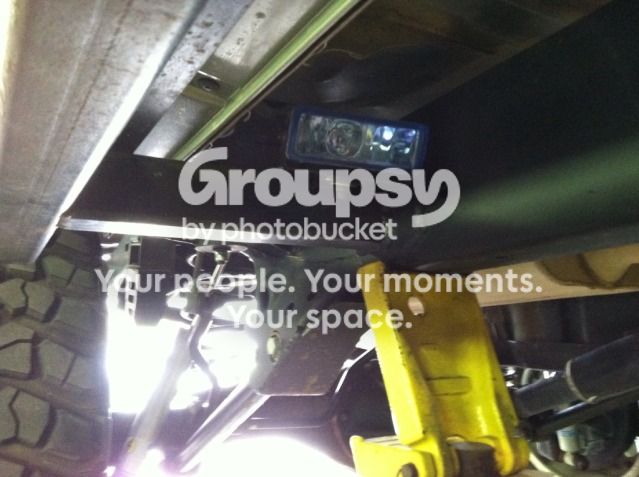
Those lights are awesome, but I felt that I wanted some more light output off to the sides of the 4Runner too. I bought some cheap Autozone fog lights for the job and I silicone the hell out of them to make them waterproof. I really don’t see them lasting very long but I needed something there to start the wiring process; I plan on upgrading them to something better, and higher quality in future.

IMG_0341.jpg~original


I mounted the actual fog lights on the rear leg of the slider, and I added the LED light to shine some light on the rear tires.

9b2c2ceb.jpg~original


f0bb726a.jpg~original


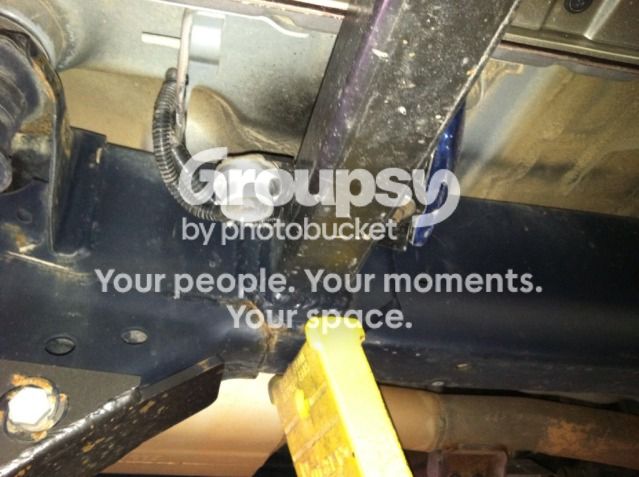
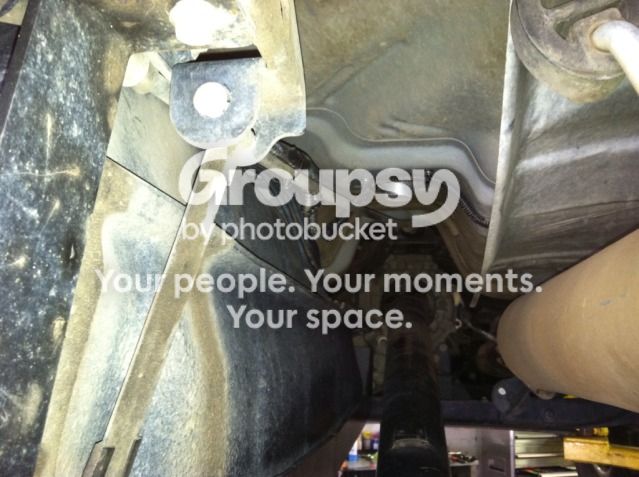
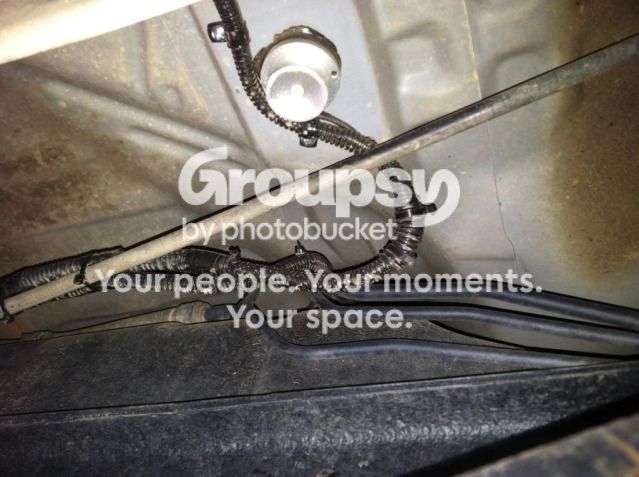
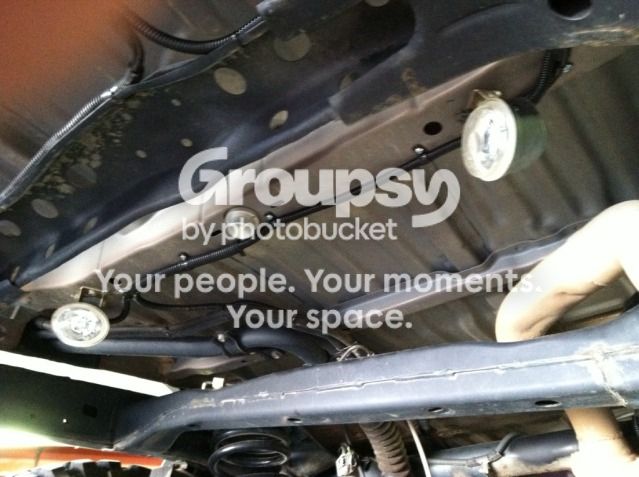
I decided to add a light right under the middle of the 4Runner (under the driveshaft).

2bc261c8.jpg~original


d89e2f3a.jpg~original


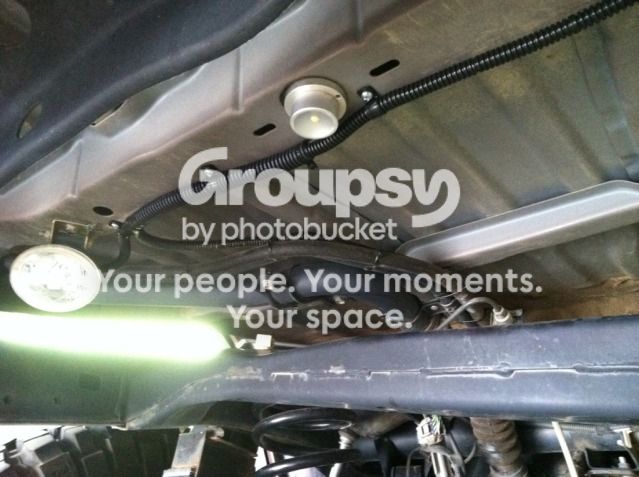
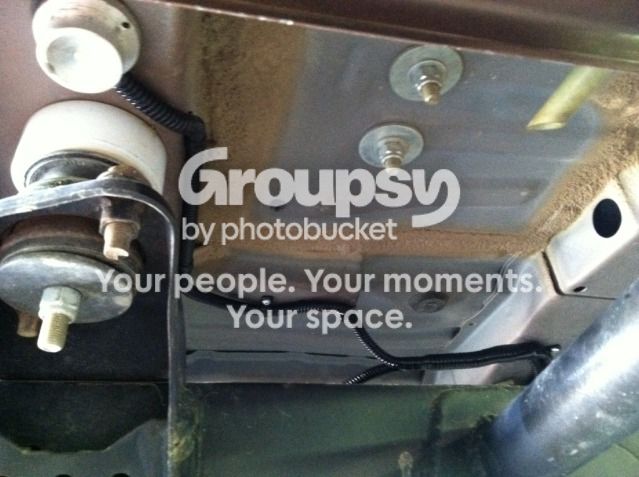
And one under the middle of the rear cargo area, this will be nice for unloading/stashing camping gear. The two other lights are my auxiliary reverse lights.

8ef54a0a.jpg~original


278b22dd.jpg~original


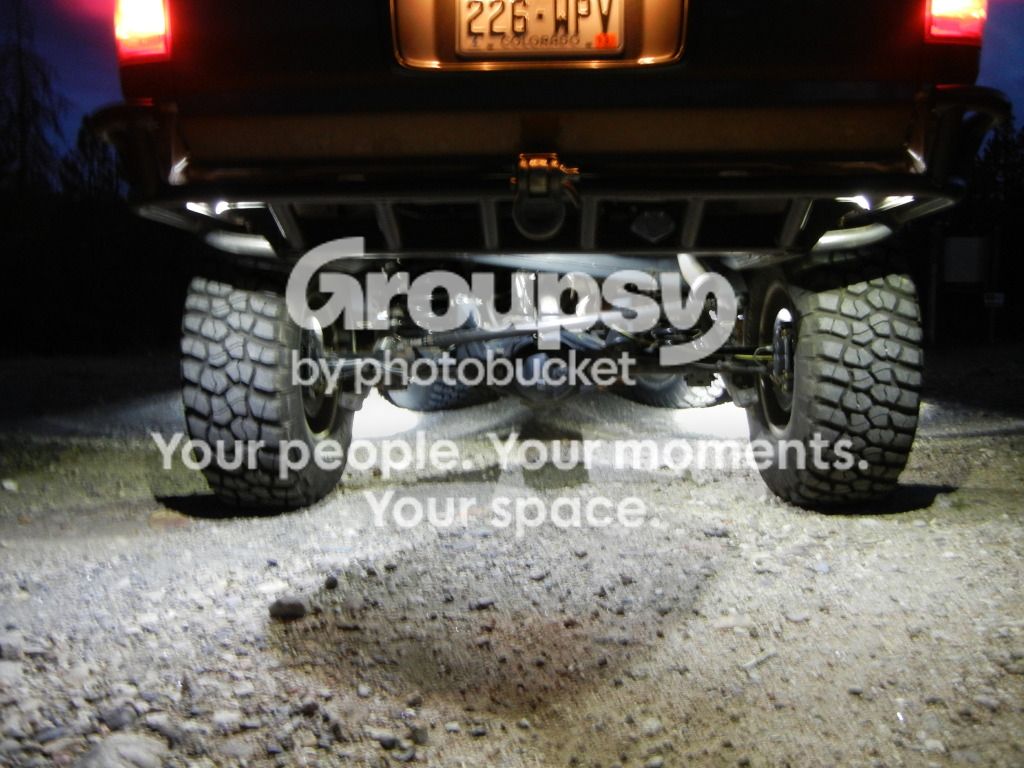
And, I have lights on the rear corners of the 4Runner, for spotting rocks and tire placement. That’s as far as I got, I still to run wiring to the trailer plug (Yes, the trailer has rock lights and a reverse light :D) and run the wiring into the cab where I can complete the wiring.

a29275c2.jpg~original


eadbcc6d.jpg~original
 
Switches – I’m saving the empty spot for an in-cab winch controller, but it might be a while before I get around to it.

D151B93D-6C2A-4752-A58B-ED76859F0D8A-3804-000004FA55FD6685.jpg~original


Fuse panel and relays

77759902-2AF3-48C6-8205-3A37CFD9040E-3804-000004FA4321A44D.jpg~original


These were the old lights I had aimed out at the front corners of the 4Runner. They were just a cheap temp solution until I found something better.

DDF6D7B1-1EB1-4109-B6D0-01A3052B470C-3804-000005D01A428D79.jpg~original


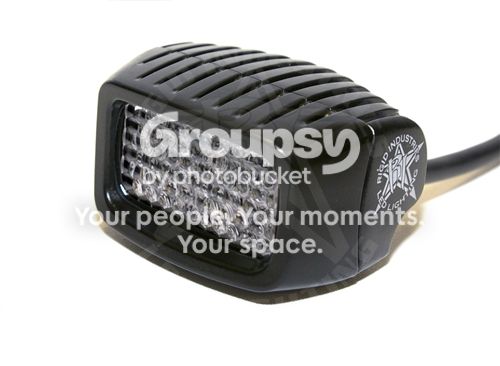
And here is the replacement, these are awesome and super small! I ordered the flood beam pattern.

D5A5F8B2-049C-485D-B61F-01B4C0A98179-3804-000005CFF162D70E.jpg~original


04F3B141-090C-4D93-B16E-CA2F8A6D3543-3804-000005D004B67364.jpg~original


Installed

FF2CEFDE-1CA7-4F1F-B0B2-E08E376E0DF3-3804-000005D03572C0EE.jpg~original


3167EBEE-3C5C-4040-8F43-8720FBC0F0F5-3804-000005D02A861A42.jpg~original
 
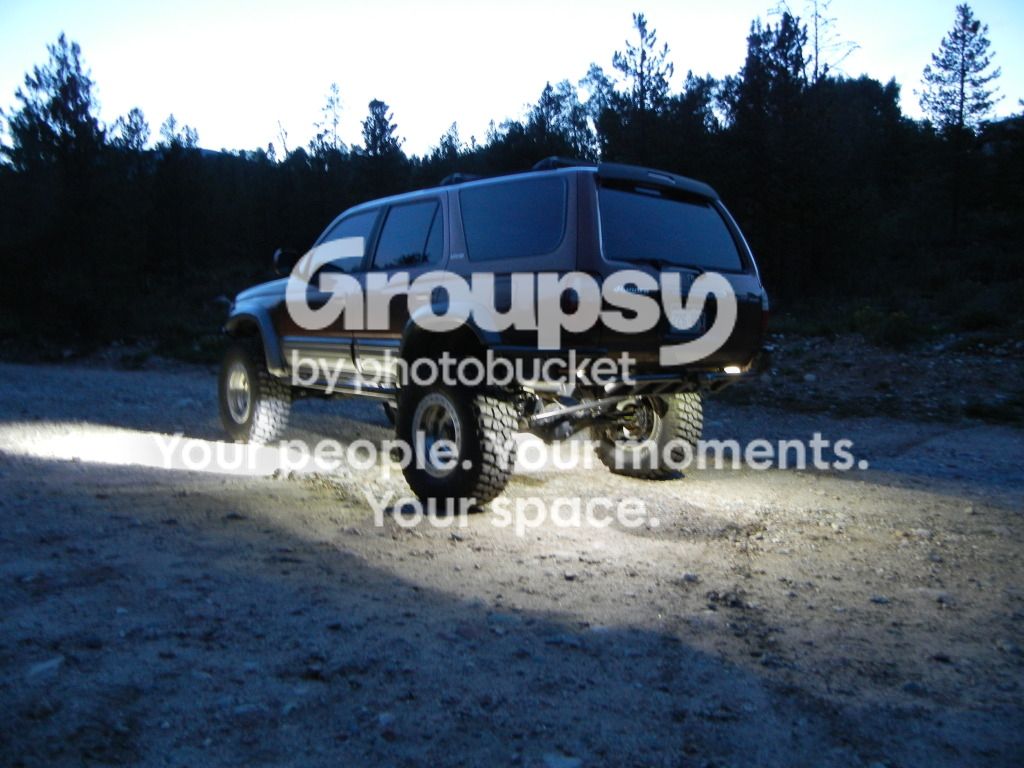
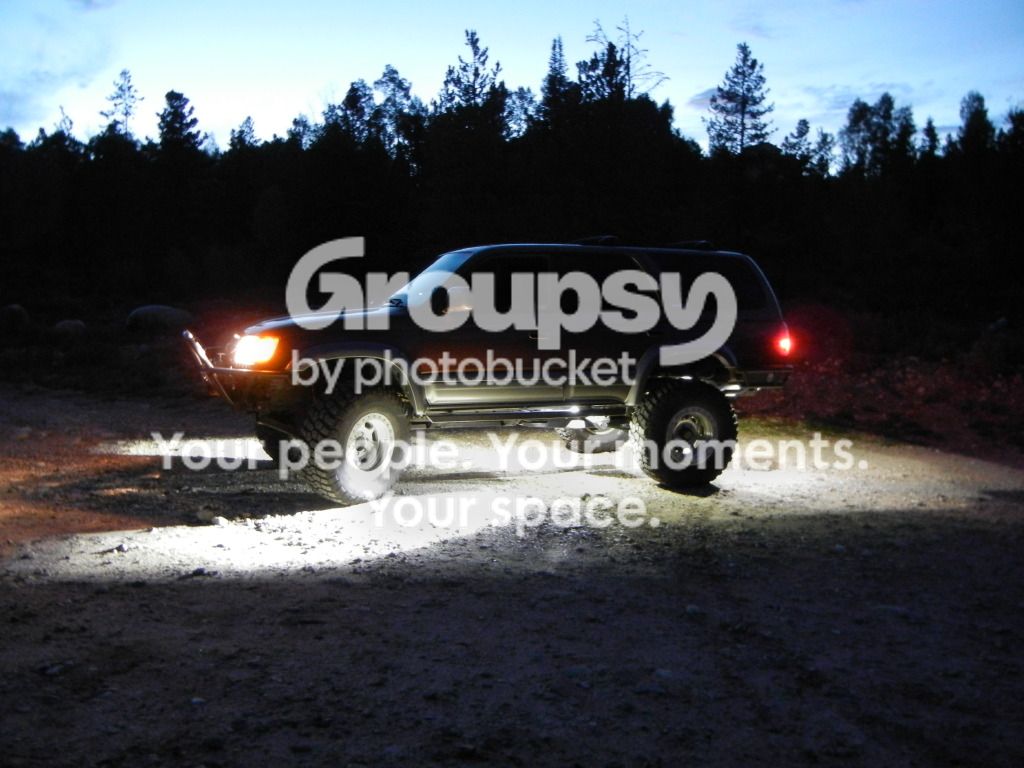
And what everyone wants to see, pictures of the lights in action! I can’t wait to see the trailer hooked up with the rock lights going!

Some of the pictures are a little blurry, when I turn my flash off in low light conditions it over exposes the photo to create more light but it’s hard to keep the camera perfectly still.

DSCN1588.jpg~original


DSCN1591.jpg~original


DSCN1594.jpg~original


DSCN1603.jpg~original


DSCN1604.jpg~original
 
My take on the rock lights…

- The Oznium lights are super bright for their size, and well worth the price!

- The Rigid SRM (single row mini) is even brighter than I expected, and the flood pattern is a little intense for a rock light.

I have felt that there has been something missing from my lights; I’m happy with the product and lights but something was lacking. At first I thought I needed more long distance spotlight, but on the rocky/wooded trails in my area that’s not really an issue. If I’m in the desert there’s a good chance I have the trailer behind me and I won’t be bombing down the trail. After playing with the lights and looking at the pictures it came to me, I need a wider beam and more light on the side of the trail. There is a serious dead spot on each side of the truck, the stock headlights help a little but there could really be more light in general off to the side truck towards the ditch.
I’m thinking my solution will be to move the flood pattern SRM lights to the front bumper, aimed at the dead spots, and get some SRM lights with the diffused lens for their replacement. The diffused lens will give me a more spread out light pattern (60 degrees) and it’s less intense. The Rigid lights are pricey but IMHO worth it; they have a lifetime warranty and the electrical draw is a fraction of the old lights (10 watts vs 55 watts each). Once you figure in all the lights on the truck and trailer the wattage starts to add up.

90251-2.jpg~original
 
Thanks for posting all the lighting output pics and info. Very informative.

Your 4Runner just keeps getting better and better. I must mention too, that I pretty pumped on how clean your 4Runner is in some of your wheeling pics, I'm a sucker for a clean T4R. I. hate. mud. hahahah Keep it up!
 

Members online

No members online now.

Forum statistics

Threads
278,315
Messages
3,554,102
Members
248,016
Latest member
Advally Service

Trending content

Back
Top