Dirtco's 1999 4Runner Build

But we still had a little bit further to go and the snow was getting deeper, a lot deeper. On top of the deep snow the buggy started running rough and kept wanting to die, it was slow going but we finally made it up to the 4Runner!

Mike’s buggy after the trip up.


The 4Runner in it’s frozen tomb

I went to Loveland that day! You should have done that instead lol. Glad you got out safely!
 
I’ve been going back and forth about what to do for a battery. I have a brand new Yellow Top I could throw in it, but I just can’t bring myself to do it. It’s kind of like getting super sick after eating at a restaurant; all your friends might love the place and it might be an isolated case, but your still not going to go back there to find out.

I started looking at dual batteries, I know I could make them fit, but it gets really expensive once you figure in the price of two batteries and the isolator system. So that killed that idea.

So I’m stuck with one battery, and I wanted something that I could exchange locally if there was another issue. That pretty much left the Duralast AGM line through AutoZone. I looked through their selection comparing specifications on each model until I said screw it, I’m getting the biggest battery they make and stock in my local store!

So I bought a Duralast Platinum AGM H8, or group 49, and as you would imagine the numbers are better than the Yellow Top.

Duralast Platinum/Battery H8-AGM- Read6Reviews onDuralast Platinum #H8-AGM

CA - 975
CCA - 900
AH - 92
RC - 170

Here is the Yellow Top in comparison

CA - 870
CCA - 750
AH - 55
RC - 120

“Say hello to my little friend!”

 
I had to build a custom battery tray to hold the battery in place.


It's a tight fit but I'm happy with the outcome. I also installed some new battery terminals, and a power distribution box to clean up the wiring and add some available circuits.


Usually that's not the weak link... It's the first one I've ever seen snapped.


For the front end the weak link is (to the best of my knowledge) the CV ball bearing cage on the outboard side of the CV axles. When I had my front locker not wanting to disengage and I still had 1500km's to drive, I knew that I could break the CV axle and separate one wheel from the other (and in turn, the front driveshaft) and did so by driving up a concrete block with the wheels turned.


Perhaps this shaft failure is from being run so hard during its life? Curious.


You are right that it's usually not the weak link but he does have upgraded cv axles and it moves the weak link further up the line. It just comes down to where you want the weak link to be at.
 
Nice. That is a huge battery. Kinda glad you are running single battery. The cost of two batteries every 5-7 years can get expensive.

Do you carry a jumper pack? If not. It be a good investment.


Sent from my iPad using Tapatalk
 
Hey man, love the build! I've read it through and kept up with it for a while, always look forward to updates! I've recently decided to start modding my 99 and wanted to let you know yours has been a huge inspiration!!

Sent from my XT1254 using Tapatalk
 
wow, i missed a few weeks of adventure
Glad you made it out OK, sucks about the breakage, but as you know that is part of the fun

You have got me wondering if I can stuff that beast into my 2nd gen..
It cost half of what I paid for my project:first:
 
Do you carry a jumper pack? If not. It be a good investment.

I've always wanted to pick up one of those small jumper packs but it never seemed to be a priority, it's on my list again once I have the extra money to spend.

Hey man, love the build! I've read it through and kept up with it for a while, always look forward to updates! I've recently decided to start modding my 99 and wanted to let you know yours has been a huge inspiration!!

Thank you!!

wow, i missed a few weeks of adventure
Glad you made it out OK, sucks about the breakage, but as you know that is part of the fun

You have got me wondering if I can stuff that beast into my 2nd gen..
It cost half of what I paid for my project:first:

I love snow wheeling, but this last winter has been rough when it comes to broken parts. I was pushing the boundaries of what my vehicle was capable of and thats when things happen. Hopefully this summer is nicer to me!
 
I started reassembling the passenger side CV (I tore it apart to inspect for damage) when I came across this. The splines on the inner CV joint were twisted and cracked, I’m just glad I caught it before it snapped inside the ADD tube! I had another inner joint, so I rebuilt the CV with it. I will need to pull the driver side and check for damage before I button the 4Runner back together.

What it should look like, the replacement


Broken and twisted


I also ordered the replacement stub shaft from Camelback Toyota, here is the part number for anyone curious, and future reference.

 
Last edited:
It seemed like a good time to take on some other small projects while I was waiting for parts, and the 4Runner was down.

I rewired the trailer earlier this year so I could tow it behind the Tacoma. It's better for non-wheeling family camping trips; it's faster, gets better fuel economy and has a bed for extra "family" camping gear.


For the most part the trailer will be behind the 4Runner, that meant I had to rewire it to a 7way plug (like the Tacoma). It also had to be tucked up high enough that it wouldn't get damaged dragging the back of the truck through rocks and dirt.


I have a couple trips coming up and I needed a spot for my handheld GPS. I wanted something that was within reach while sitting in the truck, but also removable.


Since I haven't heard you day anything about the rear axle (after trussing it), I figured I'd ask how it's holding up.
 
i have several ram mounts. Initially it took me a little while to get use to some of the prices but it is awesome how expandable Ram mounts are.
 
It’s been a busy couple of months, thus the lack of updates. I’ve been working on the 4Runner, but I’ve also had a lot of other things going on too. I won’t bore you guys with all the details, and i’ll just focus on getting this thread up to date.


I got the A.D.D. stub shaft installed


I reassembled the front end, including the rebuilt CV axle. I noticed the front brake pads were wearing uneven, I removed them and found that both of the front Tundra calipers had seized pistons. Luckily I saved my Napa invoice and they warrantied them, in the process I replaced both front and rear brake pads so the brakes would be fresh.

When I drove the 4Runner home after getting stuck there was minimal power steering, I figured that was due to the extremely low air pressure in the tires and the broken front end. I took it for a test drive after I got the front end reassembled and it still had minimal power steering, I guess I somehow burned up the pump in the process of getting it out.

I’ve never had good luck with the cheap parts store power steering pumps, especially on a rig with larger than stock tires, so I placed an order with Camelback Toyota and ordered a new one. Unfortunately Toyota is quite proud of this part when it comes to pricing, but it had to be done.

 
So here is the final list of parts due to my “Adventure”, and my Yellow Top leaving me stranded.

New battery, custom battery tray, terminals and fuse block
ADD stub stub shaft
Right inner CV joint, both inner boots
Power steering pump

Anyways, on to some better stuff…

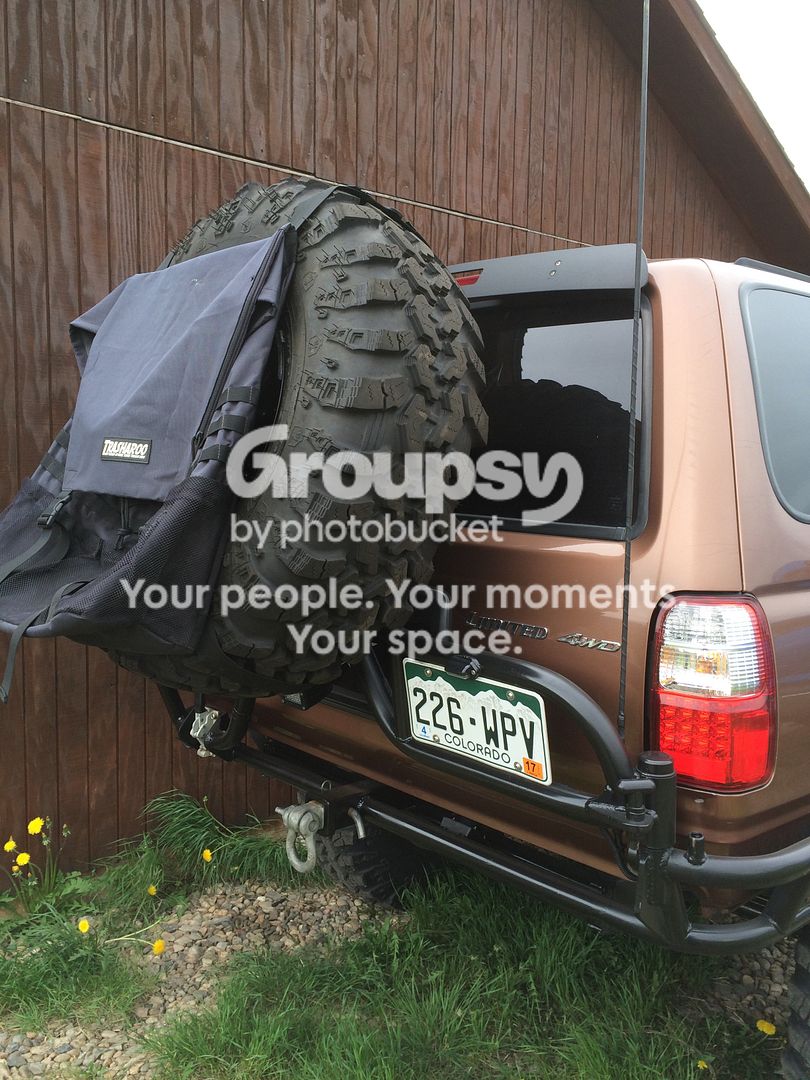
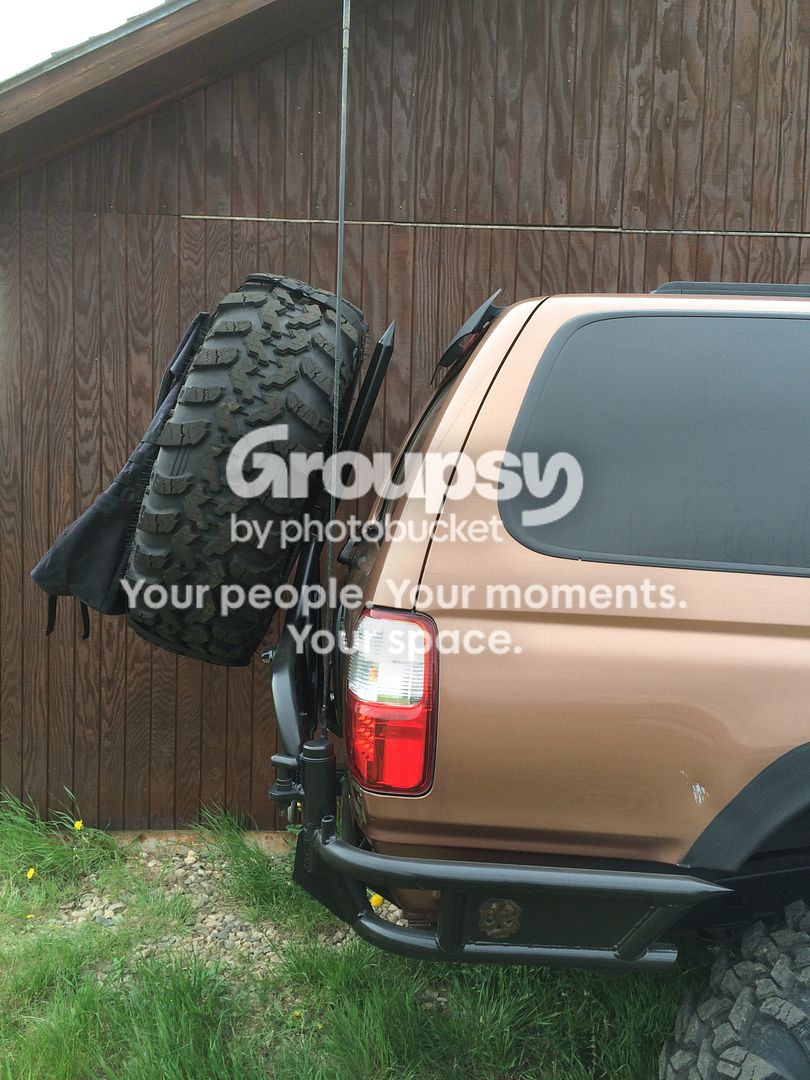
The 255 was a great spare when I had to 35’s, but its really too small to use with the 36’s. I had the old Irok that I punctured the sidewall in, so I decided to take a closer look and see what I could do. The cut was about the size of my finger, and it actually held air when I plugged it. I took the tire to work and found the largest patch we had (about 6” square) and I took my time prepping the tire for the patch, and installing it. While this is NOT a recommended repair, I feel confident enough to use it in an emergency situation and feel it’s a better option than using the 255 that was my spare. I just can’t justify spending $425 on a brand new tire that will probably never touch the ground.

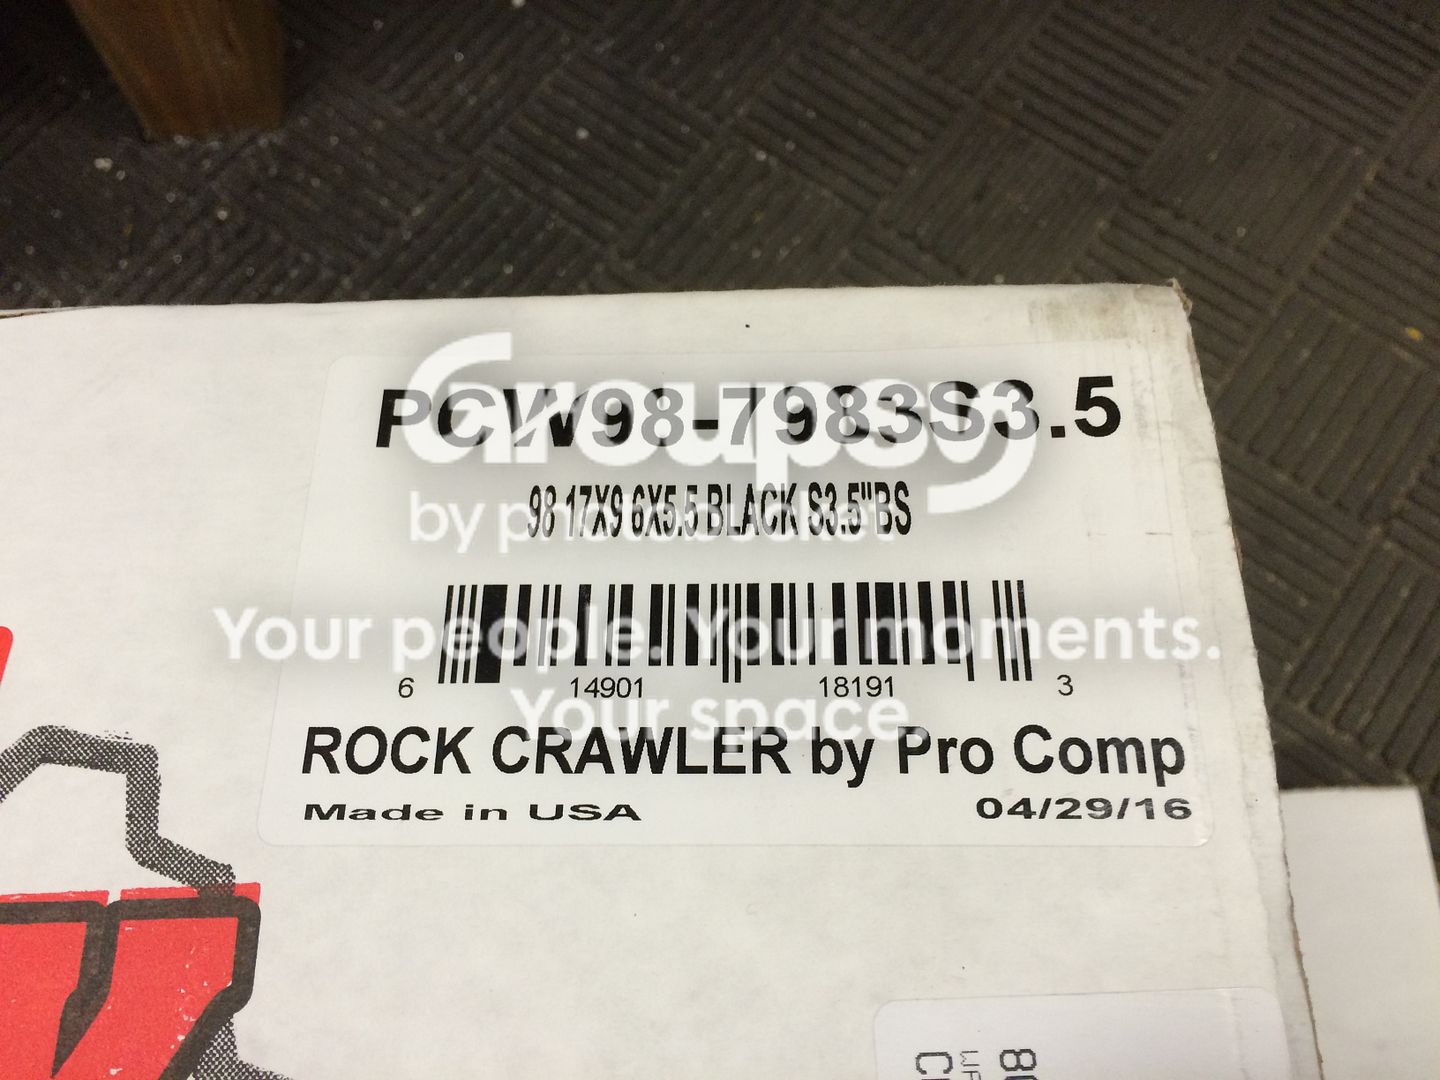
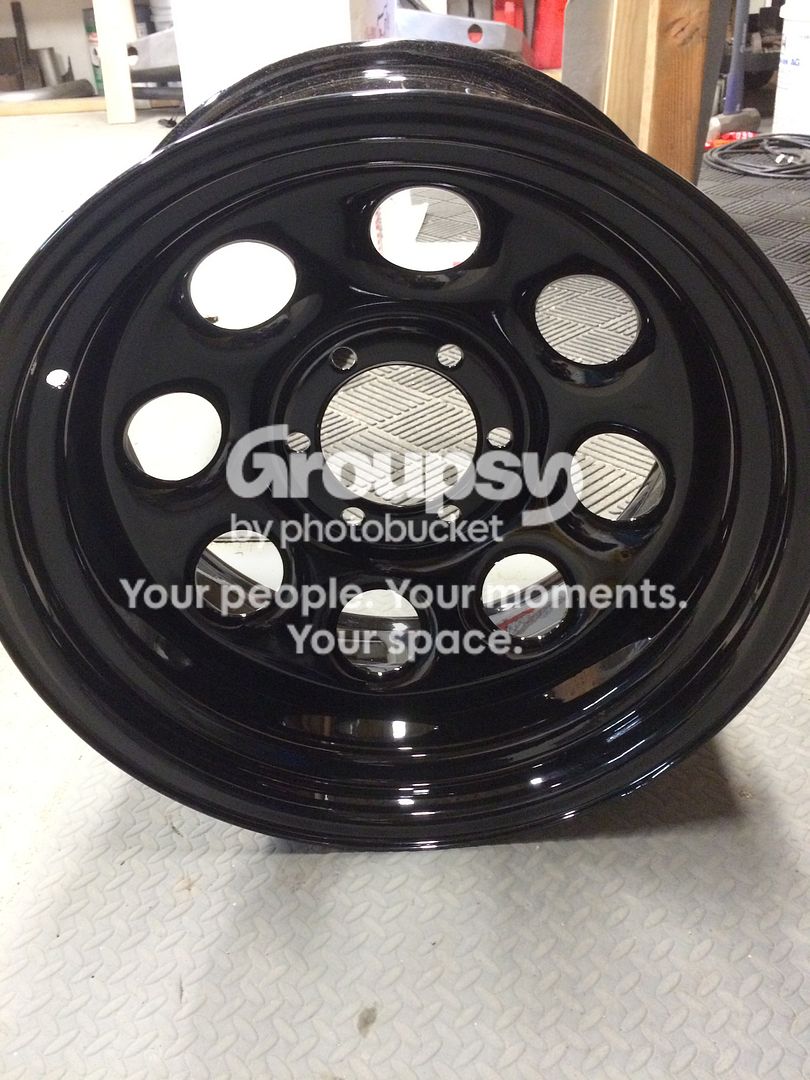
I needed a wheel to mount it on, so I bought a 17x9 3.5” backspace black steel wheel. This is the same size as my beadlock wheels, so I don’t have to worry about any clearance issues.


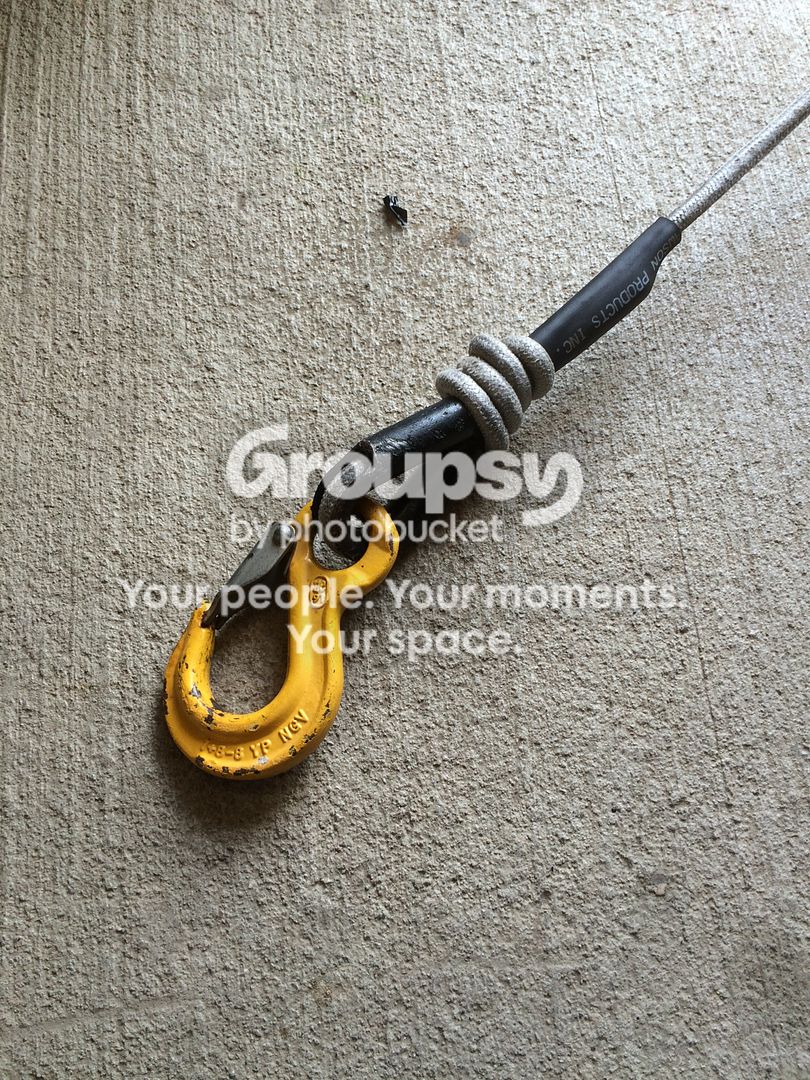
Somewhere in last couple trips I managed to rip the outer cover off my Master Pull Superline XD winch rope. This rope isn’t cheap, and you can’t splice it like regular winch rope. I cut off the damaged 20’ and repaired the rope, then built a short winch line extension. Here are the directions if anyone is interested.

Repairing MasterPull winch line - Pirate4x4.Com : 4x4 and Off-Road Forum



The stock fuel capacity really sucks on this generation 4Runner, so I cut the stock crossmember out in preparation of building an aux fuel tank. This is one of those projects that I’ve always wanted to do, but always gets put on the back burner. It will most likely be a winter project, but since it was in the garage and I was waiting on parts I figured what the hell.


I moved the back up lights that were under the floor off to the sides for a wider pattern of light.


I had a set of amber Dually’s on the 4Runner for low visibility winter driving, they were great but since I no longer daily drive my 4Runner they hardly ever get used. My wife wanted a set for her 4Runner, so I pulled them off and bought a pair of the Hyper spots to replace them.


Since I haven't heard you day anything about the rear axle (after trussing it), I figured I'd ask how it's holding up.

I'll get into that when I have more time, but for the time being here is a sneak peek of my next project...


Members online

No members online now.

Forum statistics

Threads
278,315
Messages
3,554,102
Members
248,016
Latest member
Advally Service

Trending content

Back
Top