DIY: Changing serpentine belts on the V6 (1GR-FE) 4Runners

I have 157000 miles now in my car and did not replace the idler pulley when I replaced the serpentine belt. I'm afraid if I'm going for a long drive, it could get me stuck on the side of the road due to that. I would think it's not a waste of money. it's better to replace it now than get stranded somewhere and pay a huge amount for towing.

Great write-up. I'm thinking about doing this in the near future and was wondering how many people also replace the idler pulleys when replacing the serpentine belt. What are the indications that a pulley should be replaced? Is it a waste of time/money to do this preemptively?
 
Thanks for the write-up and for saving this first-timer some coin. Old belt looked fine, but squealed at start-up. I did end up having to go from underneath to get enough leverage on the tensioner.
 
Just changed mine with a Bando belt through the top. I found a deep wall 14mm socket + wrench fits perfectly between the rad hose and fan to give you wrenching clearance. Cheater bar helps too.
 
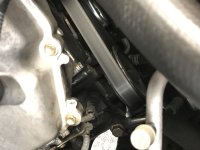
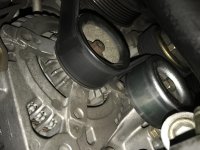
Thanks for the DIY! Just did this as well as replace all my idler pulleys. This was my first time ever changing something like this and I noticed these wear patterns on the new belt. Is this normal?

If you look on the edges there is some sort of wear. I checked the route 3 times and I drove the car for a good 10-15 min with the AC on. No weird pulley noise.

This may be something completey unrelated or something I've never noticed, but when I accelerate now I hear a clicking noise. No click at idle besides the normal v6 click.

145k on the ODO
 

Attachments

  • IMG_0372.jpg
    IMG_0372.jpg
    120.9 KB · Views: 1,111
  • IMG_0374.jpg
    IMG_0374.jpg
    131.4 KB · Views: 1,137
this is on my list of things to do and i saw this info elsewhere on the forum and on the FJ forum...

Did this over the weekend and use the Taco belt part number. Worked like a charm!

4Runner belt: 90916-02571 $72 at dealer
Taco belt: 90916-A2001 $32 at dealer

Same specs:

Outside Circumference:2133.6 mm,84 inTop Width:24.89 mm,0.98 inRibs:7 mm
 
Great DIY. I have 135k on the clock, I'm pretty sure I have the original belt. Will look into doing this soon.
 
Awesome write up. 125K and think it was the original belt. Took about 20 min total, cramped work space working the new belt over and under where needed. Works great though! Any clue when it will need to be changed again? 50K?
 
Not THAT often...

Awesome write up. 125K and think it was the original belt. Took about 20 min total, cramped work space working the new belt over and under where needed. Works great though! Any clue when it will need to be changed again? 50K?
If it were a Subaru (my other car), the pulley bearings would need to be changed every 50-60K. But Toyota doesn't run the belts as tight or bend them quite as sharp - and our RPMs also run a lot lower. Extreme heat and/or extreme cold temps are also a factor.

The belt is good until you see small cracks or frayed edges. My own plan follows: I'd check at 60K after the previous change, and if still looking great at that inspection, do an unconditional replace at 100K (with new idler/tensioner pulley bearings). Or, if you don't run a lot of miles - inspect at 3 years, replace unconditionally at 5 years.
 
If it were a Subaru (my other car), the pulley bearings would need to be changed every 50-60K. But Toyota
doesn't run the belts as tight or bend them quite as sharp - and our RPMs also run a lot lower. Extreme heat and/or extreme cold temps
are also a factor.

The belt is good until you see small cracks or frayed edges. My own plan follows: I'd check at 60K after the previous change, and if still
looking great at that inspection, do an unconditional replace at 100K (with new idler/tensioner pulley bearings). Or, if you don't run a lot
of miles - inspect at 3 years, replace unconditionally at 5 years.

While yes cracks in a serpetine belt shows that it's near or at it's end of life and should be replaced...BUT the grooves/ribs can be worn down
to point that it will slip and not perform as it should even though there are no cracks showing, most belt manufacturers make a cheap and
simple tool to check the grooves for wear, everyone should have one to know for sure if their belt is still good!!

https://www.google.com/search?q=ser...ome..69i57.27745j1j7&sourceid=chrome&ie=UTF-8

DAYCO® aWEARNESS Gauge

https://youtu.be/GZvPMnE50UM

https://youtu.be/mJNv87VeLag
 
Thanks to [MENTION=27566]W211_to_T4R[/MENTION] for this terrific write-up.

I changed my belt today at 147K. Took about 45 minutes including removal of the engine cover and skid plate. Started it up and the belt appeared to be right on all the pulleys. No squeals at all.

I believe the old one (left in pic) was the original. The difference in groove width between it and the new Bando 7PK2120 surprised me. Is that from wear or just a difference in design, or both? In other words, does a new OEM belt look like the one at right?

56u1tc0l.jpg


The old one is going in the emergency kit as a spare.
 
Very nice schematics

Here is a simple DIY on changing serpentine belts on the V6 (1GR-FE) 4Runners. I couldn’t find any DIY threads with pictures, so I decided to make one. It took me less than 10 minutes from start to finish, so anybody could do this with the basic tools. Hope this helps.

Tools needed:

• Ratchet
• 10mm socket
• 14mm socket or you could use a 14mm offset wrench
• Cheater bar

P1010974.jpg~original


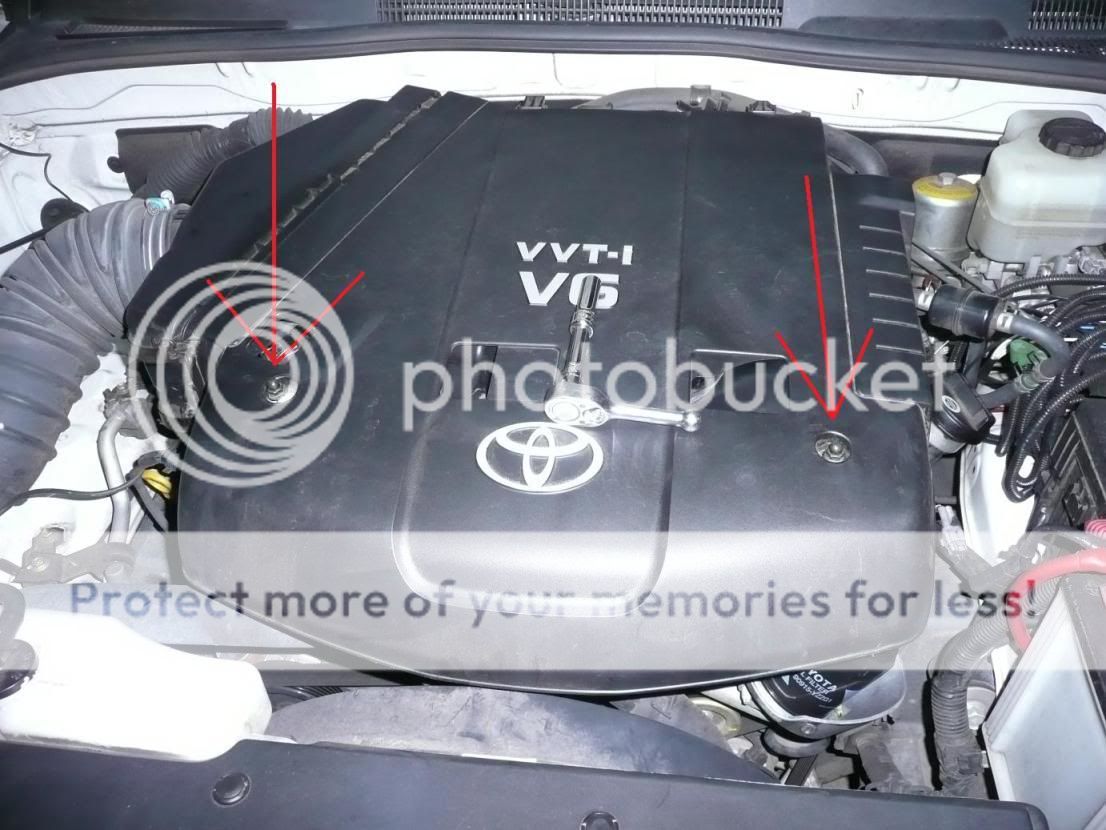
First, remove the two 10mm acorn nuts holding down the engine cover.
P1010949.jpg~original


Lift the front of the engine cover, then pull towards you.
P1010975.jpg~original


This is the rear of the engine cover where the hinges are. Just unhook it.
P1010981.jpg~original


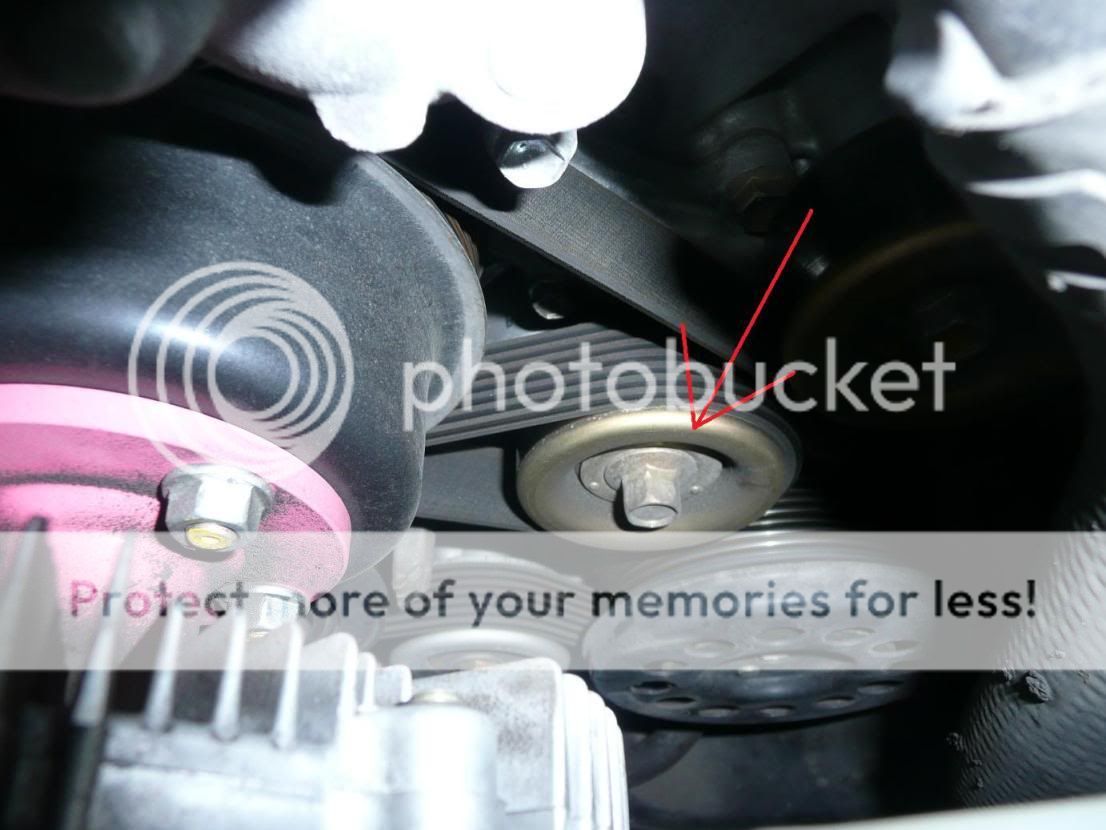
This is your belt tensioner
P1010953.jpg~original


Take your 14mm socket or offset wrench and place it on the belt tensioner as pictured/video. Lift wrench or ratchet upwards (counter-clockwise) to release the tension then slide the old belt off. Remove old belt from all the pulleys, then route it around the cooling fan.
P1010957.jpg~original


VIDEO
<iframe title="YouTube video player" width="640" height="390" src="http://www.youtube.com/embed/7whVQmQ0qt0" frameborder="0" allowfullscreen></iframe>

Old belt:
P1010969.jpg~original


New belt:
P1010970.jpg~original


Now install your new belt by routing it around the cooling fan first then around the idlers & pulleys. It will be a tight fit since the belt hasn’t been stretched out, so just be patient. I routed the belt in this particular order:

a) Over water pump pulley
b) Under Idler #2 (driver’s side)
c) Around alternator pulley
d) Around A/C compressor pulley
e) Over Idler #1
f) Around Crankshaft pulley
g) Around belt tensioner
h) Under water pump pulley
i) Over Idler #2 (Passenger side)
j) Finally around power steering pump as you release the belt tensioner.
I prefer to use the 14mm socket + ratchet + cheater bar so you have more leverage.


serpentinediagram.jpg~original


Picture of 14mm socket + ratchet + cheater bar positioned on belt tensioner.

P1010990.jpg~original


P1010987.jpg~original


Make sure belt fits perfectly on all the grooves on the pulleys. Re-install engine cover then start engine.
<iframe title="YouTube video player" width="640" height="390" src="http://www.youtube.com/embed/a5EMkb_AmQY" frameborder="0" allowfullscreen></iframe>


Thank you for the info. I just made it without problem.
The only suggestion is that removing the battery will make much easier to fit the wrench in the tensioner to get more room for leverage.
 
Thanks to the OP for posting. I did this a few weeks ago with no drama. Used a Toyota OEM belt, and did not replace idler pulleys. Did not remove the battery. Fairly seamless, took about 30 minutes because I was taking my time.

The original belt with 200,000 miles looked fine.
 
Thanks to the OP for posting. I did this a few weeks ago with no drama. Used a Toyota OEM belt, and did not replace idler pulleys. Did not remove the battery. Fairly seamless, took about 30 minutes because I was taking my time.

The original belt with 200,000 miles looked fine.

A serpentine belt can look fine but have wear between the teeth, some belt manufactures have a wear gauge that fits on the teeth and if the gauge wiggles or with others if the gauge is flush the belt need to be replaced, otherwise it very hard to know when the belt needs to be replaced.
 
Thanks for the valuable info guys! How different is the process for a V8 engine? (Mine is 2008). The cold start squealing has gotten much worse so I was about to pull the trigger to replace the belt. Only 63k miles on my truck.

I feel like the mechanic (new to me since I just moved to North NJ, so don’t fully trust him yet) might want to recommend replacing idler pulleys too (he mentioned that possibility before diagnosing), so how could I test them to confirm whether they need to be replaced?

Thanks in advance!
 
Thanks for the valuable info guys! How different is the process for a V8 engine? (Mine is 2008). The cold start squealing has gotten much worse so I was about to pull the trigger to replace the belt. Only 63k miles on my truck.

I feel like the mechanic (new to me since I just moved to North NJ, so don’t fully trust him yet) might want to recommend replacing idler pulleys too (he mentioned that possibility before diagnosing), so how could I test them to confirm whether they need to be replaced?

Thanks in advance!

I'm on the same boat with my V8 (85k miles). Bad squeeling from the tensioner area. I'll be replacing the belt along with the idler and tensioner pulley. Quite a few videos on YouTube showing you the process for our V8s. Also you can simply remove the belt and spin the pulleys manually to hear any grinding noise or if the pulley doesn't spin freely.
 
Here is a simple DIY on changing serpentine belts on the V6 (1GR-FE) 4Runners. I couldn’t find any DIY threads with pictures, so I decided to make one. It took me less than 10 minutes from start to finish, so anybody could do this with the basic tools. Hope this helps.

Tools needed:

• Ratchet
• 10mm socket
• 14mm socket or you could use a 14mm offset wrench
• Cheater bar

P1010974.jpg~original


First, remove the two 10mm acorn nuts holding down the engine cover.
P1010949.jpg~original


Lift the front of the engine cover, then pull towards you.
P1010975.jpg~original


This is the rear of the engine cover where the hinges are. Just unhook it.
P1010981.jpg~original


This is your belt tensioner
P1010953.jpg~original


Take your 14mm socket or offset wrench and place it on the belt tensioner as pictured/video. Lift wrench or ratchet upwards (counter-clockwise) to release the tension then slide the old belt off. Remove old belt from all the pulleys, then route it around the cooling fan.
P1010957.jpg~original


VIDEO
<iframe title="YouTube video player" width="640" height="390" src="http://www.youtube.com/embed/7whVQmQ0qt0" frameborder="0" allowfullscreen></iframe>

Old belt:
P1010969.jpg~original


New belt:
P1010970.jpg~original


Now install your new belt by routing it around the cooling fan first then around the idlers & pulleys. It will be a tight fit since the belt hasn’t been stretched out, so just be patient. I routed the belt in this particular order:

a) Over water pump pulley
b) Under Idler #2 (driver’s side)
c) Around alternator pulley
d) Around A/C compressor pulley
e) Over Idler #1
f) Around Crankshaft pulley
g) Around belt tensioner
h) Under water pump pulley
i) Over Idler #2 (Passenger side)
j) Finally around power steering pump as you release the belt tensioner.
I prefer to use the 14mm socket + ratchet + cheater bar so you have more leverage.


serpentinediagram.jpg~original


Picture of 14mm socket + ratchet + cheater bar positioned on belt tensioner.

P1010990.jpg~original


P1010987.jpg~original


Make sure belt fits perfectly on all the grooves on the pulleys. Re-install engine cover then start engine.
<iframe title="YouTube video player" width="640" height="390" src="http://www.youtube.com/embed/a5EMkb_AmQY" frameborder="0" allowfullscreen></iframe>

This helped me change my fan belt yesterday.
Quite informative.
Took me over 45minutes though, as i didnt have a knuckle wrench and space was tight and twas my first time ever, next time..it shud b a 15 minute job
 
Like many others have said, fantastic thread. Super helpful. I was able to change the belt out on my 2003 4R in about 15 minutes with a new belt from Continental from Autozone. However, when I started the engine again, the loud squeaking was still there. And something else weird happened. Immediately upon starting the engine, the belt jumped slightly off the bottom of the water pump pulley, causing it to also slightly slip off the idle #2 pulley and the tensioner.

I immediately cut the engine off and took the belt off to make sure all the pulleys turned easily and they all seem to. I put the belt back on and re-started the engine and it immediately jumped off track again. Repeated this one more time. Any ideas on what my potential issue might be?
 
Thanks for this write up. Just replaced my serpentine belt for the first time at 128,000 in my 07 SR5. Clear concise instructions made this a breeze. Also removed, cleaned and lubed the tensioner bearing with Lucas X-tra heavy duty grease. I replaced my original belt with a NAPA 070834 belt.
 

Members online

No members online now.

Forum statistics

Threads
278,317
Messages
3,554,129
Members
248,016
Latest member
Advally Service

Trending content

Back
Top