Extreme 3rd Gen Build! Insane!

Ah, College. Brings back memories. The 90's were great! :girl:

I didn't make it into college until the late 90's but because of my study(drinking) habits, I was still in college in the early 2000's

XTMGjFZTuSj9ypajCGtl_Beer%20Big%20Gulp.gif
 
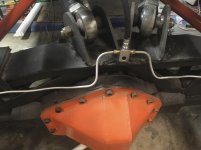
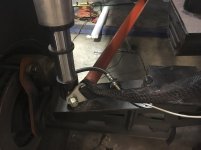
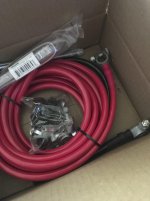
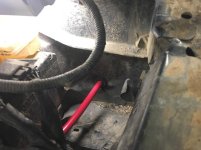
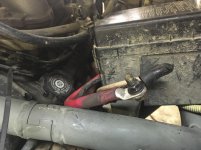
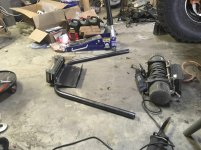
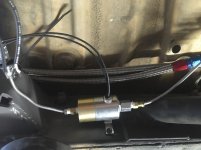
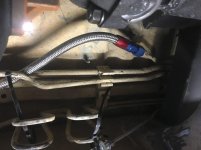
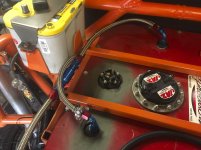
Had to order some more parts. Of all things to stop you in your tracks, a brake hose, and a banjo bolt. :frusty: Did get a little done yesterday. Finished (well relative to the hose and banjo bolt) the rear brake lines, etc. I order the battery cable kit to relocate battery from Summit Racing yesterday with free shipping, and BAM they showed up today before lunch. I LOVE Summit Racing!

Taking the day off mostly to let my arm heal some (tendonitis is a PITA...err I mean elbow) and spend some time with kids. I hope I can get back in the shop tomorrow morning.

brakes-b-1.jpg

brakes-b-2.jpg

brakes-b-3.jpg
 

Attachments

  • brakes-b-1.jpg
    brakes-b-1.jpg
    83.6 KB · Views: 687
  • brakes-b-2.jpg
    brakes-b-2.jpg
    74.9 KB · Views: 696
  • brakes-b-3.jpg
    brakes-b-3.jpg
    83.5 KB · Views: 669
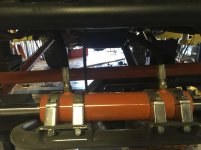
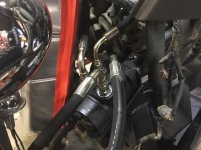
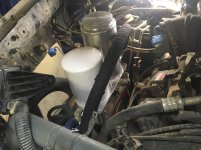
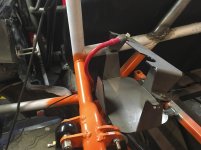
Got a lot done today despite my arm hurting. Installed all the hydraulic steering components and routed the cables for moving the battery to the rear. Built and installed the rear driveshaft, and did some finish welding around the cage. Looks like this thing will be running here shortly. Next day off I get I plan to hook up the fuel cell, pump, etc. and get this beast running!

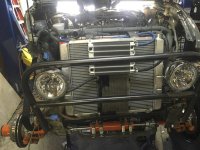
Took the radiator out to mount up the tranny cooler (bottom, it's old) and the new steering fluid cooler
Steering-b-2.jpg

Steering-b-3.jpg

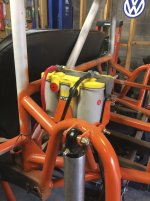
This combo reservoir and filter is awesome!
Steering-b-4.jpg

Steering-b-5.jpg

Steering-b-7.jpg

Steering-b-9.jpg

Steering-b-8.jpg
 

Attachments

  • Steering-b-2.jpg
    Steering-b-2.jpg
    135.8 KB · Views: 665
  • Steering-b-3.jpg
    Steering-b-3.jpg
    85.5 KB · Views: 669
  • Steering-b-4.jpg
    Steering-b-4.jpg
    105.9 KB · Views: 659
  • Steering-b-5.jpg
    Steering-b-5.jpg
    114.9 KB · Views: 647
  • Steering-b-7.jpg
    Steering-b-7.jpg
    94.3 KB · Views: 651
  • Steering-b-9.jpg
    Steering-b-9.jpg
    90.1 KB · Views: 644
  • Steering-b-8.jpg
    Steering-b-8.jpg
    109.2 KB · Views: 666
So, the name for this project has been officially dubbed "Chimera," after the Greek mythological creature, a hybrid creature made from several different animals. A befitting name for this build since the parts are from several different makes. Toyota (the base), Ford (the front end, front leafs, and transfer case), and Chevy (the range box, rear leafs, and rear end).

Never thought I'd own a hybrid LOL. This is one "hybrid" I will gladly own. :becky:

My kids were asked to come up with a name for the actual vehicle... After looking at the logo/symbol, the appropriately ironic "Fluffy" was chosen.

Chimera-Mod-sm.png

:rockon: That's awesome! I love greek mythology. I get it though, and I think it is the perfect name for project like this.
 
I finished designing the meat of the roll cage. Again, this is just the safety cage, not the body tube. The top will be covered with a roof, so you won't see it unless you are in the truck. This is made from 1.75" .120" wall DOM. The rest of the exo-cage will be made from 1.5" .120 wall tubing because it's less expensive.

View attachment 236862

View attachment 236863

View attachment 236864

View attachment 236865

What program is that you are using to design your cage? AutoCAD?
 
What program is that you are using to design your cage? AutoCAD?

No, it's called Bend Tech Pro. An inexpensive tool for handling all the calculations. I use it mostly for design and visualization and it gives me the exact cut lengths and bend angles (or offsets) for my bender with this material. So far it's been damn near perfectly accurate. I don't use it for notching tube, though. I do that manually by hand because it's way faster than printing out paper templates (or what they call wrappers) to design the cuts. I've learned some tricks to making perfect notches every time.
 
I'm finishing up reading through this thread and I am SUPER impressed with the work and how fast you have put it all together! Can't wait to see it finished. Now you have me jonesing for more updates dude, because this build is like crack for me! :lol:
 
I'm finishing up reading through this thread and I am SUPER impressed with the work and how fast you have put it all together! Can't wait to see it finished. Now you have me jonesing for more updates dude, because this build is like crack for me! :lol:

Thanks! I want it done too I am starting to get excited. I want it done ASAP because I know that there will be something I missed, something that binds, or doesn't work right and I'll need the extra few weeks before Trailfest 17' to work out the kinks and get parts in (if needed). But mostly I am just ready to get it out of my shop and get my shop cleaned up. This build has given me several ideas to improve the organization and workflow of my shop.

Also, as soon as I am done, I plan to build a TOC in my first post for this thread to keep it organized.
 
Last edited:
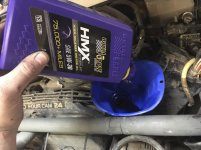
Yeah, half day today at work. So it's time for some fluids. Nothing but the best for my Chimera. When I swapped out the oil pan I stuck my feeler gauges around the mains and checked the clearance on the main bearings (well the ones I could reach from down there at least). Best I could tell they were still within spec. 0.250.023 - 0.063 mm (0.0009 - 0.0025 inch).

Why do this? Well, the 5VZ-FE is a very reliable little V6, but I still wanted to check and see since I might never pull that oil pan off again until rebuild time, then I may just do an LS swap.

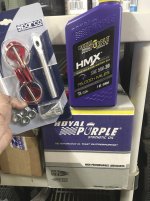
It has about 175,000 miles on it now so I use high mileage synthetic oil from Royal Purple. Yes, it's expensive, but it's one of the best synthetic products on the market. I've been using it for years and it's great! No, they did not pay me to say that. But if someone from Royal Purple wants to "sponsor" my ride, well I'm down with that! Got my hood pin kit in with my oil today too. I love Amazon Prime!

Steering-b-1.jpg
 

Attachments

  • Steering-b-1.jpg
    Steering-b-1.jpg
    119.7 KB · Views: 616
HA! I don't count that. It's absolutely useless. Too high for speed or offroad. It's a show car / mall crawler. LOL

But hey, it works for a bumper sticker I saw on a jeep the other day. "LIFT IT, because fat chicks can't jump!"

Did you not click on the 2 pictures? I think you're talking about the black one that's lifted like 3 feet
 
Did you not click on the 2 pictures? I think you're talking about the black one that's lifted like 3 feet

No, I didn't until just now. lol. And... WOW! Ok, so is that more extreme than this? I'd say damn close minus the lack of extreme body mods. Still, it's freaking nice looking rig! Those tires are HUGE! still looks like a 4runner to me.
 
No, I didn't until just now. lol. And... WOW! Ok, so is that more extreme than this? I'd say damn close minus the lack of extreme body mods. Still, it's freaking nice looking rig! Those tires are HUGE! still looks like a 4runner to me.

You just don't have 54s :naughty:
 
Final Days of Initial Build

I got a lot done today. And I'm off all this week, so I should also get a lot finished up this week. The next two posts ar all pictures due to how much was accomplished today.

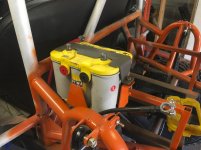
Battery box #1 welded in. Yes, I plan to go dual batteries too. The other one will live in the same spot just opposite sides. So, I added engine oil (royal PurpleLd
final-days-1.jpg

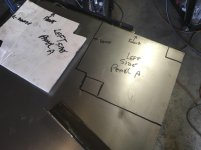
cut up the parts for the center console.
final-days-2.jpg

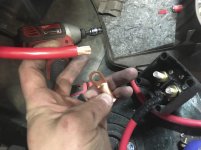
Battery installed and working (well at least the cable systems.
final-days-3.jpg

Started rebuilding the interior floors and new center console. Sides are tacked in to help shape them and prep for bolts.
final-days-4.jpg

final-days-6.jpg

final-days-5.jpg

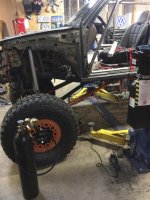
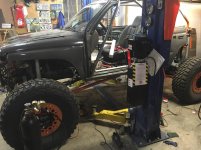
Air Shocks all charged up with Nitrogen...
final-days-7.jpg

And adjusted for ride height.
final-days-8.jpg
 

Attachments

  • final-days-1.jpg
    final-days-1.jpg
    116.7 KB · Views: 587
  • final-days-2.jpg
    final-days-2.jpg
    74.3 KB · Views: 565
  • final-days-3.jpg
    final-days-3.jpg
    94.7 KB · Views: 585
  • final-days-4.jpg
    final-days-4.jpg
    135.2 KB · Views: 563
  • final-days-6.jpg
    final-days-6.jpg
    120.1 KB · Views: 577
  • final-days-5.jpg
    final-days-5.jpg
    110.5 KB · Views: 577
  • final-days-7.jpg
    final-days-7.jpg
    123.2 KB · Views: 562
  • final-days-8.jpg
    final-days-8.jpg
    131.9 KB · Views: 565
Last edited:
You know I really enjoy these updates, but if you keep this pace up I won't have anything to look forward to in April
 
Final Days part two

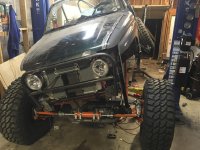
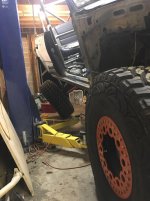
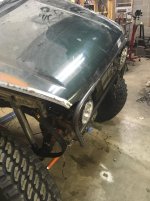
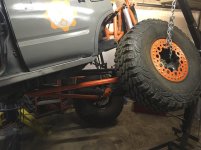
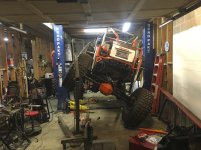
With shocks charged getting her flex on! No binding and she still probably has a few more inches of travel. That was just as high as my hoist would go.
final-days-11.jpg

final-days-12.jpg

final-days-13.jpg

final-days-14.jpg

final-days-15.jpg

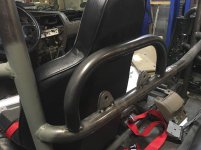
Started harness supports.
final-days-16.jpg

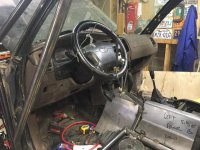
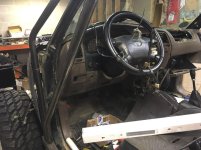
Dash going back together and routing wires for gauges and switches.
final-days-17.jpg
 

Attachments

  • final-days-11.jpg
    final-days-11.jpg
    135.7 KB · Views: 701
  • final-days-12.jpg
    final-days-12.jpg
    110.5 KB · Views: 678
  • final-days-13.jpg
    final-days-13.jpg
    109.8 KB · Views: 664
  • final-days-14.jpg
    final-days-14.jpg
    107.2 KB · Views: 650
  • final-days-15.jpg
    final-days-15.jpg
    134.3 KB · Views: 647
  • final-days-16.jpg
    final-days-16.jpg
    96.9 KB · Views: 642
  • final-days-17.jpg
    final-days-17.jpg
    119.7 KB · Views: 646
It's ALIVE!

Spent the day yesterday just welding up stuff that was finished with the mock-up and started building the front bumper. Today was the big day. I finished installing the brakes and fuel system after the small parts I needed showed up. Hooked up a line lock for the rear to lock the brakes so I can do front digs. Then got the fuel system done. Just did temporary wiring direct to the battery just to get it running. After six months of work, this beast is once again running! Here are some videos of it running and working.

https://youtu.be/wXS7lrCnjow

https://youtu.be/5WGHgS8UiT8

final-days-b-1.jpg

final-days-b-2.jpg

final-days-b-3.jpg

final-days-b-4.jpg
 

Attachments

  • final-days-b-1.jpg
    final-days-b-1.jpg
    129.2 KB · Views: 706
  • final-days-b-2.jpg
    final-days-b-2.jpg
    91.9 KB · Views: 715
  • final-days-b-3.jpg
    final-days-b-3.jpg
    84.6 KB · Views: 713
  • final-days-b-4.jpg
    final-days-b-4.jpg
    125.4 KB · Views: 719
Spent the day yesterday just welding up stuff that was finished with the mock-up and started building the front bumper. Today was the big day. I finished installing the brakes and fuel system after the small parts I needed showed up. Hooked up a line lock for the rear to lock the brakes so I can do front digs. Then got the fuel system done. Just did temporary wiring direct to the battery just to get it running. After six months of work, this beast is once again running! Here are some videos of it running and working.

https://youtu.be/wXS7lrCnjow

https://youtu.be/5WGHgS8UiT8

View attachment 244570

View attachment 244571

View attachment 244572

View attachment 244573

Dude that's awesome! Congrats! Can't wait to see it on the trails.
 
The videos are gunna be guuuuuuud....

kp8te.gif


I hope you have about 6 gopro's that you can mount all over this thing - its not like they wont be easy to mount

:rockon:
 

Members online

Forum statistics

Threads
278,315
Messages
3,554,102
Members
248,016
Latest member
Advally Service

Trending content

Back
Top