My 3 point slow rebuild

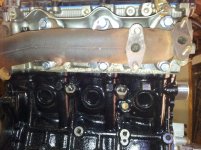
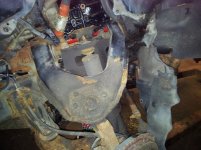
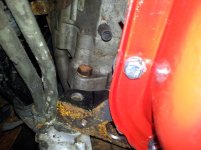
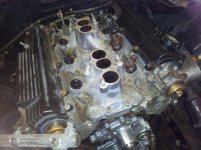
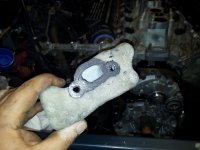
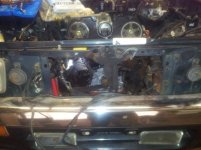
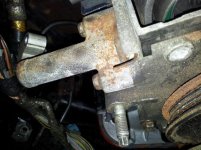
Here's a view of the backside of the engine with the infamous setback now installed. One 10mm bolt holds the plate in place. Its located near the starter opening.
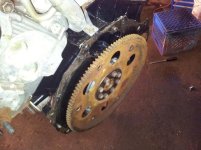
20121117_124014.jpg
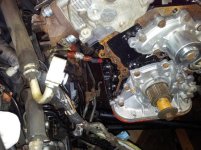
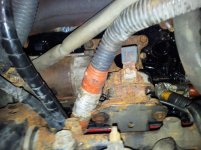
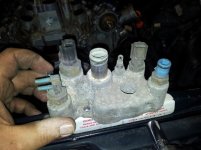
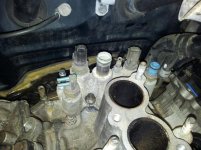
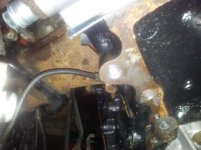
I fought pretty hard with the manifolds the first time and feared I cross-threaded a bolt. So, while the engine was out, I pulled the manifolds. I did one find one hole that was a little messed up, but I ran a tap through it and it was fine. I also ran a tap through all the other holes. I then used some industrial anti-seize (good to 2500 degrees F) and reinstalled the manifolds. I now have better piece of mind.
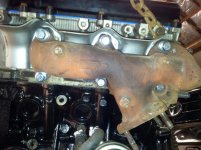
20121117_124029.jpg

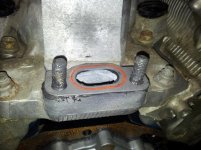
20121117_124048.jpg
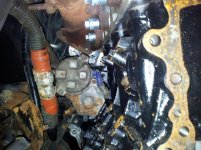
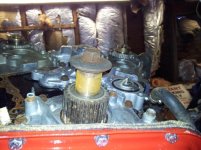
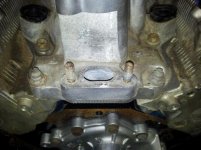
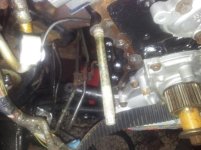
I also put anti-seize on the crossover studs. Exhaust bolts are usually the first to rust and the first to snap, so I'm taking precautions for the future.
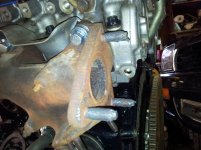
20121117_124036.jpg
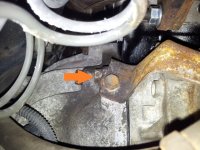
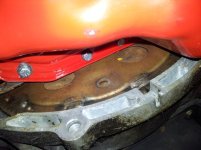
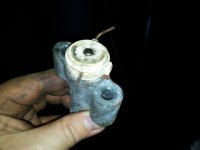
The engine going back into the bay. A sigh of relief...
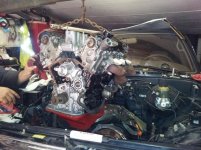
20121117_124319.jpg

I didn't get a lot done this weekend. But, the worst is behind me. (knocks on wood) I ended up helping my dad with his tractor restoration and then going with him on a few calls. (tow truck driving). But now I'm ready for next weekend!

 

Attachments

  • 20121117_124014.jpg
    20121117_124014.jpg
    44.6 KB · Views: 1,001
  • 20121117_124029.jpg
    20121117_124029.jpg
    52.4 KB · Views: 975
  • 20121117_124048.jpg
    20121117_124048.jpg
    57.6 KB · Views: 972
  • 20121117_124036.jpg
    20121117_124036.jpg
    48.3 KB · Views: 1,032
  • 20121117_124319.jpg
    20121117_124319.jpg
    57.9 KB · Views: 965
Starter Install

Well, it's been a while. Time for an update

I cleaned up the starter lead terminal and the terminal end on the positive wire.

20121124_072147.jpg

20121124_072140.jpg
To install the starter, first remove the passenger wheel.
20121124_064622.jpg
Then remove the access panel above the upper control arm. Some are held in with 10mm nuts, some are held in with snap fasteners.
20121124_064649.jpg
Remove the passenger motor mount. The mount CAN be unbolted and removed through the passenger wheel well, but I removed mine from the front since I had the open space.
20121124_064904.jpg
To give you relative perspective of why the motor mount has to be removed.
20121124_064549.jpg
The top bolt goes through the bell housing into the starter.
20121124_064710.jpg
The bottom bolt goes through the starter into the bell housing. If you have the front axle in or lack space, several long extensions can be used to reach "down the tunnel" to the bolt.
20121124_092212.jpg
 

Attachments

  • 20121124_072147.jpg
    20121124_072147.jpg
    54.9 KB · Views: 983
  • 20121124_072140.jpg
    20121124_072140.jpg
    52.7 KB · Views: 1,043
  • 20121124_064622.jpg
    20121124_064622.jpg
    35.2 KB · Views: 936
  • 20121124_064649.jpg
    20121124_064649.jpg
    50.5 KB · Views: 1,008
  • 20121124_064904.jpg
    20121124_064904.jpg
    58.6 KB · Views: 946
  • 20121124_064549.jpg
    20121124_064549.jpg
    55.4 KB · Views: 942
  • 20121124_064710.jpg
    20121124_064710.jpg
    132.4 KB · Views: 1,004
  • 20121124_092212.jpg
    20121124_092212.jpg
    43.8 KB · Views: 916
Torque Converter

Here is a view from the wheel well with the motor mount re-installed.
20121124_091710.jpg
Next, I worked on bolting the flexplate to the torque converter. Thread in the crankshaft bolt and use a ratchet to turn the engine to line up the bolt holes.
20121124_092154.jpg
A close up of the flex plate lined up. There are six bolts total. Install one bolt finger tight and then rotate the engine to install the remaining ones. Then go back around a second time to torque them down. Be sure to use thread locker on the bolt threads as well.
20121124_092446.jpg
 

Attachments

  • 20121124_091710.jpg
    20121124_091710.jpg
    48.8 KB · Views: 970
  • 20121124_092154.jpg
    20121124_092154.jpg
    52.3 KB · Views: 1,013
  • 20121124_092446.jpg
    20121124_092446.jpg
    40.7 KB · Views: 939
Fuel Injection

I decided to work on getting the fuel injectors and fuel rails installed. I didn't like how dirty the injector seats were, so I decided to pull and clean them. Good thing I did...
20121124_134004.jpg

20121124_134047.jpg
Couple of pictures of a cleaned injector seat. Much happier now that I know I'll have a good seal and no dirt getting into the injectors or the engine.
20121124_134347.jpg

20121124_134353.jpg
Unfortunately, my injector portion came to a halt when I realized that I was missing a lower injector seat. Luckily, I found an injector rebuild kit on Ebay that has all the seals.
20121124_150321.jpg
 

Attachments

  • 20121124_134004.jpg
    20121124_134004.jpg
    133.2 KB · Views: 983
  • 20121124_134047.jpg
    20121124_134047.jpg
    37.7 KB · Views: 953
  • 20121124_134347.jpg
    20121124_134347.jpg
    122.3 KB · Views: 981
  • 20121124_134353.jpg
    20121124_134353.jpg
    107 KB · Views: 997
  • 20121124_150321.jpg
    20121124_150321.jpg
    49 KB · Views: 946
Intake

Well, I decided to install the coolant manifold and the front idler/coolant pipe on the intake.
20121124_151055.jpg
Cleaned up the surface.
20121124_151109.jpg
Now...take a look at the picture above and the picture below.... See the problem...I put the intake manifold on backwards!
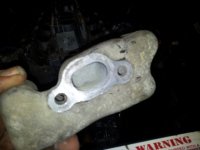
20121124_151102.jpg
Well, good a place as any to prep the mount. Cleaned it up, put gasket sealer on the base and anti-sieze on the bolts
20121124_151517.jpg

20121124_151523.jpg
Well, turned the intake around and got the manifold bolted down.
20121124_154032.jpg
 

Attachments

  • 20121124_151055.jpg
    20121124_151055.jpg
    41 KB · Views: 1,056
  • 20121124_151109.jpg
    20121124_151109.jpg
    85.4 KB · Views: 959
  • 20121124_151102.jpg
    20121124_151102.jpg
    45.6 KB · Views: 968
  • 20121124_151517.jpg
    20121124_151517.jpg
    50.4 KB · Views: 933
  • 20121124_151523.jpg
    20121124_151523.jpg
    134.2 KB · Views: 968
  • 20121124_154032.jpg
    20121124_154032.jpg
    53.4 KB · Views: 964
Prepped the front base for the idler pulley
20121124_154017.jpg
Applied gasket sealer
20121124_154418.jpg
I know there's a rubber o-ring installed on the pully, but I didn't want to take any chances.
20121124_154424.jpg
 

Attachments

  • 20121124_154017.jpg
    20121124_154017.jpg
    52.7 KB · Views: 673
  • 20121124_154418.jpg
    20121124_154418.jpg
    55 KB · Views: 622
  • 20121124_154424.jpg
    20121124_154424.jpg
    110.1 KB · Views: 602
The water neck studs installed. I used anti-sieze on these as well.
20121124_162728.jpg
Gasket maker applied to the water neck.
20121124_162921.jpg
The water neck seated and more anti-sieze on the stud ends.
20121124_163039.jpg
 

Attachments

  • 20121124_162728.jpg
    20121124_162728.jpg
    49.4 KB · Views: 627
  • 20121124_162921.jpg
    20121124_162921.jpg
    38.9 KB · Views: 601
  • 20121124_163039.jpg
    20121124_163039.jpg
    47.6 KB · Views: 619
good work. Glad you replaced the injector seals or you would have had the same trouble I did... all of your fuel on the ground.

Also with the starter, Ive done it a few times now on second gens. the passenger mount doesn't have to be removed. You have to move those harnesses over and make a hole. Its a bit of a pain but if you rotate it just right it can come in and out pretty easily. the bolts are best removed from the front with extensions. I can't think of anything better to get that damn nut on the starter terminal though
 
The idler pulley is installed and the rear timing cover is bolted on.
20121124_164019.jpg
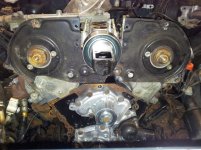
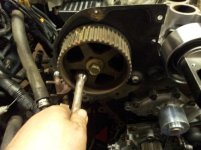
Here's a neat trick. To hold the timing gears in place while torqueing them down, use the female end of a 1/2" extension over the timing cover bolt.
20121124_165432.jpg
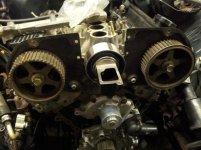
The cam gears installed. Pay attention to the orientation. The flange on the driver side gear faces outward.
20121124_165449.jpg
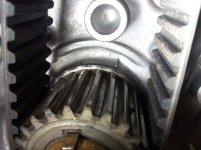
Be sure to line up the timing marks before installing the timing belt.
20121124_181828.jpg

20121201_132149.jpg

20121201_132154.jpg
 

Attachments

  • 20121124_164019.jpg
    20121124_164019.jpg
    57.5 KB · Views: 653
  • 20121124_165432.jpg
    20121124_165432.jpg
    40.3 KB · Views: 631
  • 20121124_165449.jpg
    20121124_165449.jpg
    47.1 KB · Views: 639
  • 20121124_181828.jpg
    20121124_181828.jpg
    39.5 KB · Views: 573
  • 20121201_132149.jpg
    20121201_132149.jpg
    105 KB · Views: 599
  • 20121201_132154.jpg
    20121201_132154.jpg
    96.6 KB · Views: 637
I apologize for the cloudy pictures. It was awhile before I realized my camera lens was dirty. So, I stumbled on yet another problem. A stripped out bolt hole in the engine block. Had to drop $66 on a heli-coil kit.
20121201_111209.jpg
I got fustrated and didn't plan on using the A/C anyways, so I did some cleaning. In reality, I didn't have enough space to get a drill at the hole decently.
20121201_120552.jpg
Much better. I am going to keep the A/C condensor fan and reinstall it later with an relay kit and sensor. The cooler I can keep the motor, the longer it will last.
20121201_120600.jpg
Hard to see, but I have the heli-coil installed.
20121201_113422.jpg
The stud reinstalled.
20121201_123309.jpg
 

Attachments

  • 20121201_111209.jpg
    20121201_111209.jpg
    46.4 KB · Views: 632
  • 20121201_120552.jpg
    20121201_120552.jpg
    122.9 KB · Views: 565
  • 20121201_120600.jpg
    20121201_120600.jpg
    41.2 KB · Views: 584
  • 20121201_113422.jpg
    20121201_113422.jpg
    38.4 KB · Views: 558
  • 20121201_123309.jpg
    20121201_123309.jpg
    41.3 KB · Views: 540
If you re-use the original tensioner, use a very small allen wrench or stiff wire to hold the plunger in while you install the tensioner. I used a bench vise to compress the plunger.
20121201_140959.jpg
The tensioner installed with the allen wrench still in place. Once installed, remove the allen wrench with a pliers.
20121201_141219.jpg
After the belt is installed, install the lower timing cover.
20121201_140427.jpg
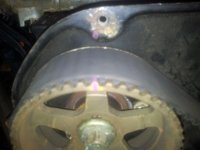
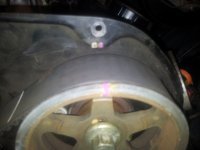
I used a paint marker on the timing marks to make them easier to see later.
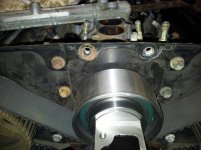
20121201_135217.jpg
Don't forget to install the timing belt guide before the cover.
20121201_135224.jpg
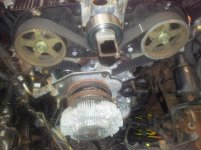
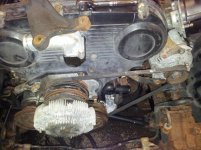
The timing belt installed along with the fan bracket.
20121201_132200.jpg
And this is where I realized my lens was dirty and cleaned it. Another view showing the tensioner installed.
20121201_135233.jpg
 

Attachments

  • 20121201_140959.jpg
    20121201_140959.jpg
    71.2 KB · Views: 570
  • 20121201_141219.jpg
    20121201_141219.jpg
    53.9 KB · Views: 548
  • 20121201_140427.jpg
    20121201_140427.jpg
    55.6 KB · Views: 542
  • 20121201_135217.jpg
    20121201_135217.jpg
    133.5 KB · Views: 579
  • 20121201_135224.jpg
    20121201_135224.jpg
    38.3 KB · Views: 528
  • 20121201_132200.jpg
    20121201_132200.jpg
    43.7 KB · Views: 551
  • 20121201_135233.jpg
    20121201_135233.jpg
    65.3 KB · Views: 531
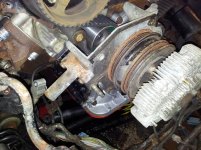
The harmonic balancer pulley installed.
20121201_141615.jpg
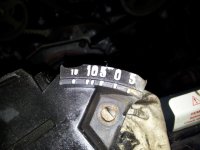
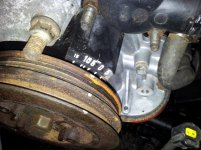
A close up of the timing marks.
20121201_141621.jpg
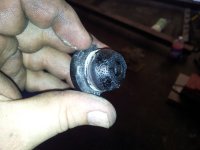
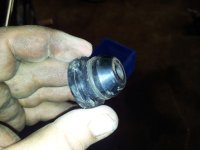
The oil pressure sending unit installed.
20121201_143227.jpg
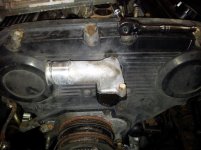
The remainder of the timing cover was installed including the front cover and this piece.
20121201_144222.jpg
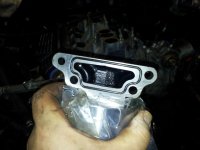
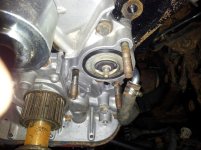
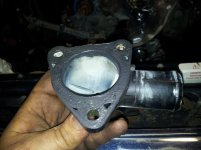
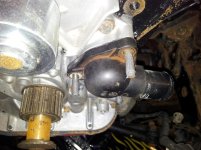
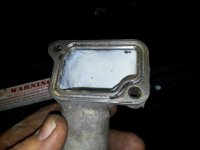
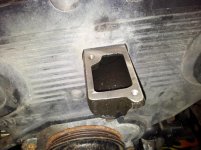
Cleaned up the upper coolant inlet. There isn't a gasket for this piece. Use gasket sealer and be sure to fill in the channel.
20121201_145520.jpg
The mating surface
20121201_145526.jpg

20121201_150313.jpg
 

Attachments

  • 20121201_141615.jpg
    20121201_141615.jpg
    55.1 KB · Views: 587
  • 20121201_141621.jpg
    20121201_141621.jpg
    57.6 KB · Views: 592
  • 20121201_143227.jpg
    20121201_143227.jpg
    52.4 KB · Views: 669
  • 20121201_144222.jpg
    20121201_144222.jpg
    45.1 KB · Views: 544
  • 20121201_145520.jpg
    20121201_145520.jpg
    91.1 KB · Views: 578
  • 20121201_145526.jpg
    20121201_145526.jpg
    49.9 KB · Views: 540
  • 20121201_150313.jpg
    20121201_150313.jpg
    43.7 KB · Views: 543
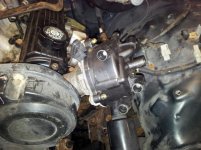
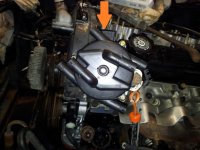
The distributor installed.
20121201_150342.jpg
When installing the distributor, set the engine at #1 TDC. The rotor on the distributor should be in this area when the distributor is installed.
20121201_150355.jpg
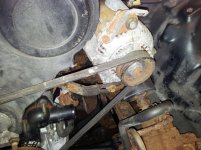
The alternator installed.
20121201_160808.jpg

20121201_160823.jpg
The A/C pump installed. It won't be belted or hooked up. It probably won't stay in, but I wasn't sure about whether I would need that bracket by the tensioner or not.
20121201_160815.jpg
The power steering pump installed.
20121201_172254.jpg
 

Attachments

  • 20121201_150342.jpg
    20121201_150342.jpg
    52.6 KB · Views: 619
  • 20121201_150355.jpg
    20121201_150355.jpg
    97.5 KB · Views: 630
  • 20121201_160808.jpg
    20121201_160808.jpg
    54.7 KB · Views: 620
  • 20121201_160823.jpg
    20121201_160823.jpg
    55.6 KB · Views: 559
  • 20121201_160815.jpg
    20121201_160815.jpg
    63.3 KB · Views: 952
  • 20121201_172254.jpg
    20121201_172254.jpg
    60.8 KB · Views: 595
good work. Glad you replaced the injector seals or you would have had the same trouble I did... all of your fuel on the ground.

Also with the starter, Ive done it a few times now on second gens. the passenger mount doesn't have to be removed. You have to move those harnesses over and make a hole. Its a bit of a pain but if you rotate it just right it can come in and out pretty easily. the bolts are best removed from the front with extensions. I can't think of anything better to get that damn nut on the starter terminal though

I had already picked up new upper seals. But I lost one of the lower ones and I wasn't going to pay $8 a piece to rebuild the injectors when I got the whole kit on Ebay for $35.

The starter is a lot easier with the IFS. In the future, if I do any work under the truck, that IFS is coming out first. At least until I do a SAS in the front.
 
Man, she's gonna run like brand new when you're finished.

That is my hope, but with all the bulls*$t I've delt with so far, I'm not holding my breath until I hear it run. I wish I would have had the 22RE. Something tells me it would have been much less of a headache. Or the 5VZE swap. Oh well, live and learn.
 
That is my hope, but with all the bulls*$t I've delt with so far, I'm not holding my breath until I hear it run. I wish I would have had the 22RE. Something tells me it would have been much less of a headache. Or the 5VZE swap. Oh well, live and learn.

I dont wish the 22re on anyone. im sure its not as bad but the damn timing cover runs coolant through it. its a 14 hour (book time) job to do the timing chain.

Smart.. I should have done that with the timing marks. Looks like the distributor is advanced more than it should be but you kind of need it running first lol. At least I think its too advanced... I wouldn't know, my tps doesnt work right so i cant set the timing.

Also smart cookie for using an allen wrench. never thought of that one. Somehow i got my tensioner in without compressing. But then I had to pull it apart again and used a pin.


keep up the work, its almost there. Id love to know what your oil pressure gauge reads when its running. mine hardly ever makes out of the first box and i think its just an old sensor.
 
Just read through this entire thread. Nice writeup and thanks for sharing! I love this stuff...:boink:
 

Members online

Forum statistics

Threads
278,312
Messages
3,554,085
Members
248,016
Latest member
Advally Service

Trending content

Back
Top