Here is my go on the axles seals. Job overall was cake, but a few tool issues caused it to be more of a pain in the arse than it should have been. Issues were overcome and I am better off now than I was with new customized tools. I do not go into all details of the job - just some highlight photos. Lots of good writeups on axle seal jobs. However my methods / press tools may be a bit unique.
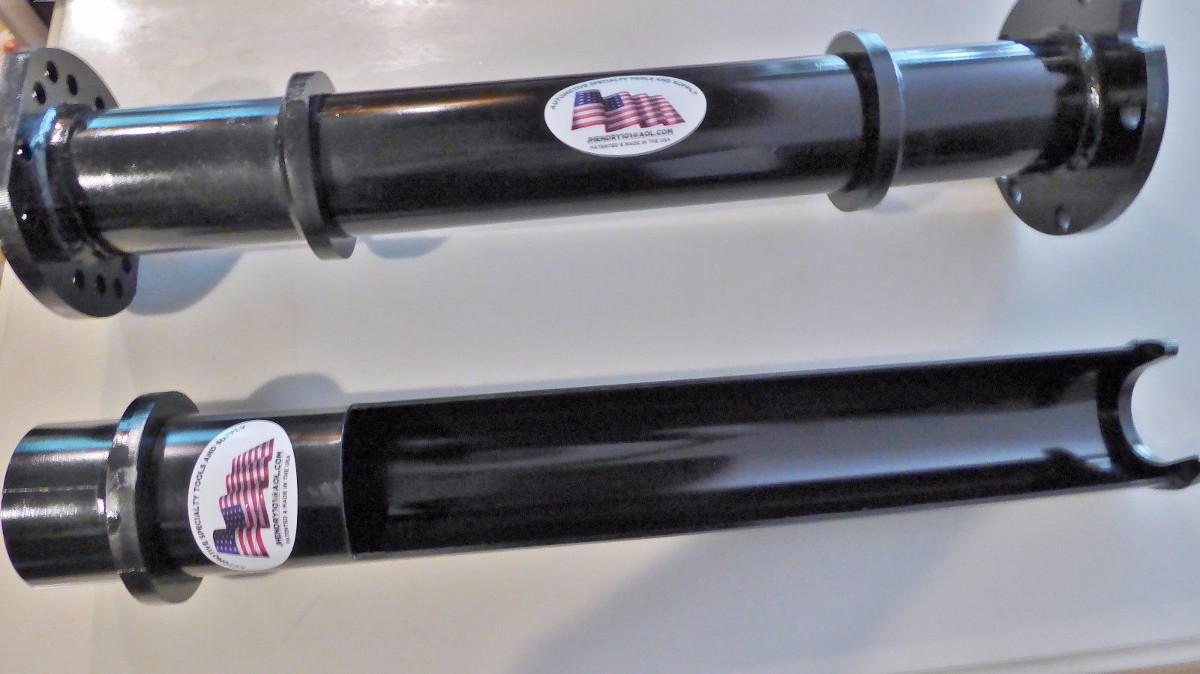
Lets start with the tool set. I bought these from a seller on ebay. Looked / are well made. Bit pricey, but worth it. These allow the quick and easy removal of the ABS ring, seal race / bearing retainer and bearing
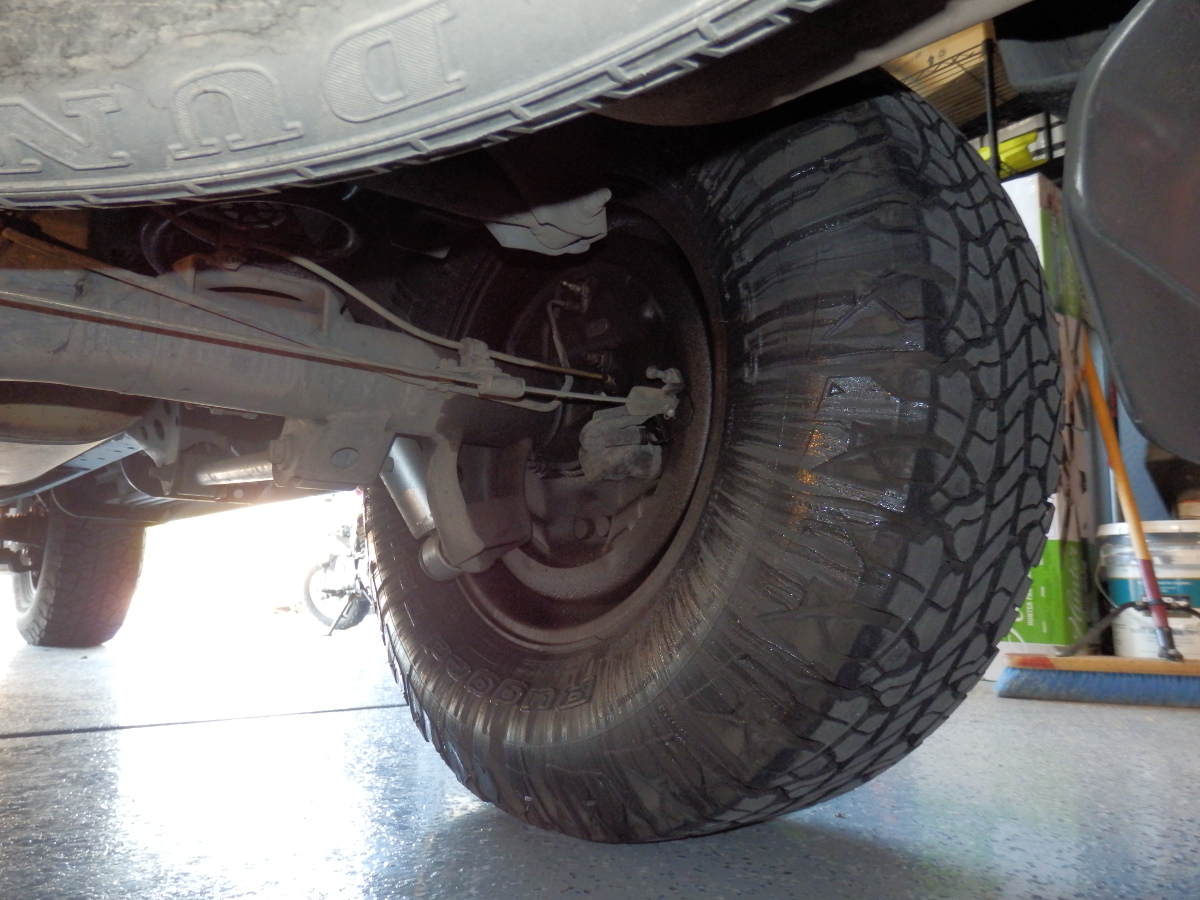
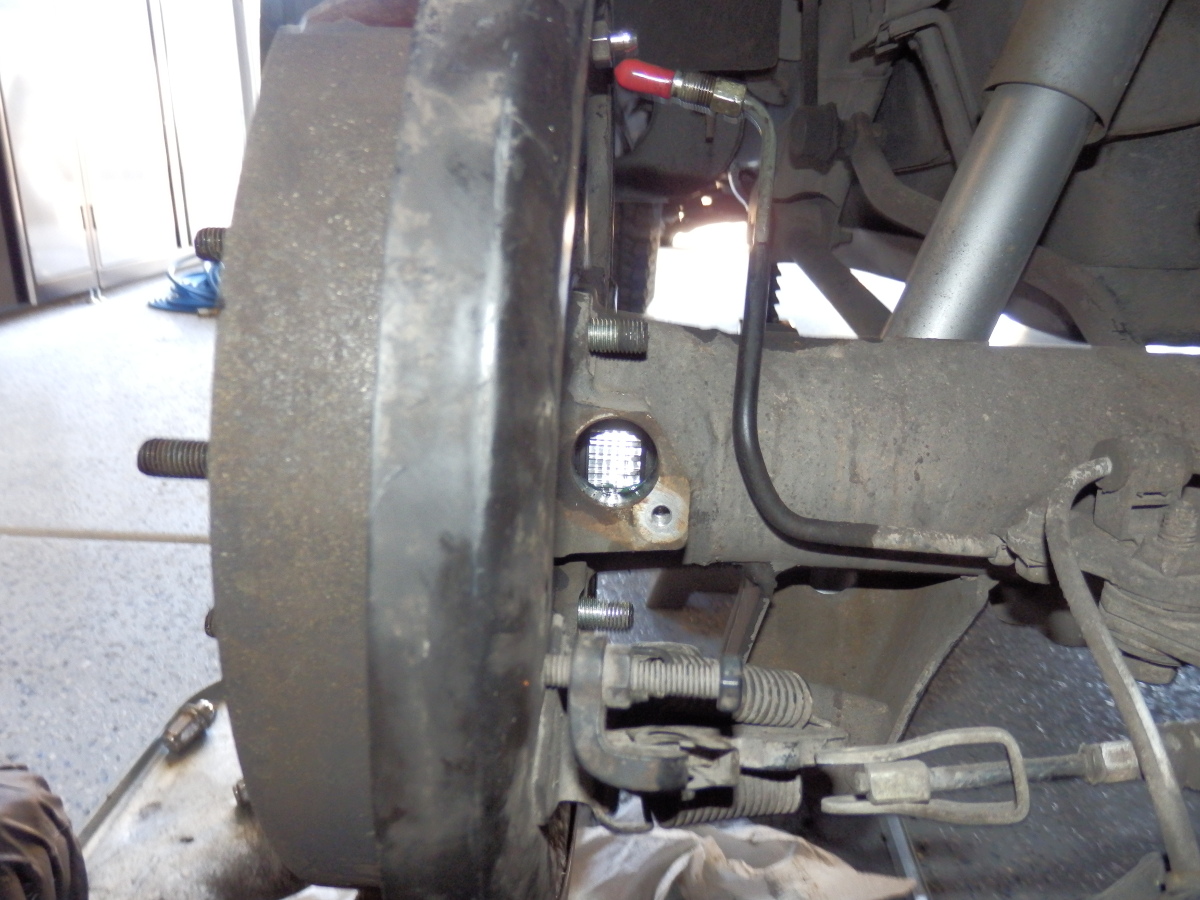
First, what started this whole mess.
First up, axles pulled and went to use the ebay tool. Demmit... the horseshoe grabber thingy is to thick to properly grab the ABS ring. Had to use my chop saw and take about .125 off the thickness to get it to work. Told the seller about it and he promptly apologized and refunded a bit of the purchase price for the issue.
After taking the material off, the tool made short work of yanking things apart.
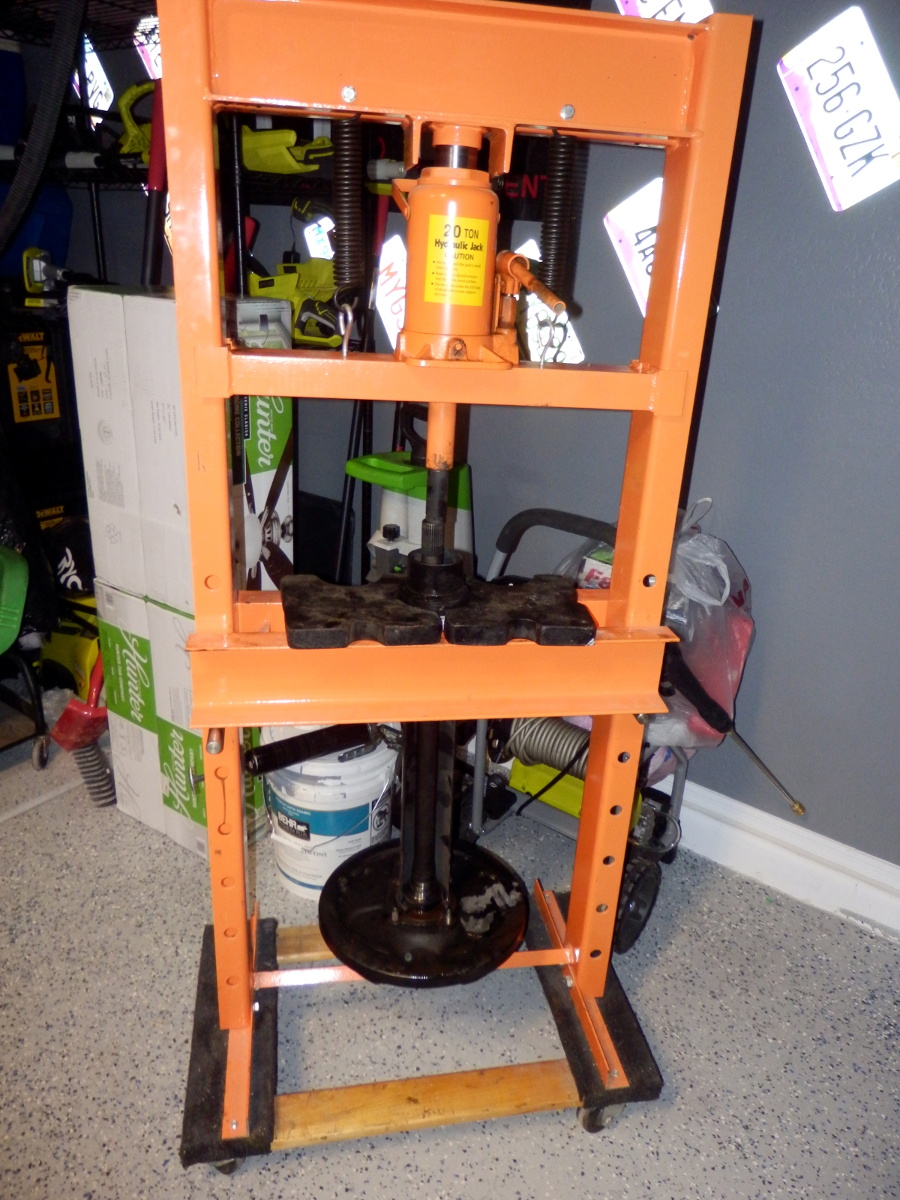
Another shot in the old press.
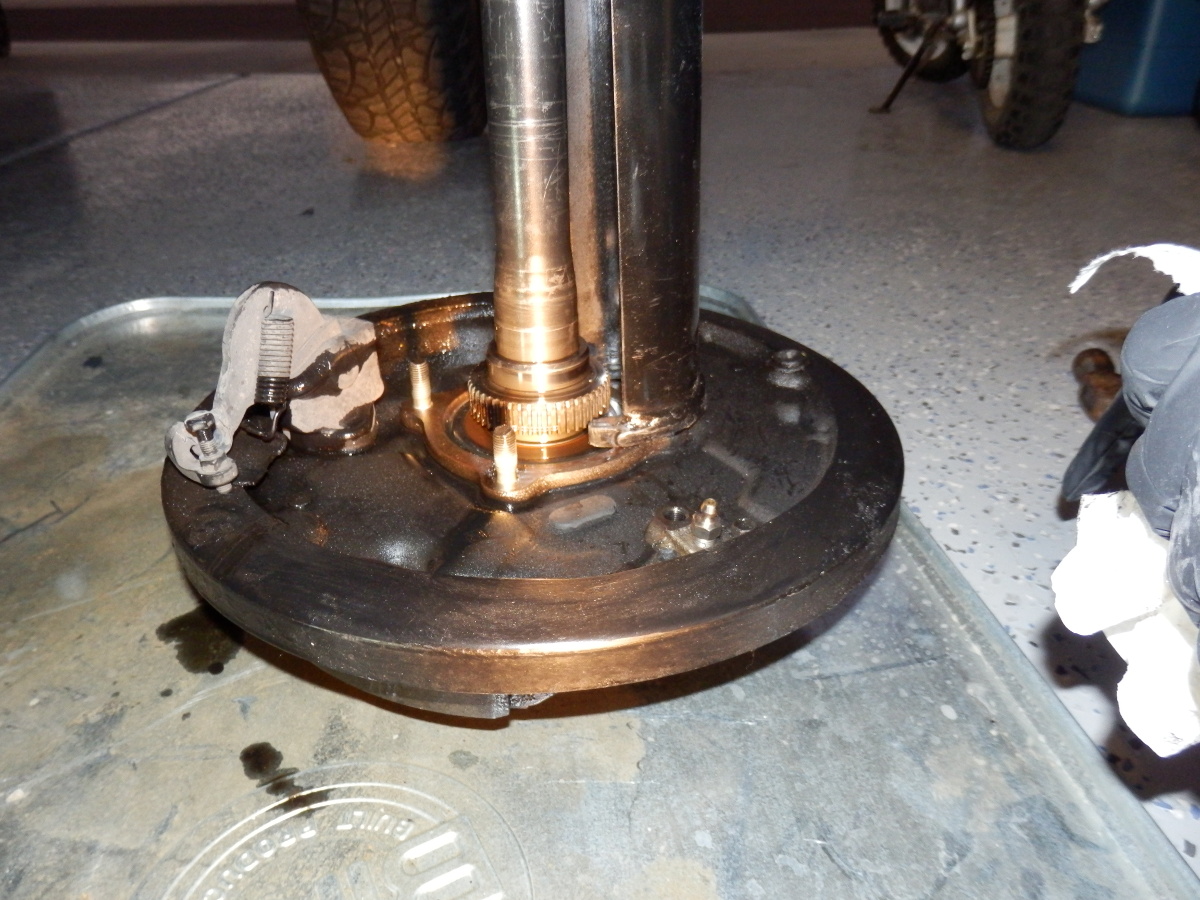
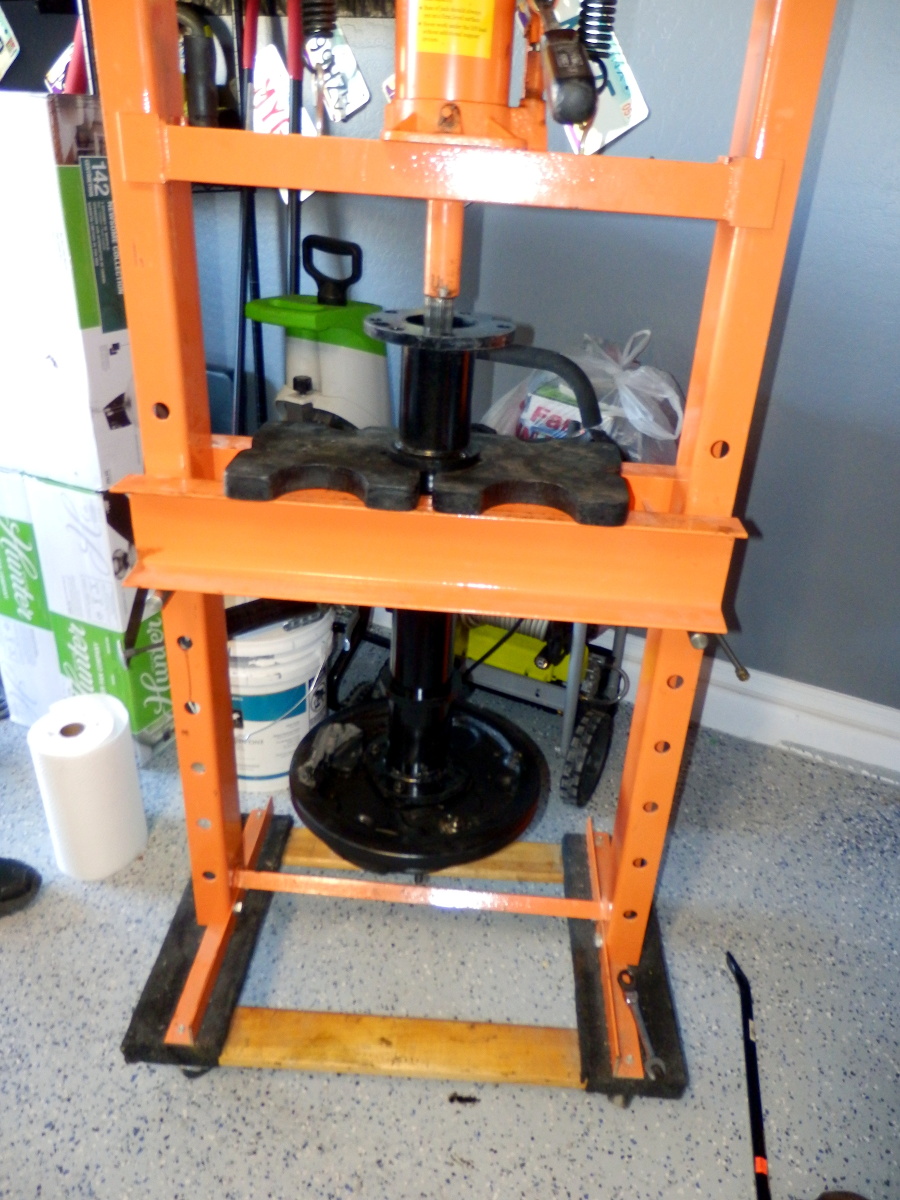
Next up, pressing the axle shaft out of the bearing. Which at the same time presses off the retainer ring (after removing the snap ring of course). I also had issues with this tool but it more came down to my 8-10 year old HF press. The opening on the press deck was only 4" This tool needed at least 5". So I had to cut the cross bars on the press deck to fit everything properly. This is not high pressure / stress work so it was not dangerous. I will be adding adjustment parts and tube later on to re-finish the deck and make it safe again.
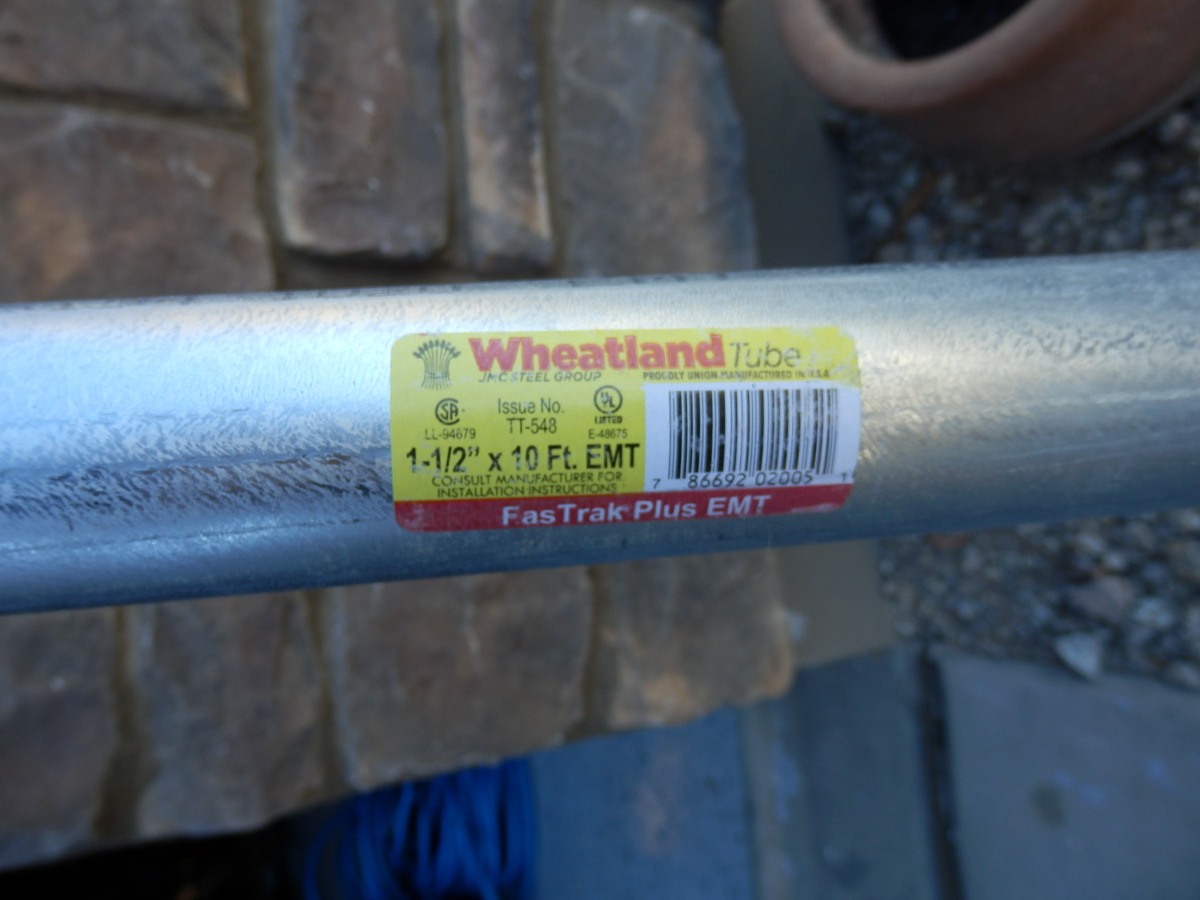
Found this steel tube at home depot. The thickest part of the axle shaft is 1.577 and this tube is about 1.6 ID! This is what I used to make a tool to press everything back together quick and easy.
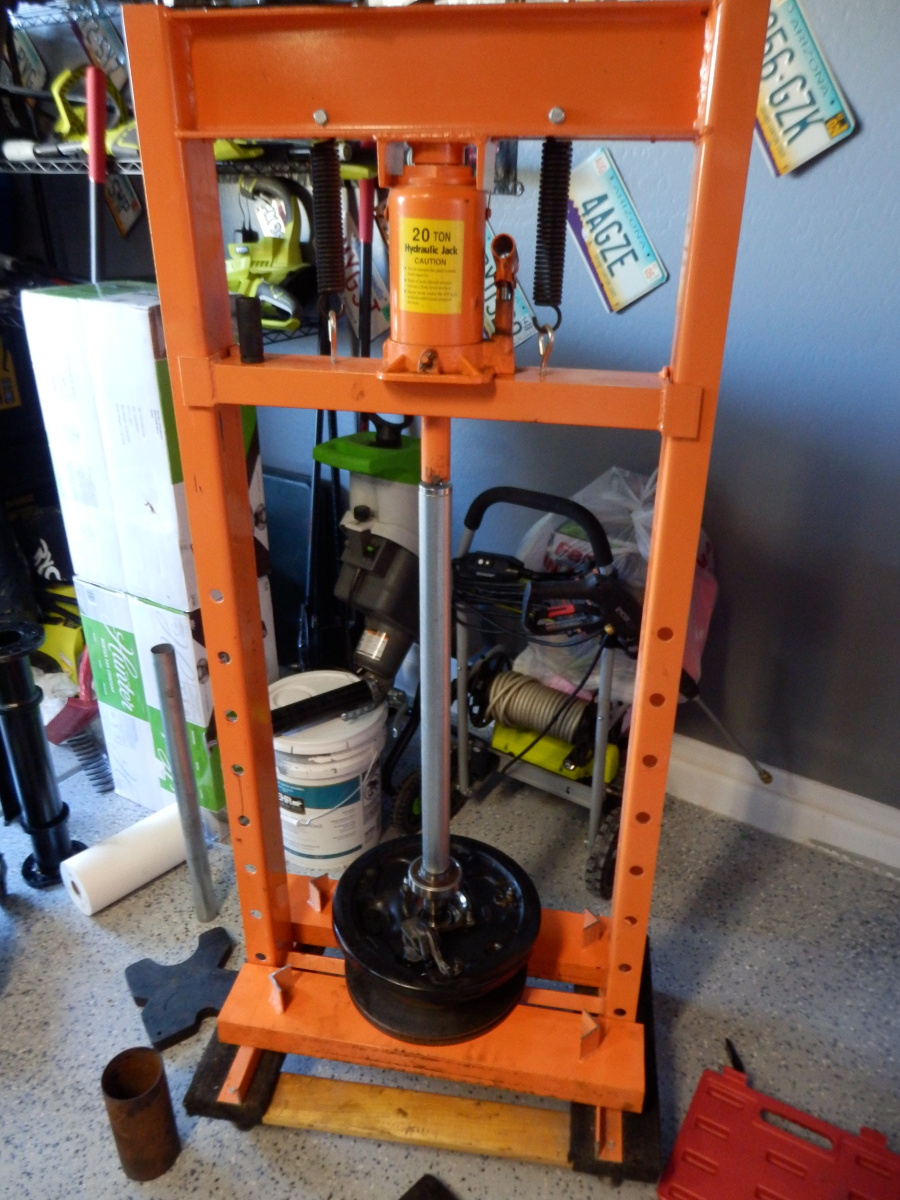
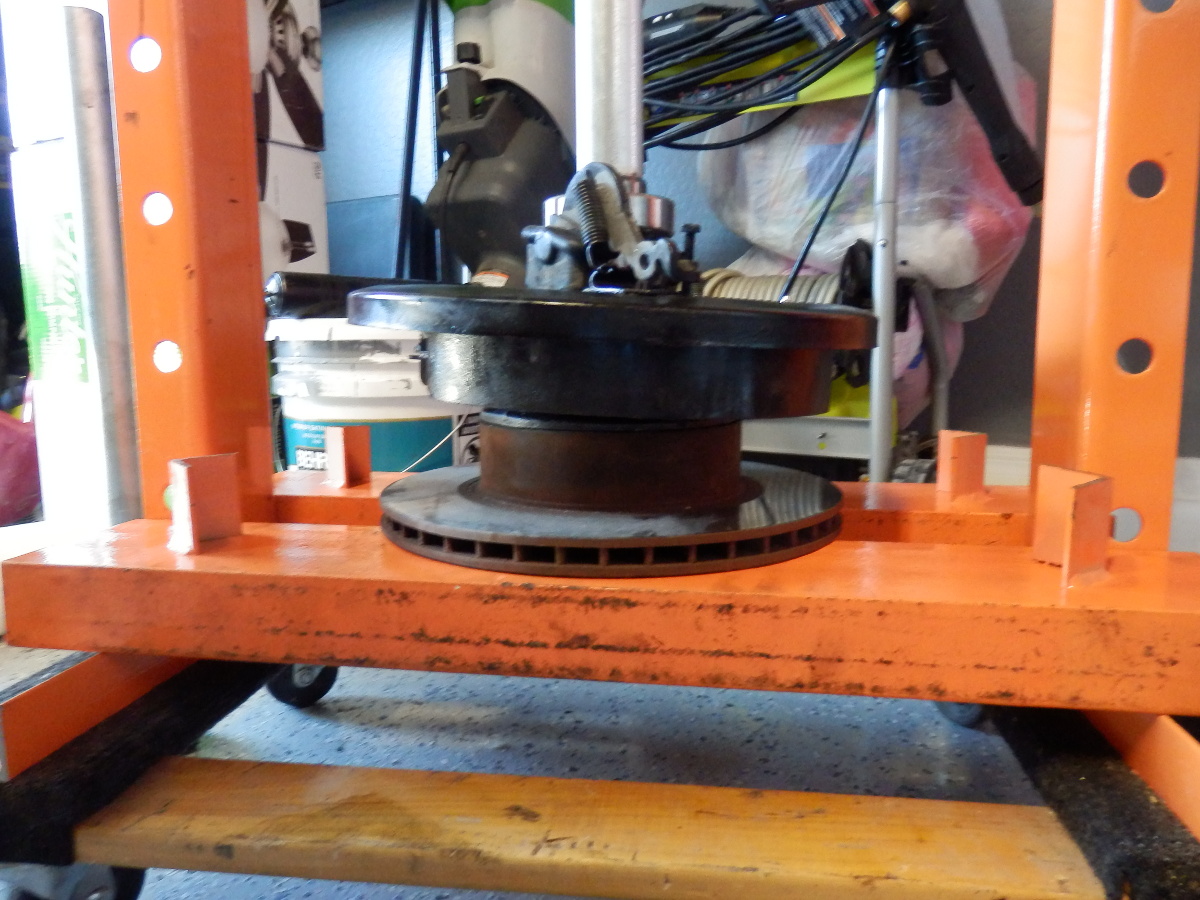
Now to put things back together.... Here is that tube I was talking about - cut to the length I needed. In my HF bearing race / seal driver set, I used the 44.5mm as a press cap on the tube. It was a flawless fit like it was made for it. You can see it on top of the tube Nice! Also notice the newly modified... press deck sitting on its sides at the bottom of the press. This allowed me to use the rotor mount trick below.
Just to reinforce the statement... these little tricks are for low pressure press-work only like seals, retainers and such. Setting up the press as pictured for doing something high stress with the press decks sitting on the bottom legs is just stupid.
Reference tool:
Search results for: 'seal driver'
To support the whole assembly while pressing back together, I use an old 4runner rotor (never throw old rotors away, they make killer low pressure press tools for bearings and such!)
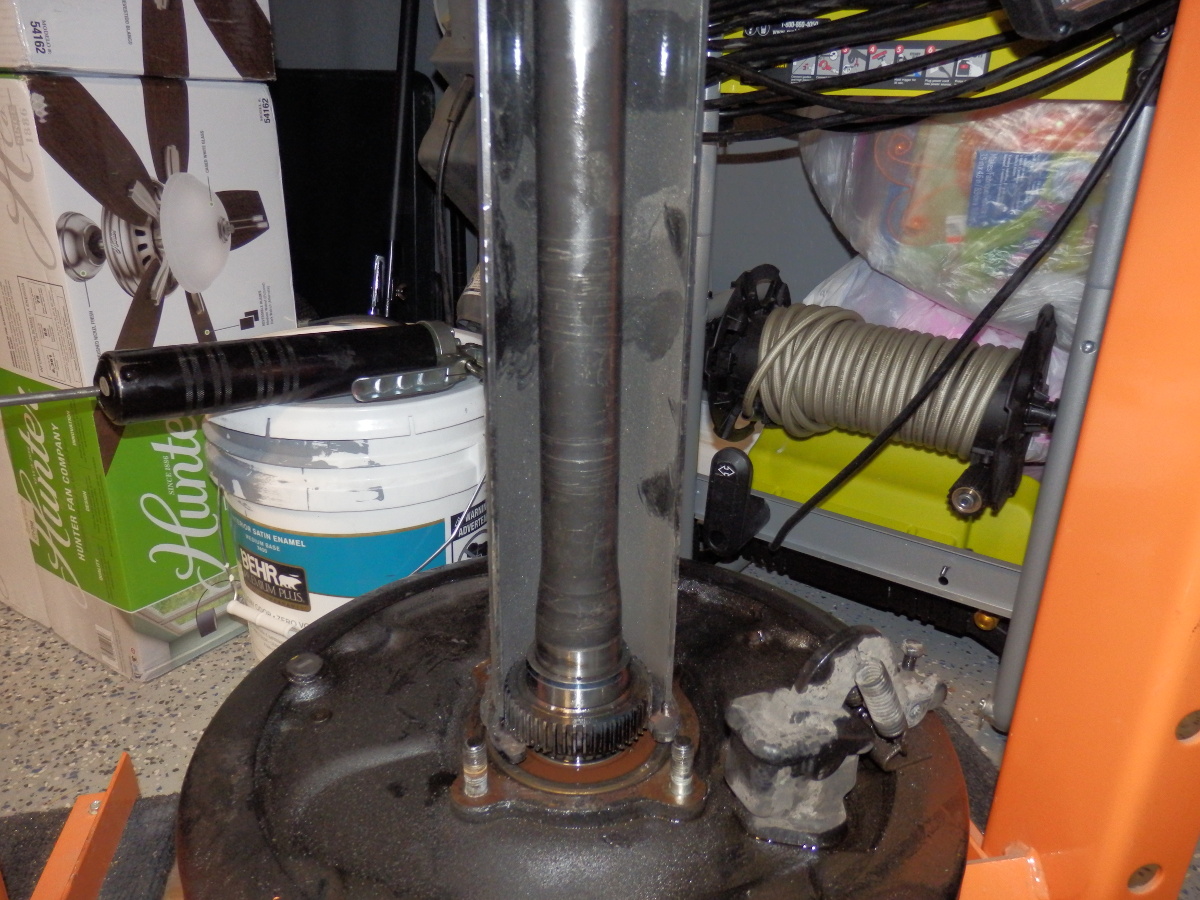
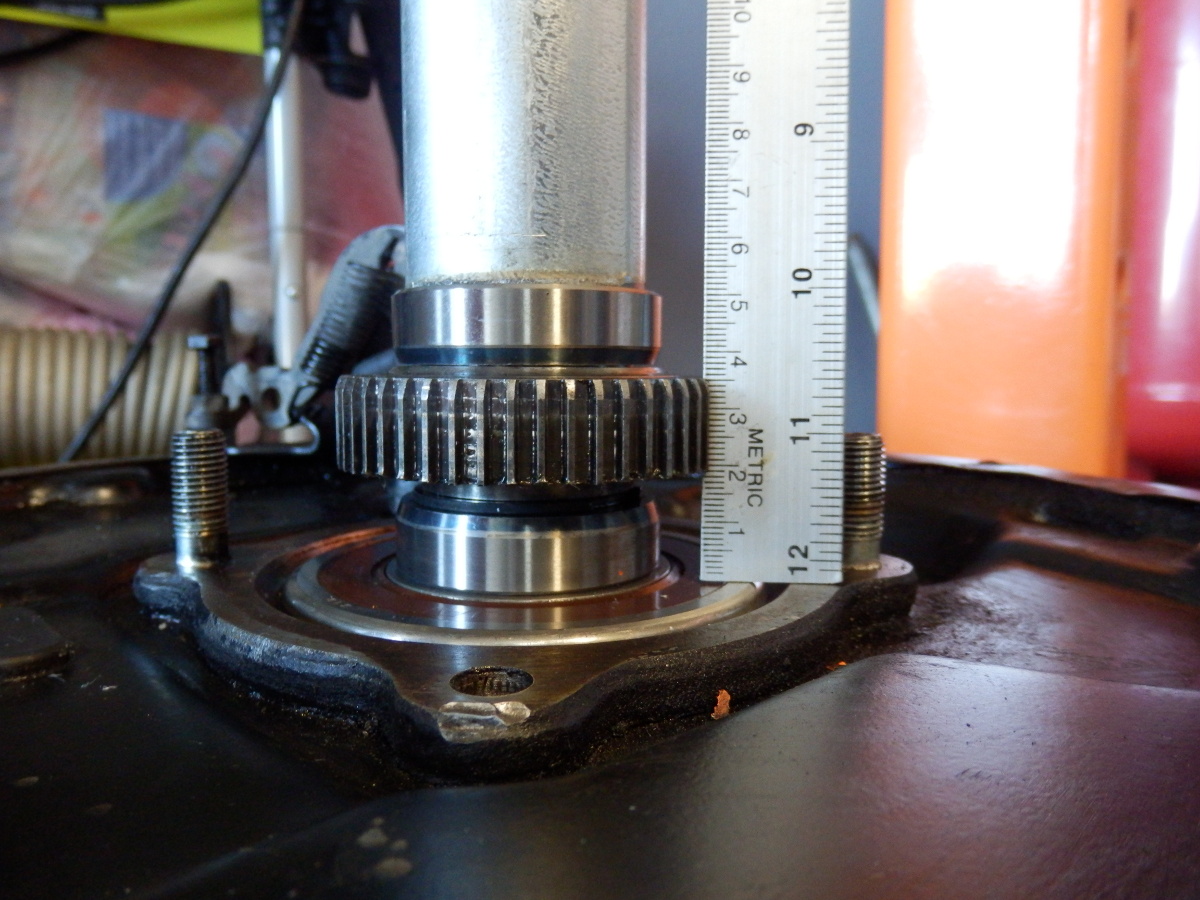
Setting the depth on everything. In this photo
- Bearing retainer pressed flush
- ABS ring pressed to 19mm (was best centered at 16mm)
- Seal race at 38mmish
Here is a photo with the ABS ring at 16mm
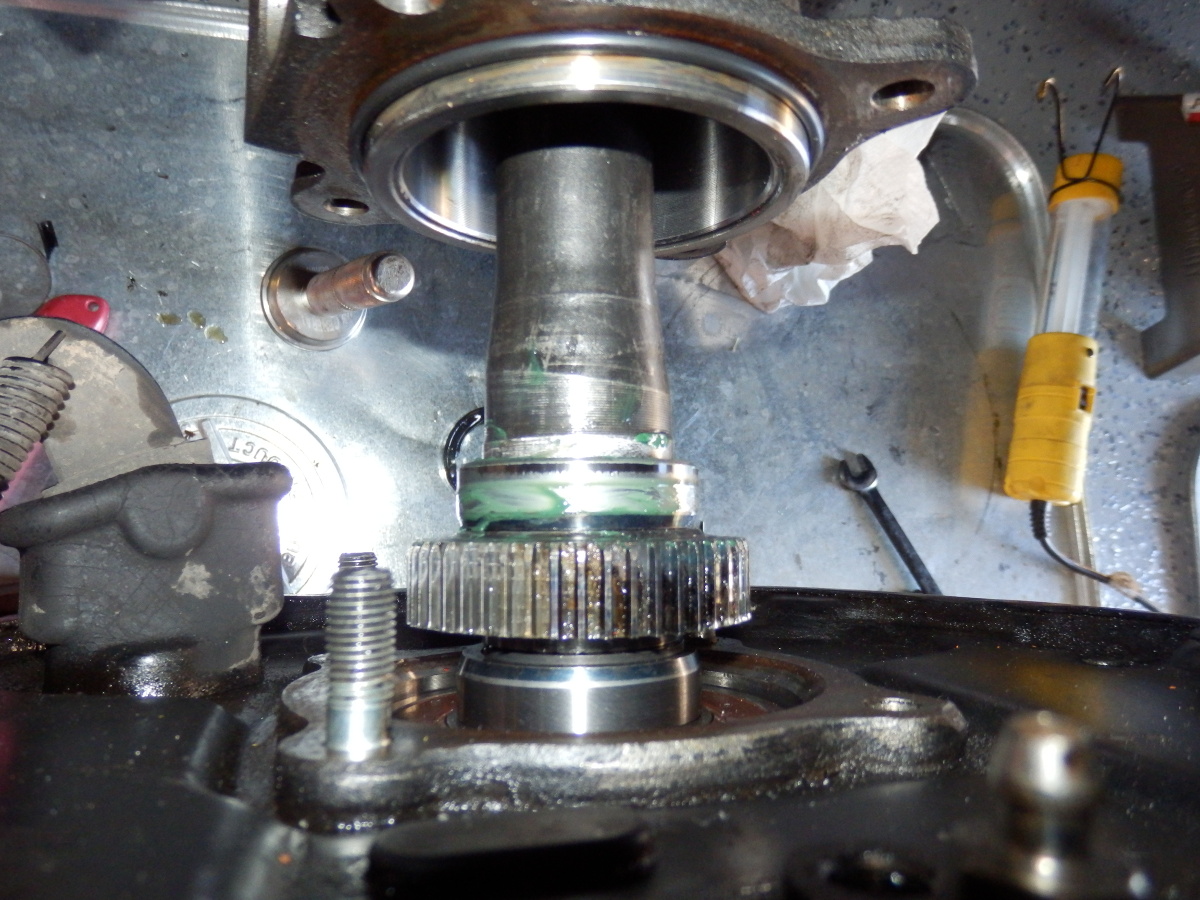
Quick grease test. This was not bolted up and the new o-ring pictured kept the housing from being flush - so in real world, this was close to centered on the grease test. Plenty good for me