My 4gunner restore, refurb and re-work

Maybe I missed it on another thread, and if I did, I apologize for my redundancy.

Why Rotella over Royal Purple? Also, which version (T5 or T6) and weight should be used on a 16-year old 4R with 178k?:help:


This is dangerous to bring up!! Everyone likes what they run. Such as, I recommend Mobil 1 as I like to buy it on sale at Costco. Currently on sale for $10 off a box. Plus it's a good synthetic that has yet to cause me any problems.

If you are super concerned about oil you could always get a test kit and send it in
 
Indeed - debates 10x worst that anything political come from oil opinions lol. This post is just about what I do - nothing more.
 
Indeed - debates 10x worst that anything political come from oil opinions lol. This post is just about what I do - nothing more.

That's why I ask you. You have tested your oil and you live on the "surface of the sun" like I do. Could you contact me offline with what you recommend?

My apologies again to the rest of the subscribers. I'm new to this forum-stuff and didn't mean to highjack the thread.

GO TOYOTA 4RUNNERS!!! TOYOTA "HIGH SCHOOL FOOTBALL" RULES!!
 
Here is my go on the axles seals. Job overall was cake, but a few tool issues caused it to be more of a pain in the arse than it should have been. Issues were overcome and I am better off now than I was with new customized tools. I do not go into all details of the job - just some highlight photos. Lots of good writeups on axle seal jobs. However my methods / press tools may be a bit unique.

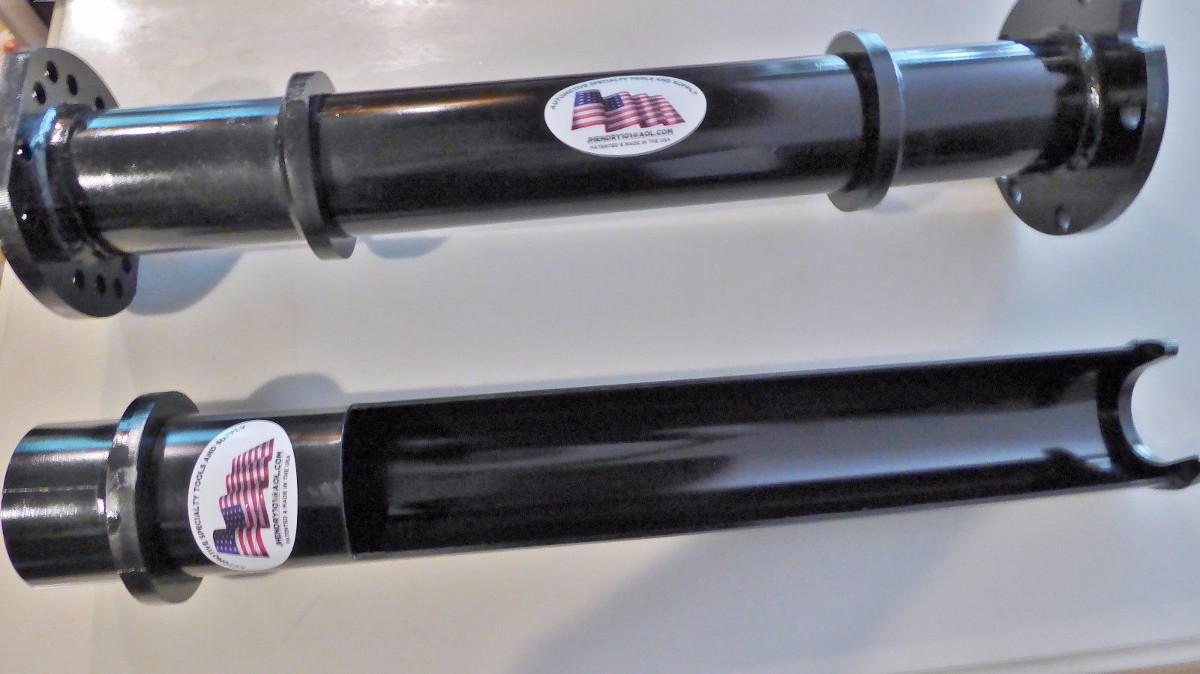
Lets start with the tool set. I bought these from a seller on ebay. Looked / are well made. Bit pricey, but worth it. These allow the quick and easy removal of the ABS ring, seal race / bearing retainer and bearing
s-l1600.jpg


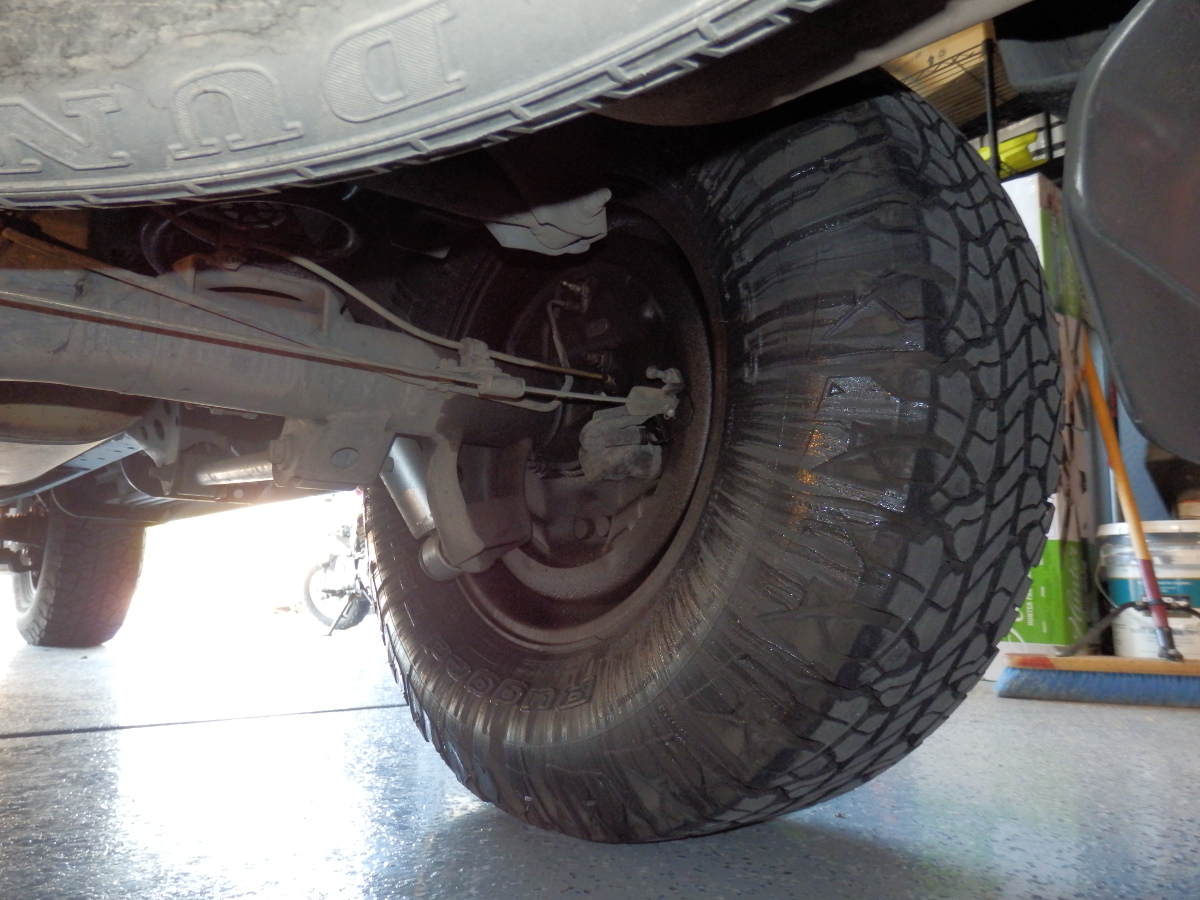
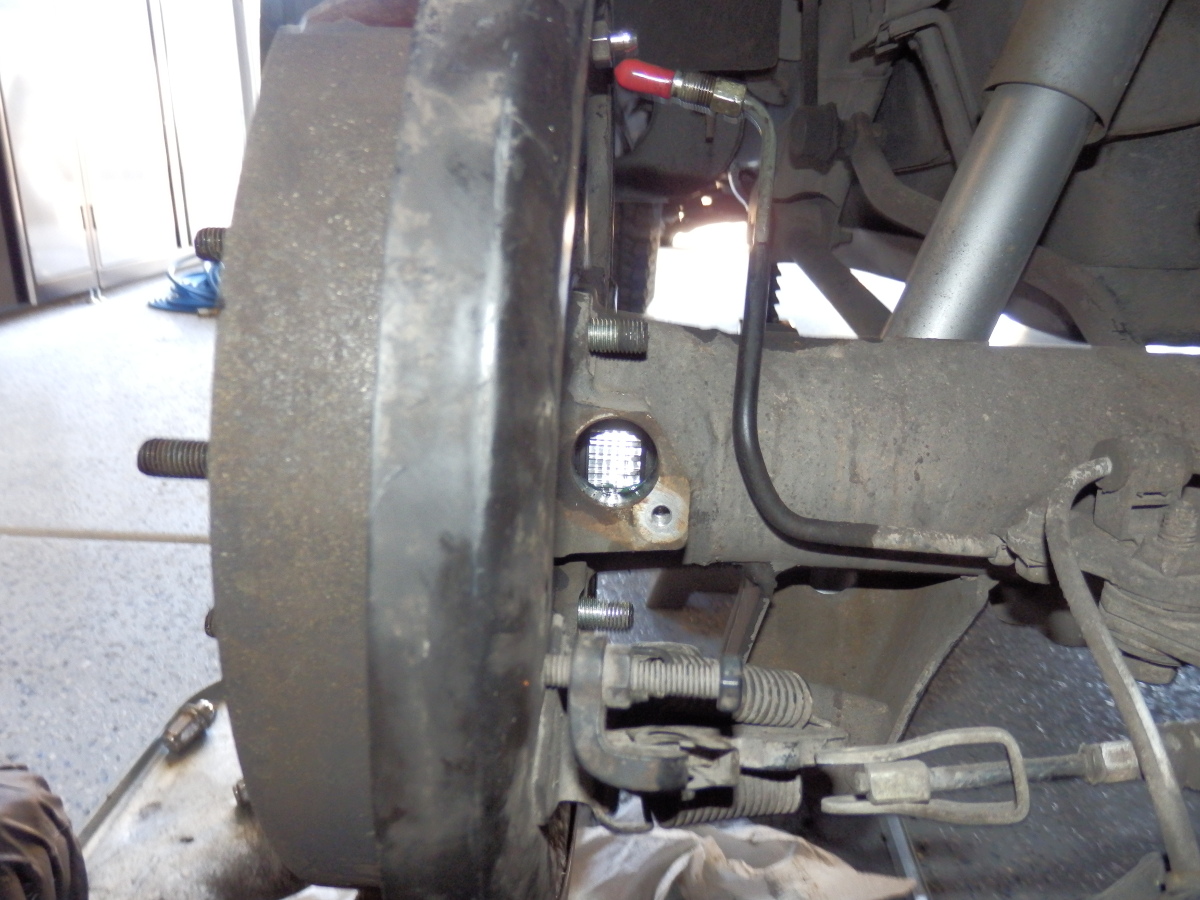
First, what started this whole mess.
1.JPG


First up, axles pulled and went to use the ebay tool. Demmit... the horseshoe grabber thingy is to thick to properly grab the ABS ring. Had to use my chop saw and take about .125 off the thickness to get it to work. Told the seller about it and he promptly apologized and refunded a bit of the purchase price for the issue.
2.JPG


After taking the material off, the tool made short work of yanking things apart.
3.JPG


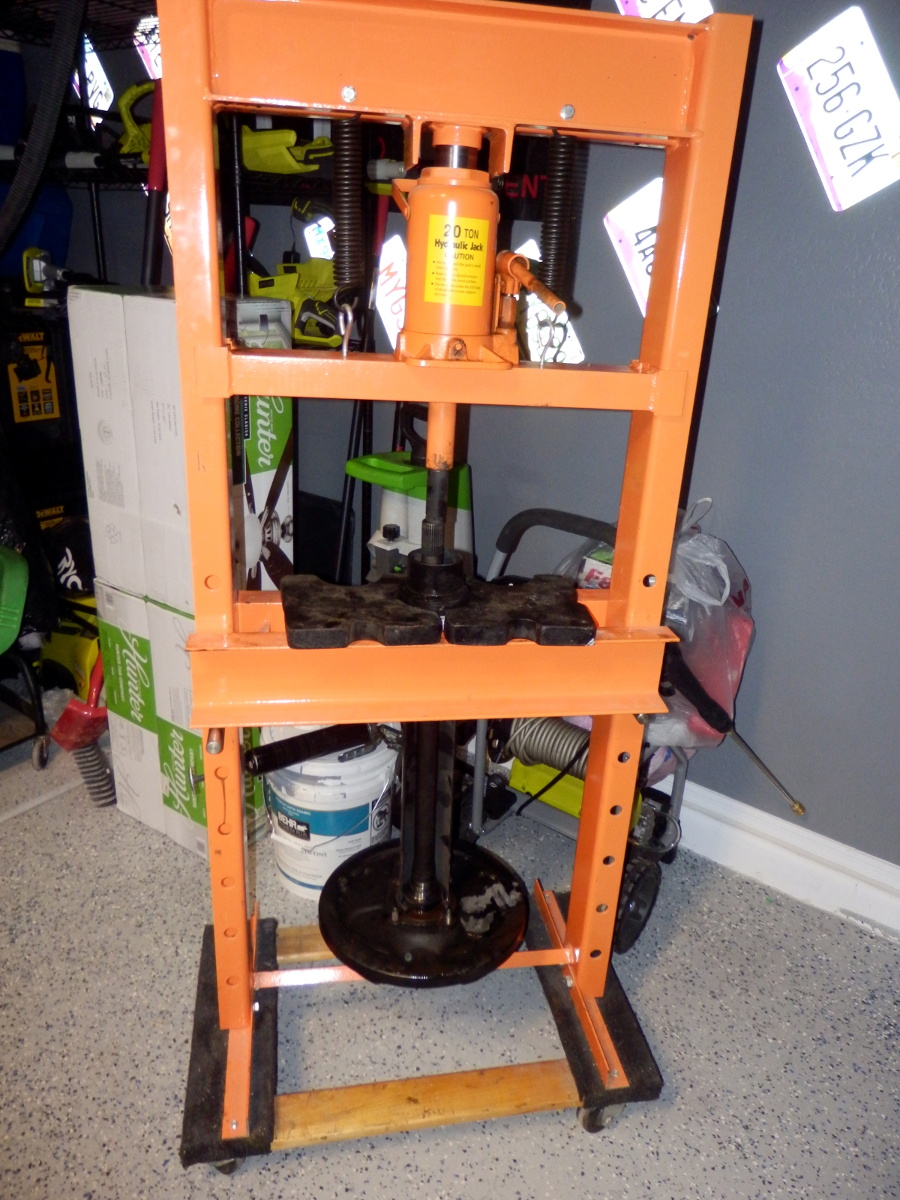
Another shot in the old press.
4.JPG


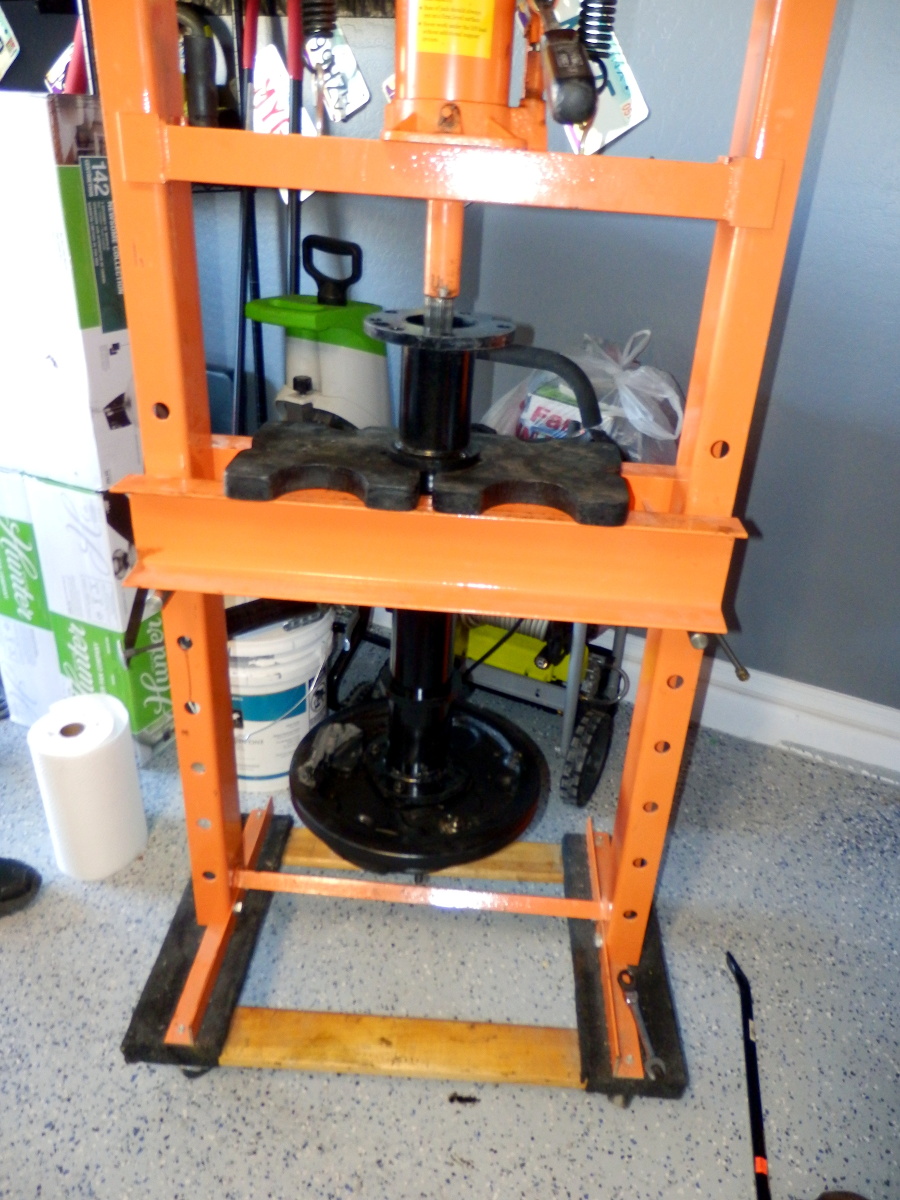
Next up, pressing the axle shaft out of the bearing. Which at the same time presses off the retainer ring (after removing the snap ring of course). I also had issues with this tool but it more came down to my 8-10 year old HF press. The opening on the press deck was only 4" This tool needed at least 5". So I had to cut the cross bars on the press deck to fit everything properly. This is not high pressure / stress work so it was not dangerous. I will be adding adjustment parts and tube later on to re-finish the deck and make it safe again.
6.JPG


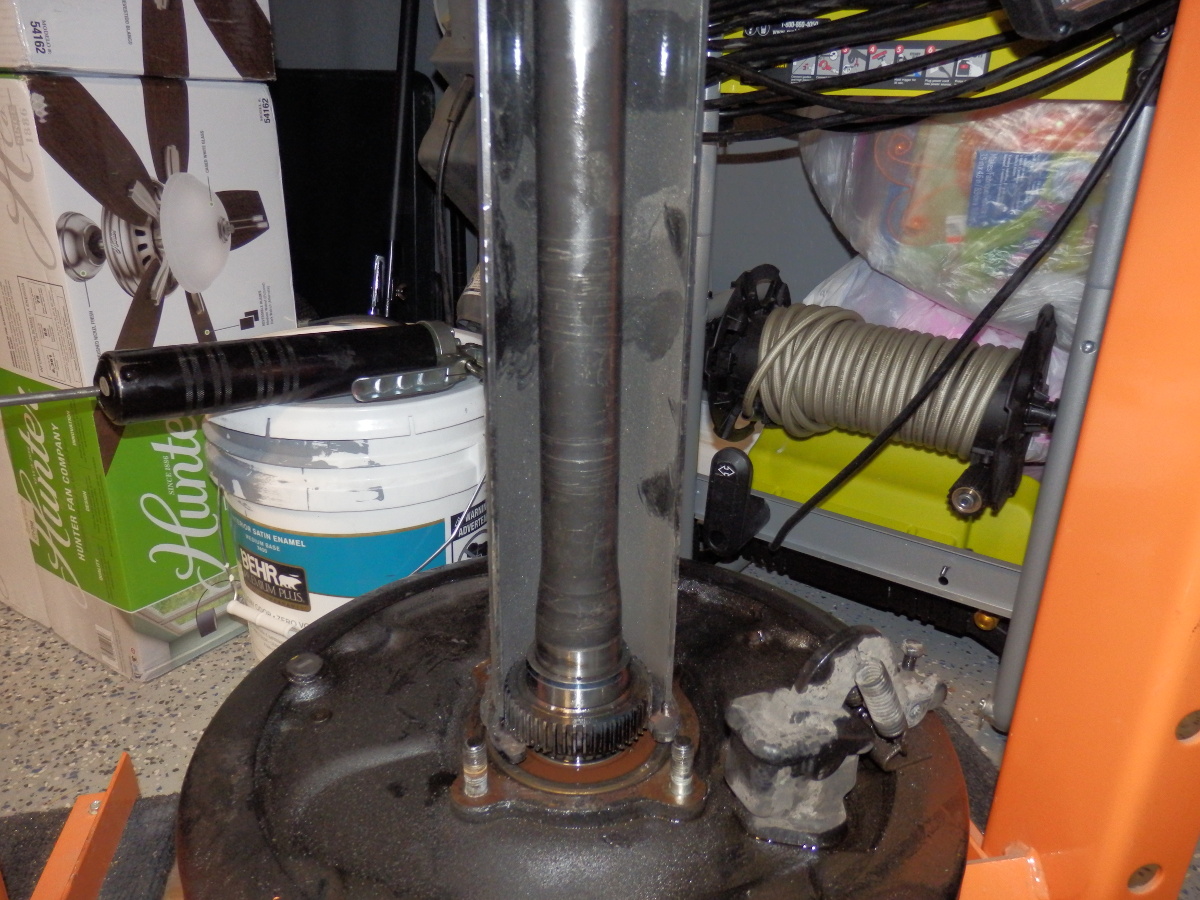
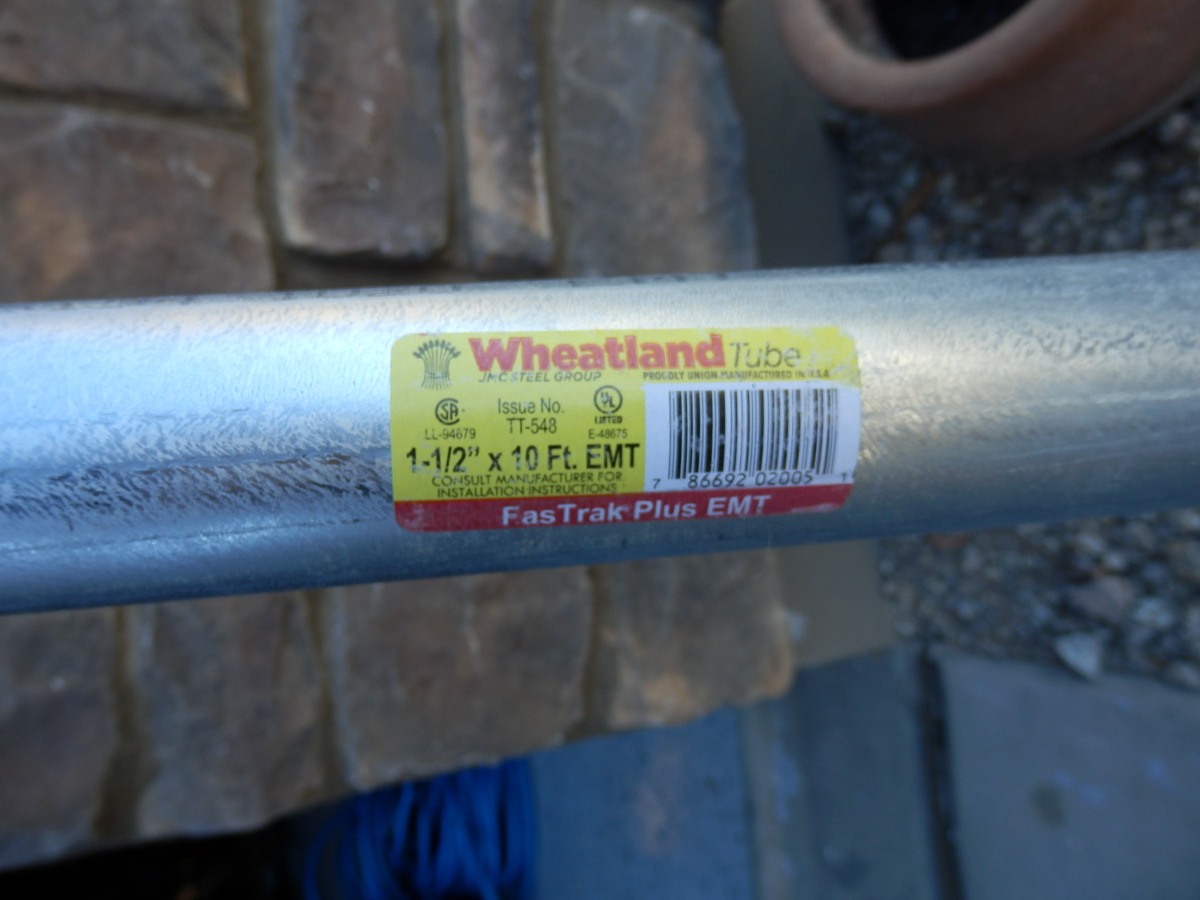
Found this steel tube at home depot. The thickest part of the axle shaft is 1.577 and this tube is about 1.6 ID! This is what I used to make a tool to press everything back together quick and easy.
10.JPG


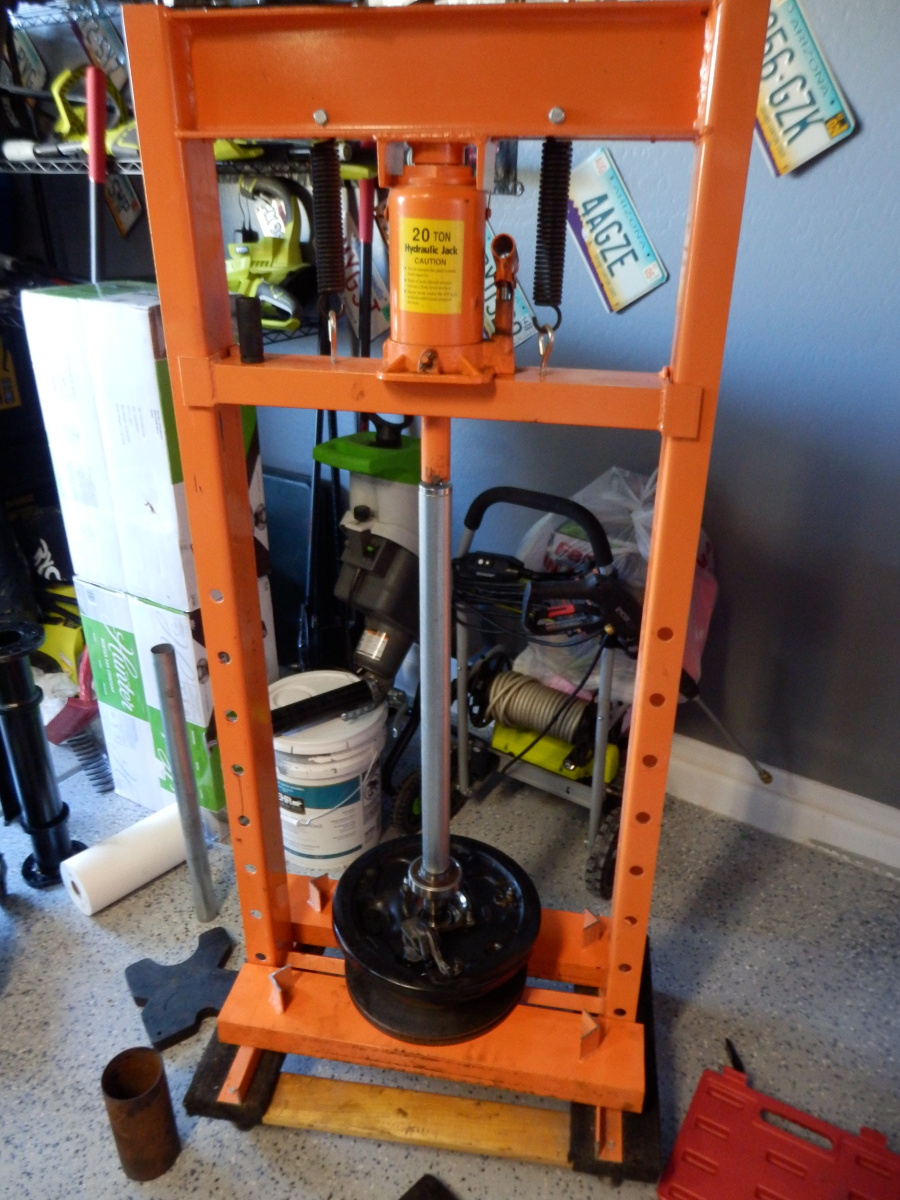
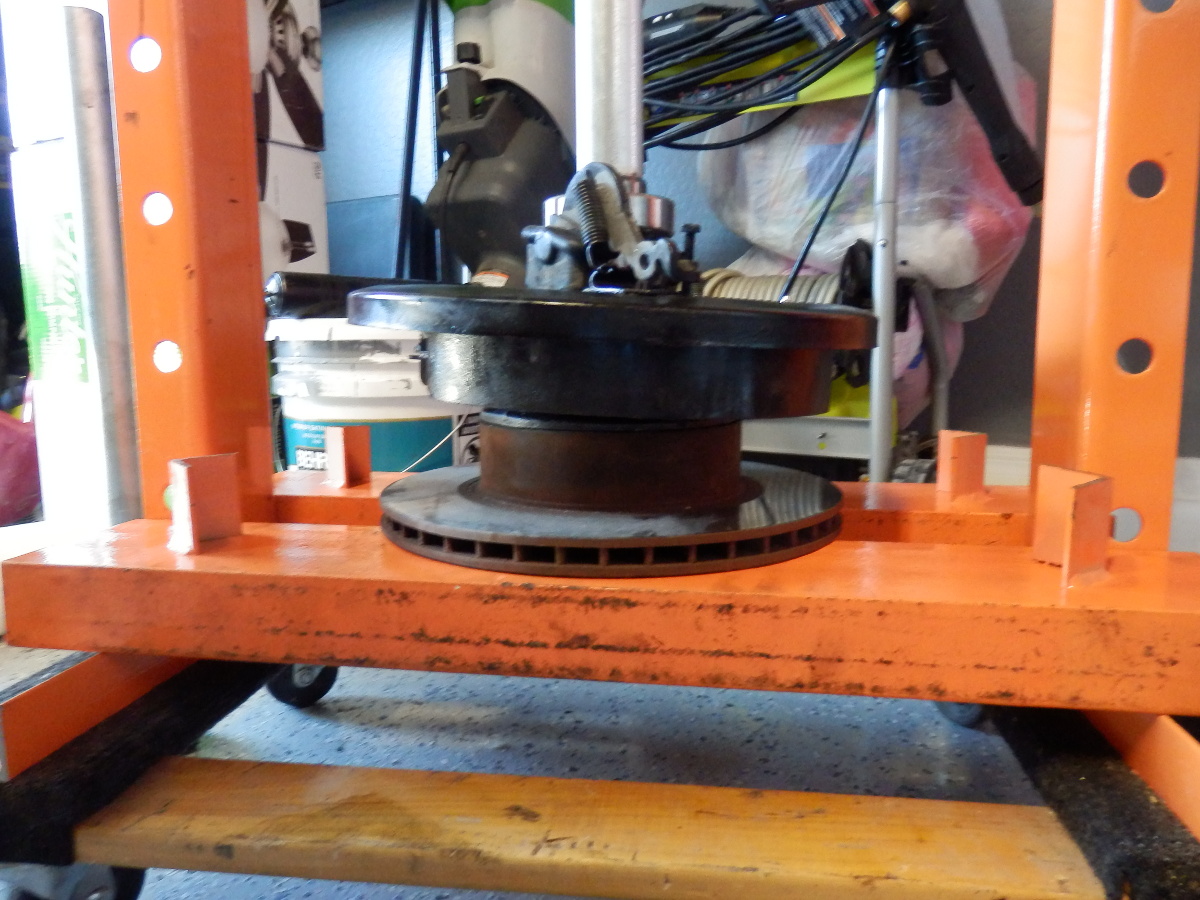
Now to put things back together.... Here is that tube I was talking about - cut to the length I needed. In my HF bearing race / seal driver set, I used the 44.5mm as a press cap on the tube. It was a flawless fit like it was made for it. You can see it on top of the tube Nice! Also notice the newly modified... press deck sitting on its sides at the bottom of the press. This allowed me to use the rotor mount trick below. Just to reinforce the statement... these little tricks are for low pressure press-work only like seals, retainers and such. Setting up the press as pictured for doing something high stress with the press decks sitting on the bottom legs is just stupid.
Reference tool: Search results for: 'seal driver'

8.JPG


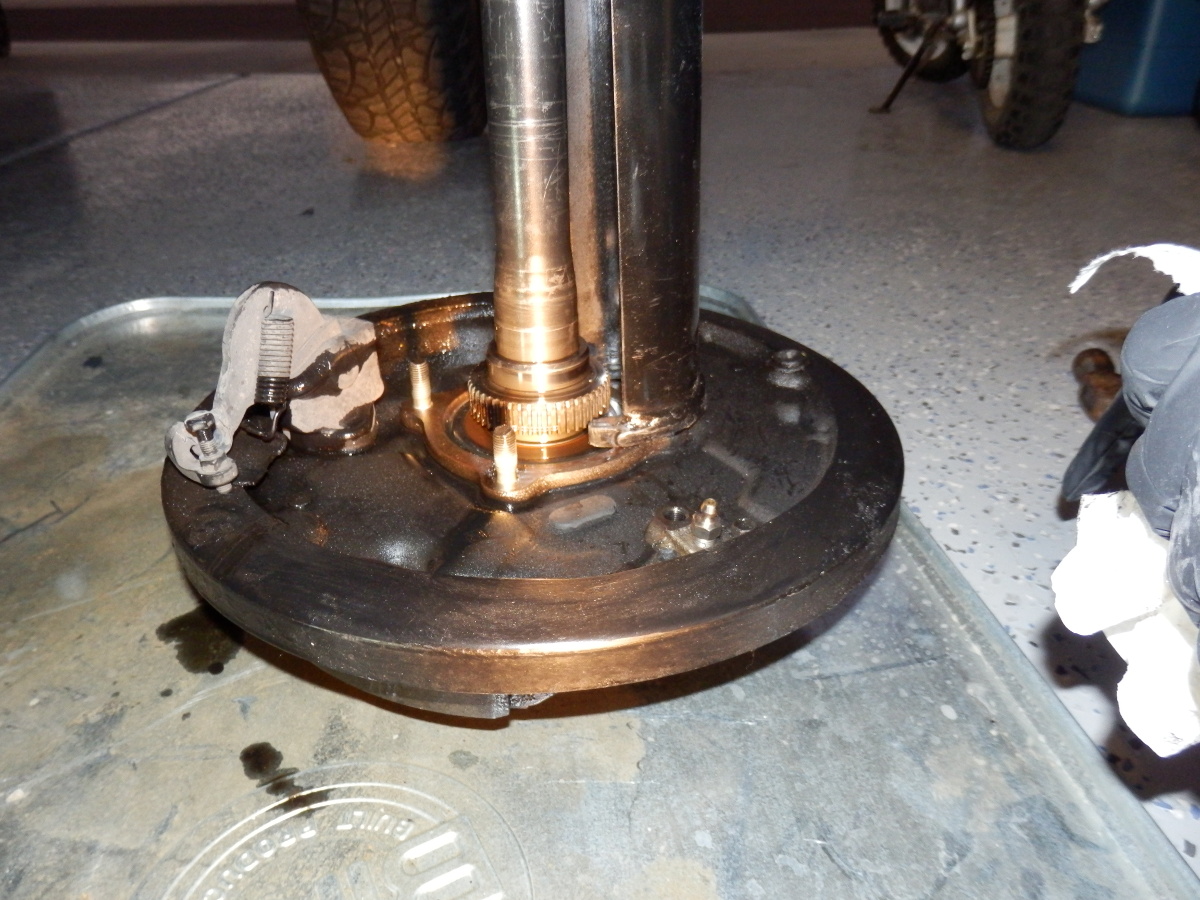
To support the whole assembly while pressing back together, I use an old 4runner rotor (never throw old rotors away, they make killer low pressure press tools for bearings and such!)
11.JPG


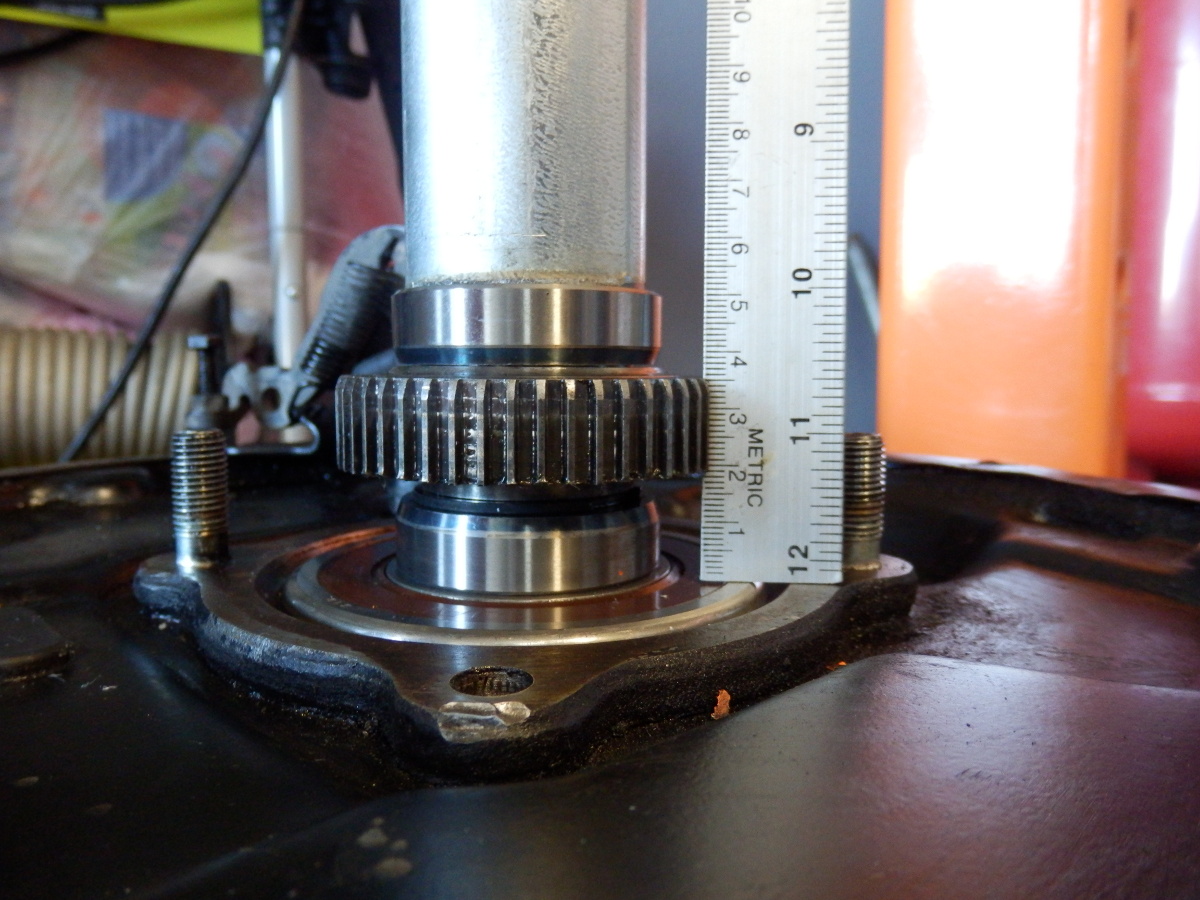
Setting the depth on everything. In this photo

- Bearing retainer pressed flush
- ABS ring pressed to 19mm (was best centered at 16mm)
- Seal race at 38mmish
12.JPG


Here is a photo with the ABS ring at 16mm
14.JPG


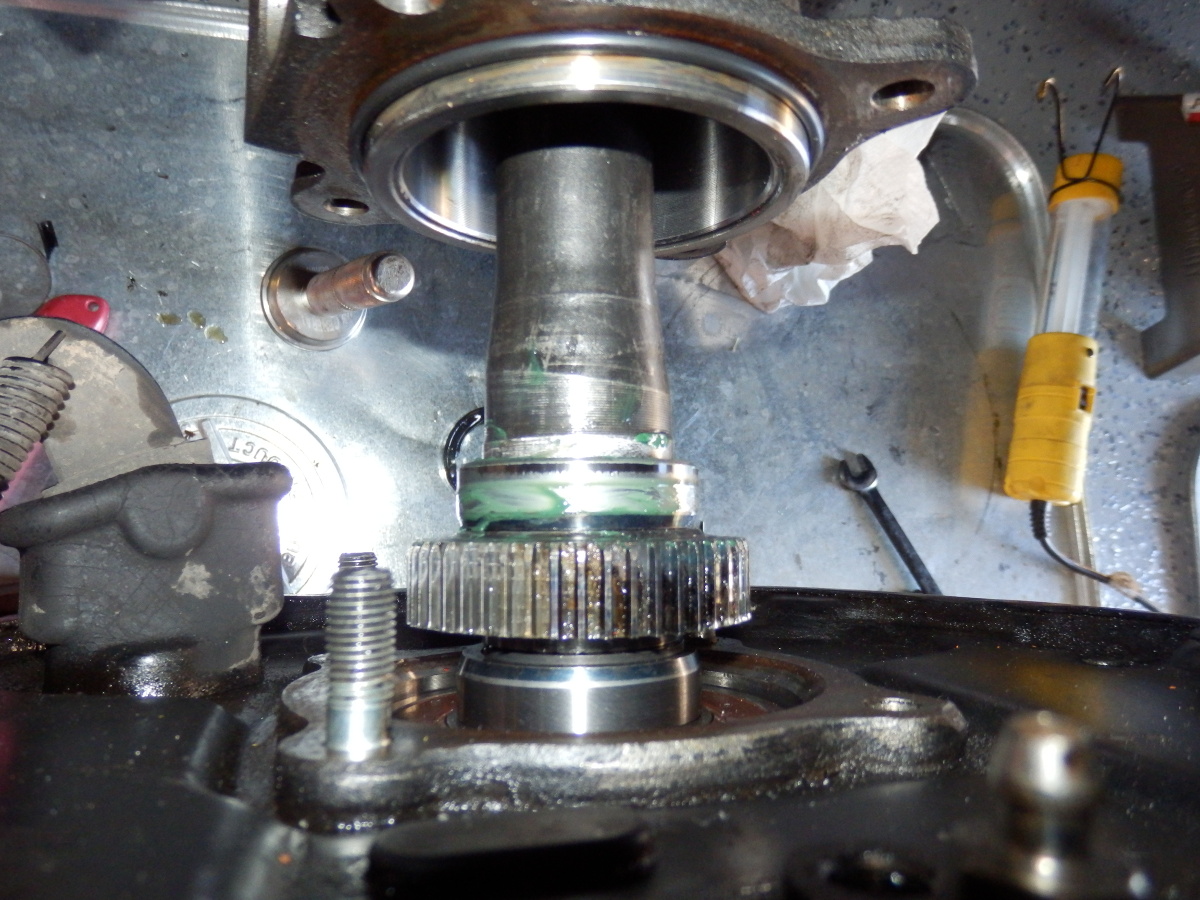
Quick grease test. This was not bolted up and the new o-ring pictured kept the housing from being flush - so in real world, this was close to centered on the grease test. Plenty good for me :)
15.JPG
 
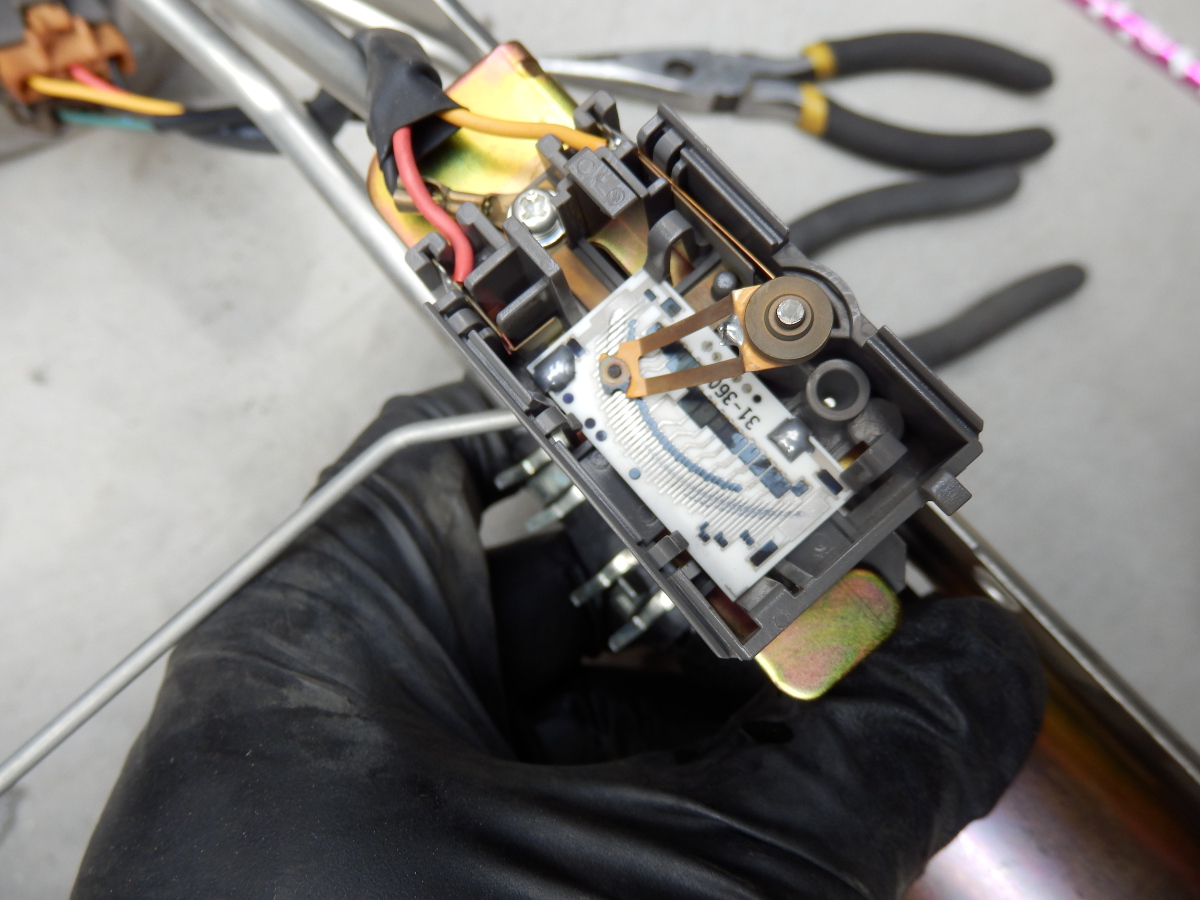
15. Take a pencil eraser and clean all of the silver contacts so they look new again. Make sure the little sender arm is making good contact with the traces on the pcb you just cleaned.
Once clean, she will look good as new.
FP21.JPG

When you cleaned the silver contacts with a pencil eraser, did you go "with the grain" with up & down motions with the eraser on each of the silver contacts. Just wondering how gentle to be with the cleaning.
 
Does not matter. They are pretty tough and not a ton of pressure needed. I went back and forth with the motion of the contact if that helps.
 
Does not matter. They are pretty tough and not a ton of pressure needed. I went back and forth with the motion of the contact if that helps.

Does that gold colored arm touching the contacts move manually to clean the contacts underneath it or did you just clean around that arm?
 
Just found this thread today and after reading all 13 pages this has got to be the best 3rd Gen thread that I have seen/read yet. I see that nothing has been posted since November. Do you still own/work on 4Runners?
I just recently purchased a '98 SR5 with 200k on it and will be doing most if not all of your maintenance jobs. Have you installed transmission coolers on either of yours? Did not see anything on this issue on your thread.
 
Just found this thread today and after reading all 13 pages this has got to be the best 3rd Gen thread that I have seen/read yet. I see that nothing has been posted since November. Do you still own/work on 4Runners?
I just recently purchased a '98 SR5 with 200k on it and will be doing most if not all of your maintenance jobs. Have you installed transmission coolers on either of yours? Did not see anything on this issue on your thread.


Just Read this whole thread too, tons of good info! Thank you for posting
 
Just found this thread today and after reading all 13 pages this has got to be the best 3rd Gen thread that I have seen/read yet. I see that nothing has been posted since November. Do you still own/work on 4Runners?
I just recently purchased a '98 SR5 with 200k on it and will be doing most if not all of your maintenance jobs. Have you installed transmission coolers on either of yours? Did not see anything on this issue on your thread.

Appreciated! Yes. Still own both runners. I built a new house and have been working on other projects as the runners have been rock solid daily drivers. I have not done much with them but drive them since my last posts.

Upcoming work this weekend / minor though:
- Oil change / Filter change
- Magnafine filter change with drain and fill on my white runner (30K mile interval reached on the filter)
- K&N cleanings along with MAF cleaning due on both runners

The next larger projects for both runners that I will be tackling in the next two months will be a front end / bushing jobs. Will be doing lower and upper control arms, engine mounts and transmission mount.

No external transmission coolers on my runners. I do not tow anything heavy and my radiators are new in both. I will be monitoring temps more closely this summer however as soon as I get the temp gauge put in I bought ages ago to monitor in/out temps.
 
I have an Ultraguage on mine as well. I do wish that it would show trans temp. Oh well, I will have to mount one after I install the external cooler.
 
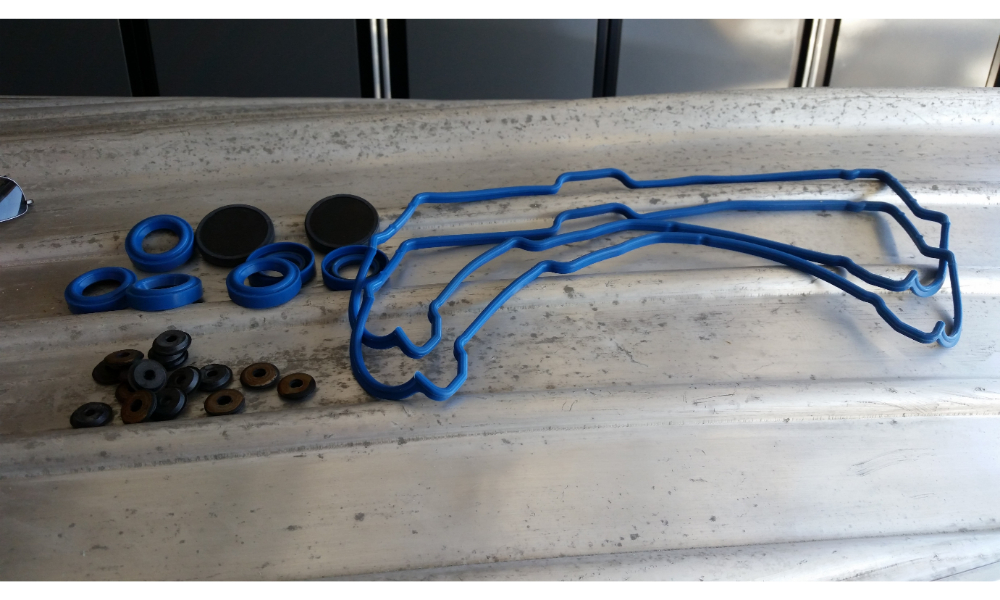
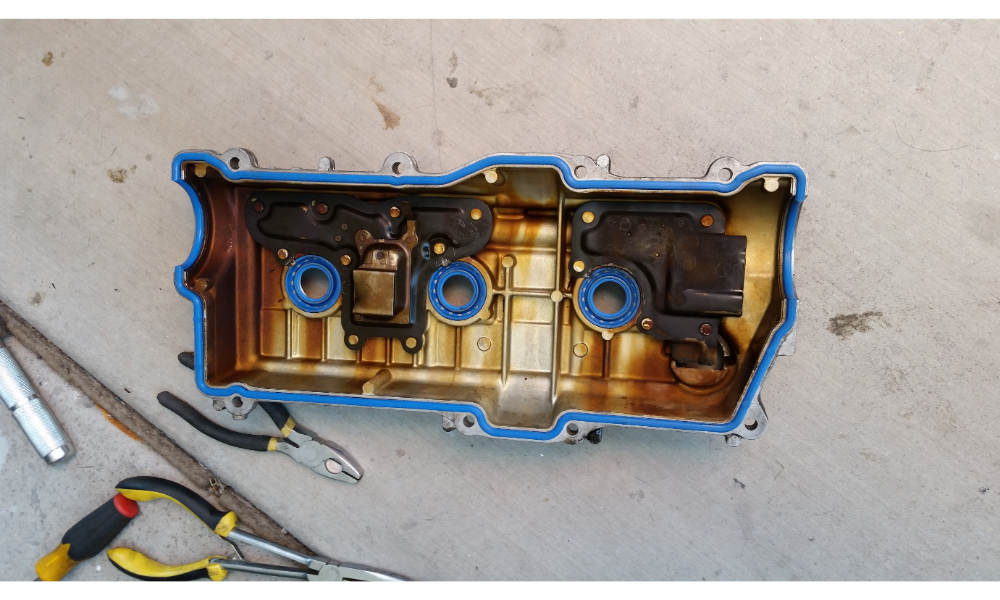
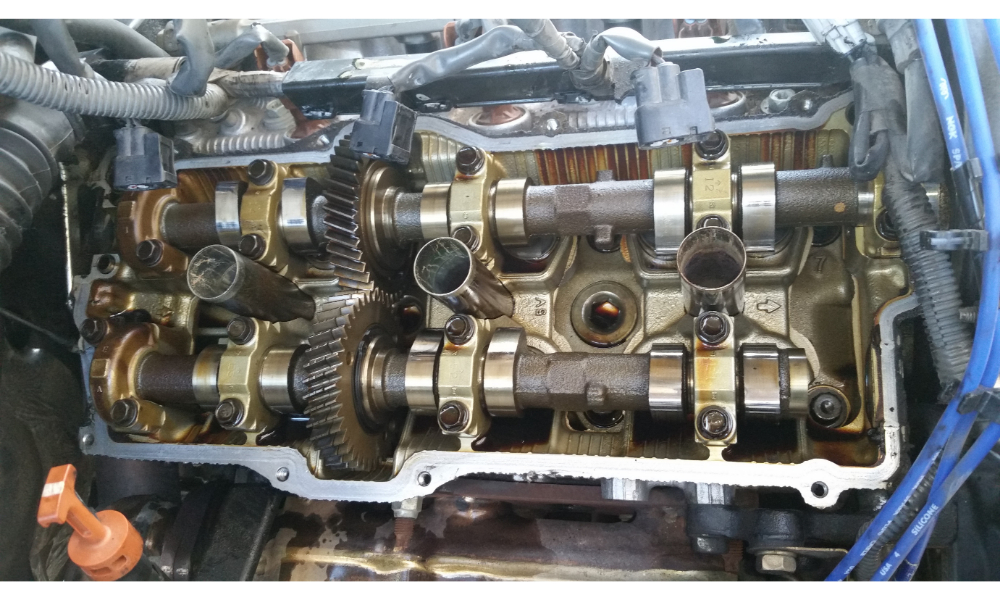
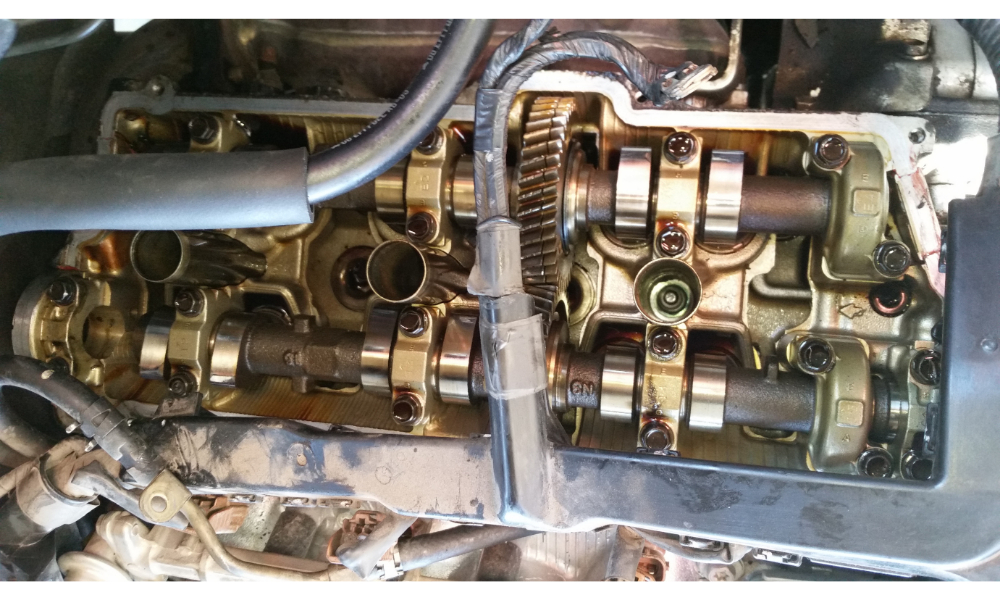
Been a while but wrenched on whitey this weekend. Replaced rear drums and shoes as it was time (no photos) but also finally knocked out valve cover gaskets. Went felpro on the gaskets themselves for this job as I feel they are better than OEM per previous experience. Felpro has come a long ways. Had great luck with them in subarus as their headgaskets are designed to combat the 2.5l sealing issues. I know some guys call them failpros when trying to use them in race applications but for me, no issues here! Their valve cover gaskets have been top notch for me.

Will not bore anyone with all the steps to do this job right as it has been done before. But some tips:

- Prep is EVERYTHING. Clean your valve covers thoroughly in the gasket channel. Use denatured alcohol as it works excellent at cleaning off oil
- Remove all 4 half moons and clean the hell out of them and the spot they sit in. These must be dry and squeaky clean. Reseal using FIPG or a good hi-temp RTV. I have had such good luck with permatex red on transmission pans, I started using it on applications like this. Has never let me down. For some reason I never have the best luck with copper RTV. Maybe just bad luck so I stick with red
- Same thing applies to the rear cam knockouts. Clean the spots they sit in thoroughly with q-tips and denatured alcohol. Make sure this area is DRY. I used permatex red again on the packing areas around the cam caps. Just before torquing down the valve cover (has to still be loose) reach back and make sure the cam knockouts are pushed all the way in. In every case, I find them not seated perfectly straight by a mm or two. You can feel them shift when you push on them. Once they are straight, press down on the VC and put a bolt in towards the rear to hold them in place
- Hopefully you let the car sit overnight before doing this job so as much oil as possible would have drained down. If so - their should be minimal oil on the seal mating surface of the heat. Use q-tips and denatured again and make sure this area is perfectly clean and dry


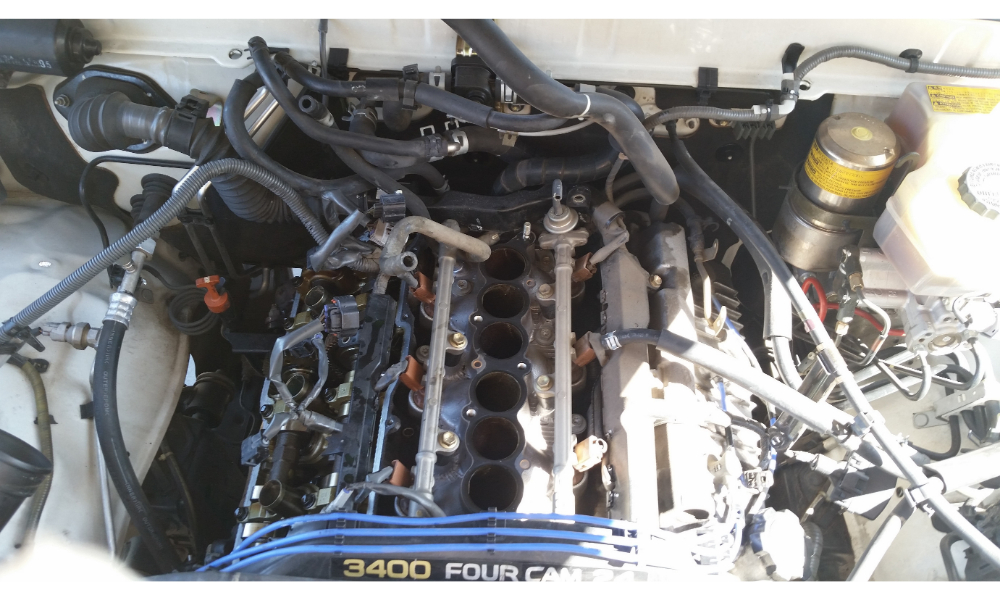
A few quick pics of the fun:
20170528_133922.jpg


20170528_092703.jpg


20170528_092820.jpg


20170528_114842.jpg


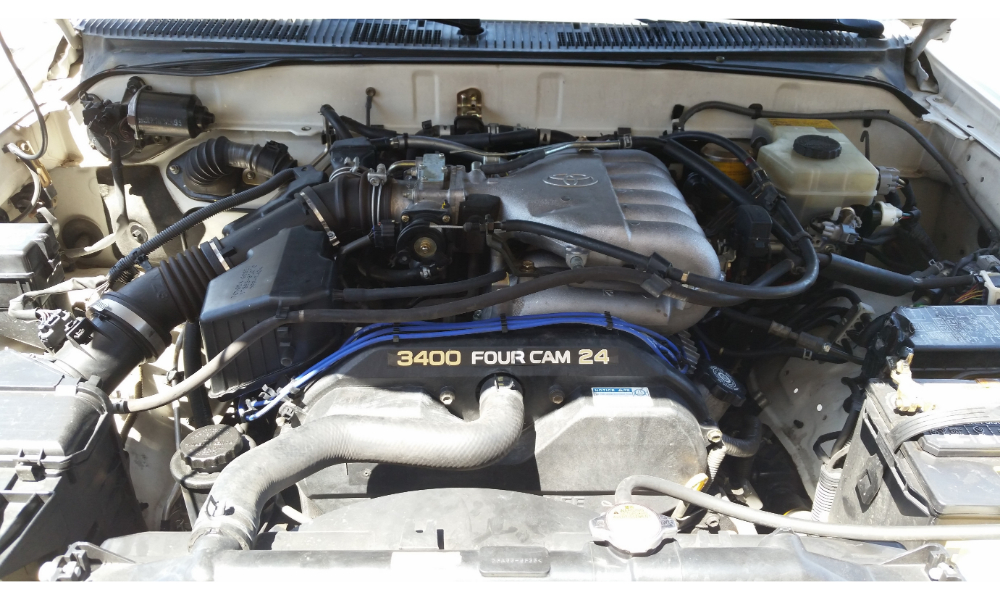
Pretty damn clean for 265K miles! Rotella and religious maintenance FTW. Pics taken before cleaning the seal surfaces. Had just reinstalled the half moons and knockout seals.
20170528_092634.jpg


20170528_114825.jpg


Ahhh it is nice again to have fresh air when switching to outside air - no more burning oil smell :)
 
Last edited:
I just did valve covers and timing belt/everything. Covers were straight up, but I almost panicked on the timing belt. Took me a bit longer than 3.5 hrs( like 10+) I just read this thread, but I've been reading your tool thread and they're both really helpful. Thanks for giving us a balanced glimpse into a good way to do 4Runner servic
 
PLENTY. If you use more than .2 of an ounce, I would be very surprised.

Thanks man. I always love all your input here on the forum.

Did you have to buy each Felpro gasket separate or do they by chance have a kit/set?

I'm WAAAAY overdue for VCG/half moon/cam plug job and been putting it off badly.
 
Last edited:
Thanks man. I always love all your input here on the forum.

Did you have to buy each Felpro gasket separate or do they by chance have a kit/set?

I'm WAAAAY overdue for VCG/half moon/cam plug job and been putting it off badly.

It is not a total kit but partial sets:
- Cam plug seals Fel-Pro TCS 45979
- Valve cover grommet set Fel-Pro ES72422
- Valve cover gaskets + spark plug gaskets Fel-Pro VS 50422 R
 

Members online

Forum statistics

Threads
278,316
Messages
3,554,111
Members
248,016
Latest member
Advally Service

Trending content

Back
Top