Okie's 2003 4Runner build

Okie81

New member
I'm working down the 4Runner lineage with my newest edition; a 2003 Limited 4WD!
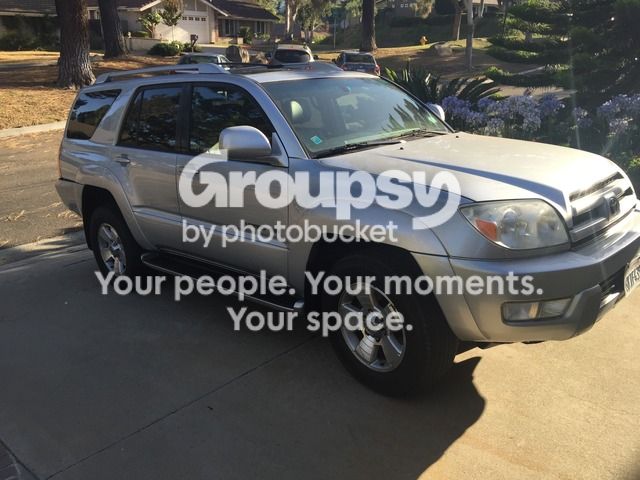
A little background: After owning a 2nd and 3rd gen 4Runner, it was finally time for a 4th gen. After weeks of searching through lousy Tijuana salvage yards and overpriced mall crawlers, I found this gem at a great price and pulled the trigger.

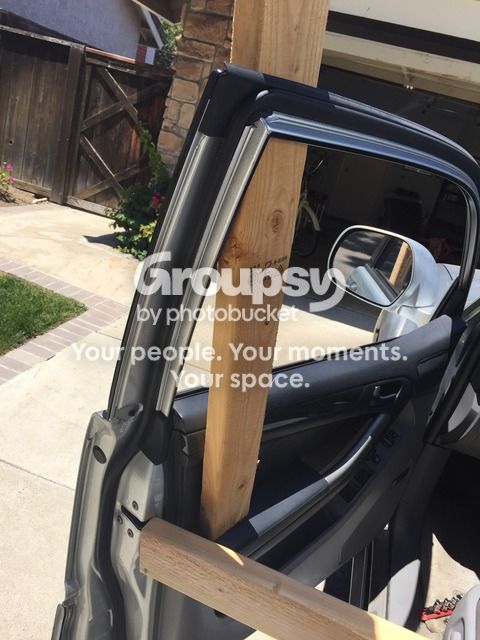
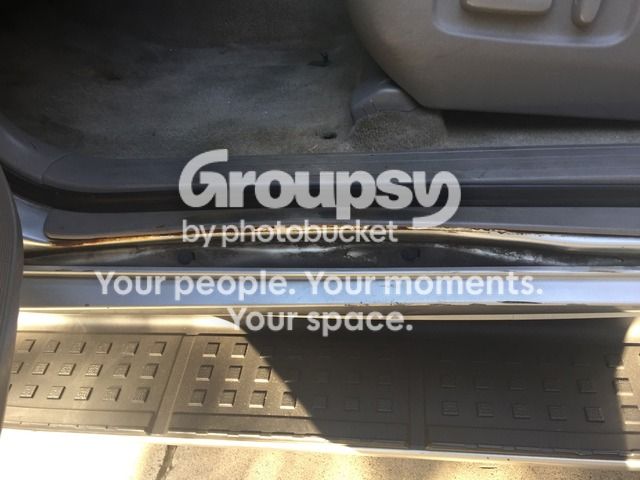
The biggest challenges are cosmetic, as the drivetrain sounds, feels and drives beautifully. Case in point; a fully-disclosed side impact leaving me with driver-side door that needs some attention:
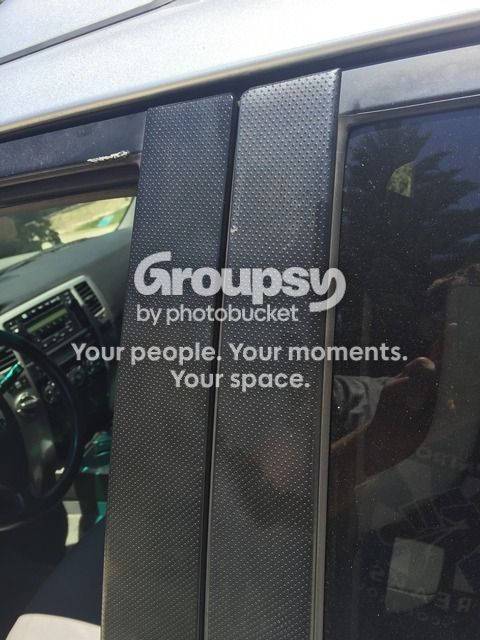
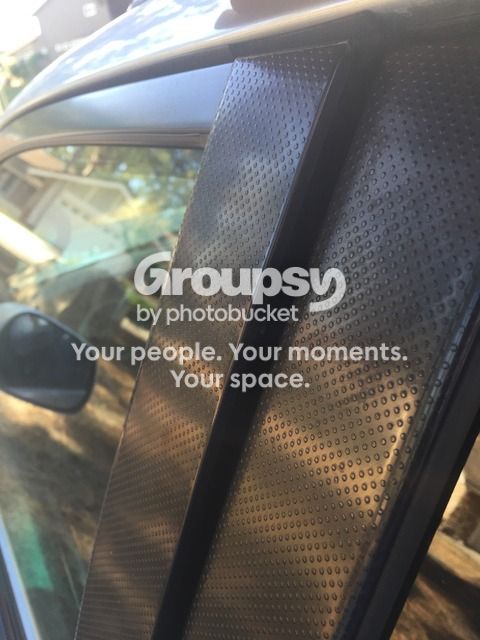
There's a gap at the top of the door that lets in a lot of road/wind noise:

Plans:
Fix the door (BFH?)
3" lift (cheap spacer lift or go all out for coilovers?)
265/70/17's (BFG AT's or Duratracs?)
New stereo (has JBL, but headunit won't play CD's. Would love to stick with factory look, but really need iPhone compatibility/Bluetooth).

Looking forward to researching and wrenching on this thing! This is my first 4th gen so there's a lot for me to learn. Any help or suggestions are always appreciated.
 
Register to hide this ad
Took a stab at some body work today.
The wind and road noise was really getting to me so the door had to be addressed.
Harnessing the laws of physics, I ever-so-slightly bent the corner back towards the truck:
IMG_2445.jpg~original

Flush and much quieter now:
IMG_2446.jpg~original

Note: use a towel around the 2x4's if you attempt this, or you'll ding the door paint like I did:frusty:
 
For a compatible iPhone aux
adapter for the stock unit try GTAcarkits.com. I have one in mine and works perfectly


Sent from my iPhone using Tapatalk
 
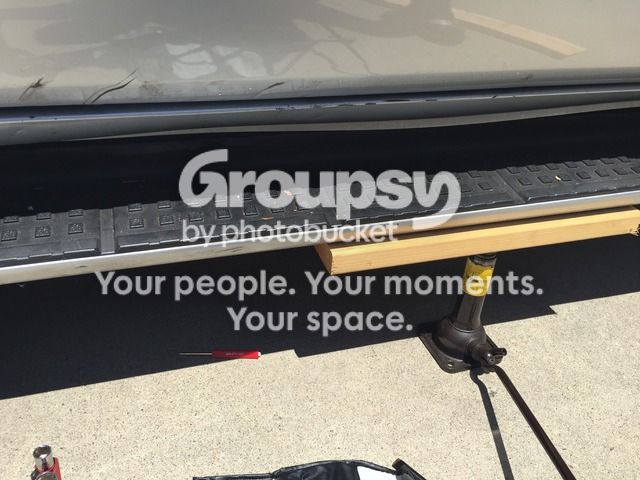
The running board was bent down slightly (another artifact of the aforementioned side impact). I tried to bend it back up:
IMG_2447%201.jpg~original

Not perfect but much better than before.
 
For a compatible iPhone aux
adapter for the stock unit try GTAcarkits.com. I have one in mine and works perfectly

Gonna scrap the stock unit since the CD player doesn't work anyways, may look into something new with Bluetooth, Aux input or both.
 
#Seafoam
IMG_2453.jpg~original

1/2 can sucked in via the vacuum line. The trick seems to be killing the motor intentionally with the last bit, then letting it sit for 15 min before starting back up.
 
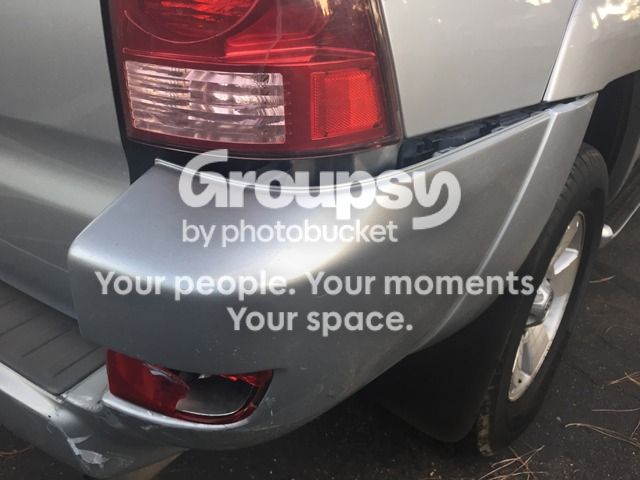
Oh, and I've got this issue to deal with:
IMG_2456.jpg
IMG_2458.jpg~original

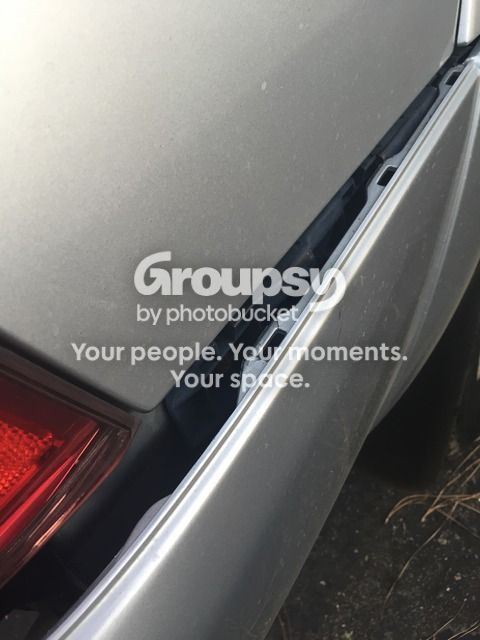
Taillight is ordered. Do I need special clips or something to re-attach this panel?I can see where the tabs go, but not exactly sure how to do it.
 
Update: the bumper cover clips into a black strip behind the cover. Unfortunately the clips are all busted off mine so I'll need to find another black strip.
 
Oh, and I've got this issue to deal with:
IMG_2456.jpg
IMG_2458.jpg~original

Taillight is ordered. Do I need special clips or something to re-attach this panel?I can see where the tabs go, but not exactly sure how to do it.

I have a pair of those red reflectors if you need them
 
Cleaned the MAF and throttle body today. MAF was in embarrassingly dirty, makes me wonder what the spark plugs look like. Used a wire wheel inside the TB; got that thing sparkly clean.
 
Lookin' good Okie! I just got the same exact truck a week or two ago, for my wife. I've already done most of what you have, including fixing a rear corner from a backing accident by the PO. The Seafoam show was bigger and better than any of the several cars I've done before. Hopefully I killed off all the mosquitoes for awhile!

Don't forget to check your cabin air filter. Mine was the worst thing I've ever seen. I posted it. It showed me the underlying neglect by the PO and now I've found several other similar things since.
 
Don't forget to check your cabin air filter. Mine was the worst thing I've ever seen. I posted it. It showed me the underlying neglect by the PO and now I've found several other similar things since.

Yeah, congrats! The cabin filter was a mess, picked one up on Amazon for $8. A litte tip: I spritzed a little Febreeze on the underside for a nice treat when I turn on the A/C.

So are you gonna follow me on a lift kit? I'm about ready to pull the trigger on a Toytec kit.
 
I know it's lame but probably not, at least not now. The jury's still out on whether this will be my wife's daily or go to me. If she keeps it I'll probably leave it mostly stock, no lift and running boards.
 
Doin' quite a bit of research on what lift I want. Usage is about 85% daily driver and 15% off-road, looking for a 3" lift. Most off-road here in SoCal is desert rock, talus and occasional sand. My budget is around $1000-$1200.
Narrowed it down to three options:

Toytec Bilstein 3" kit (5100 all around with superflex 2.0 rear springs.
Toytec Ultimate kit (5100 adjustables with superflex 2.0 rear springs)
Toytec Boss kit (Boss adjustable front with superflex 2.0 and Boss rear shocks).
Bilstein 6112 front with 5160 rear shocks (reservoir).

My first choice is the 6112 kit, but it's pricey (Toytec quoted me $1500 for the kit). The Bistein 3" kit is the cheapest, but I'm concerned the height may be off if I have them set the front coilovers at the highest mark. Can't go wrong with the ultimate kit and was happy with it on my 3rd gen. Don't know too much about the Boss system but from what I hear it's a larger valve body.
 
Found this Pioneer AVIC 5000NEX on Craigslist for cheap. Not sure if I need all the bells and whistles, but I like the "factory" look. The biggest challenge was squeezing all the adapters up into the dash: Sirius controller, PAC-TATO unit, ASWC-1 steering wheel control, GPS antenna wiring, etc. I'm happy with how it turned out though; the Metra bezel cleaned it up nicely.
okie81-albums-okie-s+4runner-picture41518-image.jpg
 
...I also ran the USB input down through the console (for Apple Car Play). Is there a special USB adapter I could put into the button slot to make it look nicer? I browsed Ebay but couldn't find a male-to-female interface.
okie81-albums-okie-s+4runner-picture41519-image.jpg
 
Update: the bumper cover clips into a black strip behind the cover. Unfortunately the clips are all busted off mine so I'll need to find another black strip.
Found two rear bumper brackets at the junkyard today. If you look closely you can see the clips busted off the old one:
ECE0F2B7-F9D3-4360-9955-01EBE15E9C28.jpg~original

Installed both sides and now the bumper is flush and tight.
 
Notice anything different?
C7F0BAB3-CE11-4266-BFE6-DCBD5371F5B9.jpg~original

Hopefully not, but if you did I may need to redo the rear "4Runner". I pryed the letters off at the junkyard to try and replace the missing rear emblem. Obviously the letters are all separate, is there a certain way to adhere them? 2-sided tape seemed to be an attempt I could easily try again
94375770-2F60-4489-977F-A3C135E6C173.jpg~original

10AC7E9D-C44C-4A63-9C78-081BE580B4B0.jpg~original
 

Members online

No members online now.

Forum statistics

Threads
278,309
Messages
3,554,068
Members
248,016
Latest member
Advally Service

Trending content

Back
Top