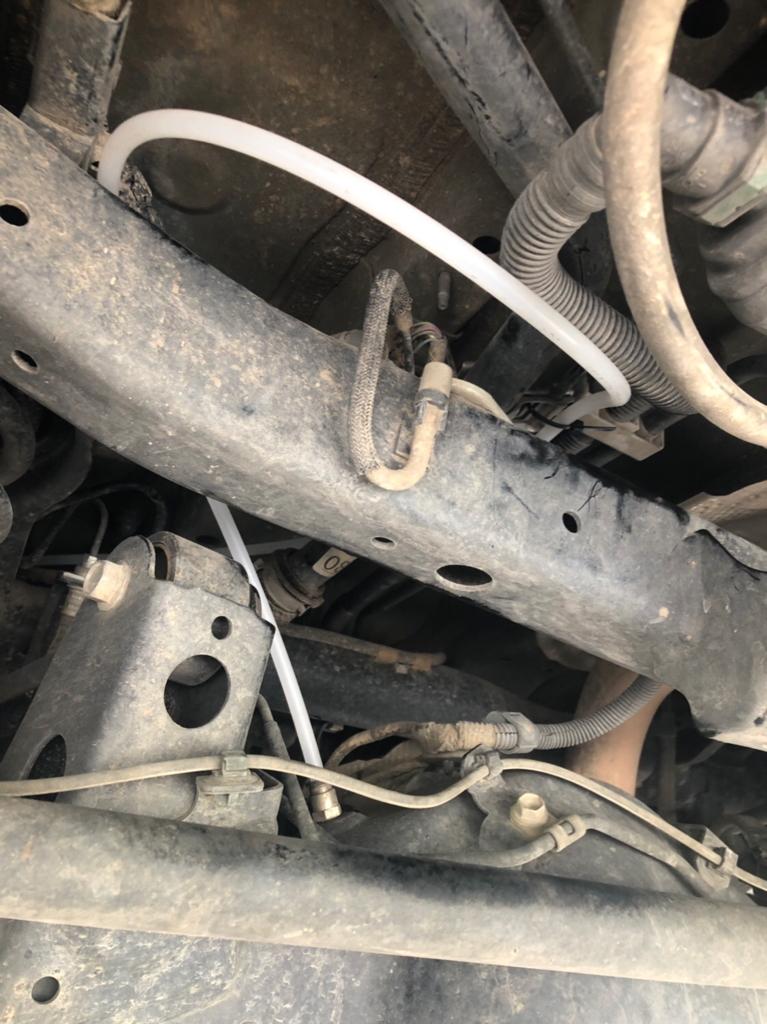
Rear Differential Breather Mod For Dummies

Put the 3m on like this
32870674958_116d5aed13_o.jpg


Then I cleaned up the area well with isopropyl alcohol, put the bolt through the bracket, and started threading it a few turns, then made sure it was level and pushed down. I honestly tugged on it a bit before even snugging the bolt down and it wasn't coming off without some heat and probably fishing string (think debadging a trunk). Then I just snugged the bolt up. A lot happier then drilling and doing self tap screws.

Thanks. I thought most of the holes in the engine bay were M8, but the biggest you can put through the breather is an M6. I will have to take a look.
 
Posting in [MENTION=120701]Cymon[/MENTION]’s thread because it is a great write up, and what I used for my initial install.

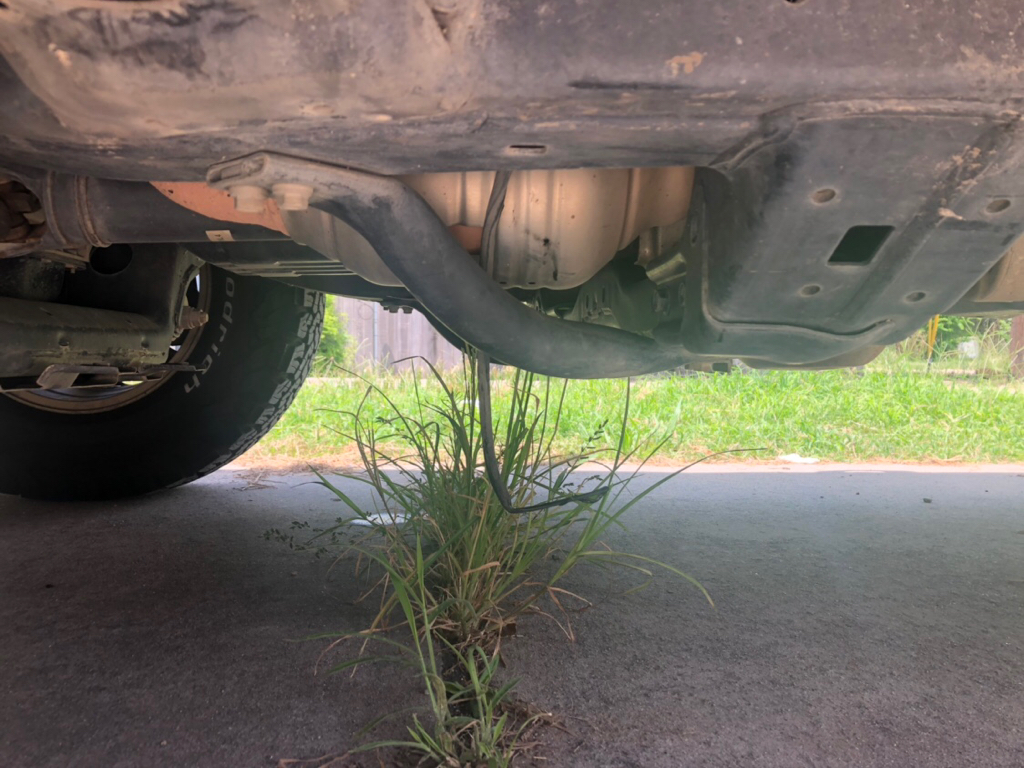
Not sure what changed from my initial install, but I got home today and noticed I had something hanging under my truck:

bd82d5d0f07def7719e028d0c6228cf1.jpg


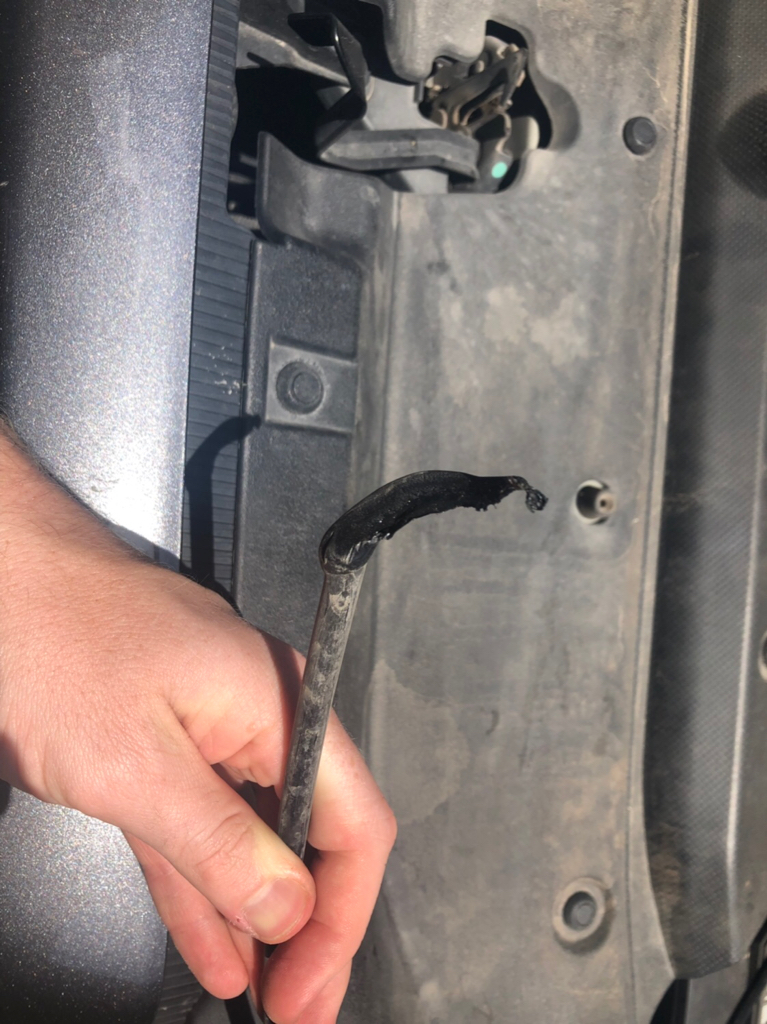
See the black tube? Yeah...my rear differential breather line had contacted something and melted:

aac06acf6fd306ebd8ef02e64482f8b4.jpg


Given where it is hanging, I figure it contacted the exhaust line. Now I get the pleasure of reinstalling, but will be more thoughtful to keep it running under my driver’s seat back to the valve, and away from the hot elements.

My main question is the valves from the ARB kit. I know it uses the one way valve and locks in the tubing once installed.

A) do I have to get new valve connectors?
B) what other type of tubing could I use that may be more resistant than the included ARB tubing (I also may not have enough left), but would also be compatible with the ARB connections?
 
A) do I have to get new valve connectors?
B) what other type of tubing could I use that may be more resistant than the included ARB tubing (I also may not have enough left), but would also be compatible with the ARB connections?

Answered my own questions:

A) don't have to get new valve connectors. If you push down on the sharkbite fitting, and pull the tube opposite then it will come right out.
B) I'm ordering more of the ARB tubing, and will reroute it differently.
 
Answered my own questions:


A) don't have to get new valve connectors. If you push down on the sharkbite fitting, and pull the tube opposite then it will come right out.

B) I'm ordering more of the ARB tubing, and will reroute it differently.


Okay guys and gals - since it looks like I’m having a full-fledged discussion with myself I figure I would update you on what I/we/me figured out:

1) I didn’t order new ARB tubing because I looked into its tolerances, and it’s actually kind of weak...or so it appears

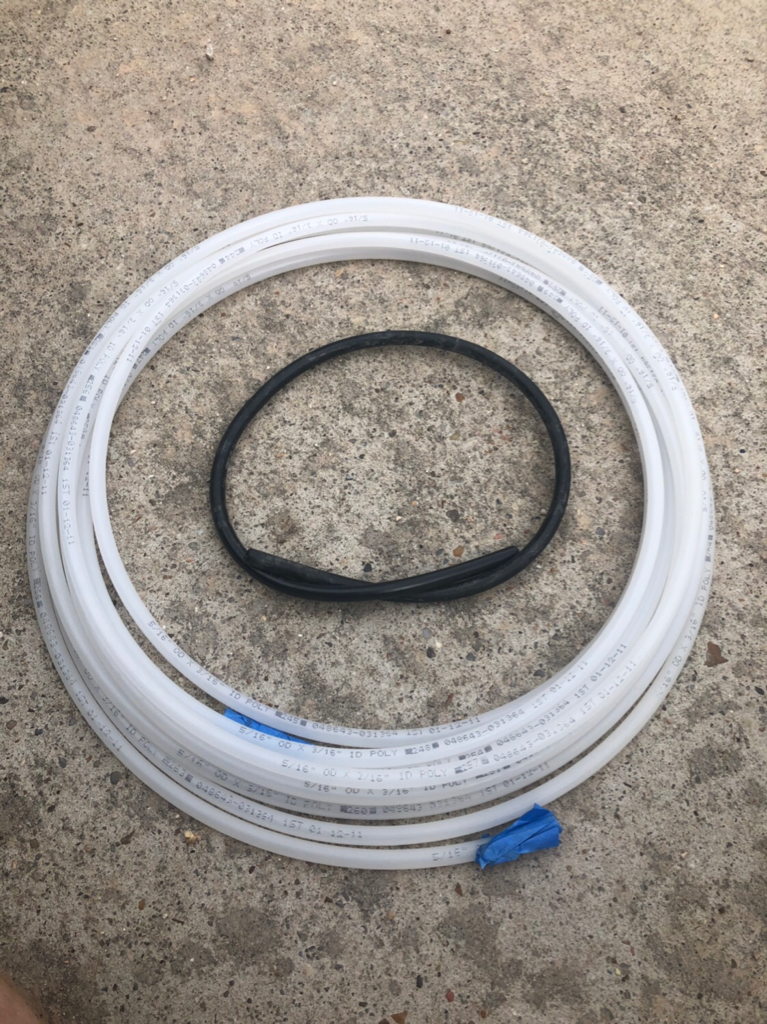
- found this 5/16” OD polyethylene tubing at a local hardware store:

4aa028413aad254c5e089c9a6254ba48.jpg


Max PSI in this is 125 (not that I’ll need it, it better compared to the ARB tubing’s 85 PSI), interior dimension is 3/16” and a tad thicker than the ARB stock tubing, and if I recall correctly the max operating temp is ~225° (vs. ARB’s 150°, but new route will keep it away from heated vehicular elements).

OH - and the best part is that is was $0.21/ft. I got 25 feet and it cost me $5.68 including tax (beats the ARB $36 cost plus tax and shipping).

2) install is much easier when you’ve already done it once.

3) this milky white color tubing is much easier to work with because you can actually see it while under the vehicle (Black blends in too well)

RE-INSTALL:

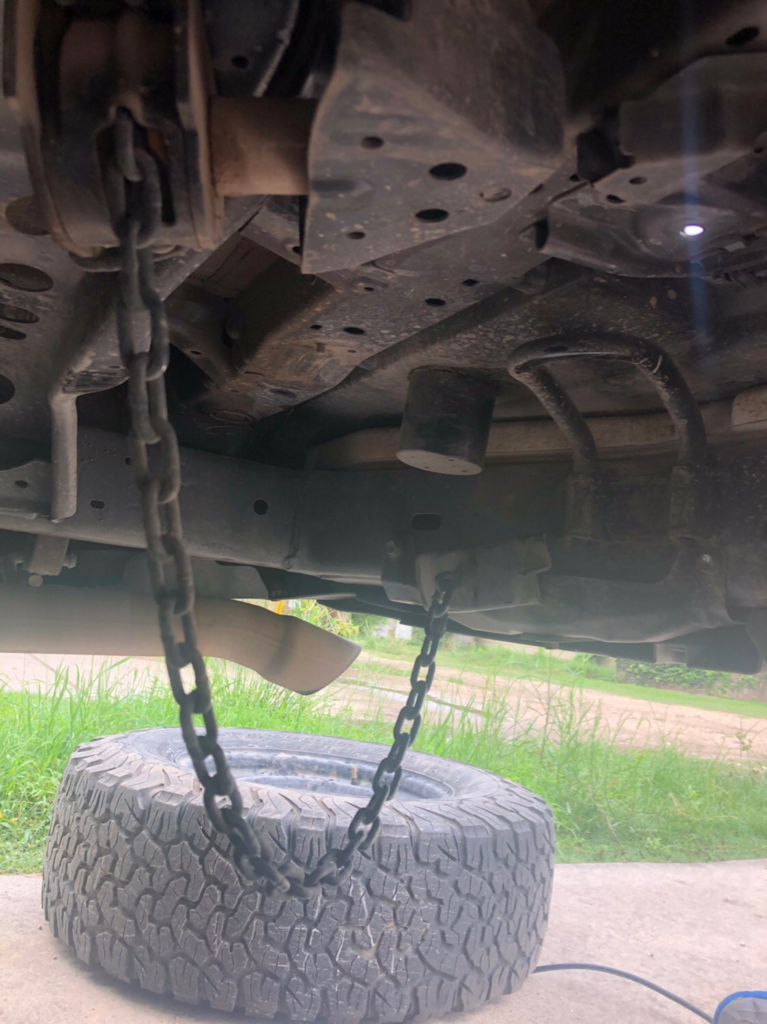
Step 1: drop and remove tire, and hang the tire hanger out of the way

ed0f7f8279363c8d5936c7db5dd989bf.jpg


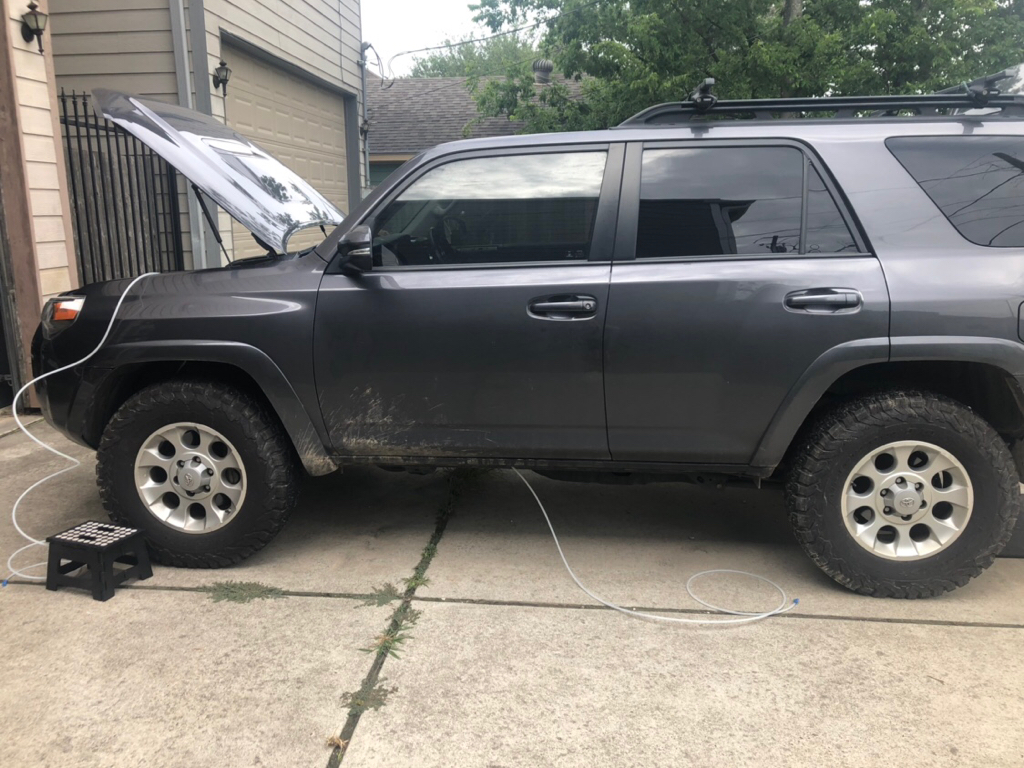
Step 2: Intubating my baby (stool because it was easier to lean over the engine bay and get the tube down right where I wanted it)

f5f7112ca81747735ecc87e824b7585e.jpg


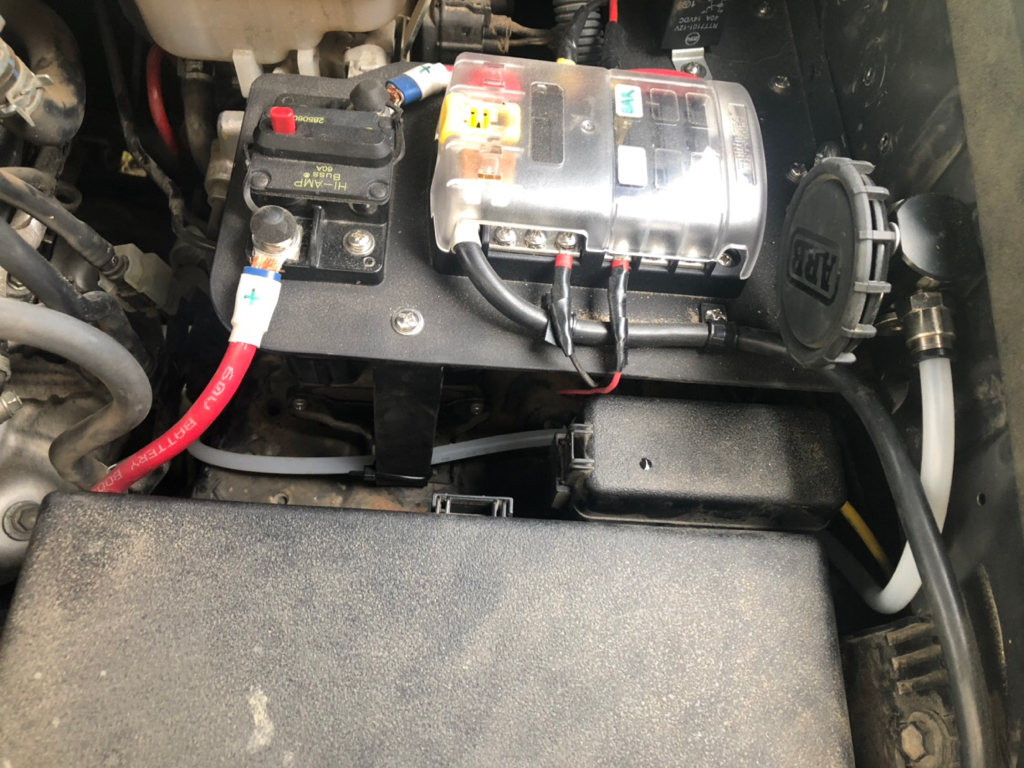
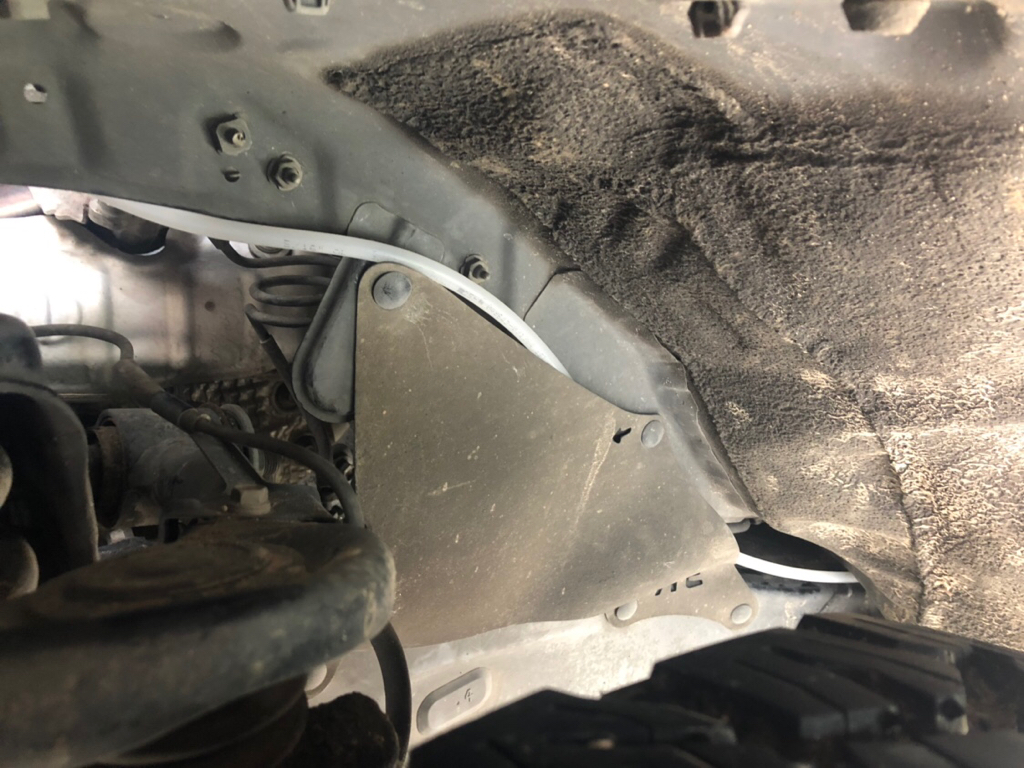
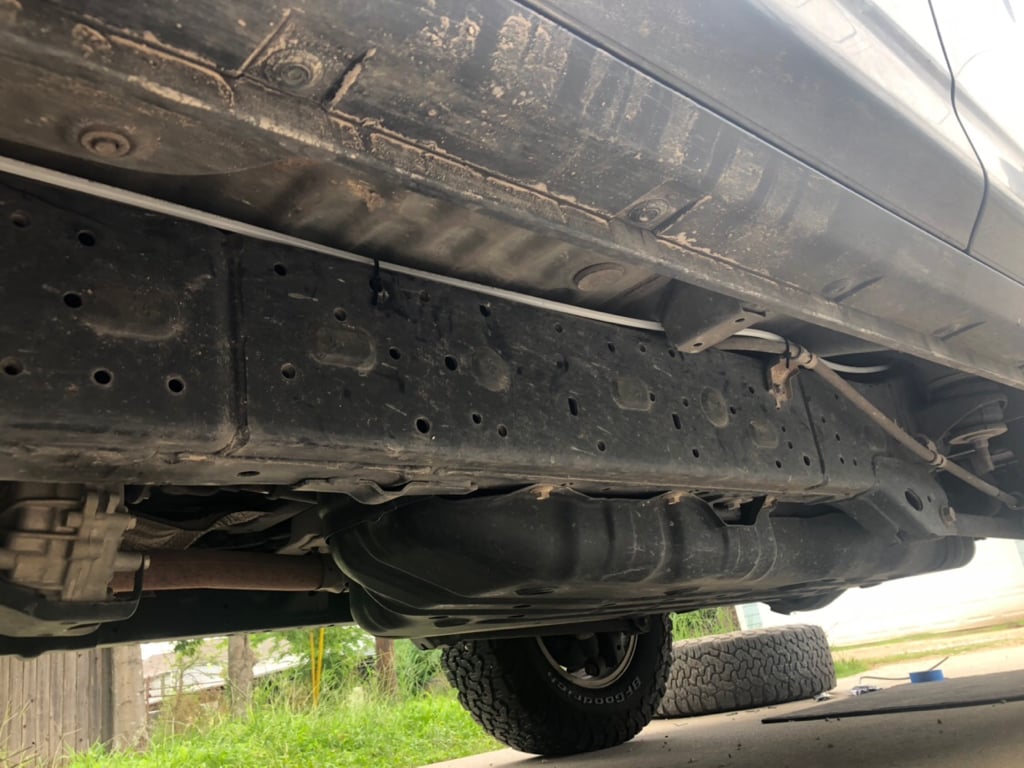
Step 3: Where I ran it this time, and added more zip ties to keep it there:

4a5db0bde4fcea6692c21eaa18b0dd76.jpg


e9fa136e3342f37f4cbadb8b2658e9ec.jpg


05b992df535ce3e5921f6ce6a304959b.jpg


b35931811cede90be528f7cef5fe9930.jpg


Step 4: no pic of this, but the sharkbite valves are easy to remove the tubing from. Just press down on the black ring leading into the ARB connector (came with the original kit), then pull away. Comes right out. I suggest taping off the connector if you aren’t replacing the tubing immediately.

Did all the above, and that was it. Took max 45 minutes and most of that was measuring/cutting while making sure it was tight to the body without being stretched.

Hope this helps because tracking down a local ARB replacement tube was impossible, and Home Depot and Lowe’s have this tubing, but only in 10’ sections. Definitely try your local hardware store (mine was Southland Do It Best) first to be able to cut however much you want.

 
Okay guys and gals - since it looks like I’m having a full-fledged discussion with myself I figure I would update you on what I/we/me figured out:

1) I didn’t order new ARB tubing because I looked into its tolerances, and it’s actually kind of weak...or so it appears

- found this 5/16” OD polyethylene tubing at a local hardware store:

4aa028413aad254c5e089c9a6254ba48.jpg


Max PSI in this is 125 (not that I’ll need it, it better compared to the ARB tubing’s 85 PSI), interior dimension is 3/16” and a tad thicker than the ARB stock tubing, and if I recall correctly the max operating temp is ~225° (vs. ARB’s 150°, but new route will keep it away from heated vehicular elements).

OH - and the best part is that is was $0.21/ft. I got 25 feet and it cost me $5.68 including tax (beats the ARB $36 cost plus tax and shipping).

2) install is much easier when you’ve already done it once.

3) this milky white color tubing is much easier to work with because you can actually see it while under the vehicle (Black blends in too well)

RE-INSTALL:

Step 1: drop and remove tire, and hang the tire hanger out of the way

ed0f7f8279363c8d5936c7db5dd989bf.jpg


Step 2: Intubating my baby (stool because it was easier to lean over the engine bay and get the tube down right where I wanted it)

f5f7112ca81747735ecc87e824b7585e.jpg


Step 3: Where I ran it this time, and added more zip ties to keep it there:

4a5db0bde4fcea6692c21eaa18b0dd76.jpg


e9fa136e3342f37f4cbadb8b2658e9ec.jpg


05b992df535ce3e5921f6ce6a304959b.jpg


b35931811cede90be528f7cef5fe9930.jpg


Step 4: no pic of this, but the sharkbite valves are easy to remove the tubing from. Just press down on the black ring leading into the ARB connector (came with the original kit), then pull away. Comes right out. I suggest taping off the connector if you aren’t replacing the tubing immediately.

Did all the above, and that was it. Took max 45 minutes and most of that was measuring/cutting while making sure it was tight to the body without being stretched.

Hope this helps because tracking down a local ARB replacement tube was impossible, and Home Depot and Lowe’s have this tubing, but only in 10’ sections. Definitely try your local hardware store (mine was Southland Do It Best) first to be able to cut however much you want.

Thank you for adding this helpful info to this thread. If something happens to my ARB tubing this is how I’ll replace it, although for anyone worrying my ARB kit has 60k miles on it...Florida heat and humidity year round, driven cross country twice and up through the northeast for ski trips with snow, below zero temps and their crazy harsh road chemicals and it’s still working fine. I think as you mentioned the key is routing well away from the heat shields.
 
Thank you for adding this helpful info to this thread. If something happens to my ARB tubing this is how I’ll replace it, although for anyone worrying my ARB kit has 60k miles on it...Florida heat and humidity year round, driven cross country twice and up through the northeast for ski trips with snow, below zero temps and their crazy harsh road chemicals and it’s still working fine. I think as you mentioned the key is routing well away from the heat shields.

With as much hell as I went through to find that dadgum tubing I figured the least I could do was to share so others didn't have to suffer as well.

You're 1000% correct - it is all about routing away from heat/spinning parts. Aside from the exhaust manifold contact this thing would've lasted 60k+ just like yours. Operator error :)
 
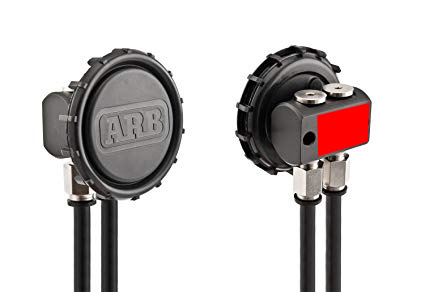
So I have a few questions, Has anyone done this mod and have a dual battery set up and ARB dual air compressor under the hood? Does the ARB breather get in the way or where did you put it.
 
So I have a few questions, Has anyone done this mod and have a dual battery set up and ARB dual air compressor under the hood? Does the ARB breather get in the way or where did you put it.

It comes with self tapping screws so you could put it anywhere you want to (or honestly zip tie it to something). You can see from the install pics that the breather filter isn’t that big. If you’re going dual batteries or air compressor just decide where you are going to mount them and pick the opposite side since most the 2nd battery goes in the front passenger side and there are mounts for the air compressors for both the driver and passenger side. Pick the third area that is left free.
 
I installed the ARB breather in the rear jack compartment...

Have you had this mod for a while? Do you notice any rank smells after highway driving? Open the jack compartment door and sniff. I just changed my rear diff fluid, and as others have said, the smell is very nasty. I can’t imagine deliberately piping that into the interior of the vehicle. May even be hazardous to your health.
 
Have you had this mod for a while? Do you notice any rank smells after highway driving? Open the jack compartment door and sniff. I just changed my rear diff fluid, and as others have said, the smell is very nasty. I can’t imagine deliberately piping that into the interior of the vehicle. May even be hazardous to your health.

Where did you relocate it to?
 
Have you had this mod for a while? Do you notice any rank smells after highway driving? Open the jack compartment door and sniff. I just changed my rear diff fluid, and as others have said, the smell is very nasty. I can’t imagine deliberately piping that into the interior of the vehicle. May even be hazardous to your health.

No problems at all...
 
Okay guys and gals - since it looks like I’m having a full-fledged discussion with myself I figure I would update you on what I/we/me figured out:

1) I didn’t order new ARB tubing because I looked into its tolerances, and it’s actually kind of weak...or so it appears

- found this 5/16” OD polyethylene tubing at a local hardware store:

4aa028413aad254c5e089c9a6254ba48.jpg


Max PSI in this is 125 (not that I’ll need it, it better compared to the ARB tubing’s 85 PSI), interior dimension is 3/16” and a tad thicker than the ARB stock tubing, and if I recall correctly the max operating temp is ~225° (vs. ARB’s 150°, but new route will keep it away from heated vehicular elements).

OH - and the best part is that is was $0.21/ft. I got 25 feet and it cost me $5.68 including tax (beats the ARB $36 cost plus tax and shipping).

2) install is much easier when you’ve already done it once.

3) this milky white color tubing is much easier to work with because you can actually see it while under the vehicle (Black blends in too well)

RE-INSTALL:

Step 1: drop and remove tire, and hang the tire hanger out of the way

ed0f7f8279363c8d5936c7db5dd989bf.jpg


Step 2: Intubating my baby (stool because it was easier to lean over the engine bay and get the tube down right where I wanted it)

f5f7112ca81747735ecc87e824b7585e.jpg


Step 3: Where I ran it this time, and added more zip ties to keep it there:

4a5db0bde4fcea6692c21eaa18b0dd76.jpg


e9fa136e3342f37f4cbadb8b2658e9ec.jpg


05b992df535ce3e5921f6ce6a304959b.jpg


b35931811cede90be528f7cef5fe9930.jpg


Step 4: no pic of this, but the sharkbite valves are easy to remove the tubing from. Just press down on the black ring leading into the ARB connector (came with the original kit), then pull away. Comes right out. I suggest taping off the connector if you aren’t replacing the tubing immediately.

Did all the above, and that was it. Took max 45 minutes and most of that was measuring/cutting while making sure it was tight to the body without being stretched.

Hope this helps because tracking down a local ARB replacement tube was impossible, and Home Depot and Lowe’s have this tubing, but only in 10’ sections. Definitely try your local hardware store (mine was Southland Do It Best) first to be able to cut however much you want.

Really like your tube routing. I went (like probably 98% of the 4runner owners) on the inside route and keeping it away from exhaust was.... exhausting :Cry: . If/when it fails I will follow your example.
 
Really like your tube routing. I went (like probably 98% of the 4runner owners) on the inside route and keeping it away from exhaust was.... exhausting :Cry: . If/when it fails I will follow your example.

The only reason I'm going this route is because I went the "traditional" route as well haha! One caveat to that though - When I installed my underhood fuse block I had to move the tube's initial placement, and I think THAT was what led to it getting melted. That exhaust manifold is tricky to get away from.

Either way, I hope your doesn't melt, but if it does I hope my update will help!
 
Looking at options for a diff breather. I see that ToyTec offers a kit for $32 and the ARB one is double in price. Are there any other budget friendly options? I don’t plan on submerging the rear diff. This is more for piece of mind.
 

Forum statistics

Threads
278,312
Messages
3,554,089
Members
248,016
Latest member
Advally Service

Trending content

Back
Top