TonyB66's Ownership -> Build Thread (2000 Limited)

I think one of your images wasn’t showing up, I feel comfortable welding it if you feel comfortable having me weld it! Haha.. by no means am I an experienced welder, more of a hobbyist. I can snap a picture of my pan hard kit that I welded if you want to see what my welds look like. I think it will hold just fine, I just don’t want you to expect perfect dimes..

For something like this, the integrity of the weld is what matters for me, not so much the appearance. It's under the truck! The weekend plans are trickling-in tonight and tomorrow morning. I'll let you know if we are a go for Sunday. I might need to go into the office on Sunday, as strange as that sounds. I work from home, and it seems that some migration issues can be sorted-out if I'm on the campus network, as opposed to VPN from home. I'll be troubleshooting tomorrow, and hopefully not need a trip into the office on Sunday. Thanks again!
 
For something like this, the integrity of the weld is what matters for me, not so much the appearance. It's under the truck! The weekend plans are trickling-in tonight and tomorrow morning. I'll let you know if we are a go for Sunday. I might need to go into the office on Sunday, as strange as that sounds. I work from home, and it seems that some migration issues can be sorted-out if I'm on the campus network, as opposed to VPN from home. I'll be troubleshooting tomorrow, and hopefully not need a trip into the office on Sunday. Thanks again!

I’m free on Saturday as well until about 6pm, hollister fell through.
 
The vented cap comes-off easily below the floor, so no need to trim a semicircle into the flooring to get it out.

frGRMeL.jpg
That looks like a good spot to keep trail spares (CV, ball joints, ???). Stuff that can get wet/dirty and not matter. Also, stuff that you won't have to access very often (hopefully).

Every time I'm under the truck, it feels like there is so much wasted space - I'm too used to AWD unibody cars.

-Charlie
 
I’m free on Saturday as well until about 6pm, hollister fell through.

Almost forgot, thanks for the note that one of images was missing. Added above.

Well, I had a few minutes after getting the kids to school to do some experimentation of what I can get through that opening... First, as I surmised, the pair of OEM rear bumper support brackets prevent certain taller items from fitting in those areas. I will likely drill-out those spot welds after I remove the plate for welding.

gw1rSG9.jpg


Super happy that my measurements were right, that I'd be able to fit at least a couple of these, likely four, or more if I'm willing to sacrifice space for tools and parts. I had drawn-up a larger tank initially, thought about having Boyd Welding (custom tanks) make it (about 7-8 gallons as I recall), but I decided it best to maximize my free space to have more flexibility on what I carry. Really like the possibilities I'm seeing that it's more than just a thought...

G9Qd6dE.jpg


Ok, on to other stuff I found in the garage. I had like a dozen old tool boxes I sold on CL a few years back. Wish I had kept a few more! This one is a keeper. It's 22" long, low profile.

5XxF2Hi.jpg


It goes in with ease and can slide all the way to the rear. You can see it through the holes in the ear bumper.

nyrECum.jpg


I can put longer tools in there allowing me to get a smaller tool bag for the rest of the tools. Some possibilities. I later added a large crescent wrench, and still more space.

1IXELhj.jpg


Figured something the size of my plumbing box wouldn't fit...

PJlmmK8.jpg


When all welded-up, like all bare metal projects earlier, this will get cleaned, etching primer and flat black paint. Instead of lining the floor with some material, it will be with something functional. I'm currently thinking of a moving blanket folded to cover the floor space and a small tarp over that.

Charlie, just saw your post. Exactly what I'm thinking, hoping, but not sure if all of those parts will fit through the opening. If you have any dimensions or can point me to where to find such, please do share. This project is all about storage:

1. Fuel (fixed tank, plus the option of portable containers)
2. Recovery gear
3. Tools
4. Parts

I will start compiling a list for each of the above, and will solicit the input of you all....
 
Awesome ideas and execution, Tony. I admire your bravery too in cutting holes in your floor!!

Just saw your post. Thanks man. Surprised I didn't see any threads about others doing the same or similar. After two decades, no way this is a first...

Woke-up one morning and decided to finally do it. The space created is noteworthy. For those who have their spare hanging on the rear bumper or elsewhere, don't have an aux tank already down there, I think this is a very worthwhile mod.
 
The fuel tank is a pretty cool mod. Are you welding it yourself? I didn't catch that you were a welder. I like the utilization of the factory tire carrier space.

I am curious about how you will fill it though. And how the fuel will get to your tank. Will you be bridging it into your existing fuel system or keeping it as a separate system and siphoning the gas into you main tank by hand or pump?

Also the brackets look like an ok solution but will you be fully welding the tank to the frame? (I might have missed that in all the details) Fuel tanks are serious business and a simple accident could potentially dislodge it and cause an explosion. I don't mean to be dramatic but that bracket looked kind of weak and not ready for a 40 MPH crash.

5 gals of gas plus the tank itself mush weigh at least 40-45 lbs. That is a lot of force upon impact if you crash or someone texting while driving hits you.

For this mod I would give it 10/10 for originality but I am super cautious about safety.

:wow2:
 
Last edited:
The fuel tank is a pretty cool mod. Are you welding it yourself? I didn't catch that you were a welder. I like the utilization of the factory tire carrier space.

I am curious about how you will fill it though. And how the fuel will get to your tank. Will you be bridging it into your existing fuel system or keeping it as a separate system and siphoning the gas into you main tank by hand or pump?

Also the brackets look like an ok solution but will you be fully welding the tank to the frame? (I might have missed that in all the details) Fuel tanks are serious business and a simple accident could potentially dislodge it and cause an explosion. I don't mean to be dramatic but that bracket looked kind of weak and not ready for a 40 MPH crash.

5 gals of gas plus the tank itself mush weigh at least 40-45 lbs. That is a lot of force upon impact if you crash or someone texting while driving hits you.

For this mod I would give it 10/10 for originality but I am super cautious about safety.

:wow2:

Brian, I truly appreciate the concern. The tank and mounting straps are made for and used in off-road vehicles, most notably dune buggies. I had a Manx quite a few years ago that I sold to a local airport to be used as a taxi "follow me" vehicle. A couple photos of her at work. Good memories...

xCNg6ko.jpg


wsN9yDI.jpg


I'm aware of others who have these tanks (same manufacturer, in the USA) and those vehicles were on and off-road, a couple only off-road and saw some pretty serious forces, mostly jumps. Once bolted into place, the tank will not leave that location or become a projectile. It will be sandwiched with the floor above, reinforced 3/16" steel below (more protection than my skids), frame rails on the sides, no way out the rear. The front is the only viable way out, but when the plate bolts are secured through the frame it cannot go in or come-out even now, and that's without the 2" angle in the place. Once that is welded, the tank cannot exit through that forward space.

I will use the biggest grade 8 bolts and nuts in those brackets, red thread locker too. I need to make sure that I don't have loose tools or other items down there impacting the tank of course. Stuff will be secured and protected. I've already pondered tie-downs and other ways secure items in this space. Again, I truly appreciate the concern, really.

To actual use, there can be multiple ways, for now at least, all will entail that gas going into the main tank the way it always has - through the factory fill hole.

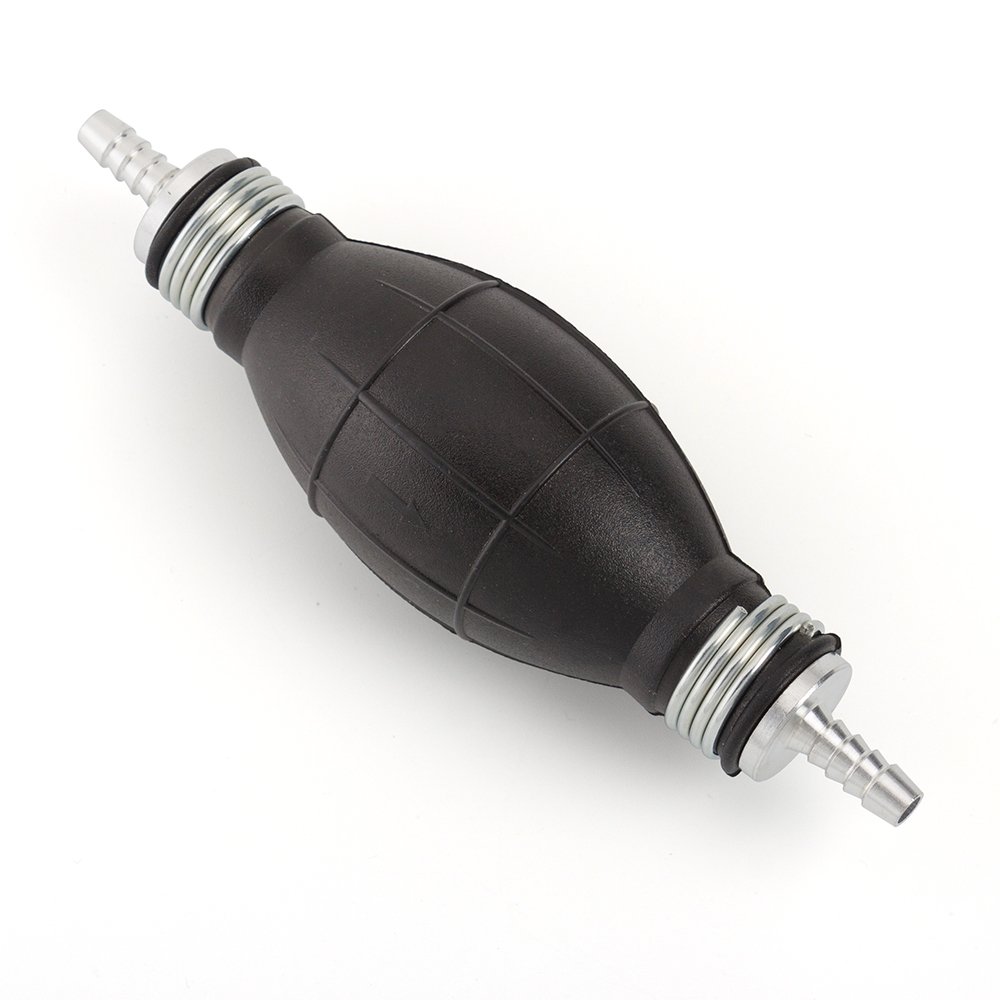
I'm curious if a syphon will work, direct, tank-to-tank. I hope so! This arrives today.

https://smile.amazon.com/gp/product/B07BDKMG3F/ref=ppx_yo_dt_b_asin_title_o02_s00?ie=UTF8&psc=1

614PiGCyl1L._SL1000_.jpg


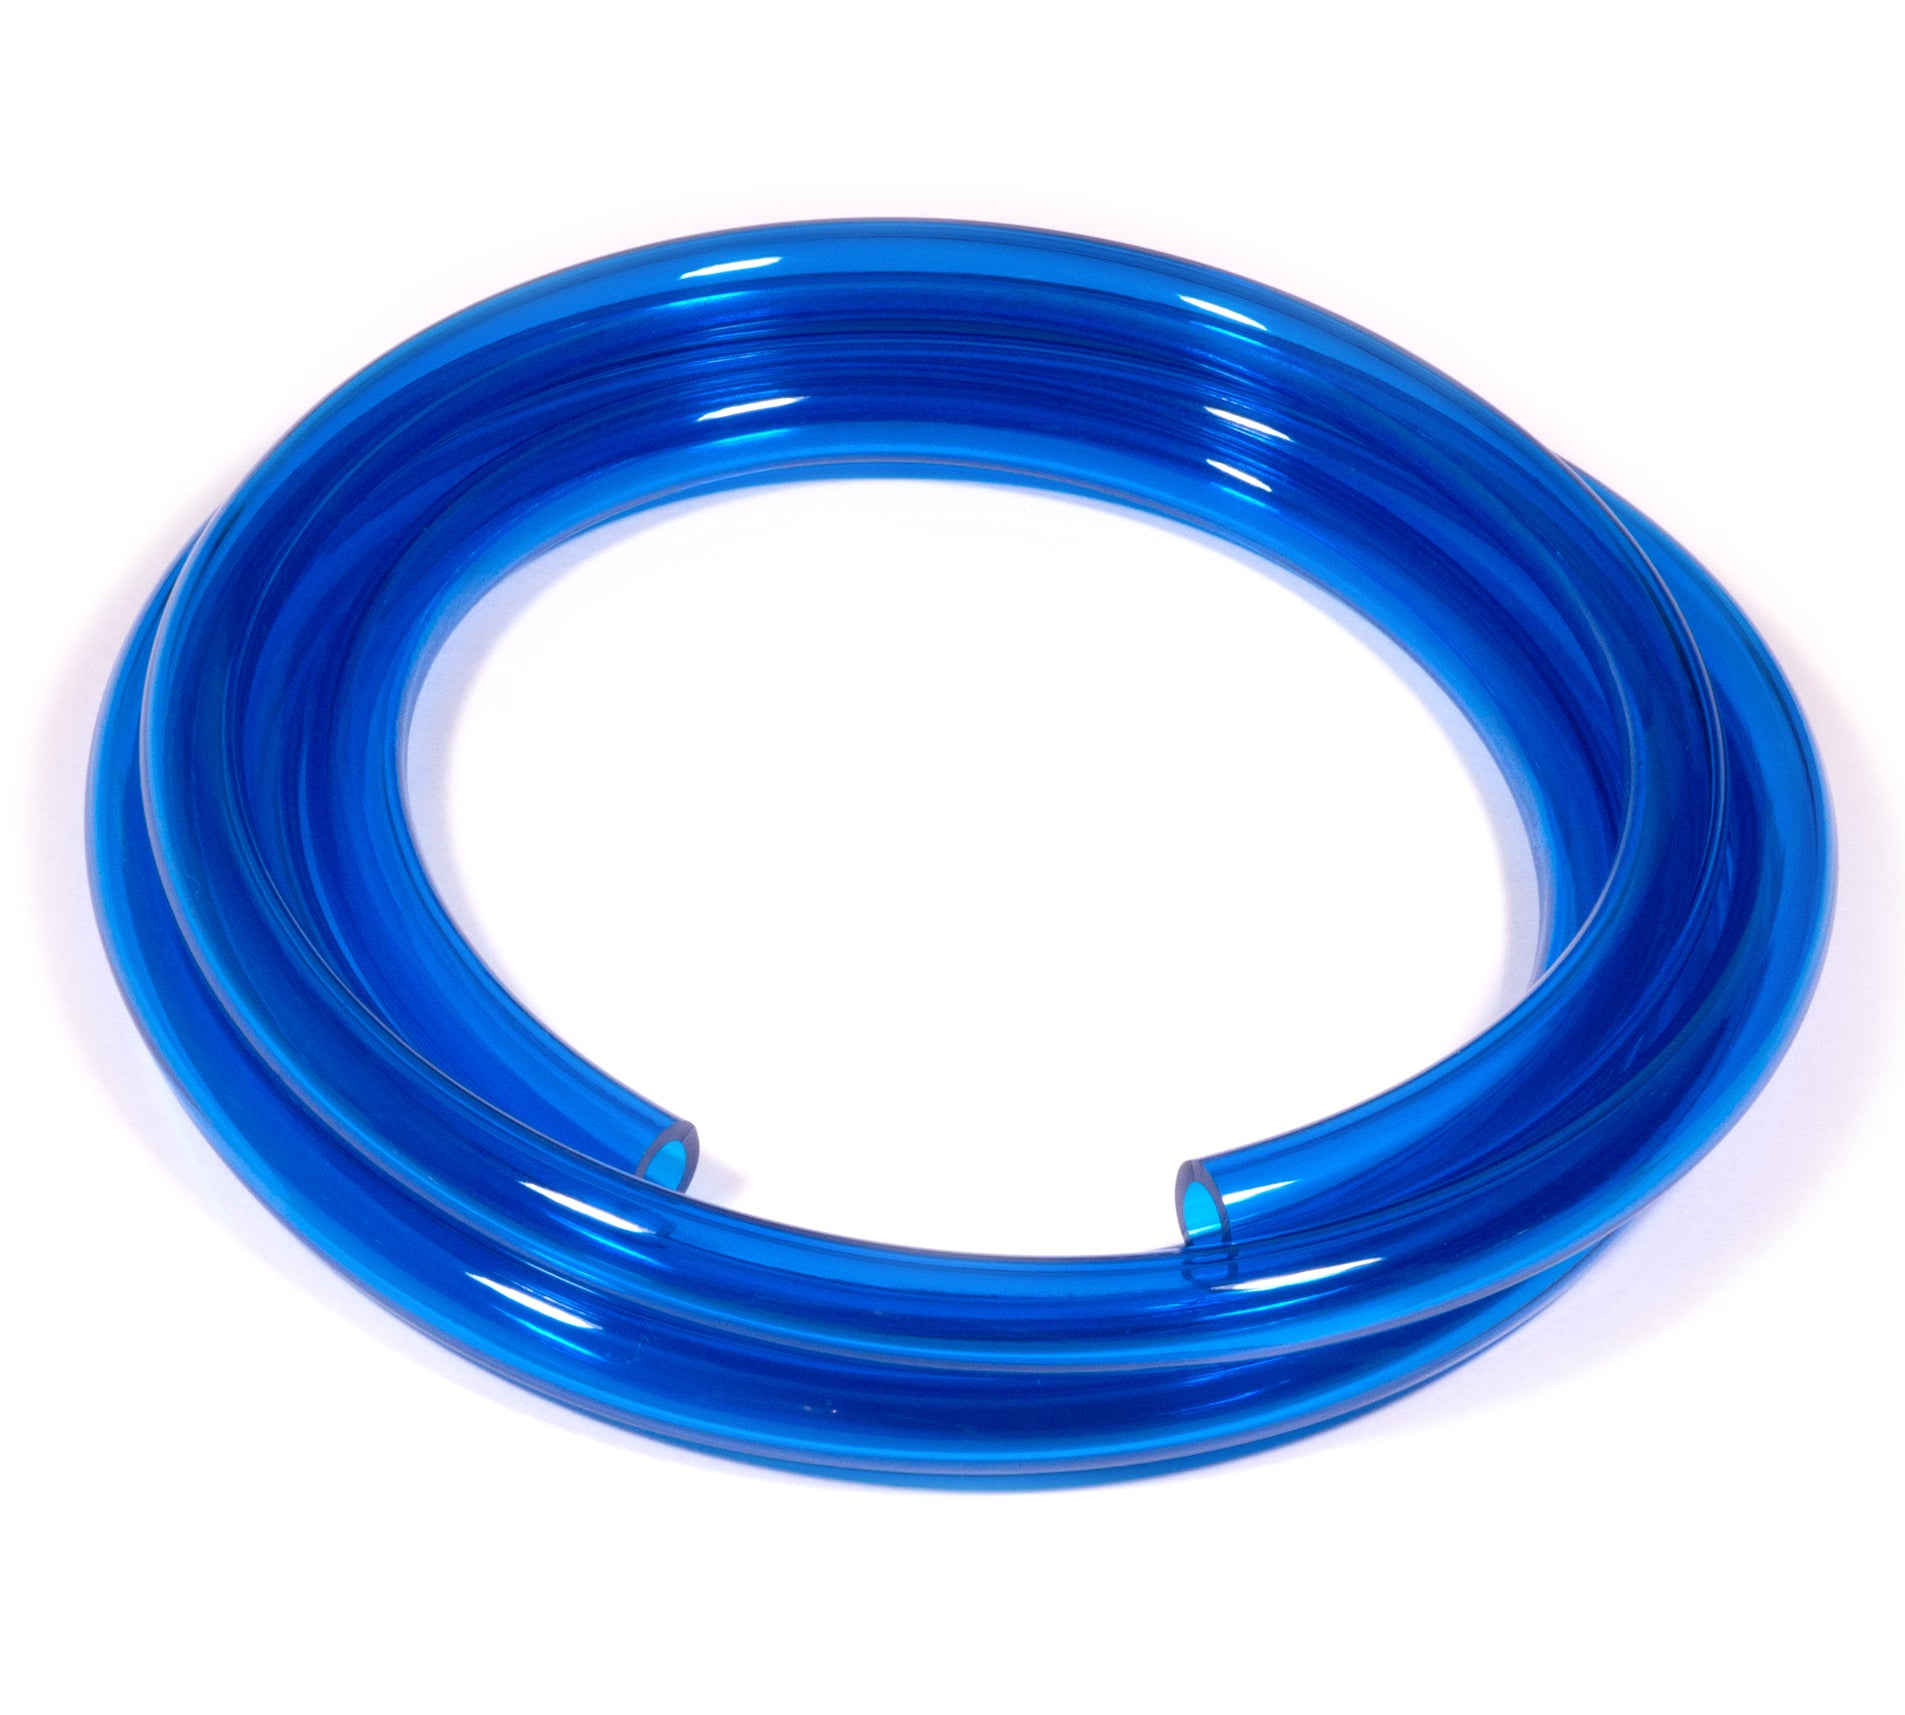
10mm is basically 3/8". This comes tomorrow.

3/8" Fast Flow Fuel Line


– Fuel-Line.com


38blue7-web_1024x1024@2x.jpg


Looking forward to trying this combo. My guess, if it works, I'll need to back the rear end on an incline to raise storage tank even higher than the main. That will likely have to wait until I return from the biz trip... Fun stuff.
 
Last edited:
I should add that my comment mainly comes from my assumption that when it comes to the fuel tank system there is a different level or safety specifications to be adhered to for a vehicle that will be driven in the city vs offroad in the desert. Mainly to withstand an accident of someone driving into you and the fuel system not leaking. I'm not an automotive engineer but it is akin to how with deep water diving or airplane engineering you have a much higher spec of safety needed.

Just a simple leaky hose or fitting could lead to a leak of gas and your exhaust system is right back there red hot. If a leak of any kind does occur the chance of an explosion is probably moderate ... which is to say its a terrible statistic to have. Most auto manufacturer's fuel systems are designed and engineered to never leak even after decades and hundreds of thousands of miles. That is the bar for safety they adhere to. I think this idea is really cool but it would certainly be the kind of mod where it would be good to do a visual check for leaks every few months, pretty much forever to ensure your safety. That is what I was getting at.

Now if it is a sealed tank with a solid lid that you only access to siphon fuel ... that could be really safe. It is when you start doing a permanent mod merging with the existing fuel system full time where I think there is more long term risk of a leaky hose or valve.

BTW the quality of that tank looks top notch!

[edit: apologies if it seems like I'm trying to be a backseat driver errr engineer, just very interested in your idea. I would love to get 5 extra gallons]
.
 
Last edited:
Agreed on that Brian. As you've learned about me, I'm pretty anal on stuff, including safety items. From proper torque specs and checking those after so many miles and marking fasteners with fingernail polish... I do so regardless if factory or aftermkt.

In a bad accident things fail for sure. I saw once a portable fuel container nearly a football field away from the accident scene. It was supposedly secured. I feel good knowing that's not going to happen here. I've heard of others impacted and compromised in accidents, leaking fuel. Scary stuff. This tank is not exposed and protected quite well.

I'm going to double-nut the brackets too, the base through the plate, and where it tightens around the tank itself.

Charlie, just saw your reply... So, since you are expert on that line, is there a more desirable route for it, in your estimation?
 
Last edited:
Charlie, just saw your reply... So, since you are expert on that line, is there a more desirable route for it, in your estimation?
The converter box itself failed twice, the wire there is fine. You might be able to relocate it back a bit under the rear plastic trim if you want, I can't remember.

-Charlie
 
Well, heading-up to SF tomorrow morning to meet T4topher to get the welding done. Looking forward to it...

Not much done today. I elongated the hole for the tank's outlet a little. I removed the portion marked in dark green.

yLGisP8.jpg


An after photo.

qLFHXSQ.jpg


A reminder to myself and others. Where gloves and protect the eyes of course. While I wore gloves, I now twice forgot to put them back on after a break. Here's a pair of throw-away gloves that came free with something I ordered on Amazon a few weeks back.

cATBTB0.jpg


These fine slivers of steel do not feel good. If like last time, it will take a couple days to feel better...

So, with that hole made a little bigger I was able to move the tank a bit more forward. Looking down through the opening, I now have exactly 8" of space behind the tank to get items in and out... So, when looking for something like a tool box, I'll want a max width of 8". Height too for that matter, 8".

B7C18Mm.jpg


I located the four holes for the tank's brackets also, using that small paint brush again. With it raining though, the water got mixed with the paint before it dried, but I believe I got good marks, so I made the holes. I will use 5/16" grade 8 bolts and nuts, which I'll get tomorrow...

With the welding done tomorrow, on Sunday I will clearance that one hole for the passenger side 3rd bolt, then clean everything up, and apply a coat of etching primer. Paint will have to wait until back from my biz trip on Friday.
 
Well, she's all welded-up. Thanks [MENTION=271883]T4topher[/MENTION]!

It look a little longer than expected, and it turned-out well. I'd say that a little over an hour was spent just grinding the the finish off the the appropriate spots on the plate and the four pieces. There was some warping or bending due to the heat, but we found creative ways to make corrections and also better dial-in the power and feed too.

I rounded the corners, particularly the forward ones more apt to make for a bad day. Note T4topher's welds. For a guy who says he's still learning, looks pretty good to me.

GUaUVqM.jpg


Spent some time cleaning-up the work. Got the holes done for the tank's mounting brackets and I elongated that one hole in the plate for that one 3rd bolt. Some nice penetration on those welds.

8irYBqv.jpg


Time to do a test fit.

wgkIffi.jpg


YmaozJX.jpg


The four pre-existing bolts went right in.

0o4XKWi.jpg


VJ4LiLq.jpg


The 3rd bolt that fit nicely before, still does.

Q0KzMrG.jpg


And, for the other one, the elongation of the hole in the plate did the trick!

kpFIT6p.jpg


I had to elongate the aluminum spacer's hole too (no photo).

I saw an opportunity for more storage space here, likely a light plate from the top of the frame, outward. A place, on both sides to stuff light item. It's reachable from the access hole...

xX3TZRn.jpg


Now knowing that the mounting holes are all set, I removed the storage shelf and hit both sides with the angle grinder (60 grit wheel). After thoroughly cleaning it, it was time for the etching primer.

HOTaOjc.jpg


QfHxIr1.jpg


There was sufficient warmth late in the day to paint the underside, after a light sanding with some abrasive gloves.

rXCeHT2.jpg


Pretty cool to see it all coming-together. Bummer that I need to leave for biz travel tomorrow though! That said, I should have time to paint the other side before I leave. So, after returning Thursday night, I should have time to get the plate installed on Friday or Saturday. Getting the washer and nuts down the frame to those 3rd bolt locations might be a bit tricky, but I have some ideas...

Oh, I just sold the front bumper carrier, that metal piece that connects to the frame rails - 50 bucks. I've now sold $1,050 of 3rd gen stuff. I wonder if I can hit 2k. Maybe not. Remaining...

$200 - Gas Tank Skid

$25 - Spare Tire Carrier

$20 - Air intake/silencer box

$50 - Front brakes

$75 - Trailer hitch

To be sold later...

? - Sunroof (full assembly)

? - Wheels & tires

Also, thinking of getting this tool bag for the storage space.

https://smile.amazon.com/gp/product/B017SODM6O/ref=ox_sc_saved_title_1?smid=A3P56LYOG94570&psc=1

At 18", big enough to hold all planned tools for sure, including my short breaker bar. I believe it will be flexible enough to get in/out but the more I think about it, I might just leave it in this storage area and just remove tools from it when needed. The vertical space is about 8 to 8 1/2" where this tool bag would be located. The bag is noted as being 10 1/2" tall. It could be compressed when pushed downward and I like the idea that it will be pushing up against the bottom of the floor so it won't be jumping around down there...

 
Last edited:
Did you hit the surfaces between the angles/channels and the plate with weld-through primer before welding? If not, there is a good chance of future rust in there. Seam sealer or similar on all the gaps might be a good idea. (I wouldn't mention this to most guys, but I think you would appreciate it)

-Charlie
 
Did you hit the surfaces between the angles/channels and the plate with weld-through primer before welding? If not, there is a good chance of future rust in there. Seam sealer or similar on all the gaps might be a good idea. (I wouldn't mention this to most guys, but I think you would appreciate it)

-Charlie

Funny, I was thinking about such, but it was too late Charlie. Three of the four pieces are stitch welded. The first C-channel was a bead all the way around. So, that one should be sealed-up well, especially with the added primer and paint. As for the other three, when spraying, I am doing my best to shoot those gaps. I also considering pouring small amount of paint in those spots and let gravity pull it under. I will then use black 100% silicone to seal those places where there are no welds.

https://www.lowes.com/pd/GE-Silicone-2-10-1-oz-Black-Silicone-Caulk/3084585

Got the 5/16" grade 8 bolts and nuts (double nutting) for the tank's brackets after getting the kids to school.

I hope to do the installation next weekend, and make a run to the gas station for the first fill attempt. When I gassed-up on the way home from SF, I purposely didn't fill the tank. It's about half full now. Curious how the fill goes, what mods might be needed to improve the interface between the tank's fill hole and pump nozzle. I think/hope the floor of the 4Runner will help keep the nozzle from going too deep in the tank, preventing a complete fill. We shall see...

I'm equally interested to see how the transfer goes. I'm hoping the simplicity of a syphon will work. Some mistakenly think that fluids cannot be syphoned "uphill" (here, storage tank up to main tank fill hole). Looking-forward to next weekend...

Edit/Add:

I was indeed able to paint a couple coats on the other side. Back at it later in the week...

Bd8Rrsh.jpg
 
Last edited:
Came back home to find the tool bag.

YkpD3dy.jpg


Not wanting to install the plate at this time for a test fit, I clamped a piece of wood to represent the floor.

9bbyRWR.jpg


I put a couple tools in the bag and with just a little collapsing of the bag's top, it went right in.

bakiOGk.jpg


ho3pSaZ.jpg


I think this bag will work very well for this application.

My current list of tools / repair items:

3/8" Ratchet / Sockets (Metric)
Breaker Bar
1/2" Sockets (17, 19, 21, 35, others?)
Cheater Pipe
Combo Wrenches (8, 10, 12 & 14 mm)
Screwdriver (various bits)
Crescent Wrench
Vice Grips
Channel Locks
Needle Nose Pliers
Hatchet / Axe (doubles as hammer)
Rubber Mallet
Duct Tape
Rescue Tape
Baling Wire
Zip Ties
Multi-Meter (w/ leads & alligator clips)
Wire
Wire Cutter, Stripper & Crimper
Electrical Connectors
Electrical Tape
 
Last edited:

Members online

Forum statistics

Threads
278,316
Messages
3,554,120
Members
248,016
Latest member
Advally Service

Trending content

Back
Top