wally's 87 4runner upkeep thread

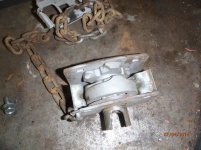
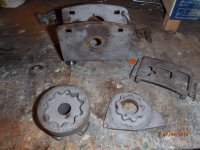
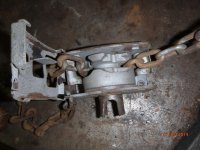
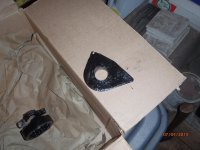
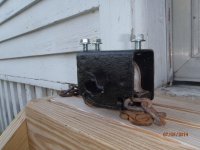
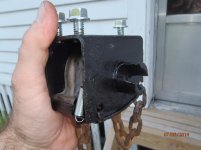
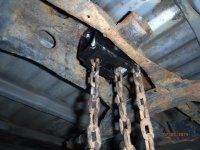
i tested and retested the operation several times, to make sure things would function properly, and that i could assemble them in the correct way.
 

Attachments

  • P7040039.jpg
    P7040039.jpg
    137.1 KB · Views: 1,008
  • P7040041.jpg
    P7040041.jpg
    137.3 KB · Views: 999
  • P7040040.jpg
    P7040040.jpg
    135.1 KB · Views: 1,003
  • P7040042.jpg
    P7040042.jpg
    123.4 KB · Views: 1,047
  • P7040043.jpg
    P7040043.jpg
    135.6 KB · Views: 995
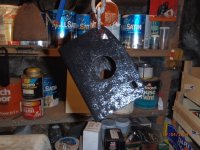
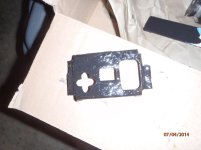
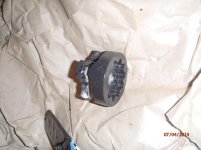
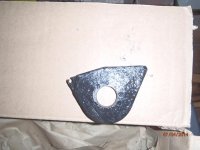
painted the parts. the last two pics in this post are of the non-rotating gear piece (it rotates partially, back and forth, to allow the chain to be raised or lowered). this is the piece to which one end of the small spring attaches. the other end attaches to the cover of the mechansim.
 

Attachments

  • P7040044.jpg
    P7040044.jpg
    93.4 KB · Views: 1,031
  • P7040045.jpg
    P7040045.jpg
    127.2 KB · Views: 1,045
  • P7040046.jpg
    P7040046.jpg
    130.3 KB · Views: 1,071
  • P7040047.jpg
    P7040047.jpg
    127.6 KB · Views: 1,082
painted, lubed, assembled, and installed.
 

Attachments

  • P7050048.jpg
    P7050048.jpg
    125.4 KB · Views: 1,063
  • P7050049.jpg
    P7050049.jpg
    99.7 KB · Views: 1,031
  • P7050050.jpg
    P7050050.jpg
    134.1 KB · Views: 980
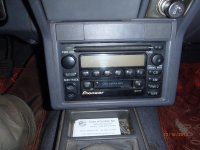
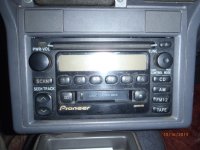
added an upgraded "stock" radio/tape/cd player. not any great thing, but better than the tape/radio unit that was in it, which had poor radio reception/tuning and only emitted sound out of one side when playing tapes.

double din size, from 87 to late 90s, with the 6-pin/10-pin connector. radio works much better (as far as reception), tape player plays in stereo, and cd works. internal lighting of the unit comes on for a split-second when the parking/head lights are switched on, but immediately go out. still, better than listening to mono tapes and poor radio.

fit perfectly, and no adapters needed. apparently, i could run an ipod through it, as there's another 12-pin plug in the back that can be easily used with an adapter.
 

Attachments

  • PA160006.jpg
    PA160006.jpg
    133.2 KB · Views: 1,014
  • PA160007.jpg
    PA160007.jpg
    134.7 KB · Views: 1,074
after a nice long spell of easy starting and running well, my 22re began acting difficult to start a few weeks ago, with symptoms that seemed to be indicating flooding/too rich.

wasn't a problem overnight, but was an issue if attempting to start again after running, and shutting off for at least a minute. cold or hot engine made no difference.

cracked the cold start line after it sat overnight - no pressure. checked for fuel in the pressure regulator vacuum line, but it was dry. pulled the CSI, but it wasn't leaking, and it worked fine, too. i found no other leaks anywhere, and the fuel pump worked fine (could spray a bunch of fuel with the jumper and the CSI line cracked).

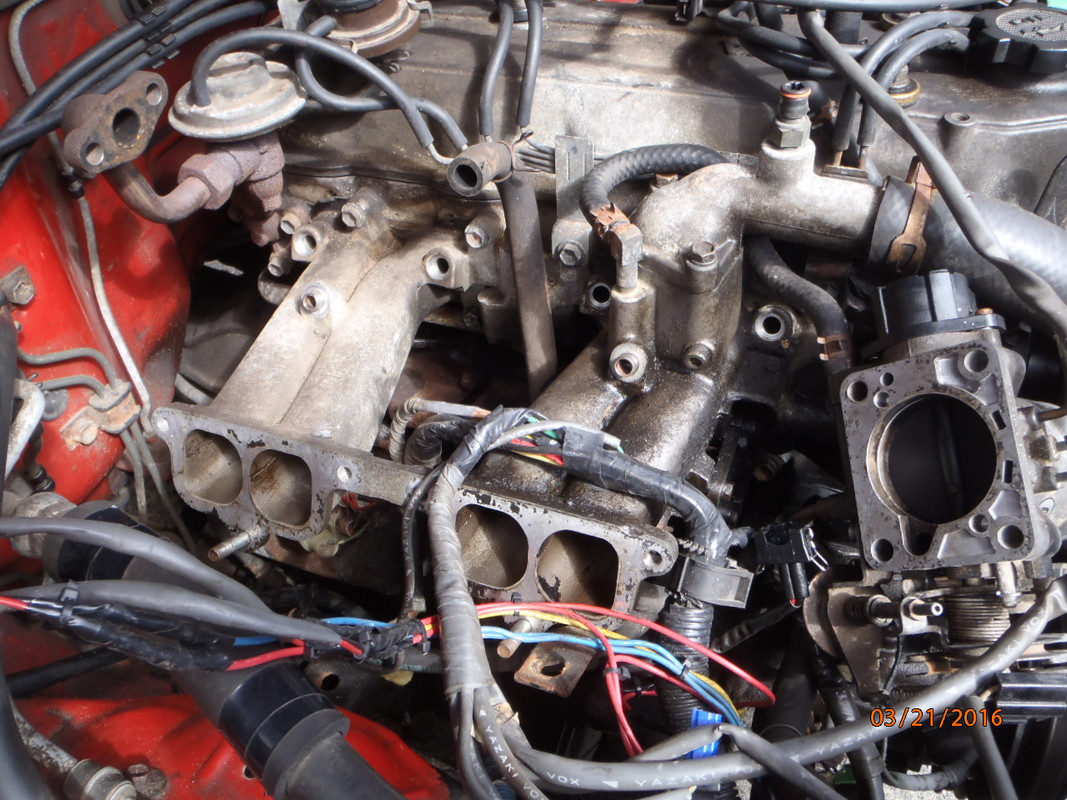
decided it was likely to be the injectors. drove it one more day (had to), and on my ride home, the engine ran horribly, bucking and rough. clearly not running properly, as if on one or two cylinders instead of four.

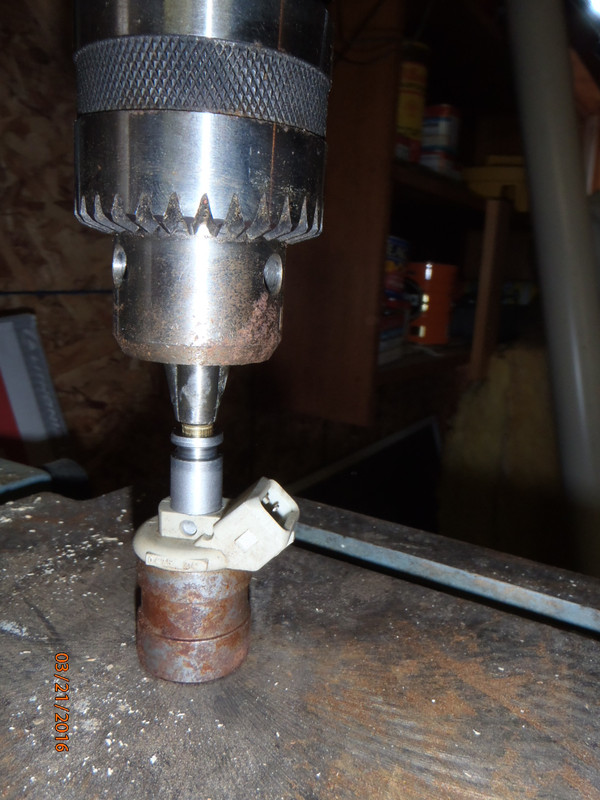
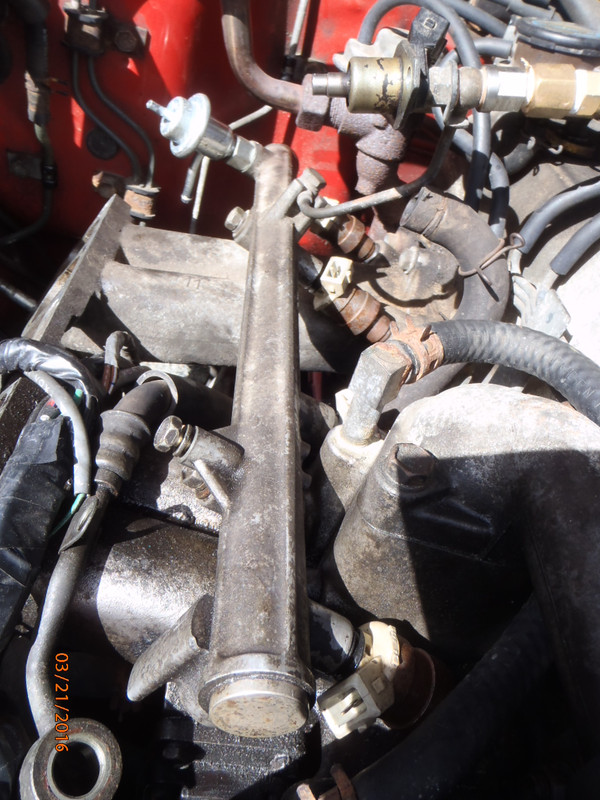
pulled off the plenum and everything else, removed the fuel rail with the injectors, and sent the injectors off to WitchHunter Performance in WA. I put them in the mail on wednesday, and just got them back today (very quick turnaround - a week plus a day). the report from WHP indicated that all four injectors were not functioning, all leaked, and all had the same resistance readings. no spray patterns, no static or pulsed flow (since none were working).

after cleaning/servicing, all four passed the leak test, have good spray pattern, and have flow rates within 3% of each other. all new gaskets, o-rings, tips, and they are clean.

i've got most of it reinstalled and ready to go, just need to tighten the spark plugs and also check for fuel leaks with the pump on.


i'm amazed it ran at all with the injectors as bad as they were.

update: got the plugs reinstalled, and used new copper gaskets for the fuel rail inlet/pulse damper (it was leaking after putting it back together - no leaks now).

fired up nicely, did not run horribly. ran as smoothly as it did for most of the summer and fall. overall, the replacement of the injectors was a relatively simple task, and wasn't too time-consuming. methodical removal and then installation, making sure wires and vacuum lines are routed correctly and plugged in is key. no leftover parts. i missed a single vacuum line connection when starting it up the first time (from the 4wd VSV to the plenum). i purchased a second set of copper washers for the fuel inlet/damper, in case i have to pull it again. a little bit of driving needed to see if any noticeable difference in "performance". up until the recent hard start, and very last bucking, it had been running very smoothly.
 
Last edited:
truck has been having difficulty running, especially accelerating, for the last few months (right after i insalled the cleaned injectors). cold or hot made no difference, and sometimes i could drive for a day or two without any "hesitation/bogging".

the idle was never affected, and it never surged or jumped rpms. just had spotty power loss/lugging when trying to accelerate. checked for vacuum leaks, but didn't find any. my work has been very busy for the last 2 years, so i haven't had a lot of time to chase this issue down, especially since i could drive it.

cut to today, and i had a chance to do some more troubleshooting. tested the TPS, and measuring resistance between Vta and E2 while slowly moving the throttle plate through its range, found a dead spot about halfway. everything else tested in spec. same problem that i had when i replaced the tps just over a year ago, although the symptoms weren't the same. pretty piss-poor design as far as i'm concerned - shouldn't fail after such a short period (i don't abuse my rig). even worse is how the tps was engineered to attach to the intake. shows the arrogance of the toyota designers, who clearly felt that the TPS would not fail regularly, otherwise, the attachment screws (which i replaced with allen head bolts) wouldn't be impossible to remove without pulling the throttle body. i'd love to baseball-bat the designer.

guess i'll need to order another TPS. maybe i'll get more than 15 months out of the next one.
 
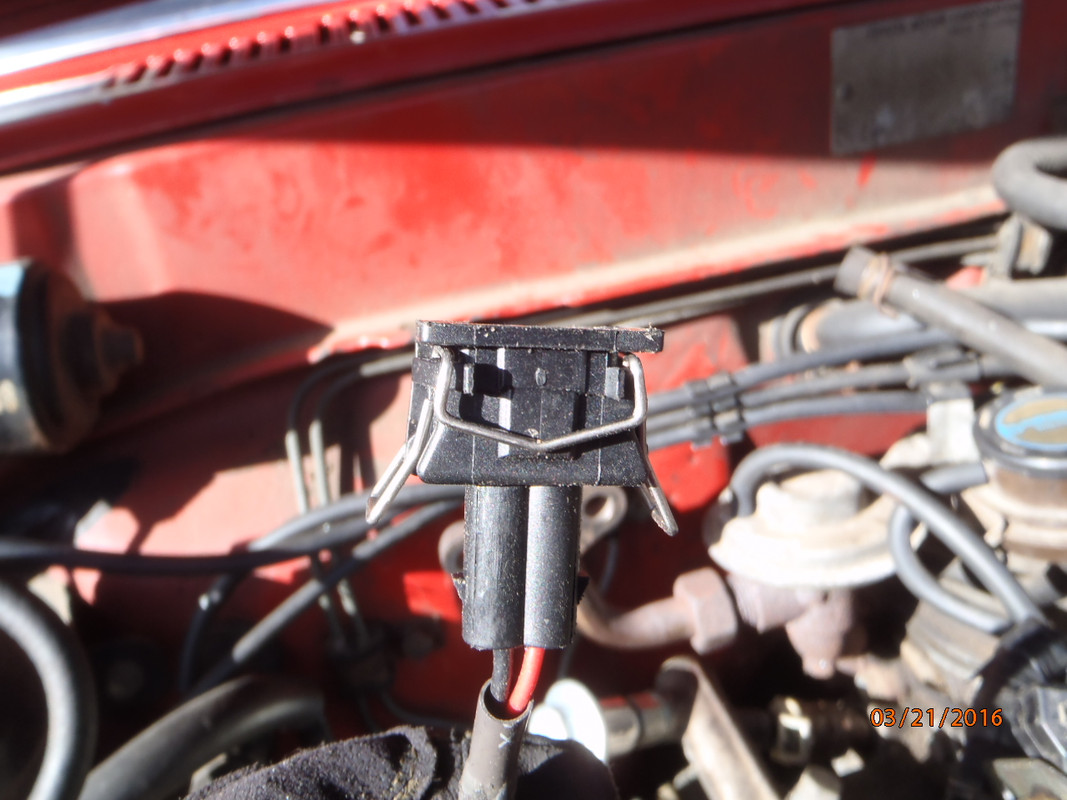
so much for the injectors. after testing, confirmed that #2 injector isn't firing. wiring tested fine, and just to check, i switched the #2 and #3 connectors (since the injectors are batch fired). #2 continues to not fire, while #3 fires fine. tried light tapping on #2 to see if i could get it to fire, but so far no luck with that.

i assume it is just leaking out the pintle, rather than blocked, since the exhaust is clearly extremely rich (after letting it run for a moderate time, there's raw gas weeping out of the exhaust at the head pipe (just after the O2 sensor). the flange is wet with fuel.

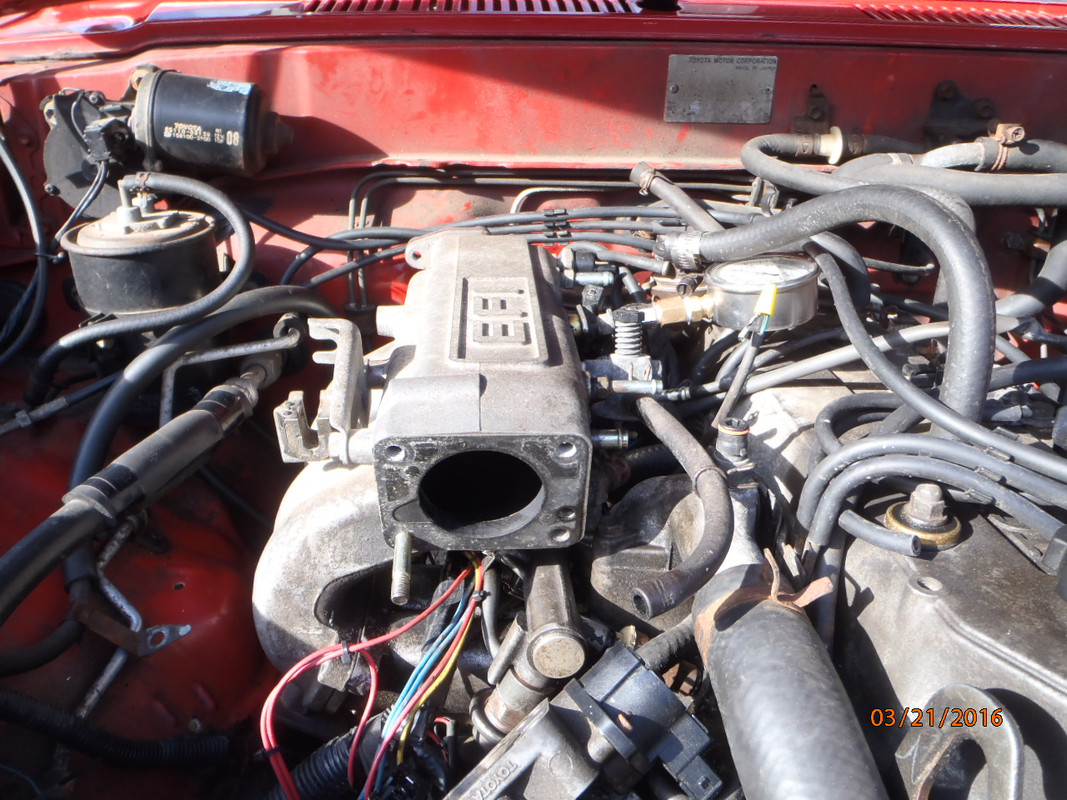
at least toyota designed it so that i'll have to remove the TB and plenum to even get at the injectors (again). i'm half-tempted to convert it to carburetion.

P3210079.jpg


P3210092.jpg


P3210094.jpg


P3210097.jpg


P3210099.jpg


edit: looks like i should have sent the injectors to fuelinjectorconnection, rather than witchhunter. FIC guarantees the injector for a year, while WHP offers no guarantee. my fault for not looking a little deeper when sending them out back in december '14 (four months ago).
 
Last edited:
been a while since i updated.

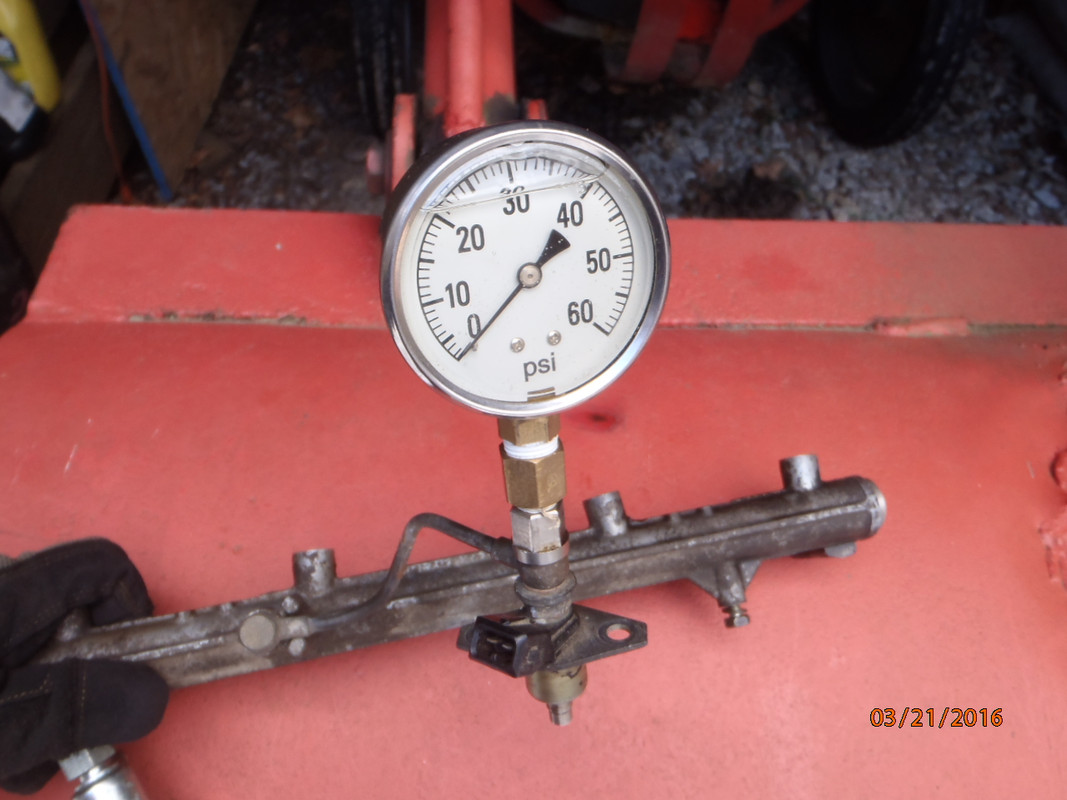
more or less resolved the fuel system issues. installed a fuel pressure gauge mounted on the csi hardline union bolt. helped in diagnosing stuff, like failing fuel pumps. eventually replaced the fuel pump eight or nine times (thread details at yotatech https://www.yotatech.com/f116/hard-...vved-hot-cold-284620/index3.html#post52275581 ). cleaned the fuel rail, had the injectors cleaned again, blew air through the lines, etc, with the result that the 4r has been running well for almost a year.

P3210087.jpg


P3210085.jpg


took it on a cross country trip to the southwest and back, 30 days on the road, 8500 miles, one headlight was the only casualty. water pump failed in my garage the morning after i returned, so i replaced it with a new aisin i had on hand.

wally
 
Last edited:
in order to make the trip, i wanted to do a few things.

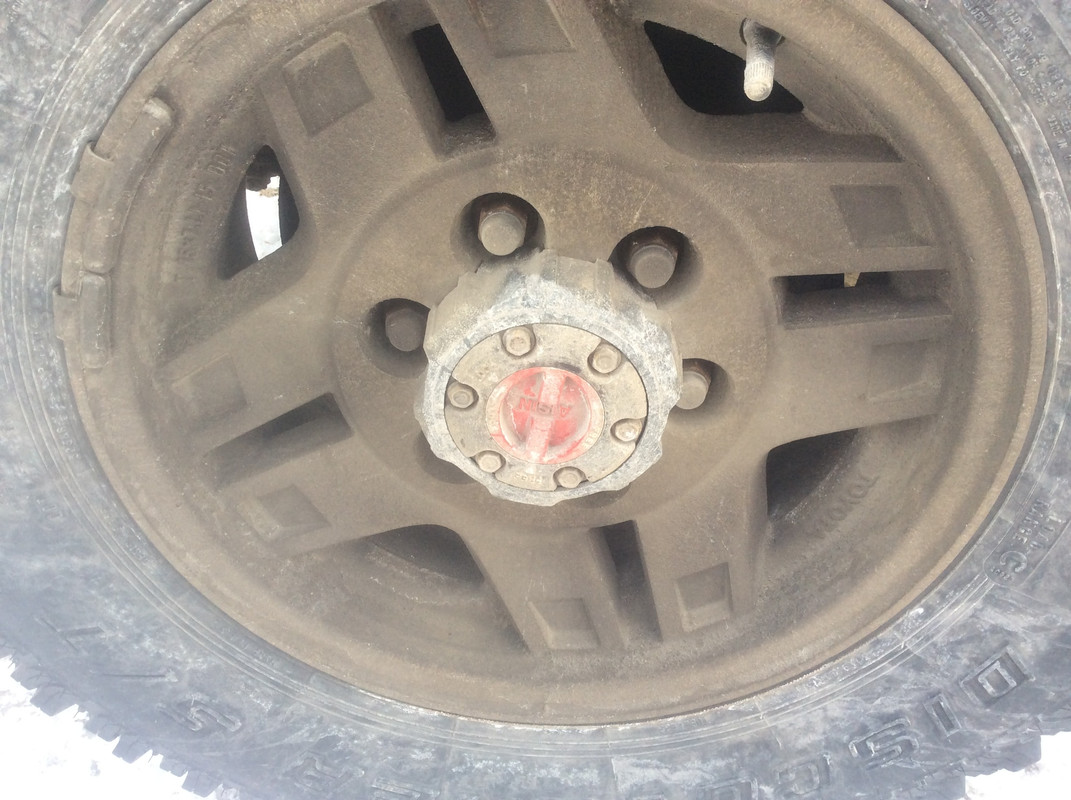
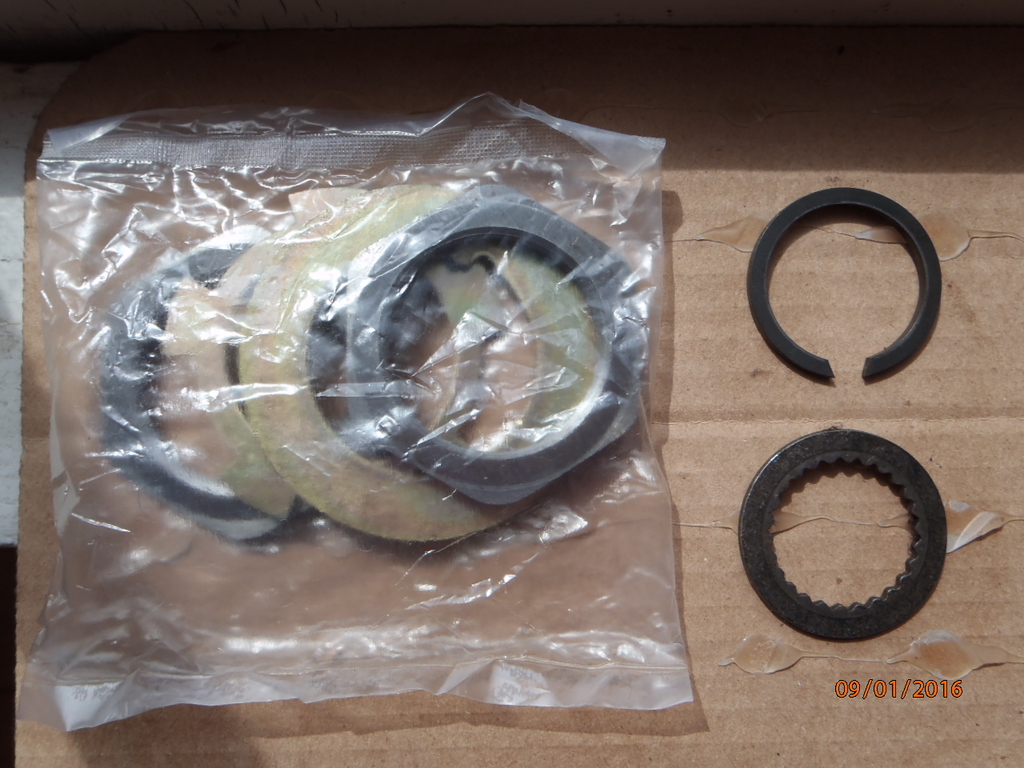
i got rid of the auto locking hubs, and replaced them with some aisin manual hubs that i rebuilt. while doing this, i took the time to pull the wheel bearings, clean them, and repack with fresh grease. swapping the hubs was simple; i purchased a spindle nut kit for each side that included two 54mm nuts and the washer to lock them, along with a 54mm nut socket.

IMG-0404.jpg


IMG-0405.jpg


P9010001.jpg


i reused the snap ring that locates the outer stub, as well as the "gold bolt" on the end.

other than having to tighten the nuts a few times, once during the trip, this was a good upgrade.
 
Last edited:
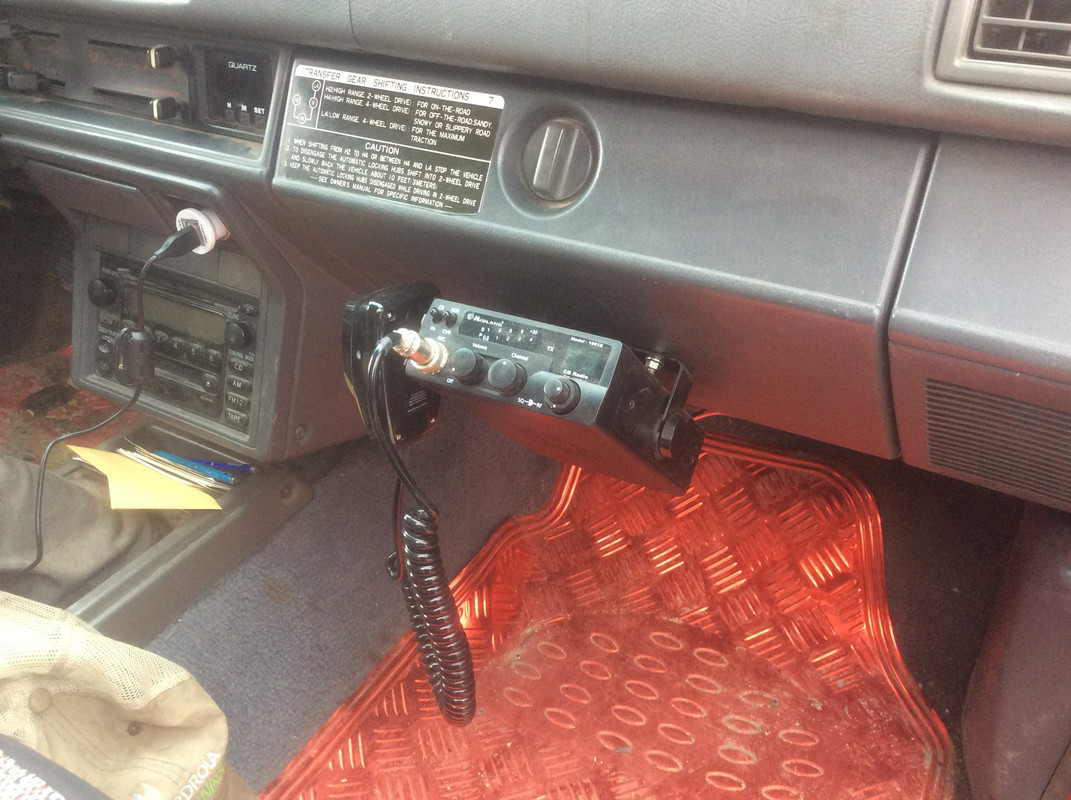
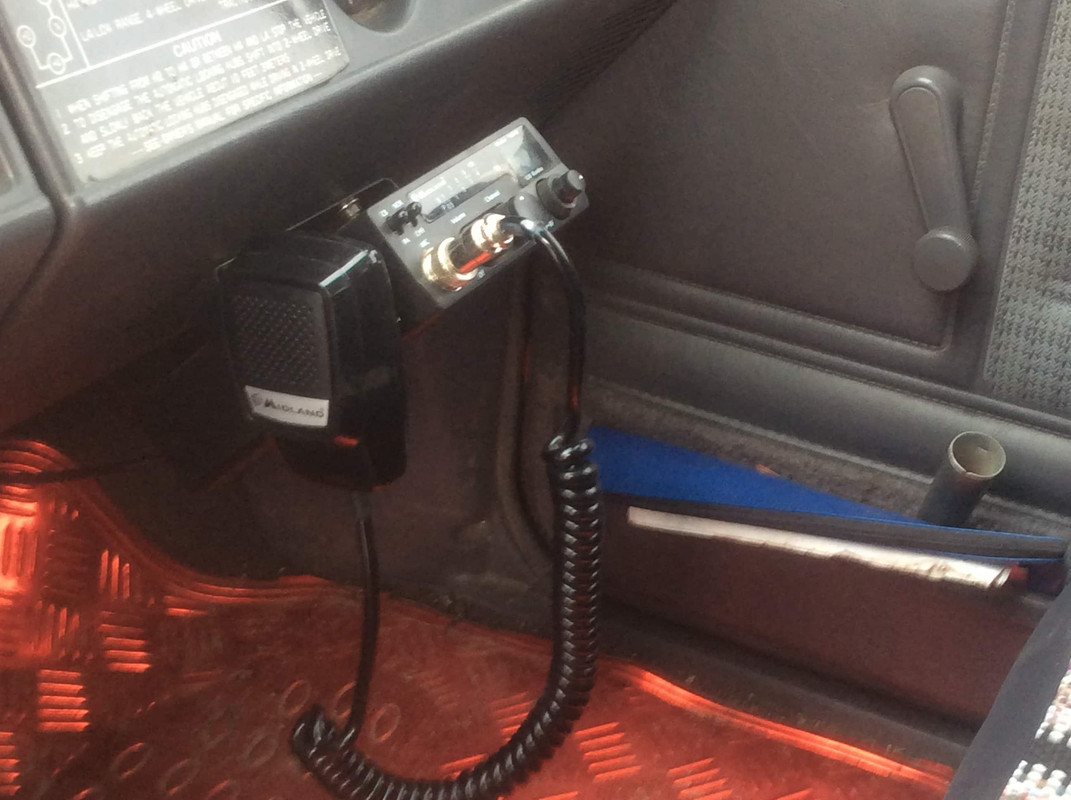
four of us made the trip, in two vehicles. in order to be able to talk to the other truck, i added a cb radio. mounted it to the glove box door. this location works well. the antennae is a small magnet mounted version, on top of the cab.

IMG-0398.jpg


IMG-0399.jpg


IMG-0403.jpg
 
Last edited:
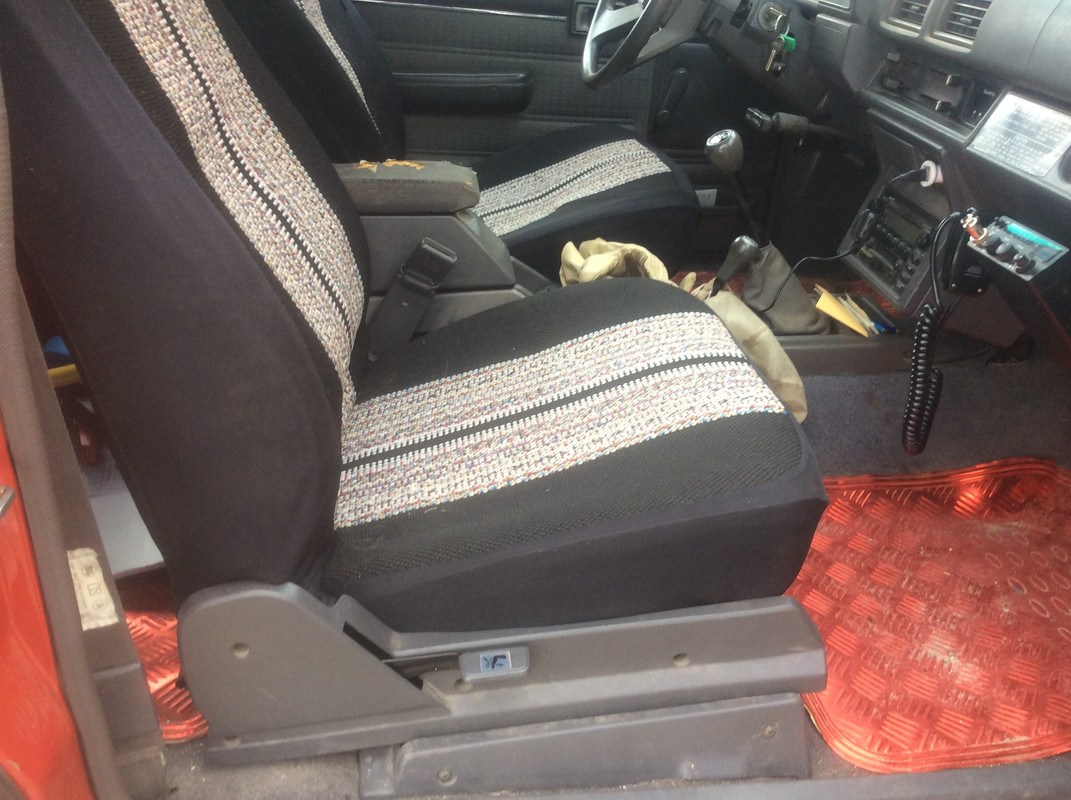
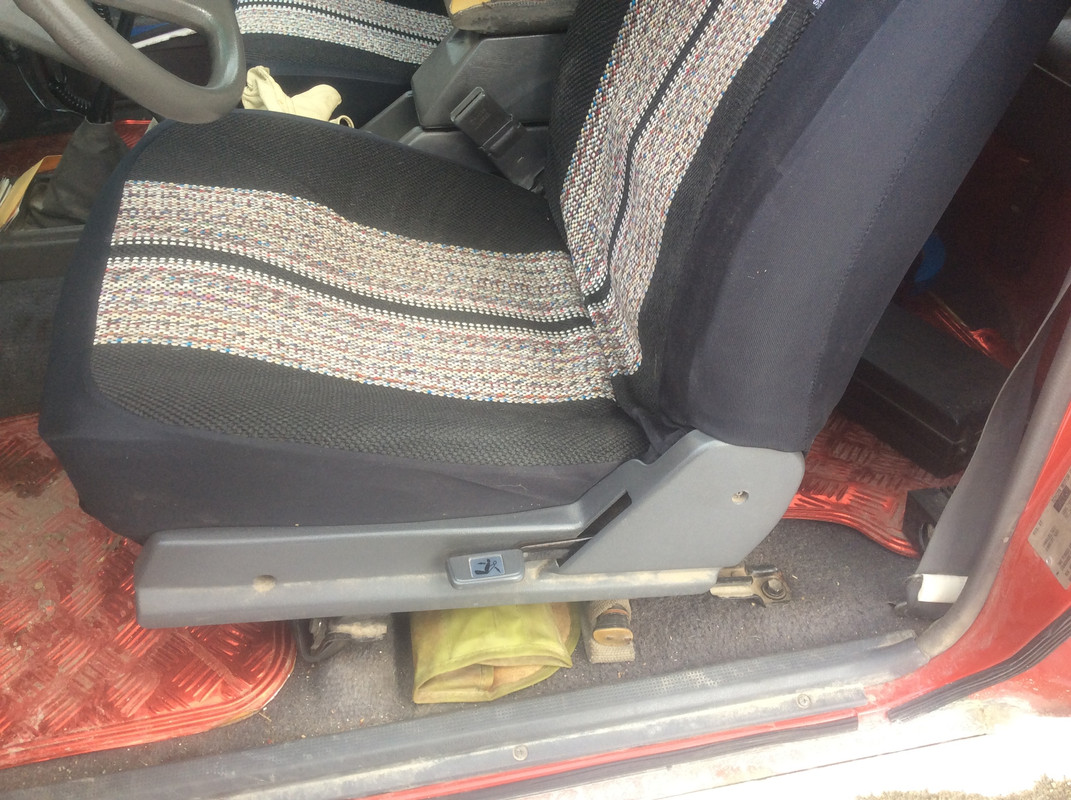
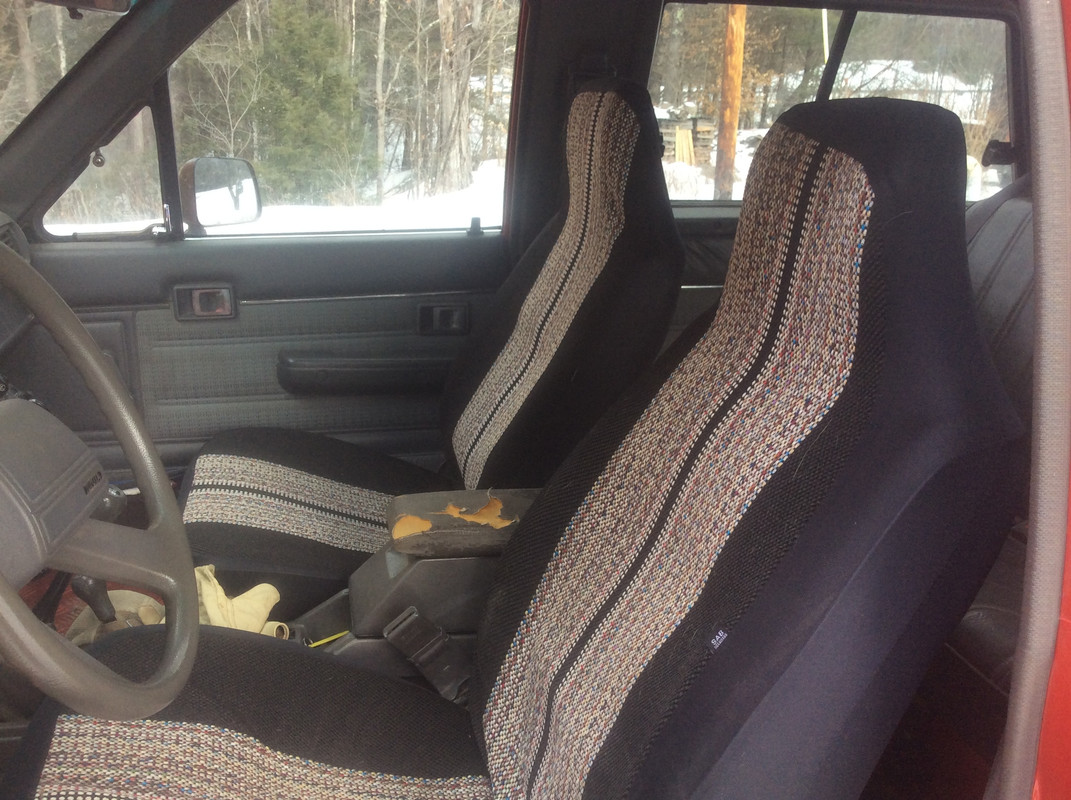
added some generic bucket seat covers during the trip. the tie downs and clips didn't work great, and the cover kept sliding up or off.

decided to try a better way. i pulled both front seats, and removed the lower plastic trim. i then fit the covers over the cushions, and pulled them tight. i used an awl to punch holes in the underside margins of the covers, and used zip ties to secure the cover to the seat cushion framing. the covers now are tight, and don't bunch or slide. looks better than the worn original seats.

IMG-0400.jpg


IMG-0401.jpg


IMG-0402.jpg
 
Last edited:
Nice fit!
I wanna have firmer seats that lets me have a more erect, alert posture. Toyota seats make one slouch.
So... I'm watching out for 1987-1990 Honda Prelude seats (Recaro style) at pick a parts.
 
been toodling along with the 4r. fuel pump has been working for at least 18 months.

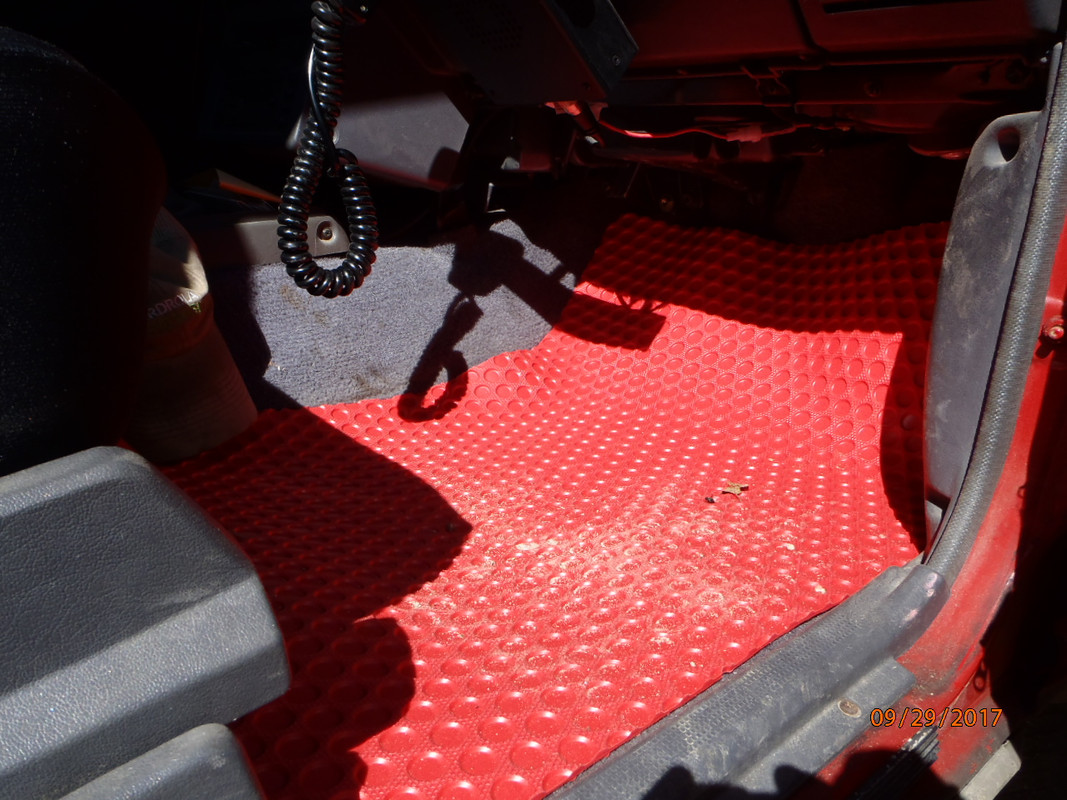
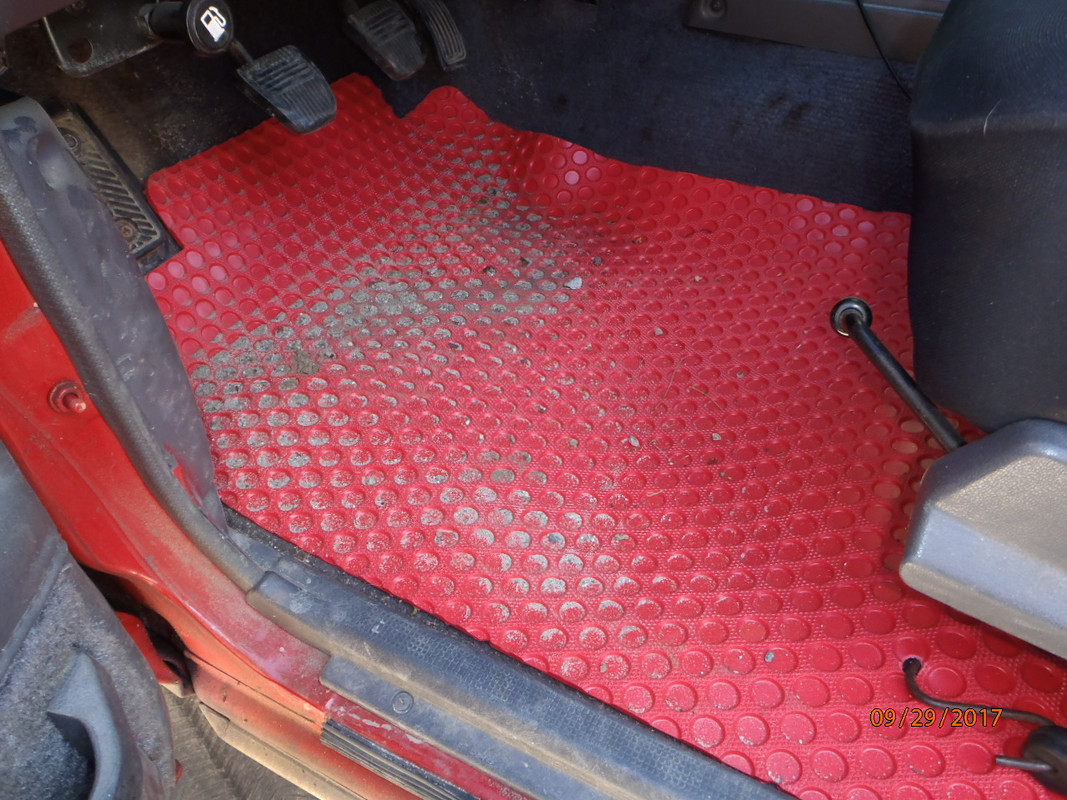
purchased some "lloyd mats rubbertite" custom fit front floormats. in keeping with the shiny red cheapo floormats that came with the 4r, i went with the closest red offered.

the mats seem to be pretty thick and quality US-made. the fit is really good. i chose to use a bungee wrapped around the seat mounts to hold the driver side mat in place. the mats do come with plastic anchors which "screw" into the existing carpet, but i chose not to put a hole in the carpets. i used the bungee on the old floormat, and it worked well to keep the mat firmly anchored. so far, so good with the lloyd mat, too.


old mats:

IMG-0400.jpg


new mats:

P9290001.jpg

P9290002.jpg


one thing that popped up recently - my northern tool glycerin-filled pressure gauge (for monitoring fuel pressure) has developed a leak. still reads pressure, but some glycerin is weeping from the glass/body interface. not sure if there is a solution to remedy this, but i'll have to keep an eye on it.
 
Last edited:
i attempted to fix the leak on the fuel pressure gauge, but i ended up pushing too hard on the lens and popped it into the body of the gauge. doesn't hold fluid any more..
so i ordered two new fp gauges (one for my '89 camry), and will install when they arrive.

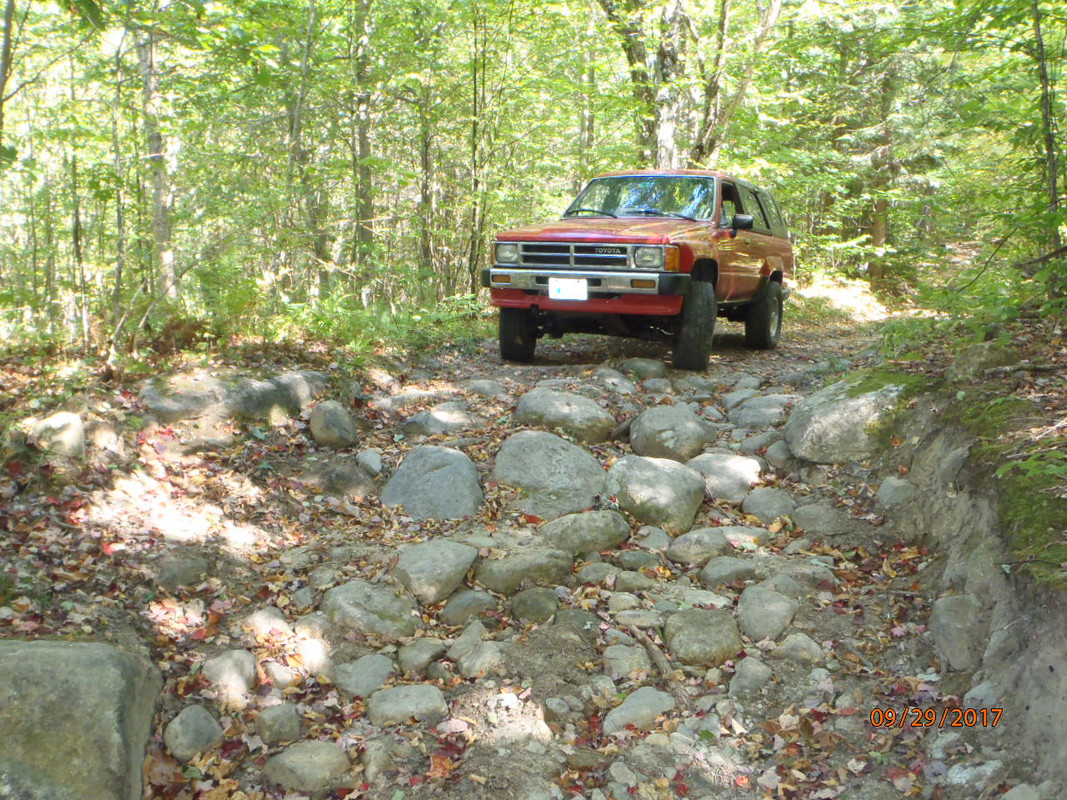
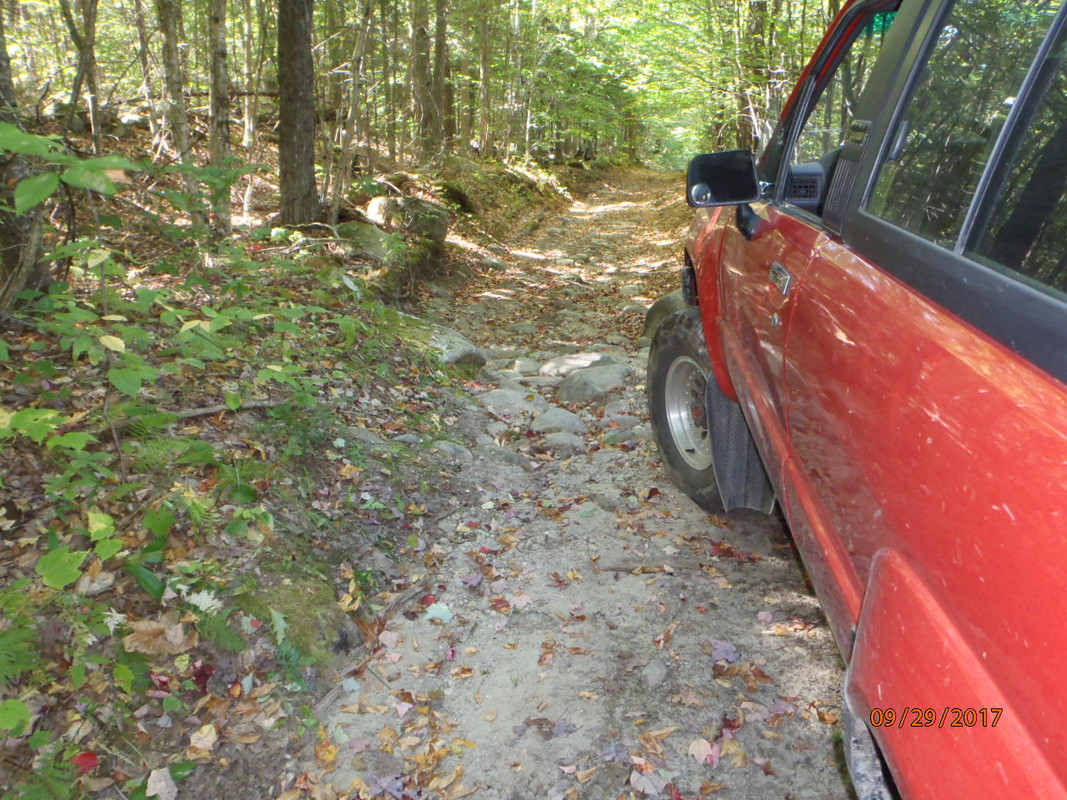
went for a little toot on some old roads a few weeks ago, work-related. a nice fall day in new england.
P9290003.jpg


P9290006.jpg


P9290007.jpg
 
Last edited:
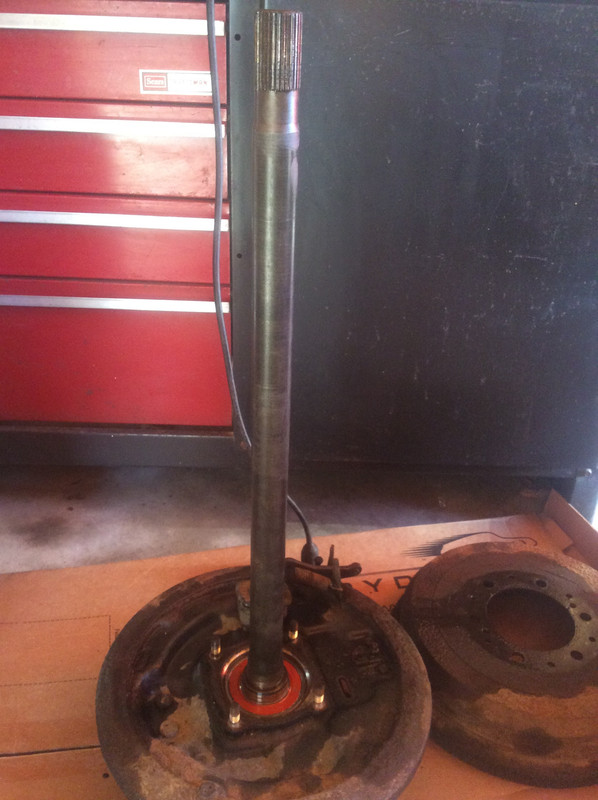
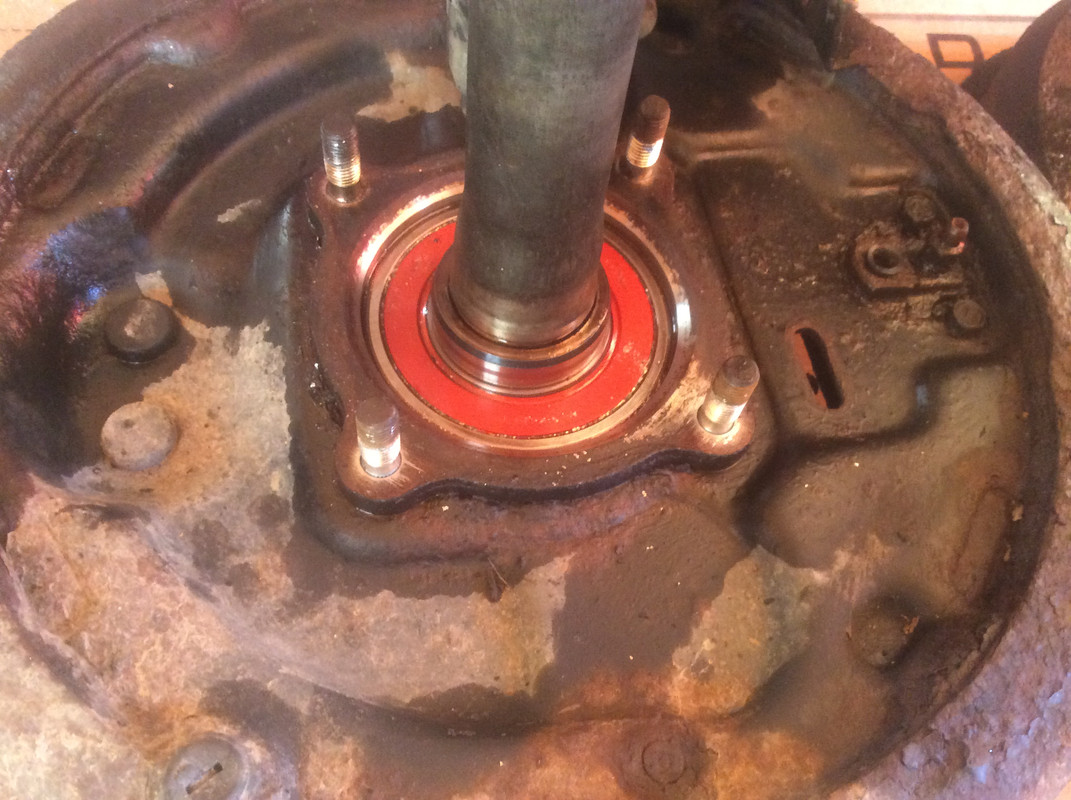
back after columbus day weekend, after a day of easy 4-wheeling, i got home and noticed fluid coming from the rear brake drum/wheel area. it was all over the tire, and had been spun onto the inner rear wheel wells. smell alone told me it was gear oil, so likely a rear bearing/seal failure.

ordered the parts, but then didn't have time to deal with it for over a month (which was fine, as i could use my '89 camry, and get much better fuel mpg). anyway, as winter approached, i wanted to get the runner ready. so, pulled the rear wheel and brake drum, then removed the axle bolts, parking brake cable, and disconnected the brake line (and capped it). pulled the axle easily.
IMG-0894.jpg

IMG-0893.jpg


took the assembly to a friend with a press, and removed the old collar and bearing, and installed the new parts. brought the axle home, and took a half day to install it. (no pics, as it was cold outside, and a bit of a messy job anyway). installation and reattachment of everything went OK. brakes are good, parking brake works.
(still no issues a month later)
 
Last edited:
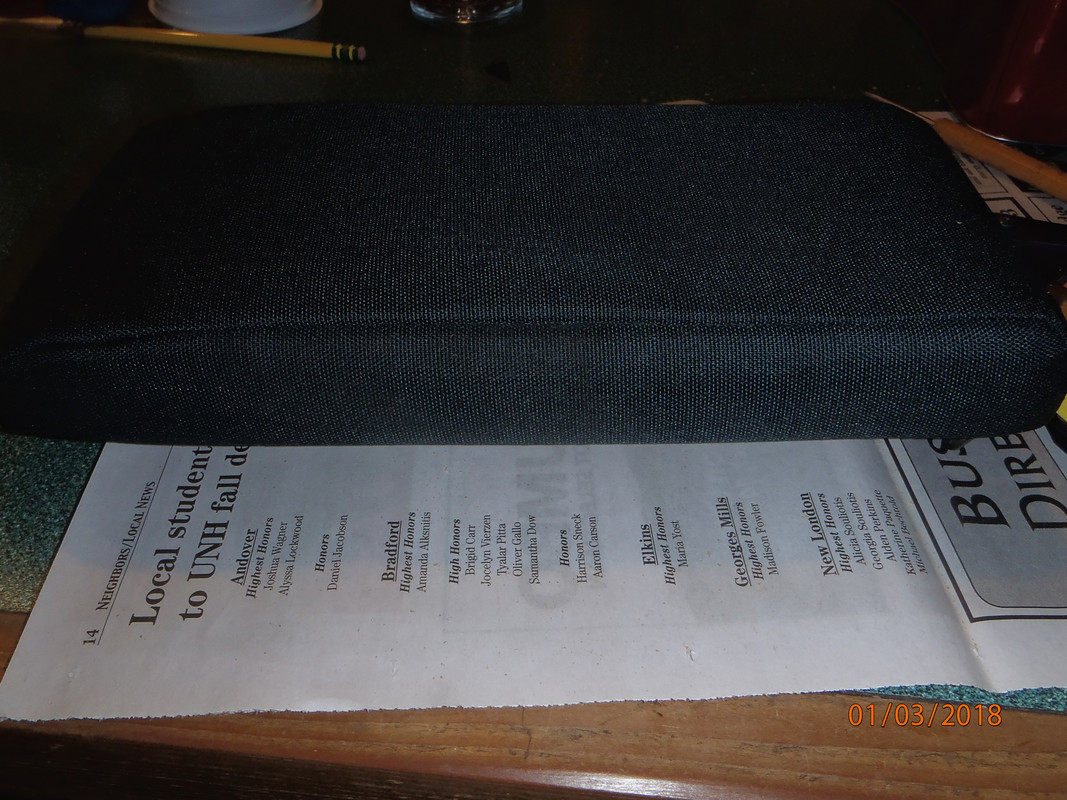
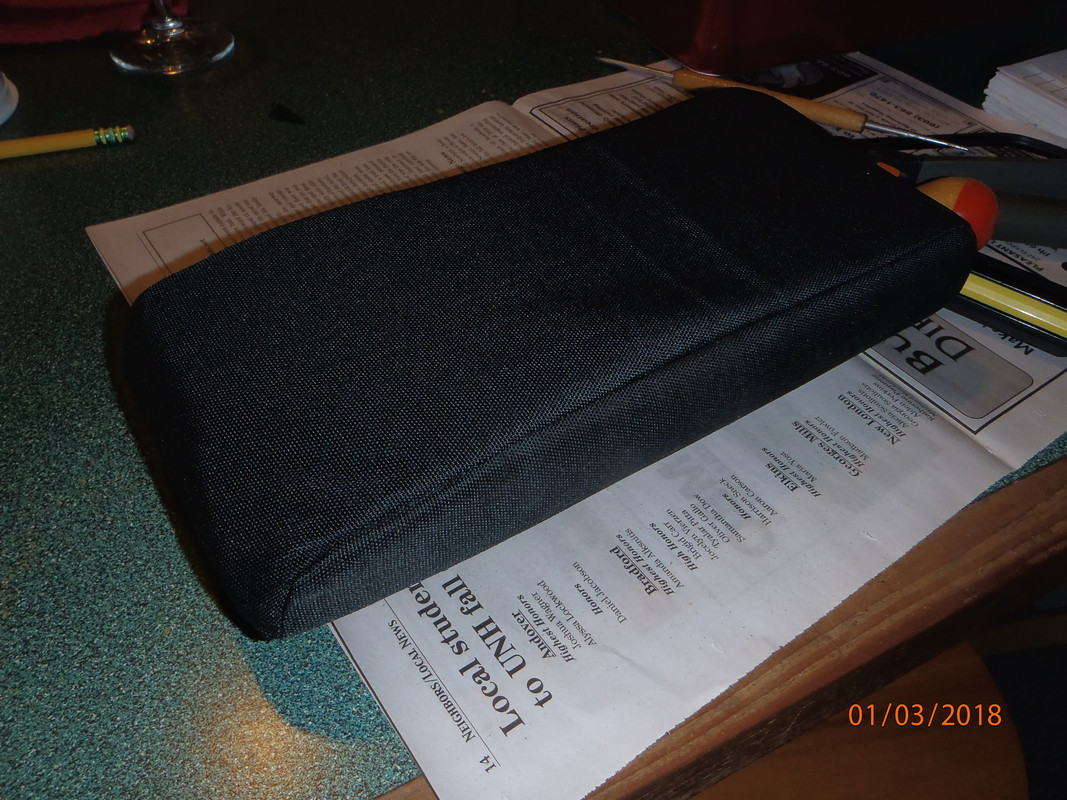
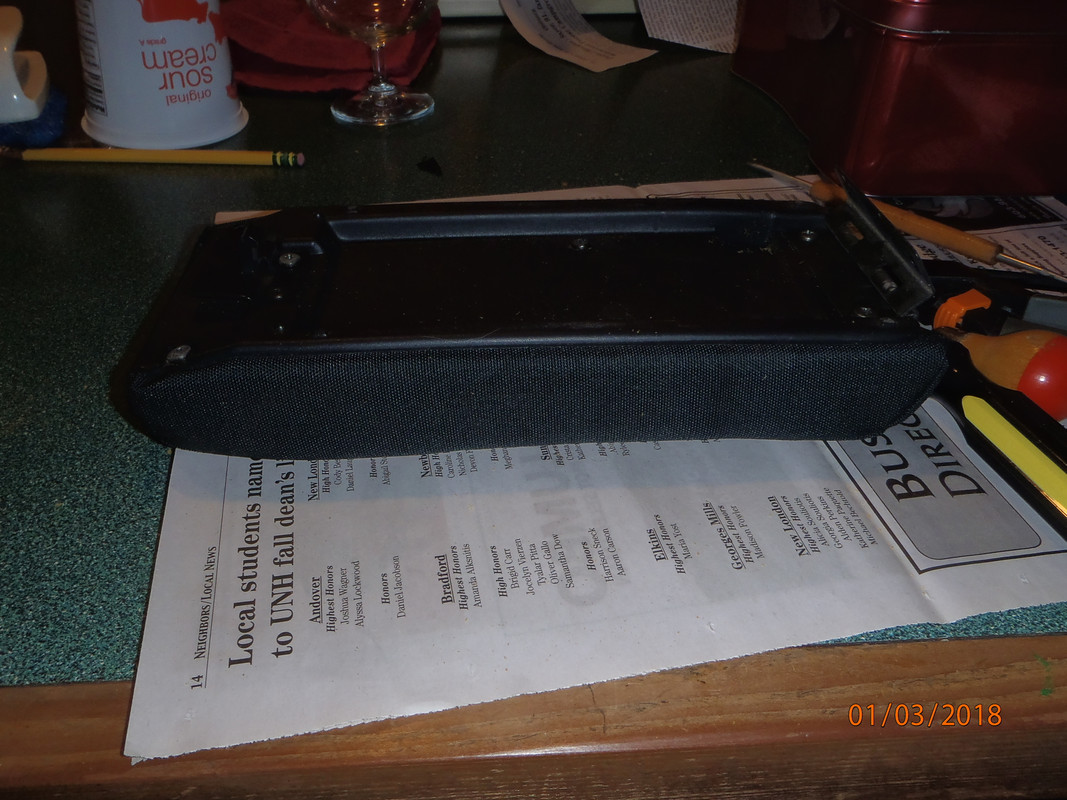
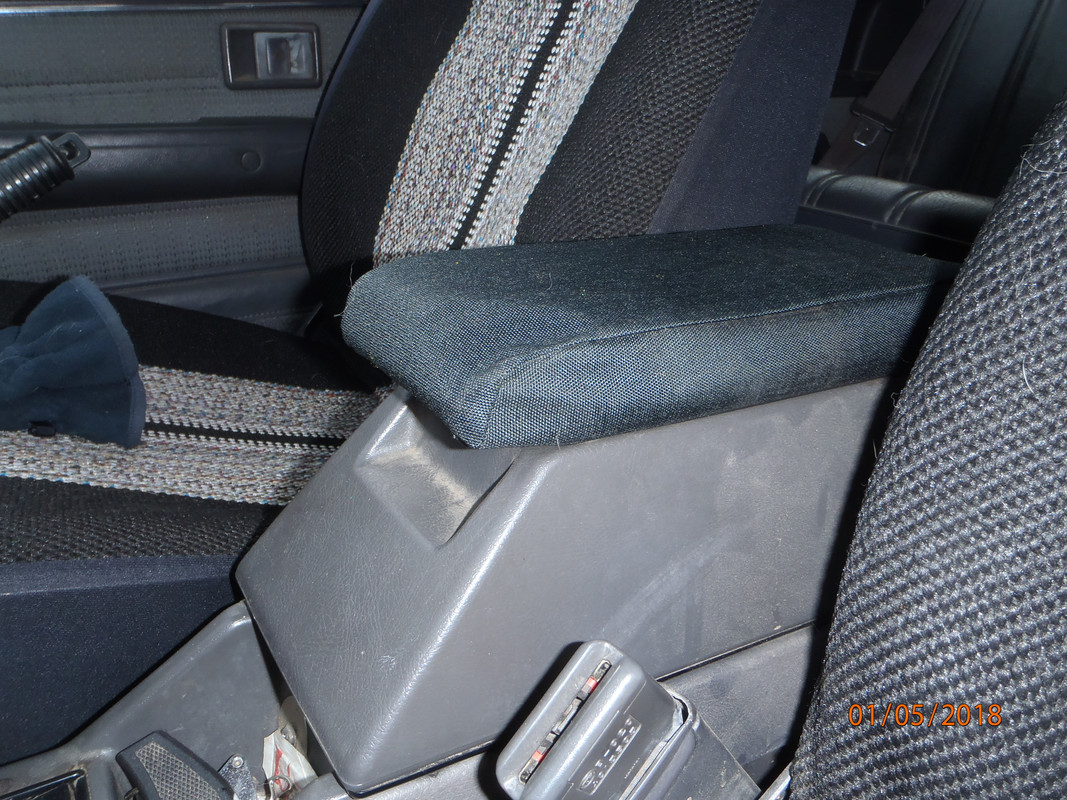
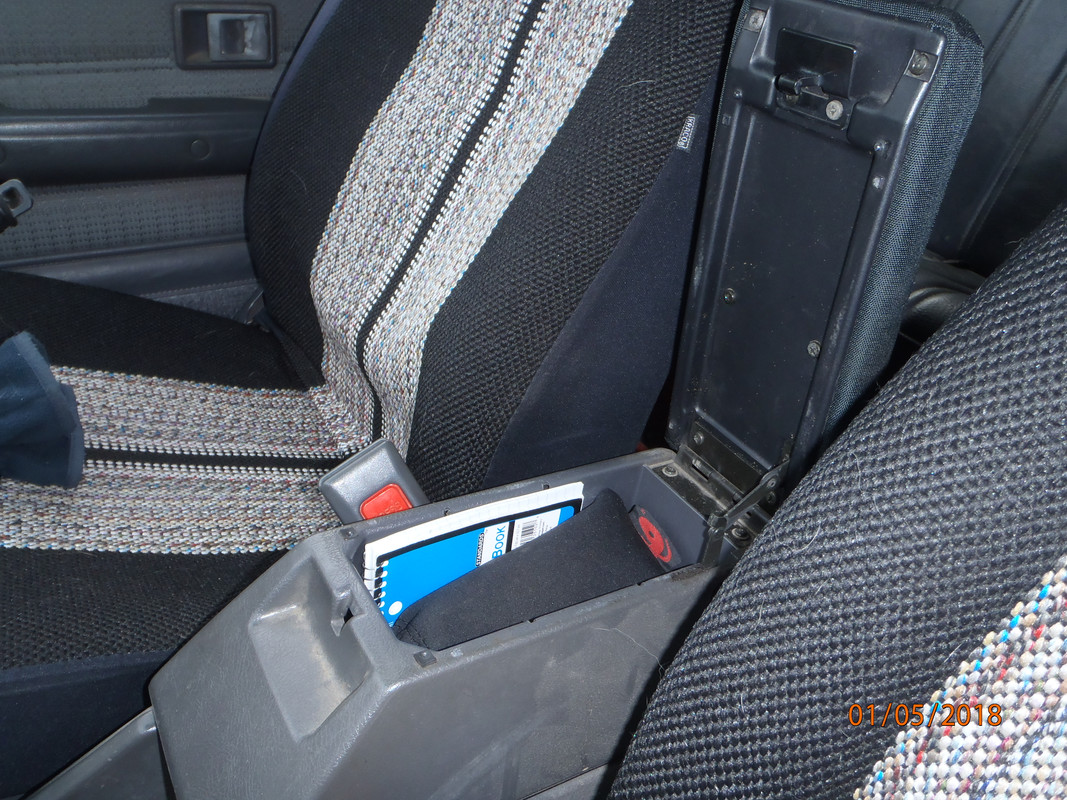
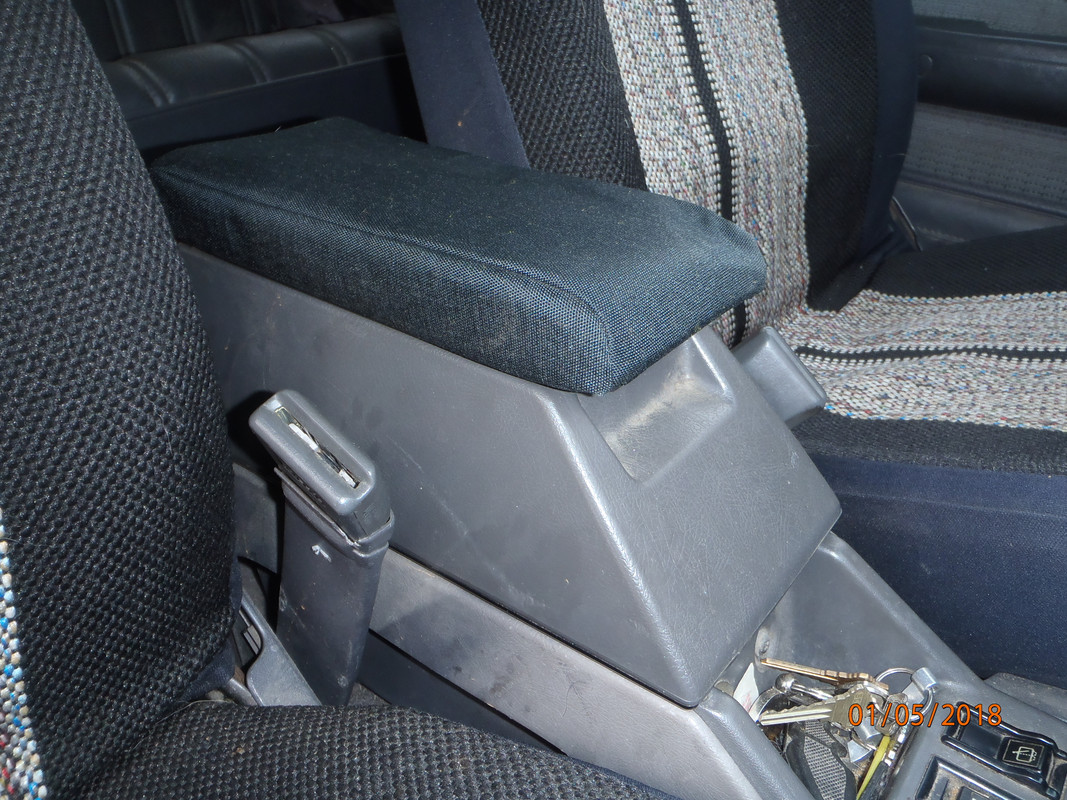
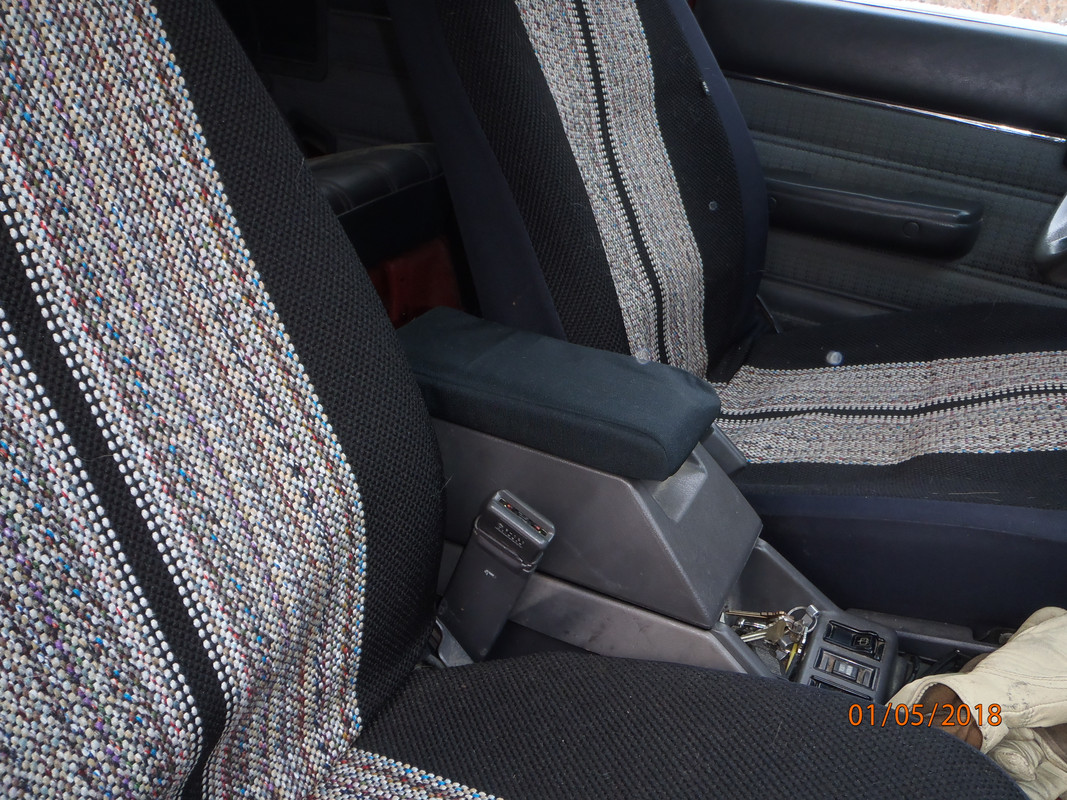
got bored the other day, and it was bitter cold outside, so i made a cover for the deteriorating center armrest. used some black cordura nylon i've had kicking around for over 20 years (some scraps from a former job).

i pulled the factory cover off of the armrest, and then traced the different parts onto newsprint. once i felt like the patterns were good, i then used them to cut the new fabric. used the wife's old singer, and stitched the new cover together. i then installed the old cover back over the foam pad, and followed that by putting my new cover right over those. worked pretty slick.

P1030481.jpg

P1030482.jpg

P1030483.jpg


installed in the 4runner:
P1050484.jpg

P1050485.jpg

P1050486.jpg

P1050487.jpg
 
Last edited:
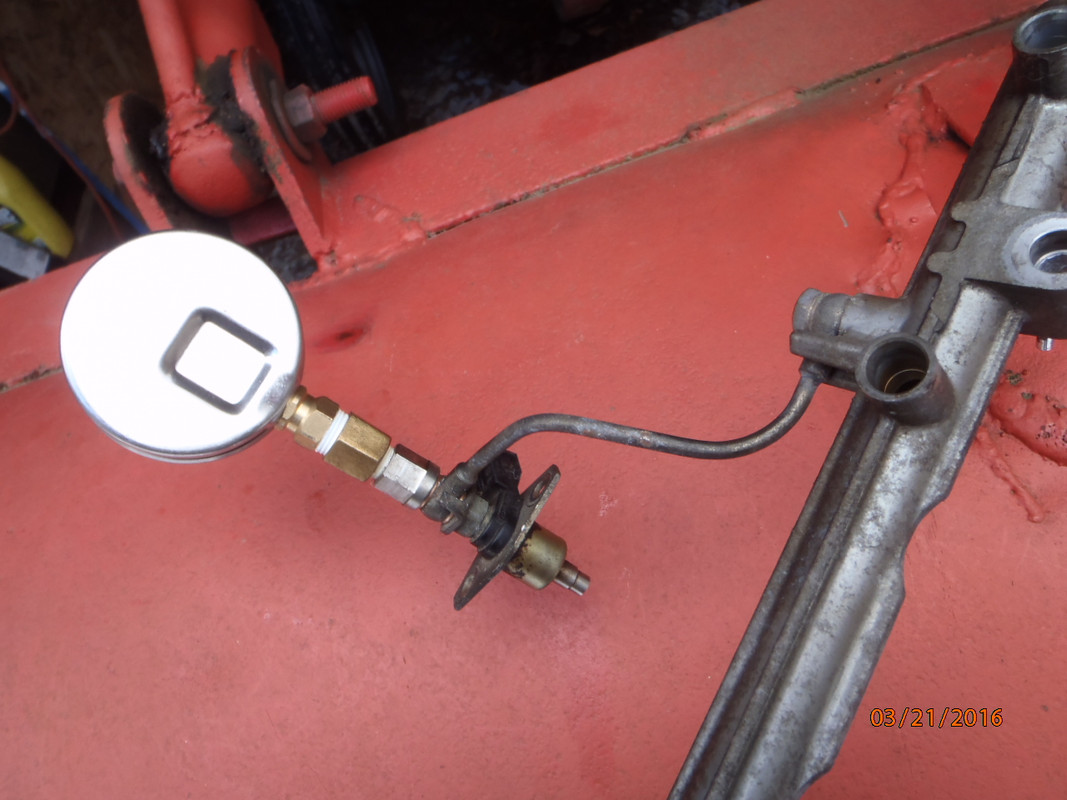
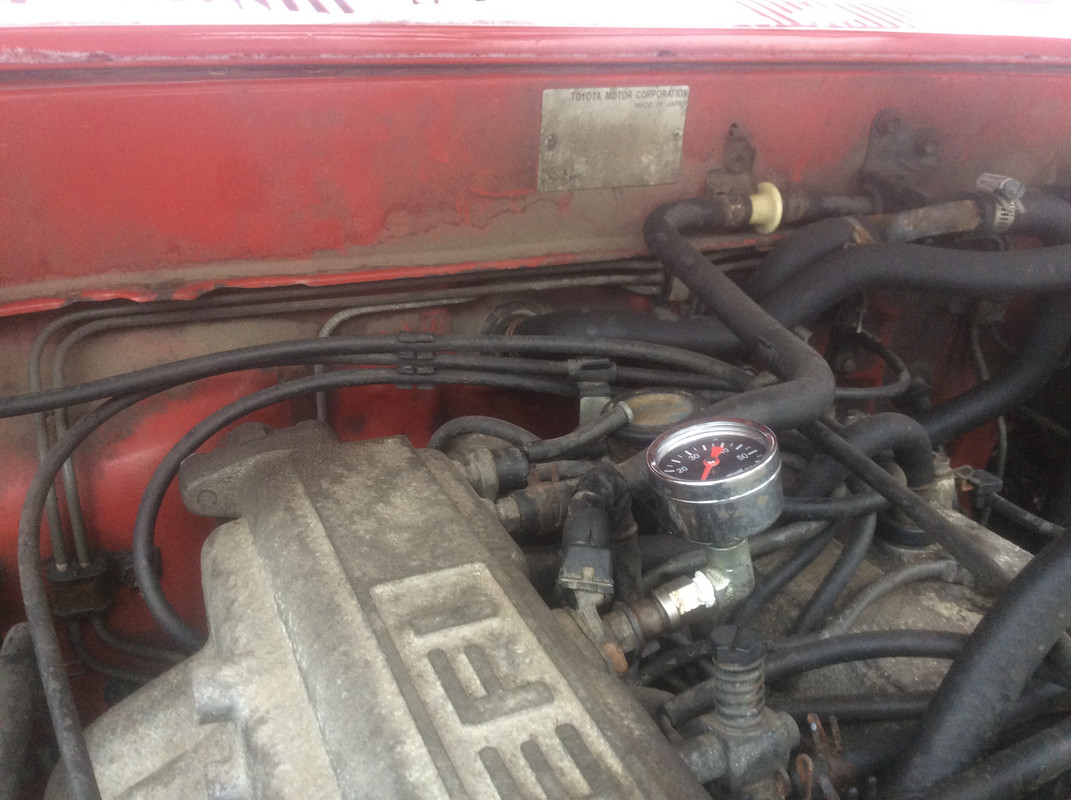
my northern tools glycerin-filled fuel pressure gauge started leaking glycerin a few months ago. in trying to fix the leak, i popped the lens in, and cannot fix it. so, i had to buy another gauge. i went with a smaller one, that is made in usa, and is liquid-filled.

received the order, and the gauge is not liquid-filled (thanks, amazon search filter). oh, well. i installed it about a month ago. thus, it has outlasted the LCE gauges i started with a few years ago.

IMG-0910.jpg
 
Last edited:

Members online

Forum statistics

Threads
278,307
Messages
3,554,056
Members
248,016
Latest member
Advally Service

Trending content

Back
Top