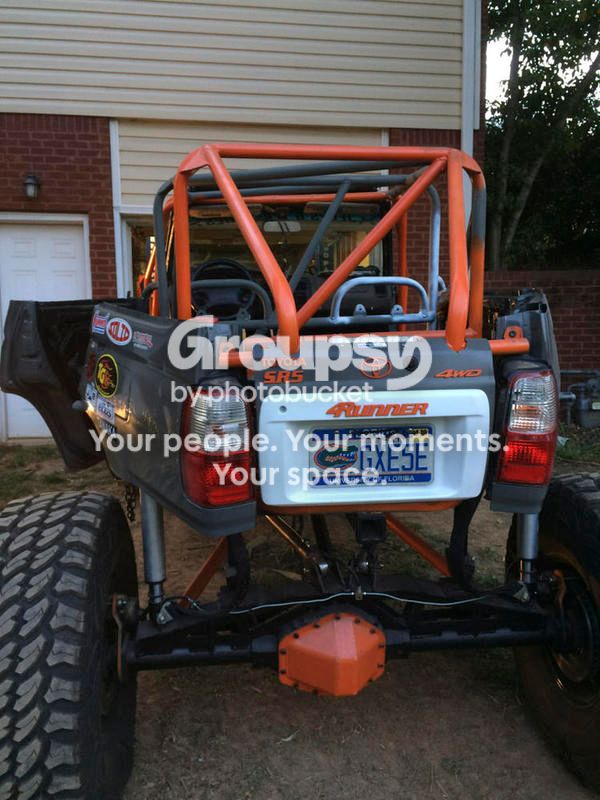
Extreme 3rd Gen Build! Insane!

How were you bleeding the rears? You need to have the key in the ignition turned to ON. Then just hold the brake pedal down and the fluid will pump it self out when you open the bleeder, there is no need to do the traditional up and down on the rear brakes. The front should bleed as normal, but I usually leave the key in the ignition at ON anyway.

This is only for 01-02 since they have TRAC/VSC, and 4 channel ABS. If you notice there isn't even a brake booster on the 01-02. It's all one electronic control unit thing. I don't know about swapping to a non-abs, you'd have to add a master cylinder at the very least. Not sure if I've ever seen anyone do it.

I disconnected all that shit and took the VSC / ABS ECUs out, so that wouldn't work anyway. I spliced the two front brake lines to also go to the rear in a criss-cross (old school way) and still no joy. Crap you're right, no booster! Grrrrr. I guess I'm going to have to hook all that shit back up and bleed the rears properly. After trail fest though.
 
I disconnected all that shit and took the VSC / ABS ECUs out, so that wouldn't work anyway. I spliced the two front brake lines to also go to the rear in a criss-cross (old school way) and still no joy. I'll replace the Master Cylinder with an older non-ABS one. It's like $45, so no biggy.
What about the brake booster? Unner said there isn't a regular one on the 01-02s...

Edit- I don't know what happened there, but I guess you edited your post when I quoted you or something lol
 
What about the brake booster? Unner said there isn't a regular one on the 01-02s...

Edit- I don't know what happened there, but I guess you edited your post when I quoted you or something lol

Yeah, I did, because I read his last post all the way only after I posted the last one. :Cry:

No booster, so traditional master cyl won't work. I HAVE to get this one to work correctly or replace the whole brake system with old school stuff. Booster and all. I guess I could just put my feet through the floorboards like the Flintstones. lol
 
Rare image of [MENTION=103068]NotKewl[/MENTION] doing his test run
 

Attachments

  • IMG_2610.JPG
    IMG_2610.JPG
    56 KB · Views: 454
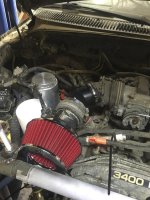
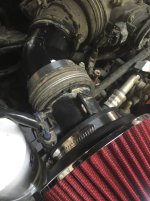
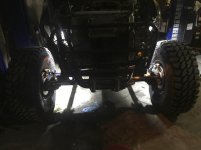
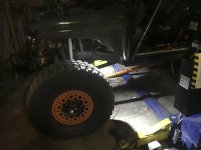
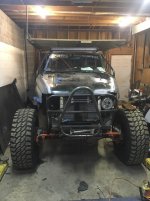
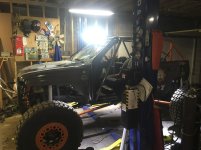
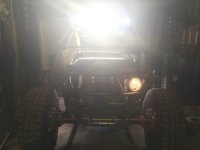
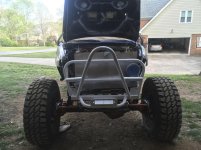
Finished ALL the finish welding today on what structure is in place. Built a custom made intake by cutting down the original rubber tubing, attaching it to some PVC pipe. I cut out the MAF sensor from the airbox and installed it inline with the intake. Works like a charm! Also managed to get the front rock lights installed and working! :rockon:


Final-Days-h-1.jpg

Final-Days-h-2.jpg

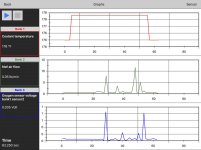
Ran the truck and tested all the sensors. Working great!
Final-Days-h-4.jpg

Final-Days-h-8.jpg

Final-Days-h-7.jpg
 

Attachments

  • Final-Days-h-1.jpg
    Final-Days-h-1.jpg
    123.8 KB · Views: 472
  • Final-Days-h-2.jpg
    Final-Days-h-2.jpg
    117.9 KB · Views: 470
  • Final-Days-h-4.jpg
    Final-Days-h-4.jpg
    84.9 KB · Views: 484
  • Final-Days-h-8.jpg
    Final-Days-h-8.jpg
    75.5 KB · Views: 464
  • Final-Days-h-7.jpg
    Final-Days-h-7.jpg
    78.6 KB · Views: 468
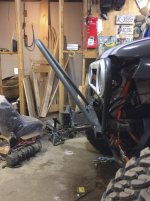
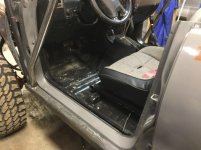
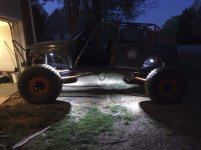
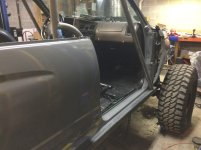
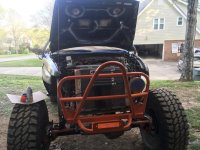
Started building stinger, cleaned out interior and sprayed in some bed liner for durability. Tested rock lights outside, and gave it a much-needed front-end alignment.

Final-Days-aa-5.jpg

Final-Days-aa-2.jpg

Final-Days-aa-1.jpg

Final-Days-aa-3.jpg
 

Attachments

  • Final-Days-aa-5.jpg
    Final-Days-aa-5.jpg
    115.9 KB · Views: 442
  • Final-Days-aa-1.jpg
    Final-Days-aa-1.jpg
    110.4 KB · Views: 454
  • Final-Days-aa-2.jpg
    Final-Days-aa-2.jpg
    105.8 KB · Views: 451
  • Final-Days-aa-3.jpg
    Final-Days-aa-3.jpg
    94.6 KB · Views: 457
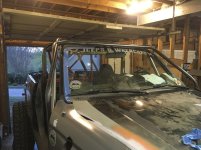
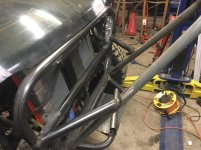
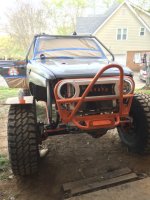
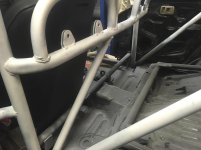
Didn't have a whole lot of time today, but I did get a few things done. Finished the stinger, added more to the cage including the light bar mount, wired the light bar up, and prepped for more paint.

Final-Days-ab-2.jpg

Final-Days-ab-3.jpg

Final-Days-ab-4.jpg

Final-Days-ab-5.jpg

Final-Days-ab-6.jpg

Final-Days-ab-8.jpg
 

Attachments

  • Final-Days-ab-2.jpg
    Final-Days-ab-2.jpg
    128.2 KB · Views: 425
  • Final-Days-ab-3.jpg
    Final-Days-ab-3.jpg
    134.7 KB · Views: 422
  • Final-Days-ab-4.jpg
    Final-Days-ab-4.jpg
    116.4 KB · Views: 411
  • Final-Days-ab-5.jpg
    Final-Days-ab-5.jpg
    115 KB · Views: 423
  • Final-Days-ab-6.jpg
    Final-Days-ab-6.jpg
    107.5 KB · Views: 421
  • Final-Days-ab-8.jpg
    Final-Days-ab-8.jpg
    113.6 KB · Views: 424
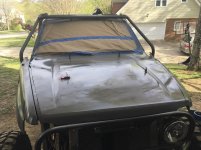
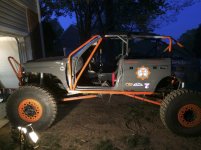
Since I'm basically ready for trail fest, minus the seats and harnesses (that's coming up this week) and ahead of schedule, I decided that after work today I was going to do nothing but PAINT! Yeah, yeah, I know, the hood looks like crap! well, that's because I'm not done with any of the body work. The fenders are screwed on with sheet metal screws, the sheet metal out back hasn't been finished either. And the hood still has holes and gaps in it. That will come after trail fest because I just don't have time to do it. I still painted everything because it looks a lot nicer and I'm anal about having consistency. I'll finish all the body work shaping and REAL paint after trail fest. For now, rattle cans will do nicely. It's a trailered trail rig, so perfection is not really an option seeing as it will eventually end up on its lid at some point. :naughty:

Hood all painted. Always etch the raw metal first!
A-Paint-1.jpg

White primer. Makes the Orange top coat show up better and without as many coats.
A-Paint-2.jpg

Then add paint!
A-Paint-3.jpg

A-Paint-4.jpg

A-Paint-5.jpg

A-Paint-6.jpg
 

Attachments

  • A-Paint-1.jpg
    A-Paint-1.jpg
    130 KB · Views: 417
  • A-Paint-2.jpg
    A-Paint-2.jpg
    133.3 KB · Views: 407
  • A-Paint-3.jpg
    A-Paint-3.jpg
    134.9 KB · Views: 398
  • A-Paint-4.jpg
    A-Paint-4.jpg
    122.8 KB · Views: 404
  • A-Paint-5.jpg
    A-Paint-5.jpg
    132.1 KB · Views: 412
  • A-Paint-6.jpg
    A-Paint-6.jpg
    117.4 KB · Views: 409
Last edited:
Lookin like One-Eyed Willy!!

latest


But seriously, good progress. It's really starting to come together.

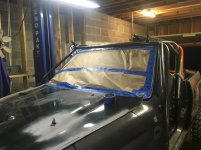
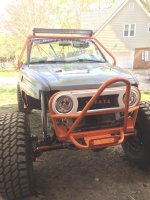
Yeah, here's why it was one eyed willy. (good movie BTW). I put the headlight on and wired it in before painting and before installing the steering. Which means to take it off I had to disconnect the steering orbital which gets fluid everywhere and means I'd have to bleed the system again. Sooooo, Masking tape!!!! :lmao:
 
More welding and painting this afternoon. That's about it. Only had about four hours after work to do stuff.

A-Paint-b-3.jpg

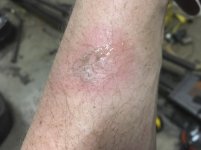
Managed to touch the spot I previously welded (like a dumb ass) and gave myself a nasty 3rd-degree burn. No worries, beer will fix it! :bravo:
A-Paint-b-4.jpg

No more one-eyed Willy there eh [MENTION=160009]Nebuchadnezzar[/MENTION]
A-Paint-b-1.jpg

A-Paint-b-2.jpg
 

Attachments

  • A-Paint-b-3.jpg
    A-Paint-b-3.jpg
    79.7 KB · Views: 332
  • A-Paint-b-4.jpg
    A-Paint-b-4.jpg
    82.5 KB · Views: 342
  • A-Paint-b-1.jpg
    A-Paint-b-1.jpg
    129.6 KB · Views: 340
  • A-Paint-b-2.jpg
    A-Paint-b-2.jpg
    121.4 KB · Views: 342
Rub lavender oil on your burn. I first thought it was nonsense then I singed myself on the wood stove and put some on. There was no pain whatsoever and it healed up cleanly, I was amazed. Use it anytime I burn myself now.
 
Rub lavender oil on your burn. I first thought it was nonsense then I singed myself on the wood stove and put some on. There was no pain whatsoever and it healed up cleanly, I was amazed. Use it anytime I burn myself now.

Thanks. I'll try some.
 
I'm not sure this qualifies as an SR5 anymore.

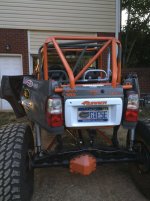
Lol yup! That's why it's funny to be on there. To bad I put the Toyota script and SR5 in the opposite places where they come from the factory. Whoops! Oh well, it is custom after all. :biggrin2:
 

Members online

No members online now.

Forum statistics

Threads
278,315
Messages
3,554,104
Members
248,016
Latest member
Advally Service

Trending content

Back
Top