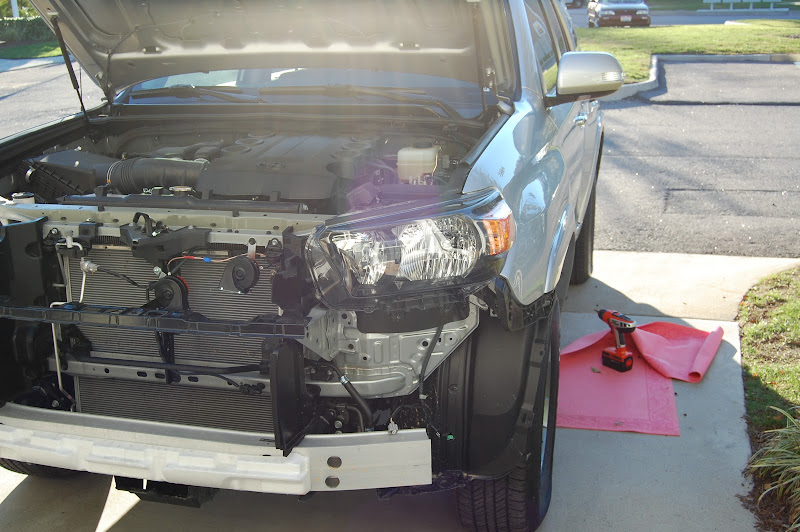
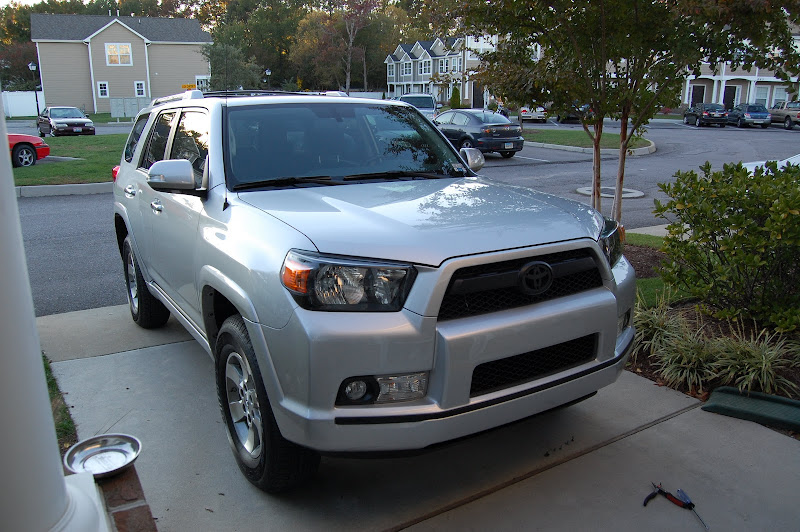
Plastidip and losing the chrome.

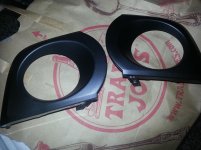
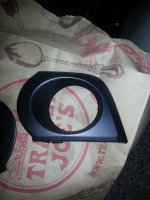
Here's my first attempt at plasti dip

Not sure if the pictures will show but the molding on the right shows more texture than the left. I might have to start from fresh, only I dont know how to avoid that.
 

Attachments

  • 20130204_205659.jpg
    20130204_205659.jpg
    134.1 KB · Views: 2,180
  • 20130204_205726.jpg
    20130204_205726.jpg
    130.3 KB · Views: 2,212
Ahhh, that's good to know. I did hold the can 12-14 inches away per the instructions. I'll try 6 inches on the chrome strips and see if it comes out smoother. The nice thing about plastidip is, if you mess up or don't like the results, yo can just peel it off and try again.

BTW JayG, check your PM.

Temperature is also a factor in how smooth the finish turns out. Colder paint=more texture, warmer paint=smooth surface.

I usually warm the spay can in a sink full of hot water or place it over a heat vent for a little bit before I spray.
 
Here's my first attempt at plasti dip

Not sure if the pictures will show but the molding on the right shows more texture than the left. I might have to start from fresh, only I dont know how to avoid that.

Antman is correct on this. I have only had that happen when the product is cold.
 
Temperature is also a factor in how smooth the finish turns out. Colder paint=more texture, warmer paint=smooth surface.

I usually warm the spay can in a sink full of hot water or place it over a heat vent for a little bit before I spray.

I will try that..
What i dont get is why one is smoother than the other?
I washed both and dried them before spraying first coat

Antman is correct on this. I have only had that happen when the product is cold.
 
Antman saves the day :trophy:

I can't believe how easy it is to take off this stuff and remove.. It was as simple as chipping the "rubber" and getting a small hole to peel it off.

I started from fresh and used Jay G's advise to start the first and second coat light + Antman's advise and ran the can under hot water for a minute each time before coating

I love this forum!
 

Attachments

  • 20130205_224017.jpg
    20130205_224017.jpg
    131.9 KB · Views: 2,129
  • 20130205_224027.jpg
    20130205_224027.jpg
    133 KB · Views: 2,140
Do you have to take the whole front bumper assembly off in order to get the stock chrome fog light covers off, or is there a slick way to just "pop" them off? Definitely want to plasti-dip these to match the grille cross bar piece
 
Do you have to take the whole front bumper assembly off in order to get the stock chrome fog light covers off, or is there a slick way to just "pop" them off? Definitely want to plasti-dip these to match the grille cross bar piece

you need to pull back the inner fender liner (search the manual for how to replace the fog light bulbs). this will give you access to the back of the lights. there are four tabs that you gently squeeze while pushing the trim piece out towards the front of the truck.

here's a write-up:
http://www.toyota-4runner.org/5th-gen-t4rs/66759-those-who-want-know-5.html#post647147 by snow&surf
 
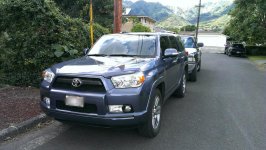
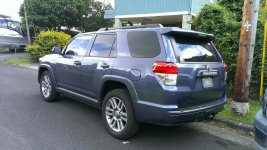
Just finished platidipping all the chrome...and I dont see many shorelines on here so I wanted to share :)4runner1.jpg

4runner2.jpg
 

Attachments

  • 4runner1.jpg
    4runner1.jpg
    133.7 KB · Views: 2,349
  • 4runner2.jpg
    4runner2.jpg
    139.2 KB · Views: 2,335
Temperature is also a factor in how smooth the finish turns out. Colder paint=more texture, warmer paint=smooth surface.

I usually warm the spay can in a sink full of hot water or place it over a heat vent for a little bit before I spray.

that is the best advise for plastidip. I helped me when i was spraying. everything came out very smooth and evenly
 
that is the best advise for plastidip. I helped me when i was spraying. everything came out very smooth and evenly

Another way to make PD grainy is to spray too far from the target. Evidently it dries some in flight. I did this in a misguided attempt to put on thin coats.
 
Nice work, especially with the headlights! I covered the entire side of the truck when I painted the door handles, pretty brave of you to only cover a small section.

Be forewarned, the front strip chips easily. I repainted it after 6 months which is why I opted to purchcase the TE fog lamp covers (which should arrive this week) so I don't have to repaint those too.

I dipped my front chrome trim band, chrome logo bar, and chrome fog bezels on my old 2010 SR5 and was not really impressed with its longevity. Too much of a high impact area IMO. I guess if someone is happy to recoat them often, it's no big deal.
 
I dipped my front chrome trim band, chrome logo bar, and chrome fog bezels on my old 2010 SR5 and was not really impressed with its longevity. Too much of a high impact area IMO. I guess if someone is happy to recoat them often, it's no big deal.

Did you clear coat on top of the PD?
 
Appreciated this. But just to be clear about the door handles (where my chrome is “flaked looking”); did you simply/only PAINT the black satin OVER the chrome handles? And, how did that hold up? (Do you recall paint brand, etc.?).
 

Members online

Forum statistics

Threads
278,316
Messages
3,554,108
Members
248,016
Latest member
Advally Service

Trending content

Back
Top