Ripcord's 2002 4Runner Sport Ed.

thats cool man, yeah id prefer something dimmer for that light. Those shocks look so sick! i cant wait to start piecing my lift together. i gotta stop spending on all this cosmetic stuff lol
 
Install: JDM Hilux Surf Field Monitor Unit- Part A

|April 9, 2011|

Well, after having the field monitor sitting in my room since early October; I finally bit the bullet and got it done. :trophy:

Part A: Sunroof/ Maplight controls swap
Part B: Field Monitor Install

The FMU is divided into two, independently powered and independently operating units; the sunroof/maplight controls and the FMU itself.
=====================================

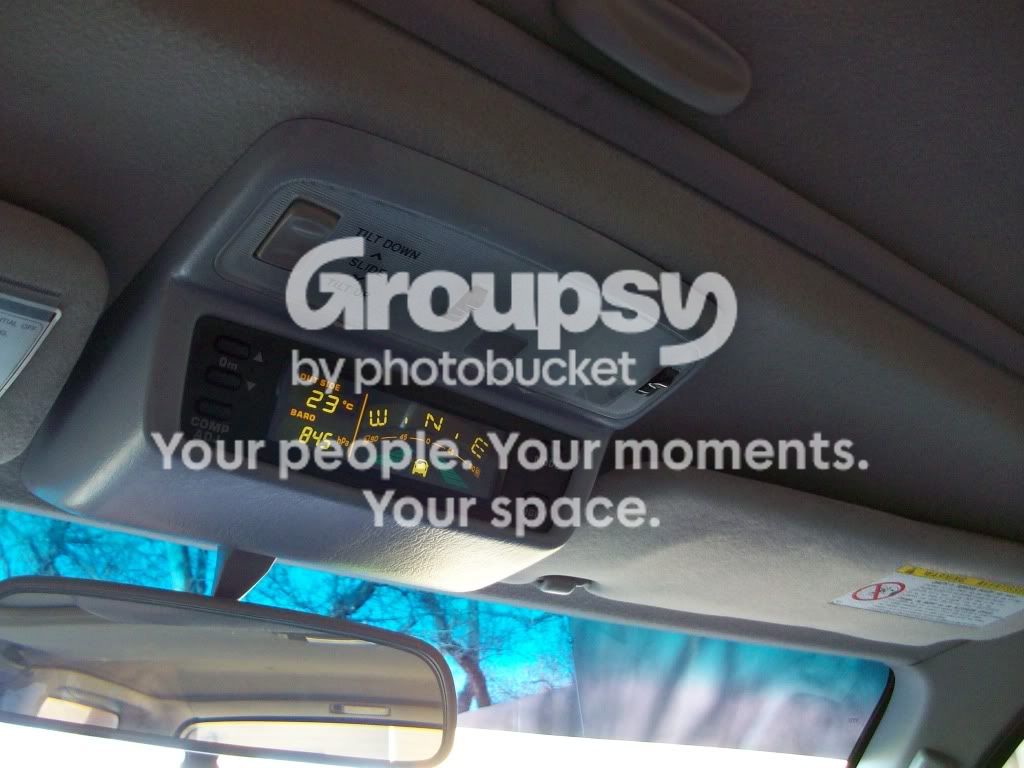
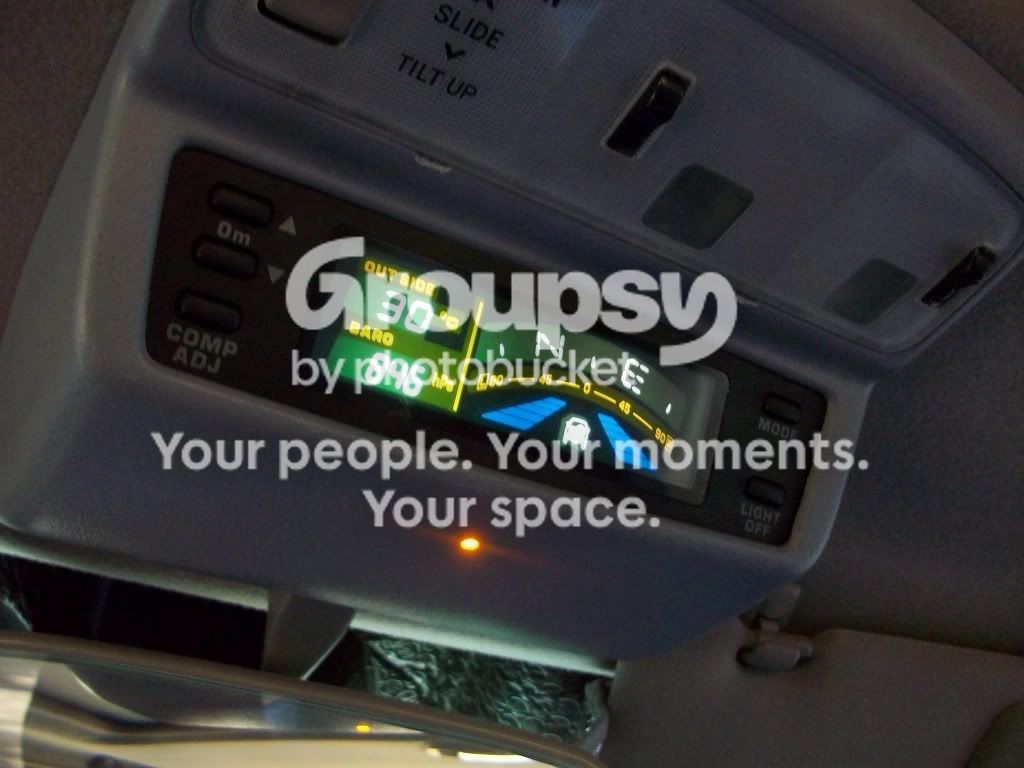
-The hilux surf field monitor is a device, made by toyota, that has an outdoor temp sensor, compass, altimeter, and a barometer. I just wanted it becuase it looks cool and I don't have a use for the sunglasses holder.

(Note: the field units were available only in the Japanese version of the 4runner, the Hilux Surf.
Also, there are 2 versions of the field monitor; the sunroof model and the non-sunroof model)


-The sunroof/maplight plugs on the 99+ 4runners are different than the 96-98 4runners. Also, in 99 the sunroof controls switched from 2 switches to 1 switch. The Hilux Surf units are made for the 96-98 4runner, so I had to swap my controls over to the field unit.

Supplier:
I bought my unit from a man that is based out of New Zealand. His website is JDMNZ.com. Price was $150 +$20 shipping to USA.
Sunroof Model: JDM Toyota Surf 4Runner KZN185 97-01 Digital Altimeter Compass Tilt Gauge sunroof model w/wiring diagram - JDMNZ
Non-sunroof model: JDM Toyota Surf 4Runner KZN185 97-01 Digital Altimeter Compass Tilt Gauge Non sunroof model w/wiring diagram - JDMNZ
*Both units come with a temp sensor and wiring diagram.

Resource Threads:
Hilux Surf Field Monitor installed in a 3rd Gen Write-Up *PICS* - YotaTech Forums
FIELD MONITOR UNIT - update w/ pics - YotaTech Forums
======================


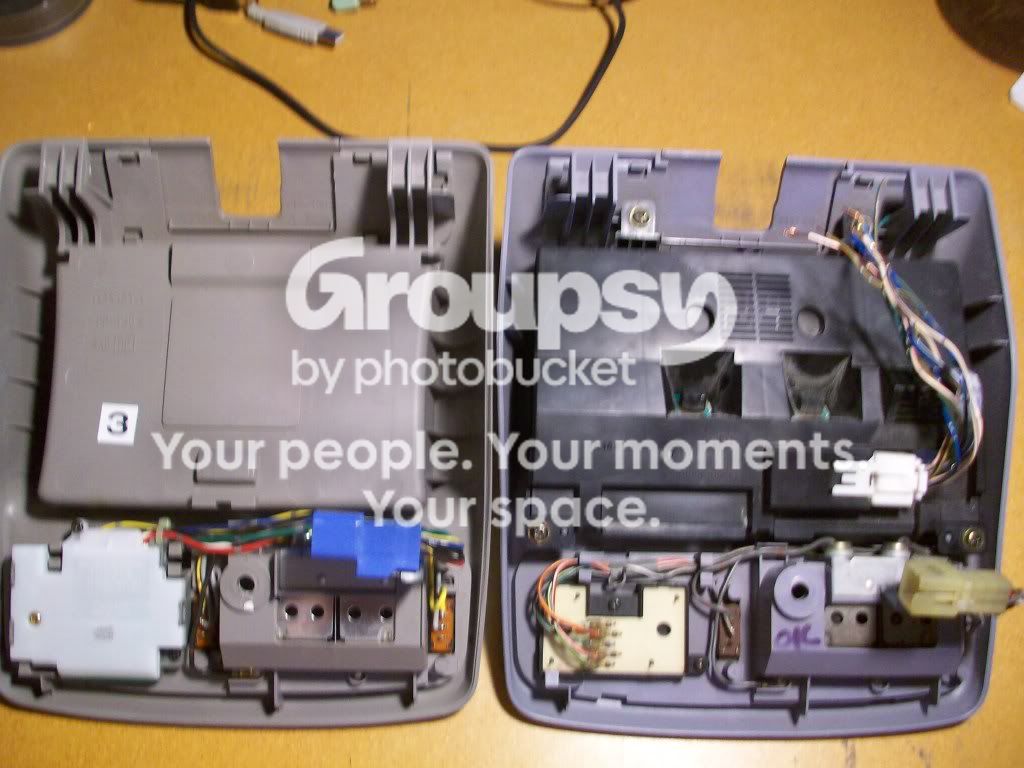
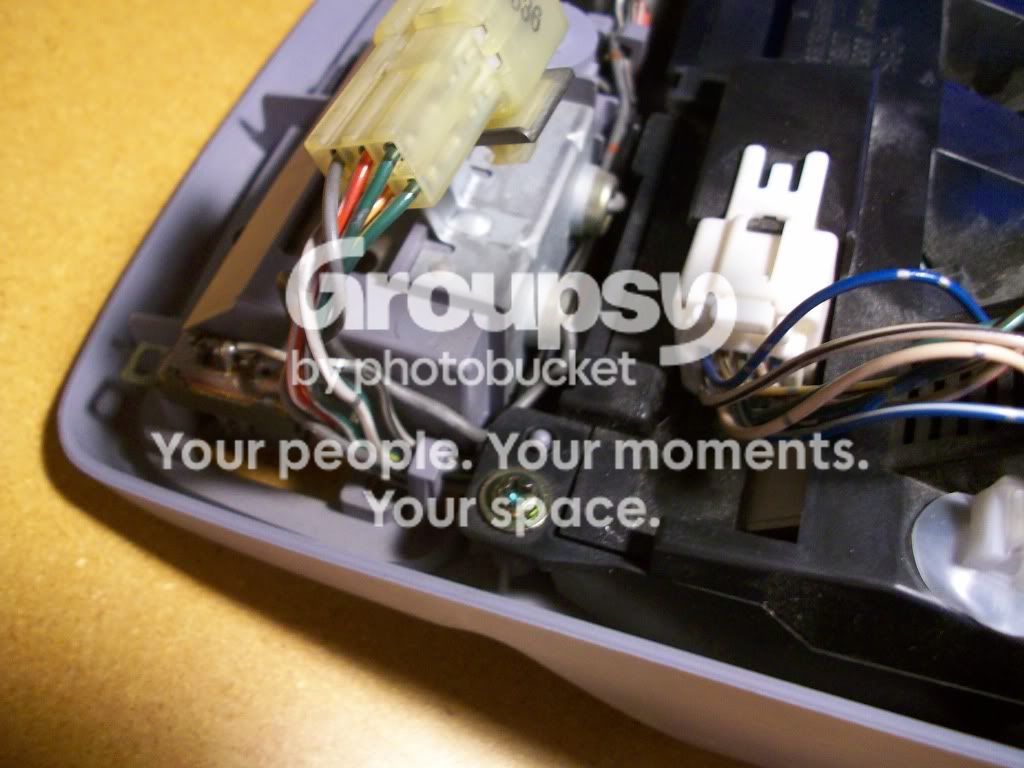
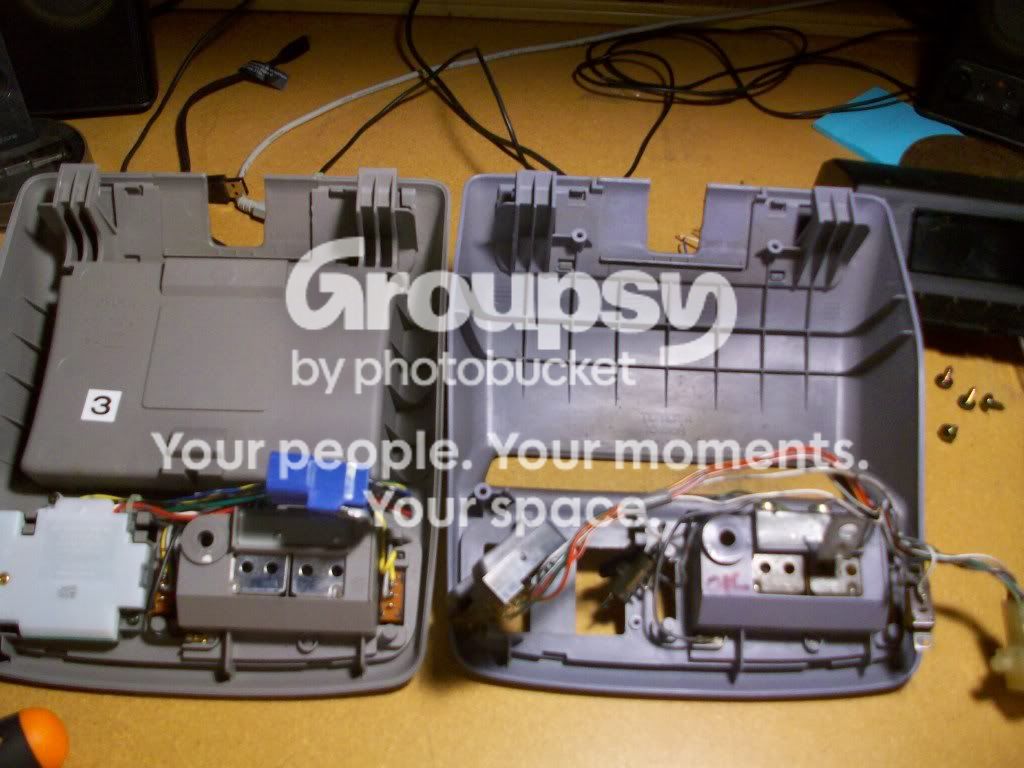
(Left) is the stock 99+ overhead unit w/sunglasses holder. Notice the blue 99+ plug.
(Right) is the field monitor, with the 96-98 style plug.
100_0836.jpg~original


Photo from the JDMNZ website:
LN-185-Compass-009.jpg~original


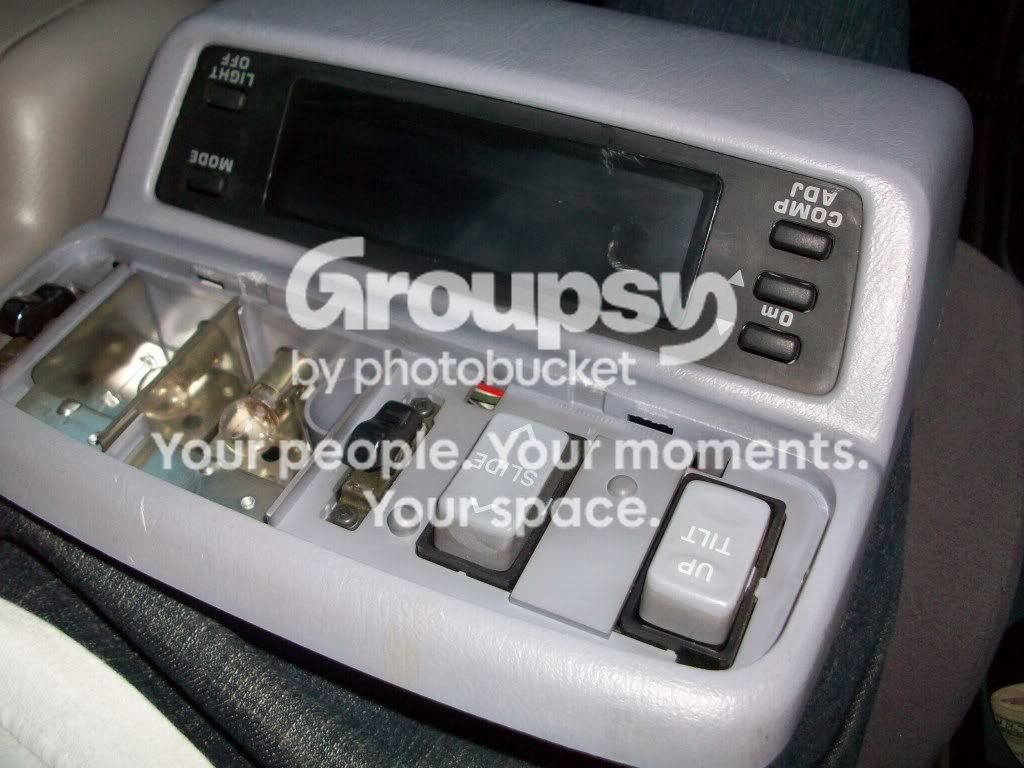
Sunroof controls on JDM field montior:
100_0834.jpg~original


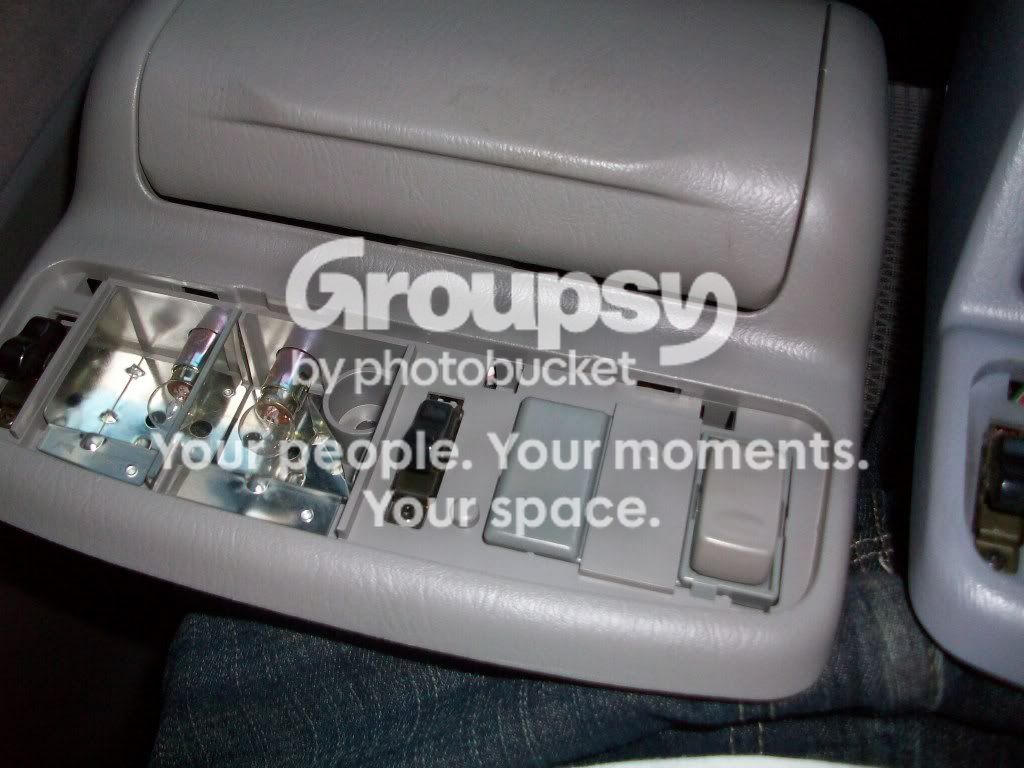
Stock unit sunroof controls:
100_0833.jpg~original


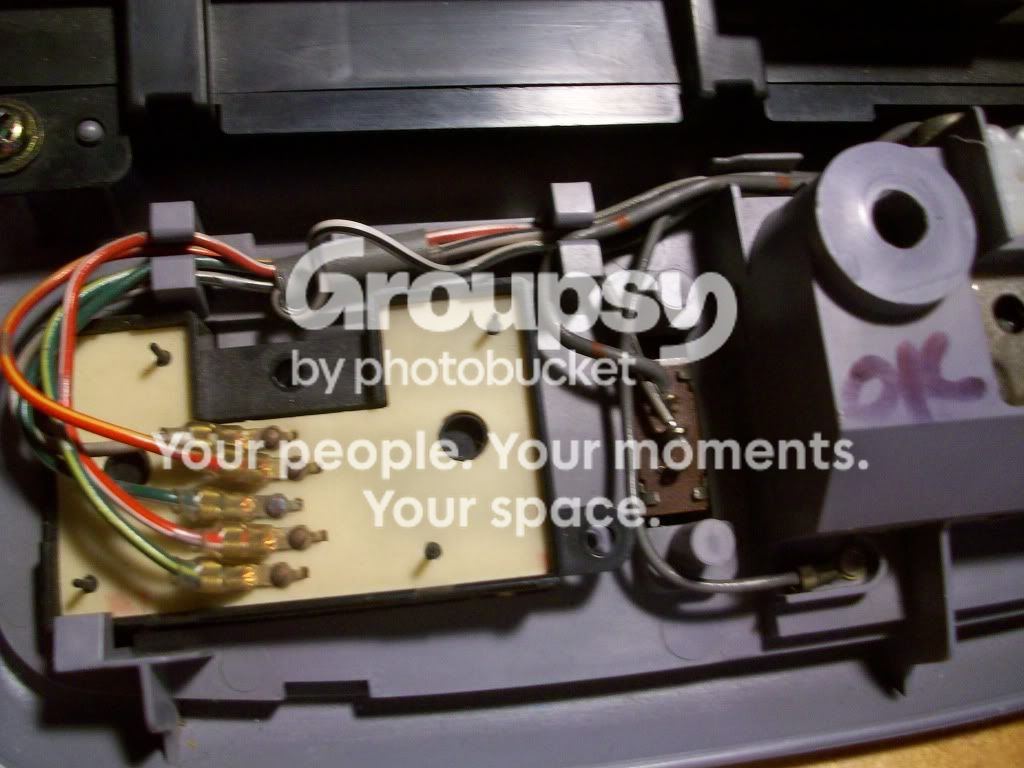
Close-ups of FMU controls:
100_0837.jpg~original

100_0839.jpg~original


Removing old controls from FMU:
100_0840.jpg~original


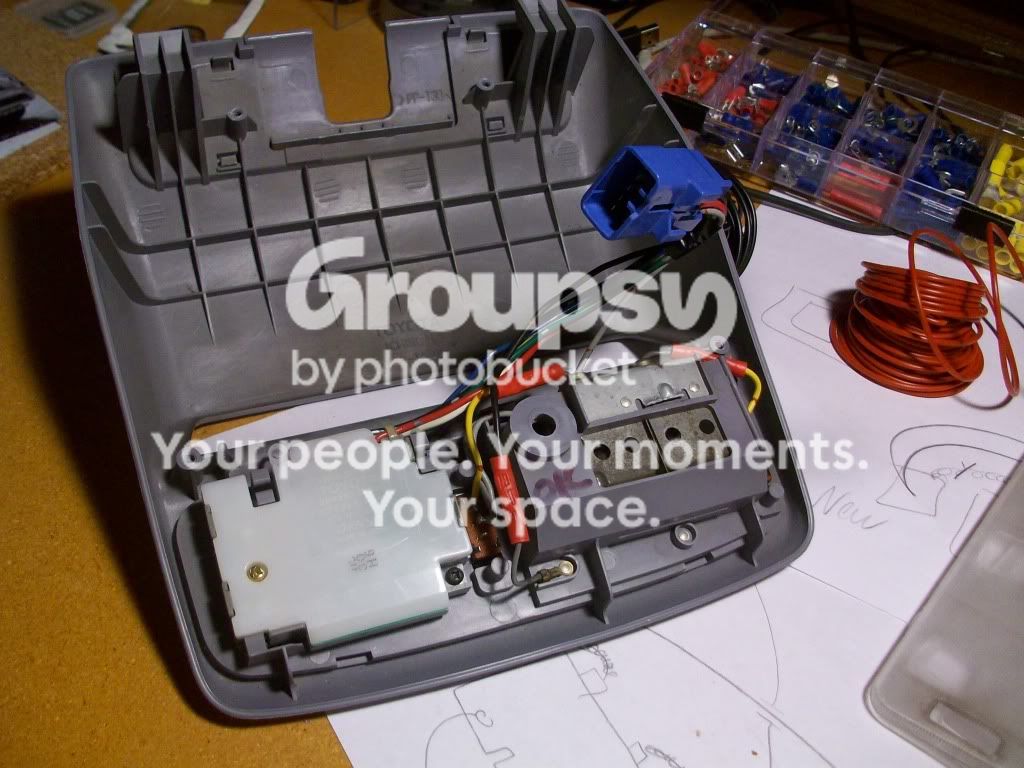
Controls swapped over:
I swapped EVERYTHING over, sunroof controls, maplight buttons, plug, etc.. The the only thing I didn't swap was the lights themselves. See the wire connectors where I connected the ground and power for each individual light..
100_0841.jpg~original


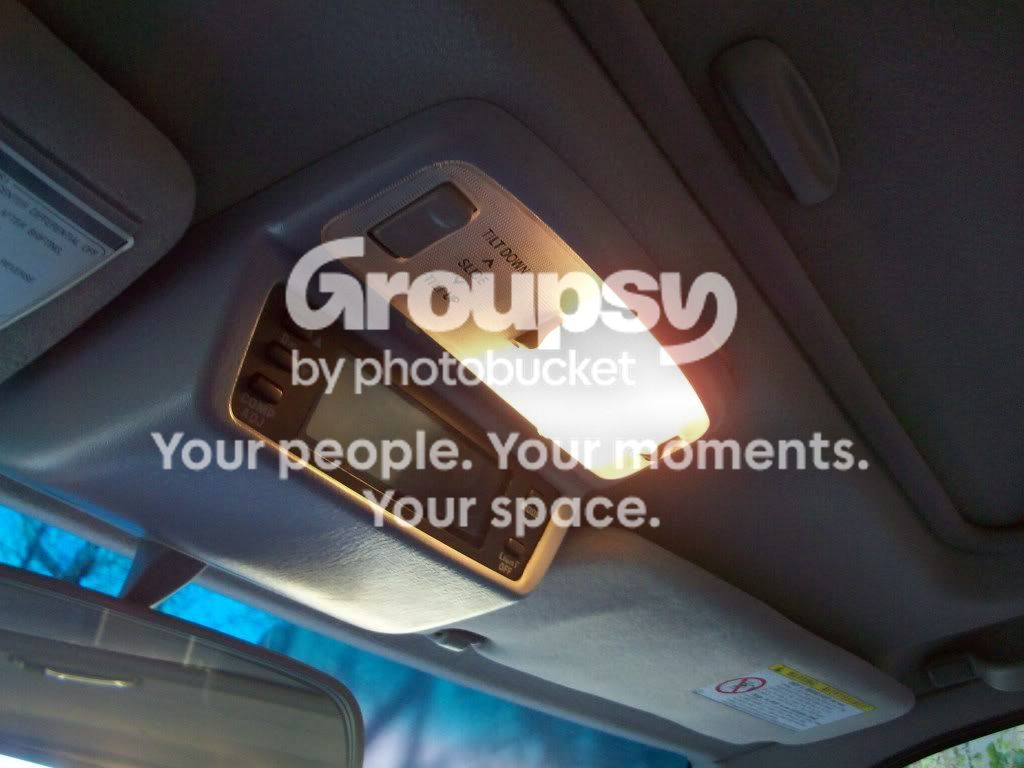
Maplights working..
100_0872.jpg~original

Drove around with only this much progress for a few days untill I finally decided to get it finished once and for all.


See swap continued on next post..
 
Last edited:
Install: JDM Hilux Surf Field monitor- Part B

Part B: Field Monitor Install

This section will consist of the install of the unit itself, the temp sensor, wire routing, and wire guide.
I apologize in advance for picture quality, my camera refused to focus correctly..
----------------------------

The research for the install of the actual unit itself took weeks. I was constantly going back and forth from my computer to my 4runner trying to figure out exactly what the threads were doing. It was very frustrating at one point because I couldn't figure out which wire I needed to tap into for the speed sensor, all the write-ups were for pre-99's..
:smashputer:


From Rock Slide's write-up.
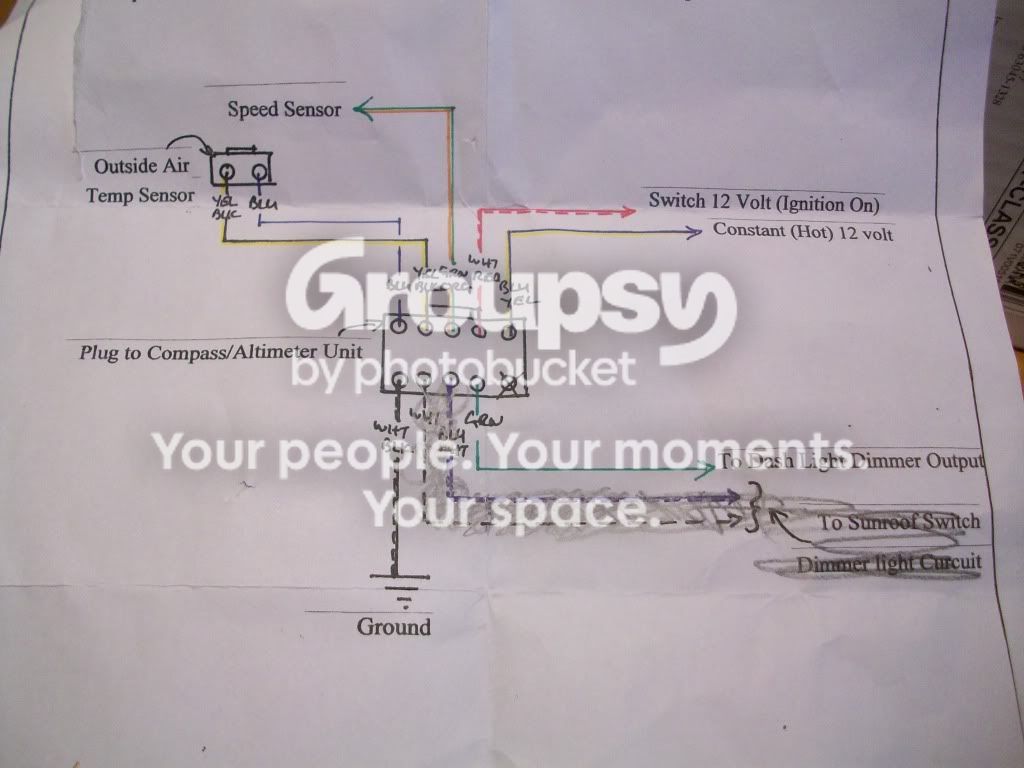
Field Monitor:
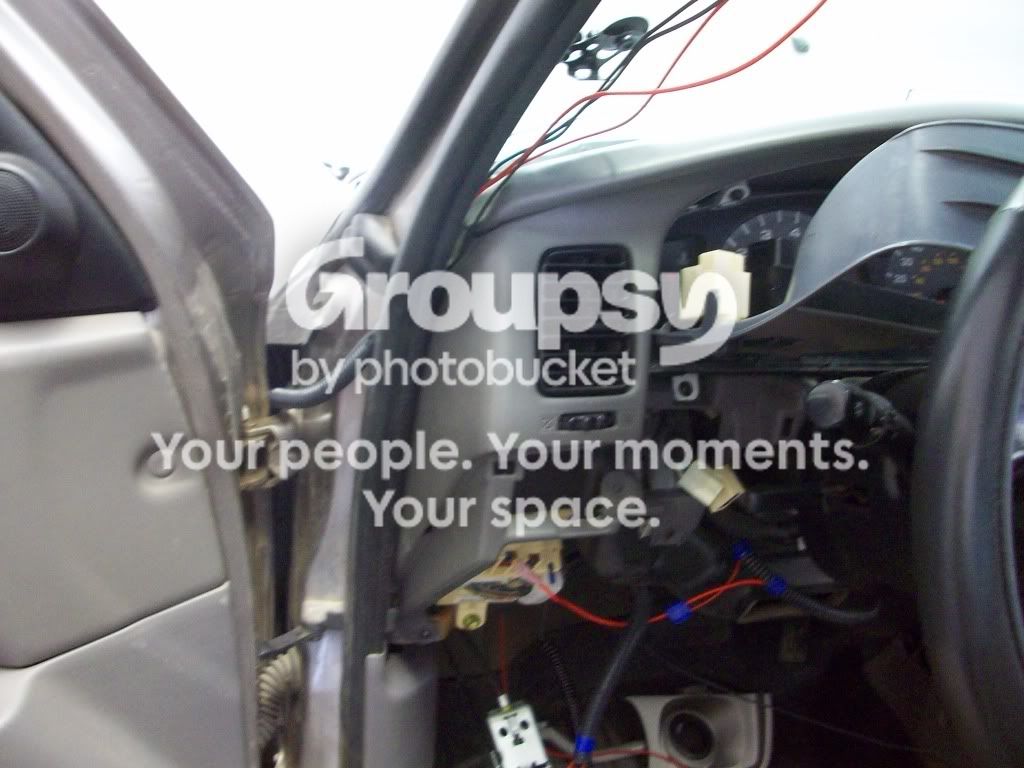
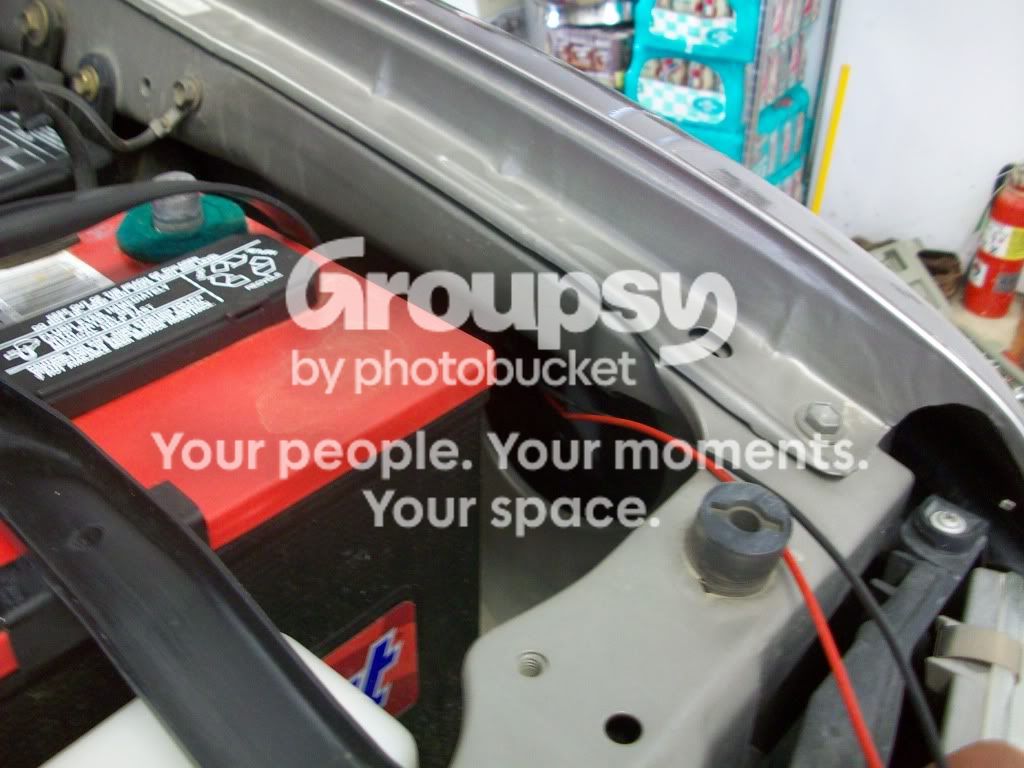
1. Blue/Yellow wire coming off the female end of the White Plug, taps into the Gray wire coming off the Blue Plug. (full-time power)
2. White/Red wire coming off the female end of the White Plug, taps into the Red wire coming off the Blue Plug. (ignition power)
3. White/Black wire coming off the female end of the White Plug (this wire also could also be Gray), taps into the Black/Red wire coming off the Blue Plug. (GROUND)
Clock:
4. Green wire coming off the female end of the White Plug, taps into the Green # 3 wire on the back of the clock in the dash.
(I taped into the solid Green wire coming off the back of the dash light dimmer knob)
Temp Sensor:
5. Blue wire coming off the female end of the White Plug, connects to your Air Temp Sensor. (This Sensor needs to be installed behind the front bumper. It contains 2 wires. See next step for second wire connection.)
6. Yellow/Black wire coming off the female end of the White Plug connects to your Air Temp Sensor.
Speed Sensor:
7. Green/Orange wire coming off the female end of the White Plug, taps into the Grey/Blue wire located at the ABS Unit. (It will be the Grey wire with a Blue stripe on it at the ABS unit. You could also say it is the Blue wire with a Grey stripe on it.)

108_0904.jpg~original


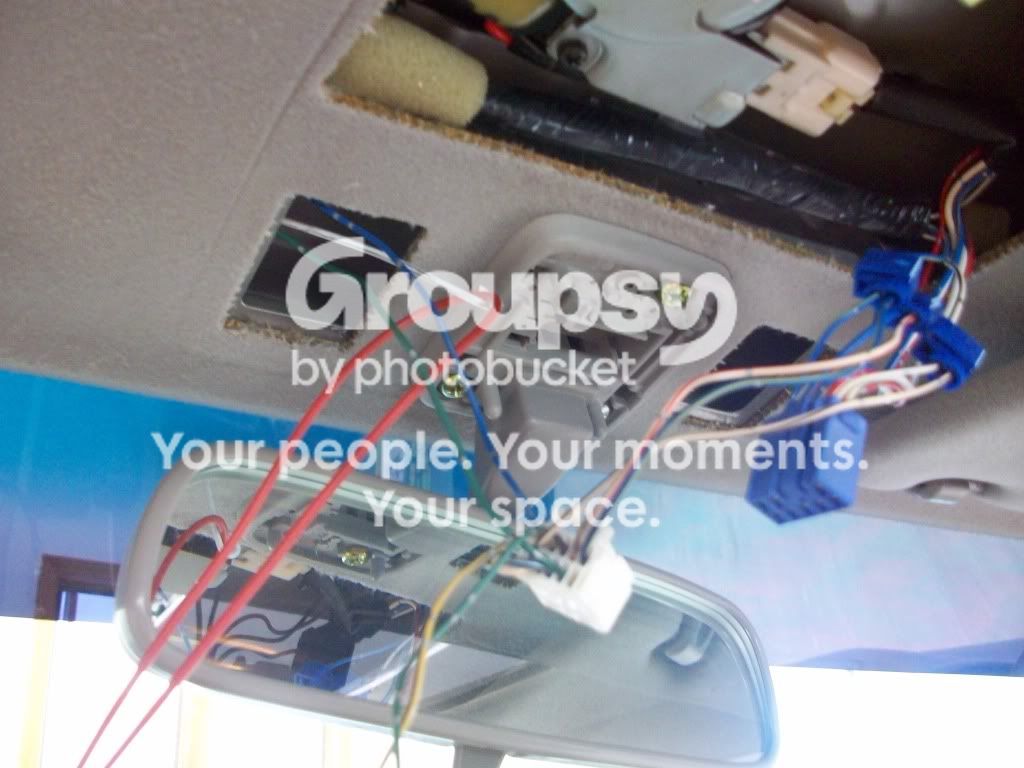
Full-time 12V, ignition 12V, and ground all tapped according to above directions:
100_0849.jpg~original


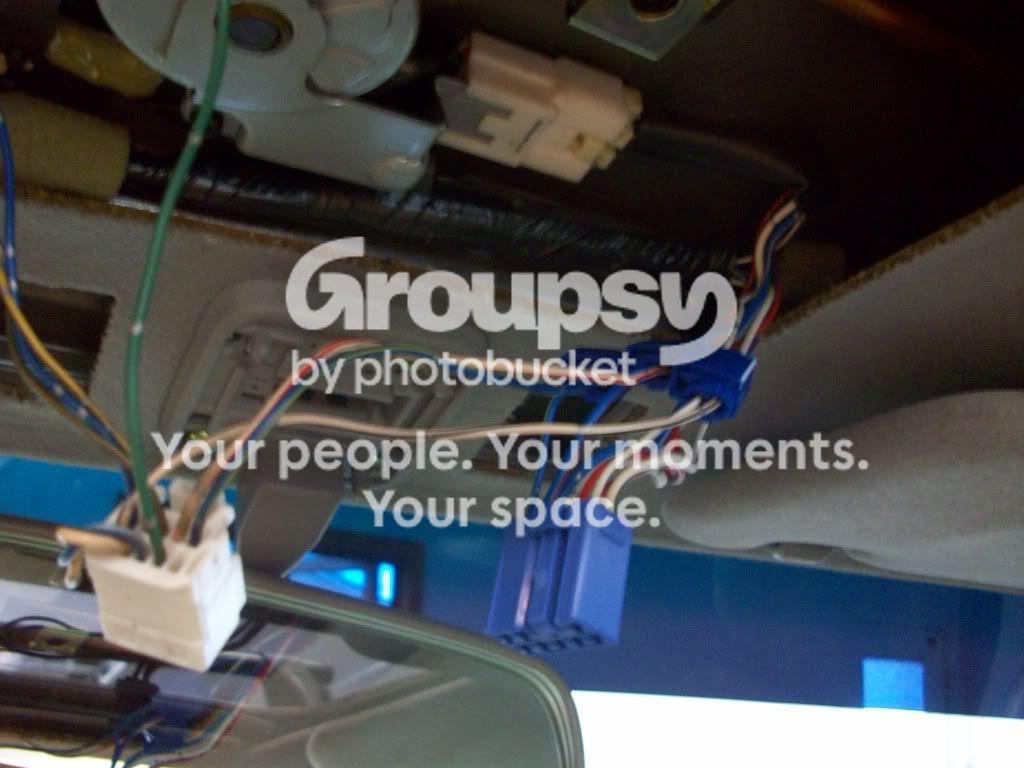
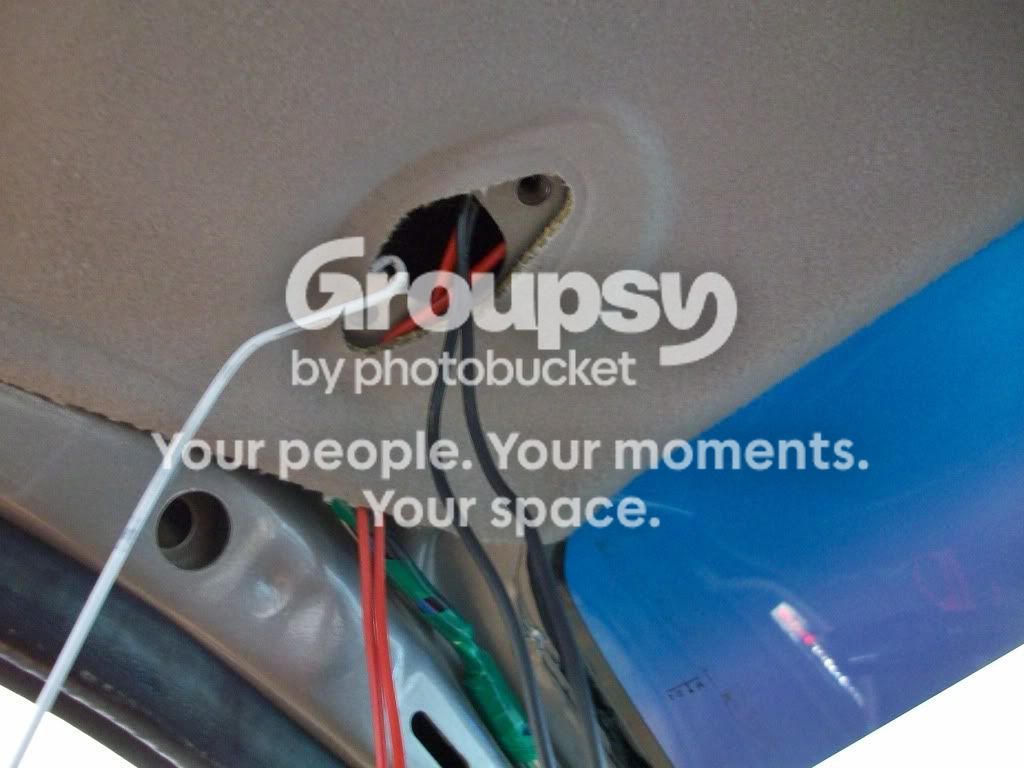
Remove sun visor and A-pillar, then use a wire hangar to fish the wire under the headliner. :fishing:
100_0854.jpg~original

100_0851.jpg~original


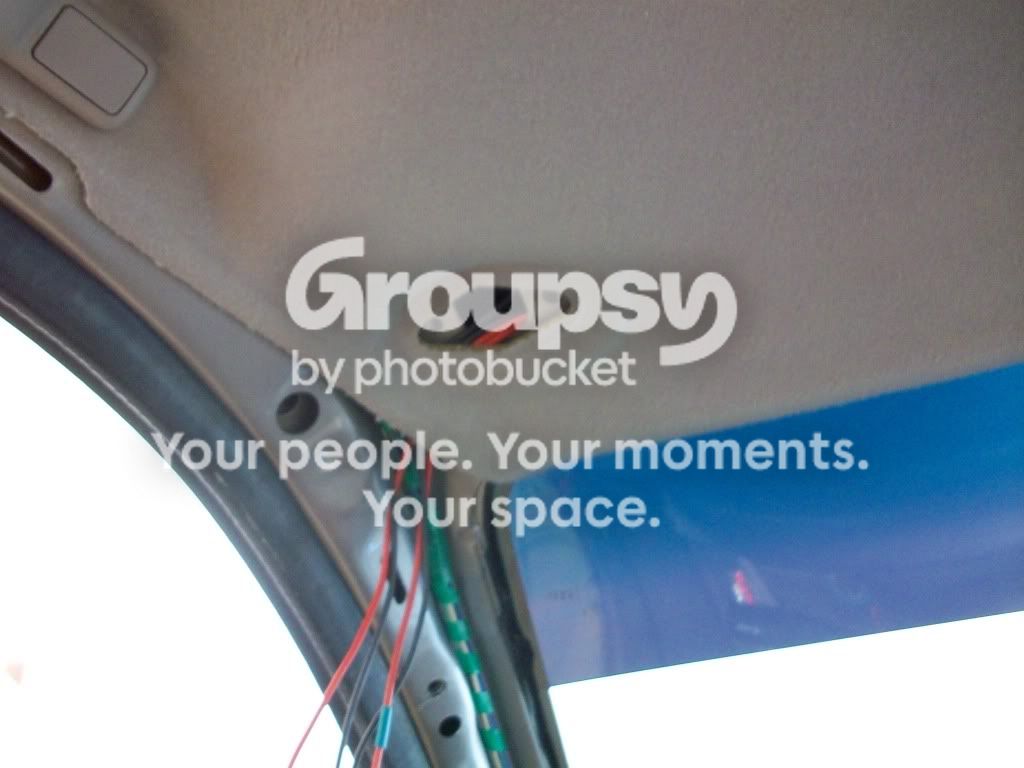
Then put the wire under the small section of headliner and run them down the A-pillar:
100_0855.jpg~original


For the temp sensor wires, I ran them under the door weather-strip and behind the fender.
(for the light-dimmer wire I tapped into the solid green wire coming out of the dash light dimmer knob)
100_0860.jpg~original


Then out from the fender through the big hole behind the headlights and down behind the bumper.
100_0858.jpg~original


I found a pre-made spot for the tab on the temp sensor to snap onto. It was right behind the driver's side fog light.
100_0862.jpg~original

---------------------------------------

Abs/ speed sensor wiring


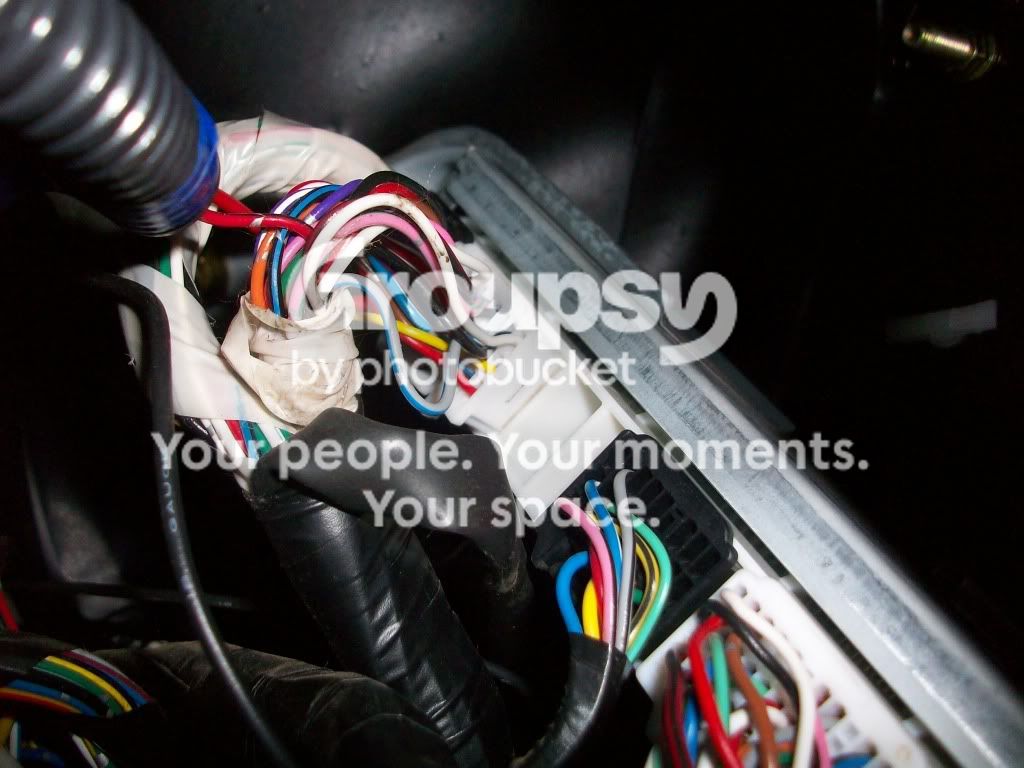
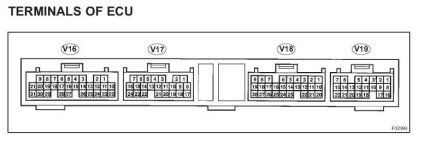
Here is a diagram of the back of the ABS unit. For 99+ 4runners it is located under the driver's dash. The Blue/Grey speed sensor wire is in the V18 plug, I'm pretty sure it was the slot number 17 on that plug.
Just remember that it is the only Blue/Grey wire on the entire ABS unit..
VSC-ECU.jpg
Diagram courtesy of Rock Slide.

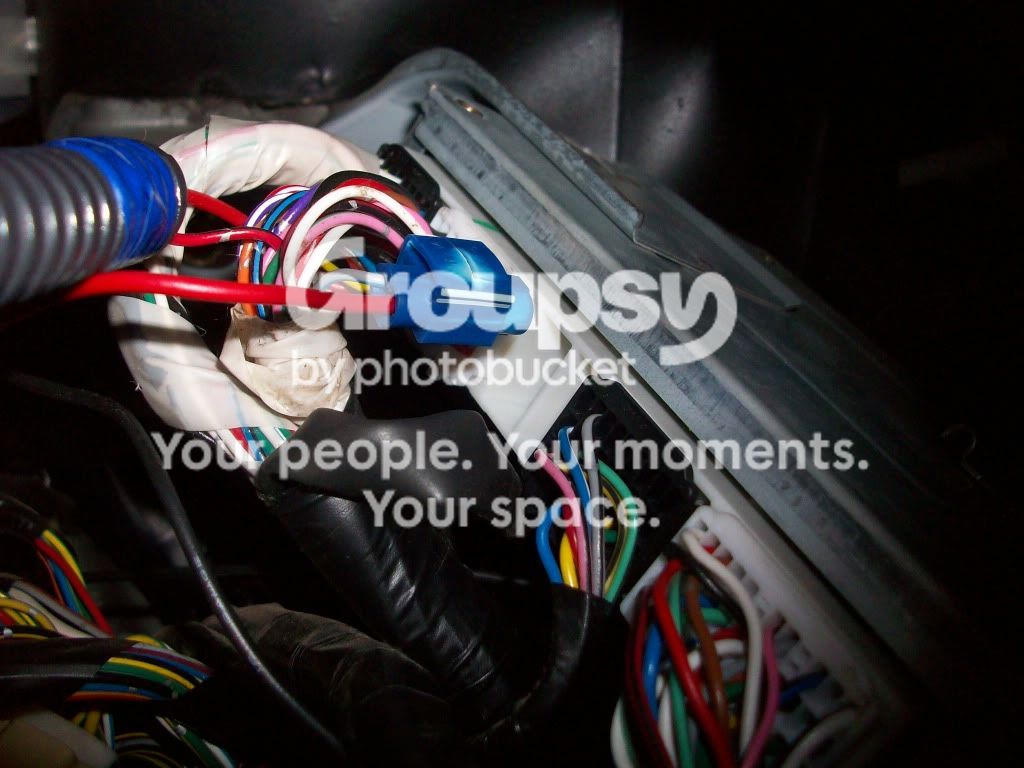
Blue/Grey speed sensor wire located. (The other red wires are for the Andymod, ignore those)
100_0866.jpg~original


Wire tapped using a quick-splice.
100_0868.jpg~original


All done! :banana:
100_0871.jpg~original


===================================================


EDIT: 6-11-2011
Added white LED's and amber LED accent lighting. It is just a subtle light that gives an amber glow to the interior during the night.

http://www.toyota-4runner.org/801090-post112.html

108_0913.jpg~original


============================================
Here is my Photobucket sub-album with all of the wiring work I have done. Check it out for many more photos of this install and others as well.
Wiring Work pictures by jim4x4runner - Photobucket
 

Attachments

  • VSC-ECU.jpg
    VSC-ECU.jpg
    30.7 KB · Views: 29,817
Last edited:
That's a great write-up....you should post it seperately so that it is more search-able for others who are doing the same swap you did! :trophy:
 
Looks great dude...
Thanks, dude! Can't wait to see your scanguage retrofit. That is sure a UNIQUE idea.

-----
That's a great write-up....you should post it seperately so that it is more search-able for others who are doing the same swap you did! :trophy:
Thanks!
Hmm, I may do that.. later though.

-----
thats cool man, yeah id prefer something dimmer for that light. Those shocks look so sick! i cant wait to start piecing my lift together. i gotta stop spending on all this cosmetic stuff lol

I can't wait for you either! HURRY UP!! Although all of your cosmetic stuff looks badass to the power of 10!

-----

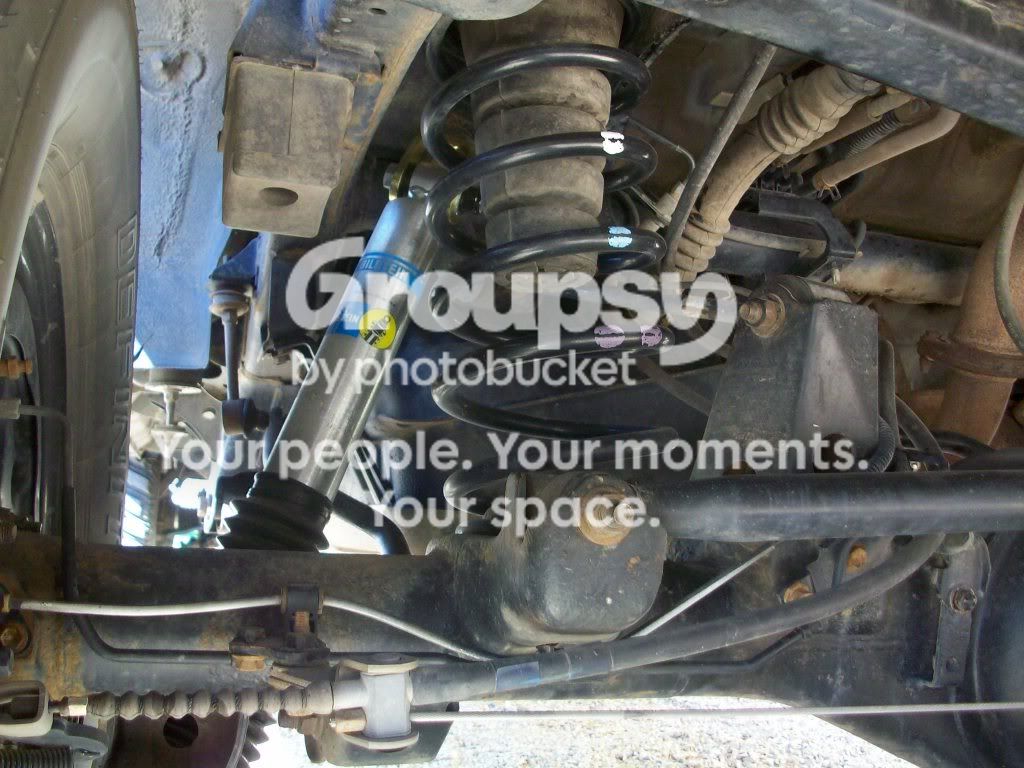
Oh and I got my shocks on..
Also reconnected my front&rear sway bars.

Cost analysis:
$200 New Bilstein 5125 w/ adapter
-90 - Sell old OME 60027
$110

100_0869.jpg~original

I LOVE the ride! so much smoother. Feels so 'Cadillac' now. :pimp:


BTW my old rear OME HD Nitrochargers are for sale if anyone is interested..
http://www.toyota-4runner.org/class...only-2-3-lift.html?highlight=OME+nitrocharger
Edit: SOLD
 
Last edited:
Great looking ride and great build thread too! Not sure how I missed this one. The field guide looks perfect too. Nice clean install.
 
Great looking ride and great build thread too! Not sure how I missed this one. The field guide looks perfect too. Nice clean install.
Thanks man! You also have quite a good looking 4runner. Thanks for the compliments.

-------

So yesterday, I got a PM from a fellow member who had a question about the LED dome lights. Oznium sells 2 different sizes of the set that I said I used.
Flexible 5mm LED Dome Light

They sell two sizes:
-4x4 LED board (which are the ones I got, but forgot to mention that)
-5x5 LED board

He asked if the larger (5x5) would fit in the 4runner dome lights. Well, here is a few shots to judge for yourself. The 5x5 will FOR SURE fit in the rear dome light, and it will FOR SURE fit in the passenger area light. Plenty of room on in both light housings.
For the map lights, I have not replaced those, but I don't even think the 4x4 board will fit in those..

Here are a few pictures.

Rear Cargo area light:
100_0874.jpg~original


100_0875.jpg~original


Passenger area light:
100_0877.jpg~original


100_0879.jpg~original


Hope that helps answer your question. :bigok:
 
Last edited:
Thanks for the info on the dome lights. I've tried using the "6 LED Super High Flux" ones from Autolumination in a few cars and they've only lasted like 3-4 Months each time... Guess its time for a change. Awesome 4Runner BTW!
 
Thanks for the info on the dome lights. I've tried using the "6 LED Super High Flux" ones from Autolumination in a few cars and they've only lasted like 3-4 Months each time... Guess its time for a change. Awesome 4Runner BTW!

Thanks! You should really like the Oznium stuff. Good quality lights.
 
Time to change wheels.


In preparation for the tundra brake upgrade. I need to first remedy the fitment issue. The steel wheels I have right now do not have enough clearance for larger brakes as they are too thick.
Some of the reasons I want to switch wheels..
-(clear larger brakes)
-Switch from 16x7 to 16x8.
-Lighter alloy wheel.
-Different style. Don't like my current wheels.
-Less backspacing so I don't need wheel spacers.


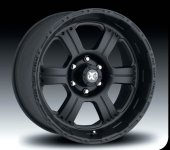
There are two wheels I am looking at getting. Both are basically the same style.
Both retailers have nearby shops and are offering lots of discounts and rebates, so I really don't know which to choose.

-Vision V-TEC Raptor.
16x8
4.5" BS
27lbs
$110 each. @discount tire.
Wheel Details - Discount Tire Direct
vterap.mtb.ang.jpg


-Pro Comp 7089.
16x8
4.5" BS
27lbs
$135 each @4wheel parts
Pro Comp Alloy Wheels Part 7089-6883 - Xtreme Alloys Series 7089 Black Finish
34023d1263176313-pictures-black-pro-comp-7089-wheels-7089.jpg

What do you guys think? I have never heard of vision wheels, but after some searching they seem to be a decent brand.
 

Attachments

  • vterap.mtb.ang.jpg
    vterap.mtb.ang.jpg
    20.3 KB · Views: 10,129
  • 34023d1263176313-pictures-black-pro-comp-7089-wheels-7089.jpg
    34023d1263176313-pictures-black-pro-comp-7089-wheels-7089.jpg
    61 KB · Views: 11,707

Members online

Forum statistics

Threads
278,312
Messages
3,554,083
Members
248,016
Latest member
Advally Service

Trending content

Back
Top