What Did You Do To Your 3rd Gen Today?

Status
Not open for further replies.
will be interested to know how this turns out, to me the is a very attractive way to get reduction.

I'm just not a transmission rebuilder so it gives me pause, 100% I would mess it up the first time and destroy the entire project.

I was meaning to call them and see if they would offer a fully assembled case.

It helps that you take one of the donor cases all the way apart and don't need to put it together again - the donor for the planetary reduction gears that goes in the new case. So you get a little practice on the way they come apart before you tackle the second box that needs to come even farther apart (removing the input shaft) and reassembling.

It's not all that hard, though. There's never a part where little spring loaded parts flew out or anything.

Some basic tips:
1) When removing the rear case - undo the output flange, and then remove the shifter fork detent balls (two allen headed covers on either side of the shift rod ends). Then the cover can come off without disturbing anything inside - the forks stay with the gears, the front drive stays put, just the cover comes off.

2) Then pull out the output gear cluster with the shift forks in place as a unit, that way the shift collars never pop out and you don't have to mess with the incredibly fiddly spring loaded syncro dogs.
 
transfer-case-jpg.1491687


And FWIW I did the second half of the bench work on Friday (70 degrees, sunny, shhhh, don't tell Mother Nature it's still winter).

That involves replacing part 36211 above with a new NWF part (that's longer, to work with the planetary gear system in the middle case). So pretty comprehensively apart.

But still, you really don't need to take the whole middle line of that picture apart, that whole cluster stays together and slides out to get out of the way, and then slides back in afterward. With the finickiest part being sliding it and the front drive in together with the chain in place.

And after all that, for some reason now I'm struck with doubt that I may have left one part out - the tiny detent ball bearing - 36213A in the list above. I remember fishing it out with a magnet, then I got distracted with the weird finicky little oil seal rings (36216A) and I can't recall putting it back in place. It wasn't 'left over' on the bench after getting everything back together, but it may have fallen off? Or I may have put it in and just can't recall? And I'm not even entirely sure what it does, it's not spring loaded, it just sits in a drilled 'pit' in the shaft, and a component with a short slot keys in on it. So it prevents it from turning, but not with any real torque.

Soooo... no better time than the present to make sure it's in there. So I think I get to do it all again. I had finished buttoning it up - sealing on the last bearing housing, completely done when the thought that I'd skipped putting that piece popped into my head. Argh. Better safe than sorry, though. Even if I don't think it actually does much of any importance.
 
Got around to installing my Rigid 360 6 inch off-road lights. BRIGHT is an understatement. Crappy cell phone pics don't do them justice. Went on a quick night drive, absolutely insane how bright they are and they light up EVERYTHING. 10/10

Bright AF lol

What 3 lights/ LEDs did you put in your grille?

Sent from my Pixel 4 XL using Tapatalk
 
Did a bunch of stuff on my 4WD this weekend, updated my build thread.

The highlight was the way the doors feel after installing the rebuilt door checks I got from [MENTION=148218]JZiggy[/MENTION] - recommend this update, and Jordan's work 100%

Thanks, brother!

Sent from my Pixel 4 XL using Tapatalk
 
Did a bunch of stuff on my 4WD this weekend, updated my build thread.

The highlight was the way the doors feel after installing the rebuilt door checks I got from [MENTION=148218]JZiggy[/MENTION] - recommend this update, and Jordan's work 100%

Thanks, brother!

Sent from my Pixel 4 XL using Tapatalk
Did it make th3 doors shut almost as sol8d as newer vehicle?
 
It helps that you take one of the donor cases all the way apart and don't need to put it together again - the donor for the planetary reduction gears that goes in the new case. So you get a little practice on the way they come apart before you tackle the second box that needs to come even farther apart (removing the input shaft) and reassembling.

It's not all that hard, though. There's never a part where little spring loaded parts flew out or anything.

Some basic tips:
1) When removing the rear case - undo the output flange, and then remove the shifter fork detent balls (two allen headed covers on either side of the shift rod ends). Then the cover can come off without disturbing anything inside - the forks stay with the gears, the front drive stays put, just the cover comes off.

2) Then pull out the output gear cluster with the shift forks in place as a unit, that way the shift collars never pop out and you don't have to mess with the incredibly fiddly spring loaded syncro dogs.

100% I would mess it up the first time and destroy the entire project.
 
Rear Air Diffuser

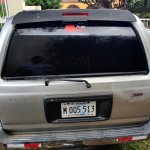
Finally I got the rear air diffuser (weeks ago) installed and it was really easy, I spent a bit of time searching for some guide to install it but I didn't find anything so I took the risk and made it by myself measuring everything to avoid disaster, the centre tail light was my guide of measurement.

Yes, I'm missing some badges but a i need to paint the hole back door so once painted I will put them
 

Attachments

  • IMG_20220307_112932.jpg
    IMG_20220307_112932.jpg
    97 KB · Views: 410
  • Front differential fluid change
  • Rear differential fluid change
  • Transfer case fluid change
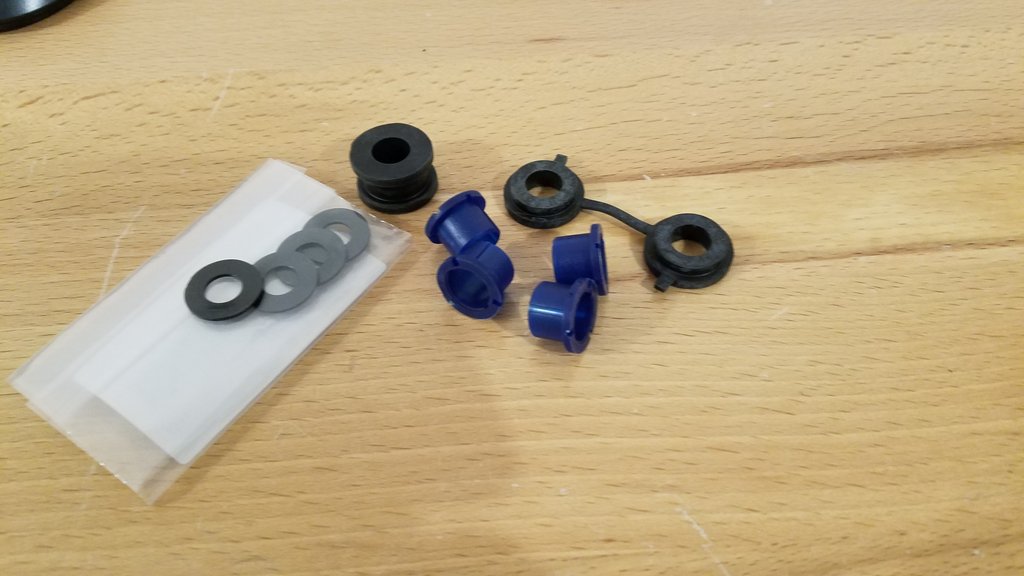
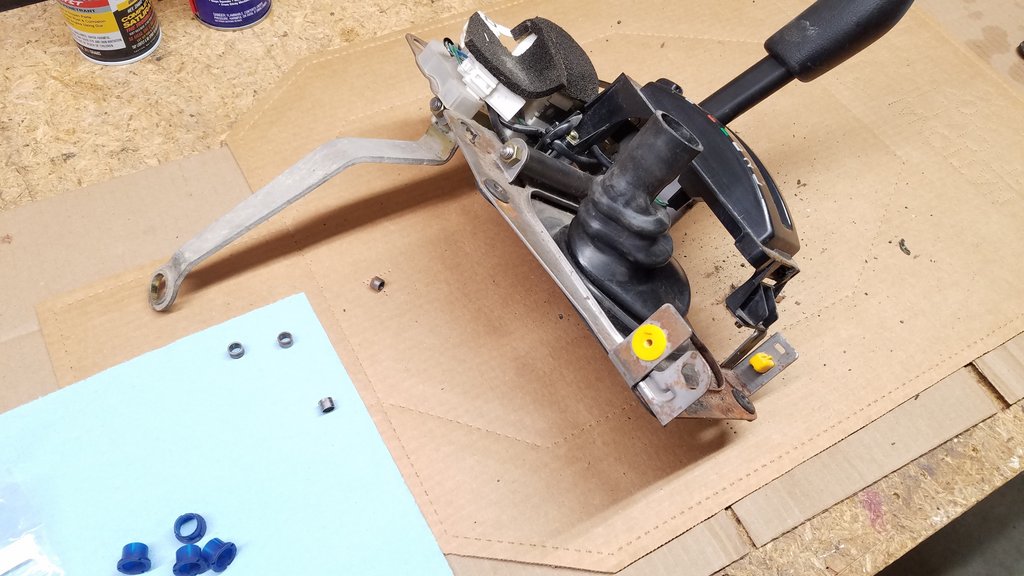
  • AT shifter bushings and linkage grommets

Should have done these bushings ages ago! It's an incredible difference.

Parts used:
AT shifter bushing (90385-11003) (x4)
AT shifter washer (33544-27010) (x4) wasn't really required
AT shifter lever grommet (33572-22010)
AT shifter rod grommet (90480-17177)

shift1.jpg


shift2.jpg
 
Last edited:
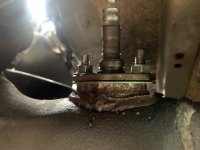
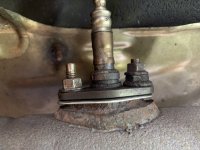
Sorted out both problematic o2 sensor's today with new Dorman gaskets. The exhaust fumes were ridiculous so I went under to find both sensors leaking. I didn't want to crank the nuts too hard as the studs were a bit rusty but it tightened up no problem. Tap and die kit & a torch were my best friends today on this job (cleaning up stud threads/chasing new threads on a non M8x1.25 nut).
 

Attachments

  • IMG_3210 copy.jpg
    IMG_3210 copy.jpg
    80.1 KB · Views: 377
  • IMG_3211 copy.jpg
    IMG_3211 copy.jpg
    96 KB · Views: 381
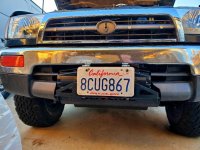
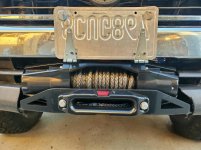
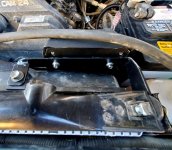
Had to order the control box relocation kit as it won't fit with the stock bumper and still had to extend the three #2 wires another 18" to reach the new location by the battery. Welded up a little bracket to use existing holes. License plate stays down with quarter size neodymium N52 magnets silicones to the back of the plate.
 

Attachments

  • winch2.jpg
    winch2.jpg
    135.2 KB · Views: 317
  • winch1.jpg
    winch1.jpg
    131.2 KB · Views: 312
  • w3.jpg
    w3.jpg
    130.9 KB · Views: 318
  • w4.jpg
    w4.jpg
    121 KB · Views: 317
  • Front differential fluid change
  • Rear differential fluid change
  • Transfer case fluid change
  • AT shifter bushings and linkage grommets

Should have done these bushings ages ago! It's an incredible difference.

Parts used:
AT shifter bushing (90385-11003) (x4)
AT shifter washer (33544-27010) (x4) wasn't really required
AT shifter lever grommet (33572-22010)
AT shifter rod grommet (90480-17177)

shift1.jpg


shift2.jpg

Mine could probably use this. How long did it take for the swap? The bushings i mean.
 
Mine could probably use this. How long did it take for the swap? The bushings i mean.

About 1.5 hour maybe. Spent time cleaning out the fragments of the old bushings and greasing things. Job was simpler than I expected but boring taking apart trim. 1.5 hour for the whole job I mean, with taking out the shift assembly.
 
Last edited:
Drove it to work! Still love this thing after 9 years of ownership. I've got an AVS bug deflector that's arriving today. Can't wait to put it on!
 
Installed the AVS bug deflector yesterday evening. Turned out real nice. Although I may opt for different mounting hardware in the near future, but what came with it will work for now
 
Status
Not open for further replies.

Members online

Forum statistics

Threads
278,316
Messages
3,554,120
Members
248,016
Latest member
Advally Service

Trending content

Back
Top