COB's 4Runner Timeline (Pic Heavy)

It is time!!!! :bat:
 

Attachments

  • cushing.jpg
    cushing.jpg
    10.6 KB · Views: 3,327
  • upmc-ada.jpg
    upmc-ada.jpg
    16.5 KB · Views: 5,081
  • frankenstein.jpg
    frankenstein.jpg
    8.2 KB · Views: 3,363
What kind of clutch and fly wheel did you end up getting?

I bought a stock flywheel for $25, so no complaints there. I bought an LC Engineering clutch:

Pro Clutch Kit - 3RZ(95-04) (10")

All of LC Engineering's clutch kits feature all new components with a single diaphragm H.D. pressure plate. Our Pro Clutch Kit features a heavy-duty pressure plate combined with LCE's custom disc with small particles of brass impregnated into it to provide tremendous heat resistance, holding power and smooth operation. The Pro Clutch Kit has over twice the holding power of a stock clutch with only a slightly stiffer pedal - excellent for use in 4WD with 31" or larger tires, or for vehicles with slight-to-moderate performance upgrades. Clutch kits come with the pressure plate, clutch disk, pilot bearing, throw out bearing, and a new alignment tool.

bout time. When you get it all working hit me up and we can go get you some new dents :)

lol, I'm sure we will... I can't wait... I'm working as fast as I can on it!

bout damn time! .... good luck with the project.
Bout damn time indeed. Thanks dude!

wow i love my grammar on that last post lol. but yeah man good luck all this.

thank you sir... you can thank me while you're in English class :P

It is time!!!! :bat:

It has begun!!!!!!!!

evillaugh.jpg
 
YES - IT HAS BEGUN.

but first, a few unrelated pictures MUAHAHA!


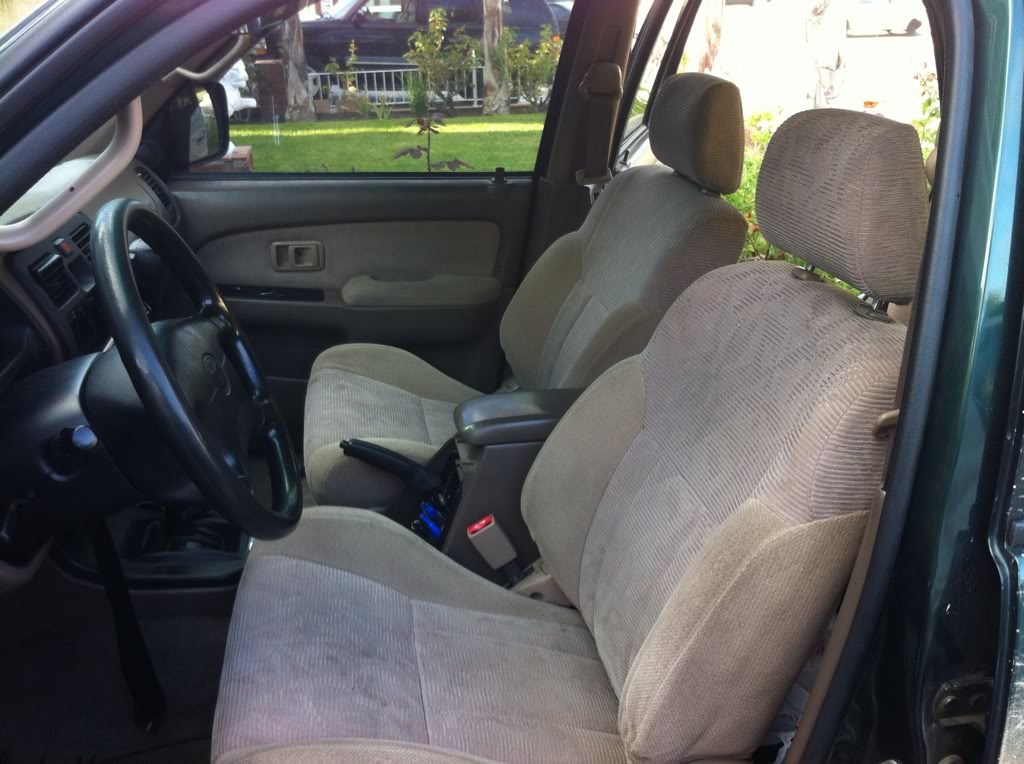
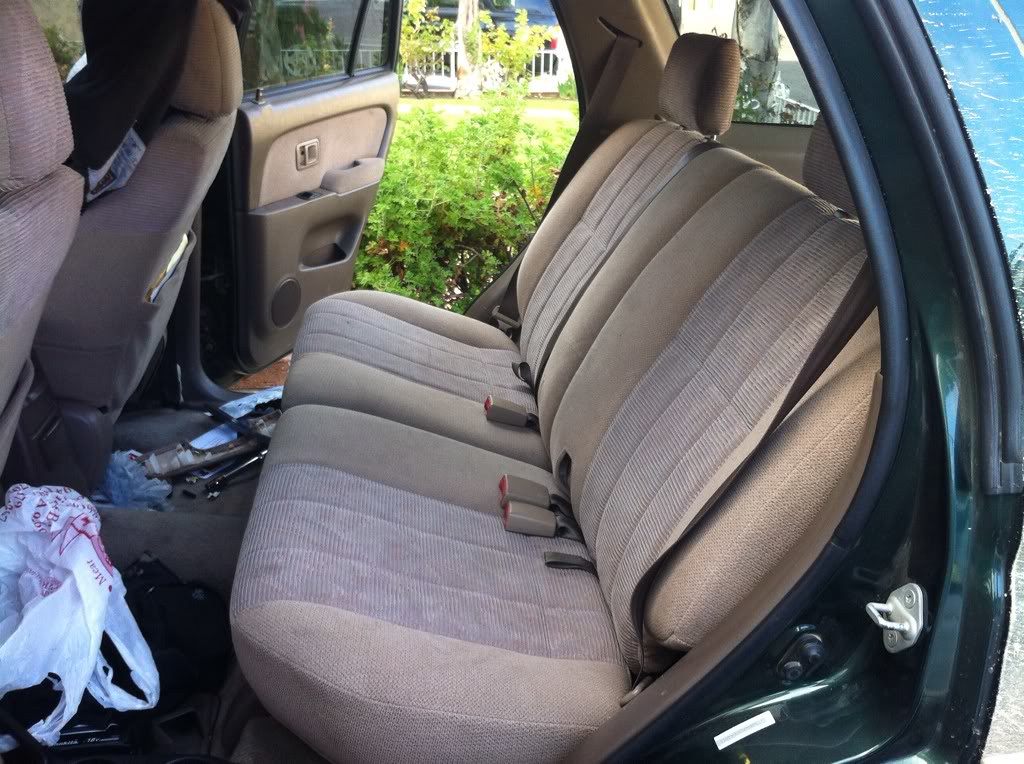
Swapped seats out. My 4Runner now has a matching set of SR5 seats. My old setup was 1997 SR5 front seats and 1999 base model rear seats.

34940972674_6547248442_b.jpg


35393233070_e847f0ba74_b.jpg


I also switched over some door seals for the better ones on the donor.

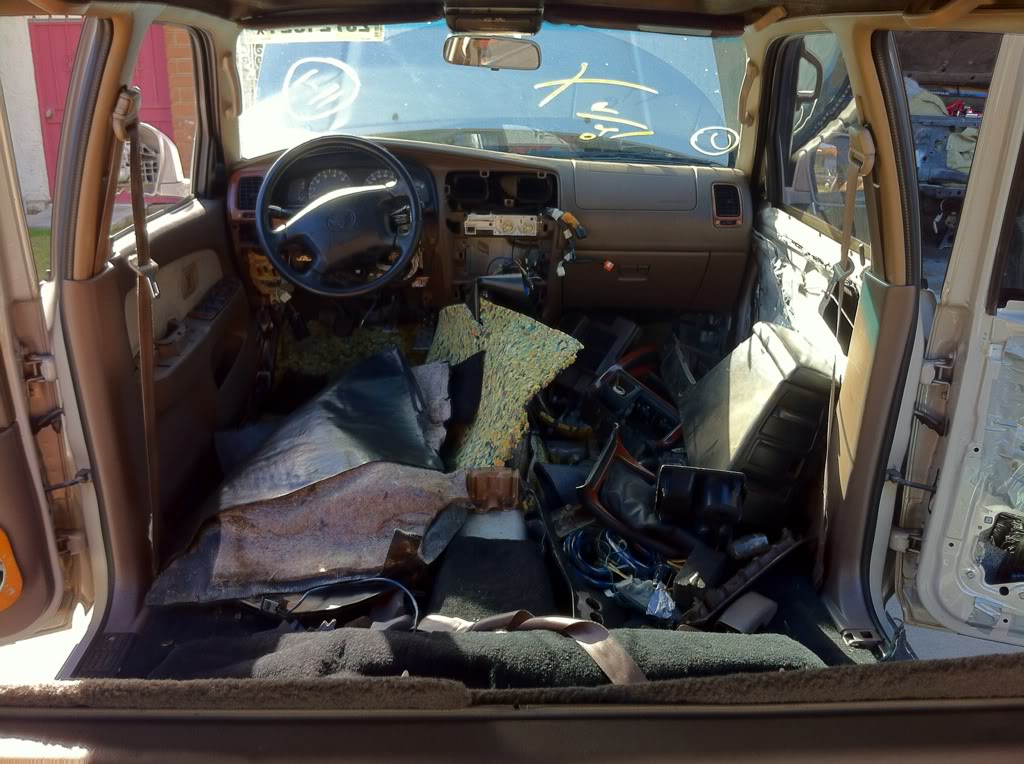
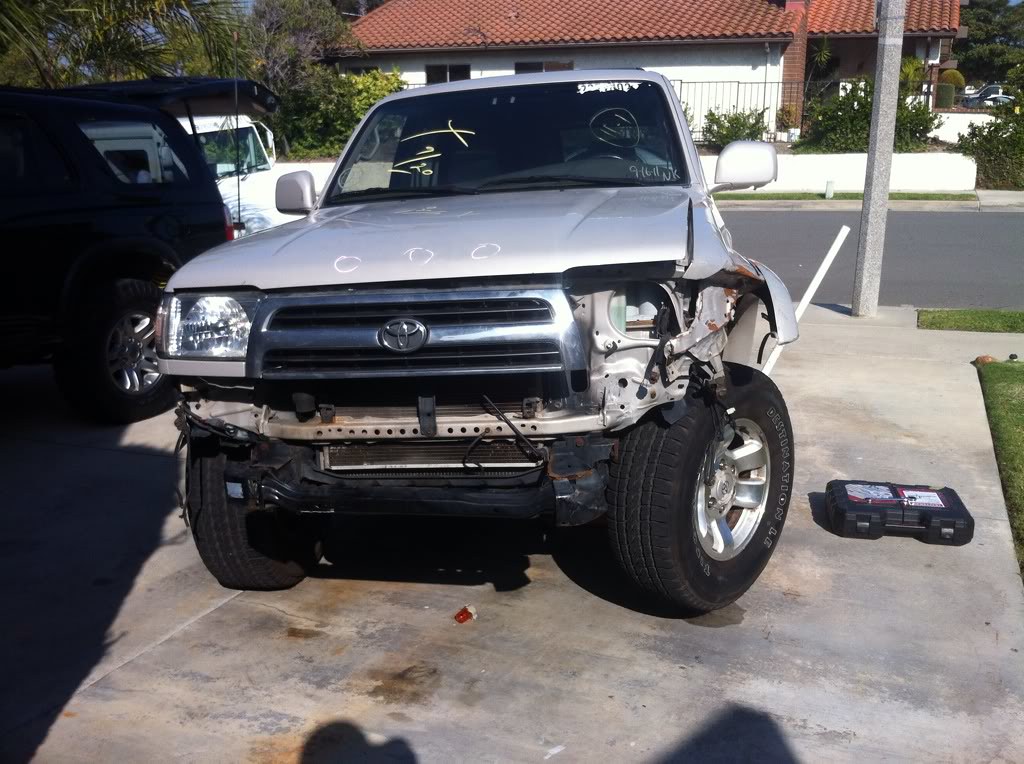
As far as the donor goes, I removed the front bumper and straightened out the bent up brackets that were rubbing on the tire. The interior came apart next, including the seats (as shown earlier, installed in my 99), the carpet, panels, center console, and audio system. The guy who used to own this thing lined the floor with ROOFING SHINGLES as sound deadening. There was a lot of sweet audio stuff, a set of front Blaupunkt components, small infinity rears, RCA's, 5 tons of thick gauge wire, and some cool thick ground wires. I only wish he left the amps... I'm going to leave the rest of the disassembly until after the conversion is completed.


35649562911_59a86a0de4_b.jpg


HOW THE CONVERSION IS GOING DOWN -


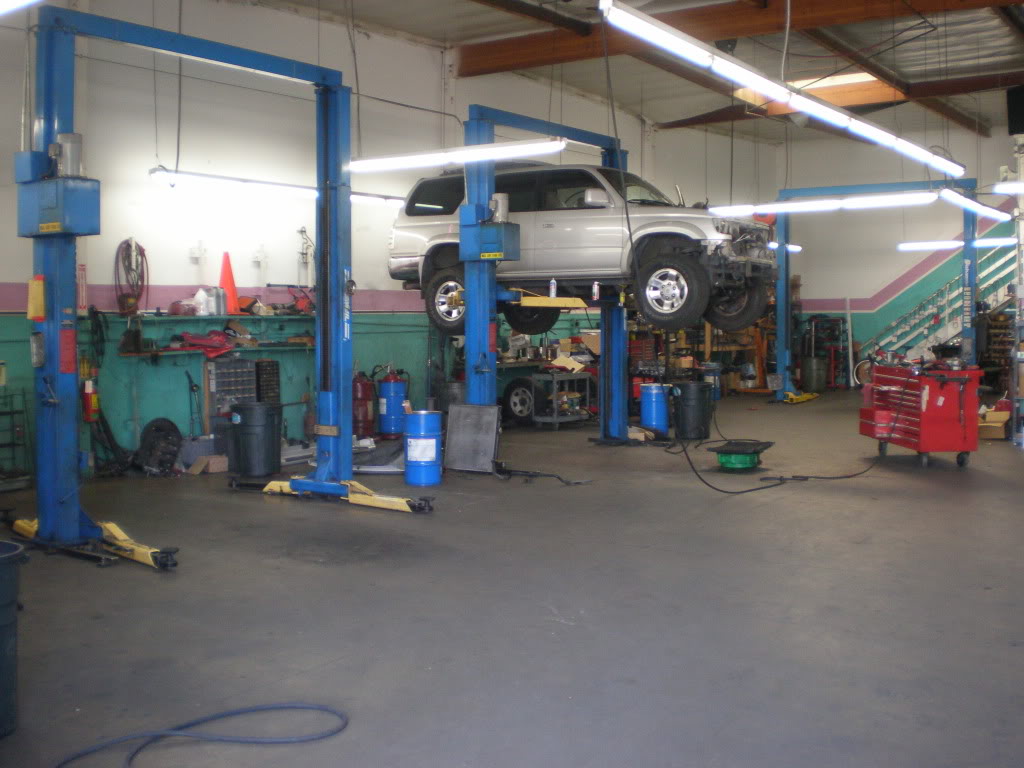
This is a huge job which far surpasses the experience I have. In order to make sure this job goes as planned, I've spent the last year researching exactly what I need to do. There's pages of wiring diagrams that still need to be figured out. Last, I've arranged a location for the work to take place because my garage is not equipped to handle it - I don't have an engine hoist or air tools to help with the slightly rusty undercarriage.

A few years ago, I met a local mechanic, John Najem, who is all about Toyota trucks. He's got some great projects of his own, including an 85 pickup with a 22R-TE swap, R151F, hi steer conversion, custom 28 gallon tank, the list goes on. Our relationship started when I visited him to fix things I wasn't able to do. He's since taught me countless things about working on cars, and has agreed to allow me to use his shop. I'm in for a lot of learning and can't express how grateful I am for this opportunity.

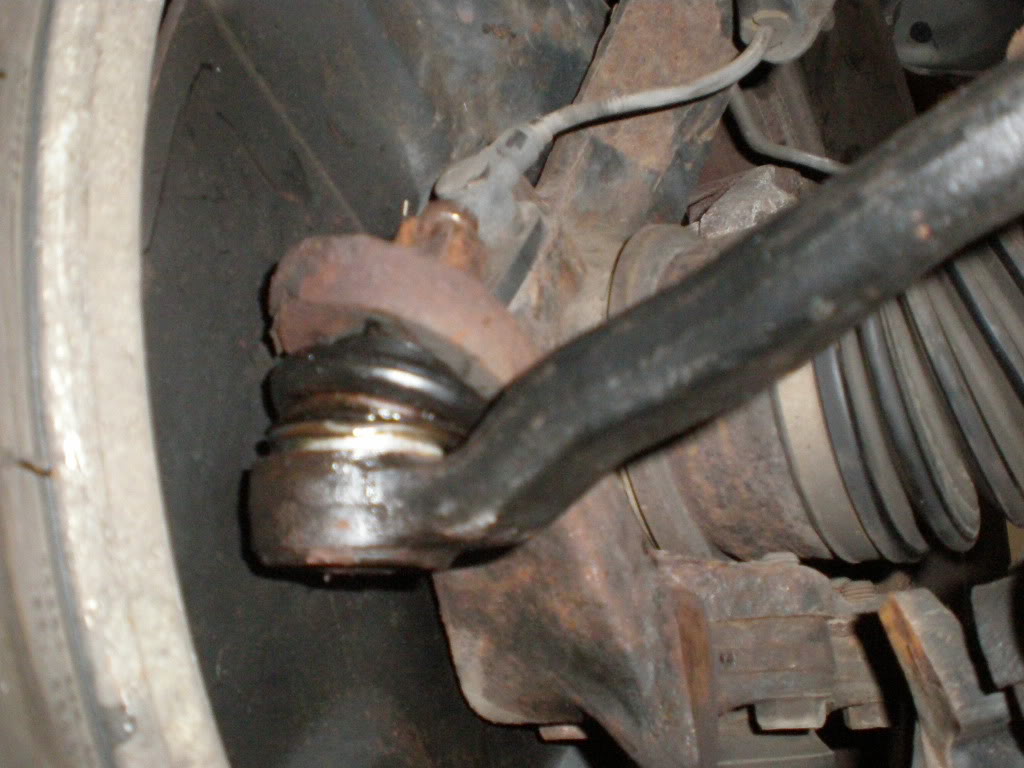
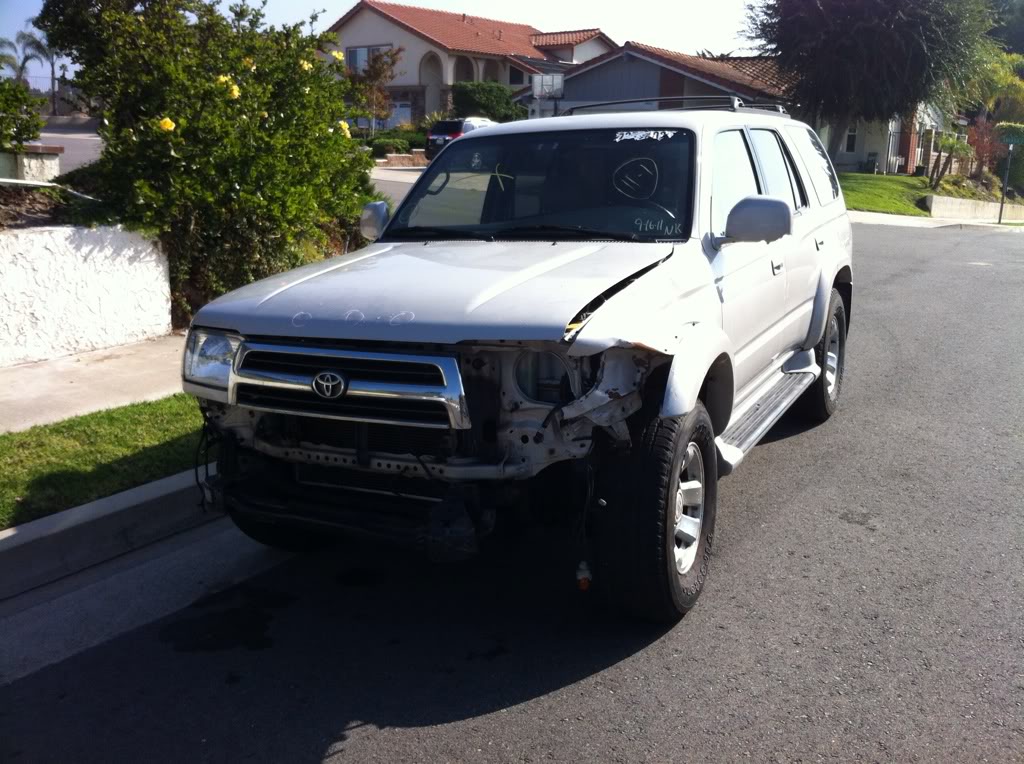
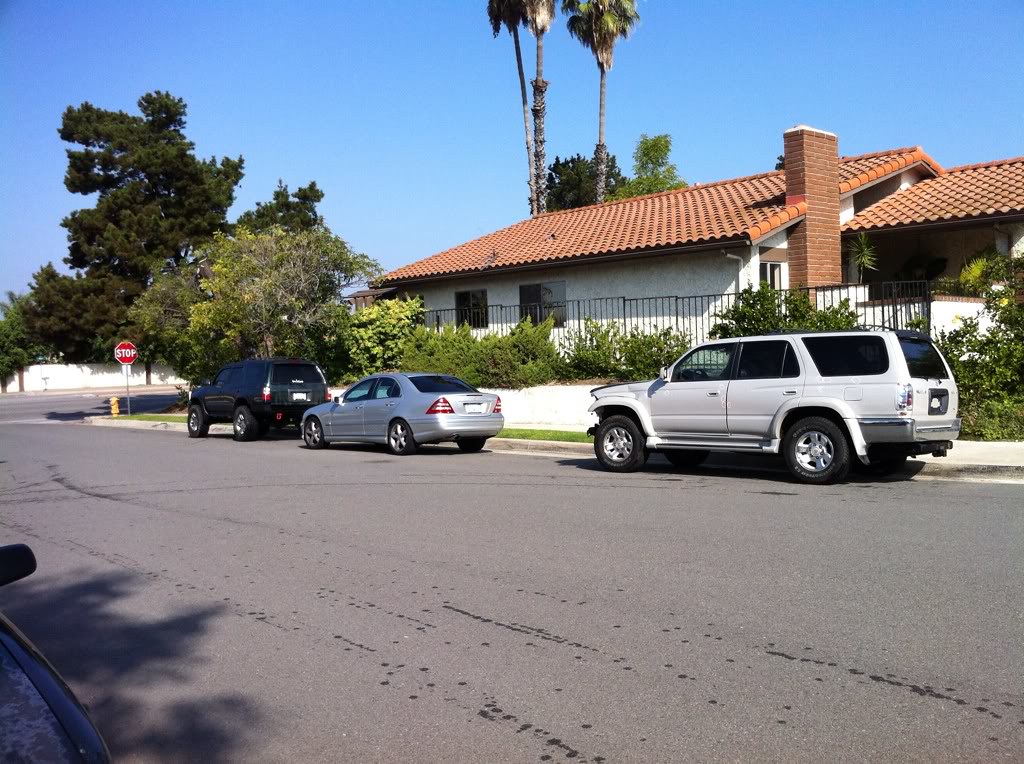
I got the donor truck from an auto auction called Copart. This 4Runner was shown as not running and driving. In the photographs, I could tell the front wheels were not pointed the same direction, leading me to believe there was a tie rod failure, and that the truck would run and drive other than that one issue. The truck showed up on the tow truck to my house, sure enough, the tie rod had just popped clean apart. I removed it and John, the shop owner, used his 30 ton hydraulic press to bend it back. He then pressed the ball back into its socket. After reinstalling the tie rod, I drove the manual transmission donor 4Runner down to his shop from my house. The clutch was slipping with light acceleration, original at 170k. A video is posted below.


Tie rod removal:

35611892472_1f63a928fa_b.jpg


Back in place and ready to go:

35611899082_186b86f71d_b.jpg


On the road with tie rod installed.
34940974804_cb1956d927_b.jpg


35649809331_bca6334fd3_b.jpg


First Day:
<iframe src="http://www.youtube.com/embed/-HgT91pSPx0" allowfullscreen="" width="853" frameborder="0" height="480"></iframe>


Driving the Donor for the first and last time:
<iframe src="http://www.youtube.com/embed/oqDicHSMt_k" allowfullscreen="" width="853" frameborder="0" height="480"></iframe>


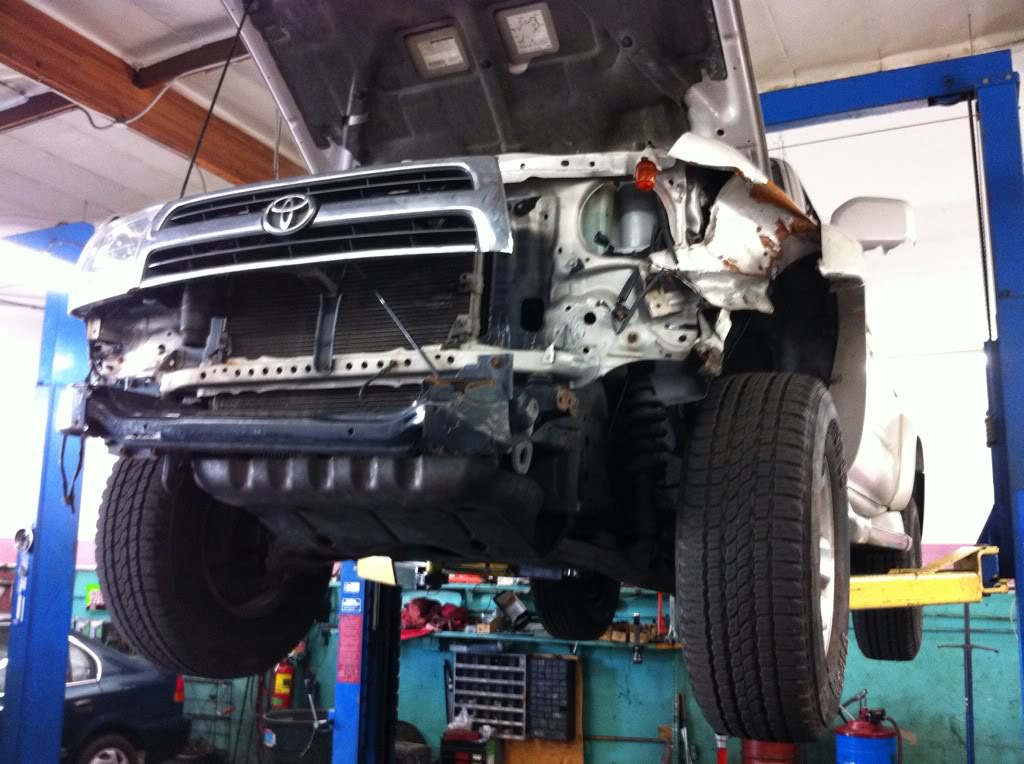
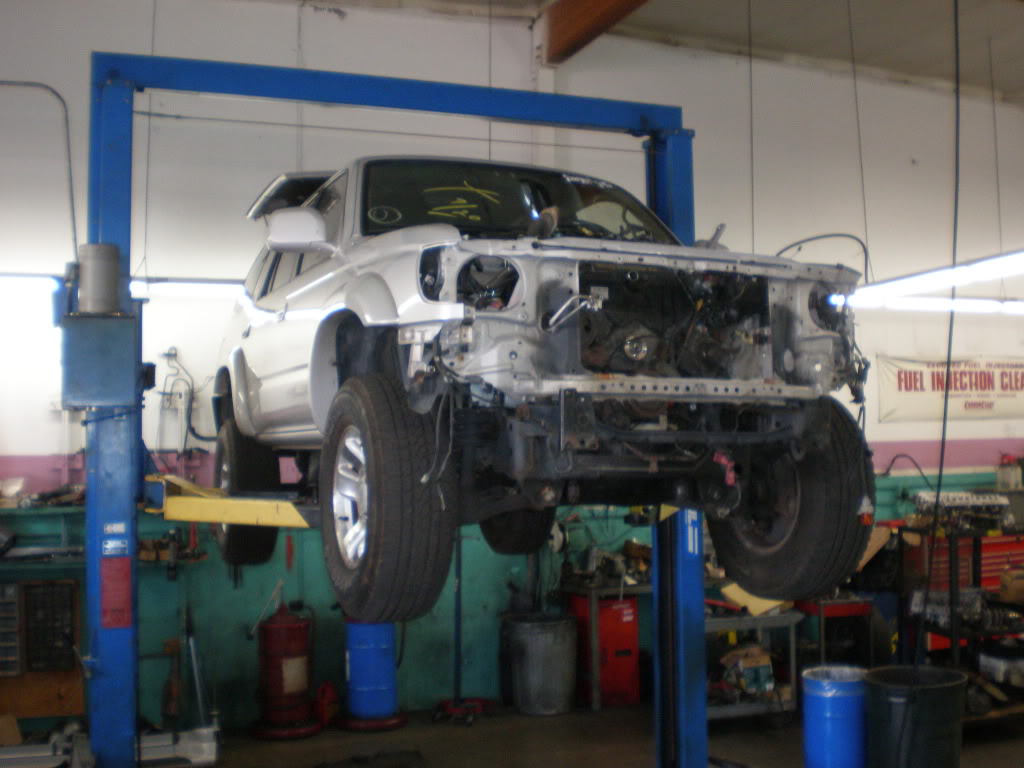
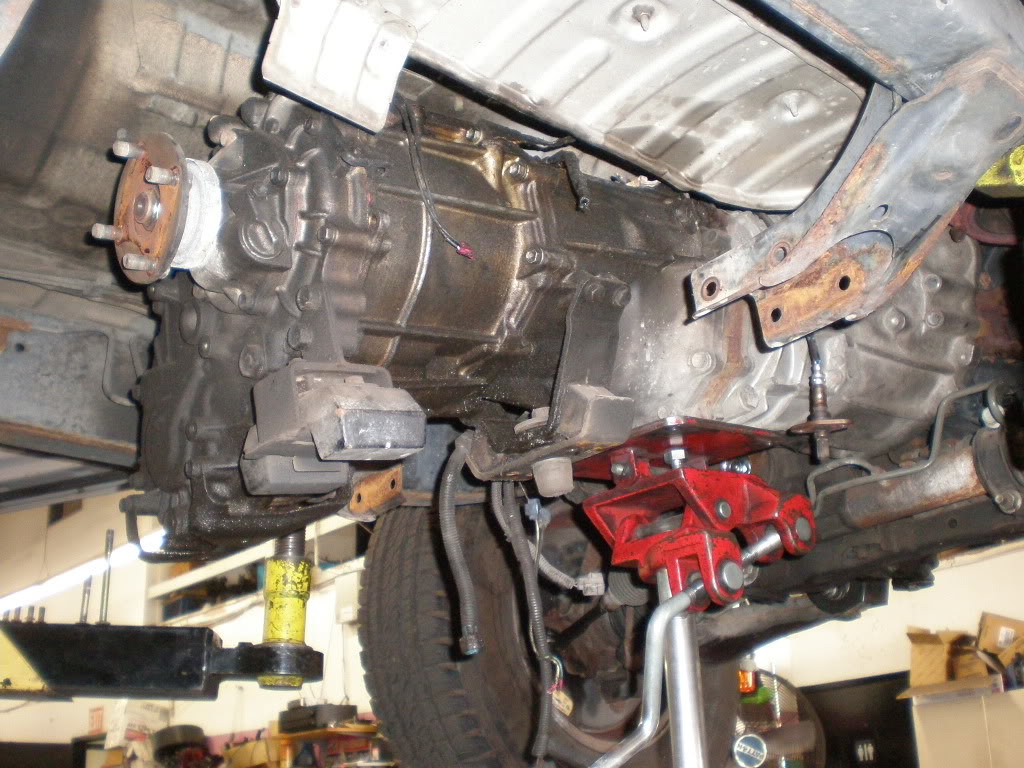
The donor went up in the air. First call to duty is removing the engine and transmission.

35393234080_10d2749617_b.jpg


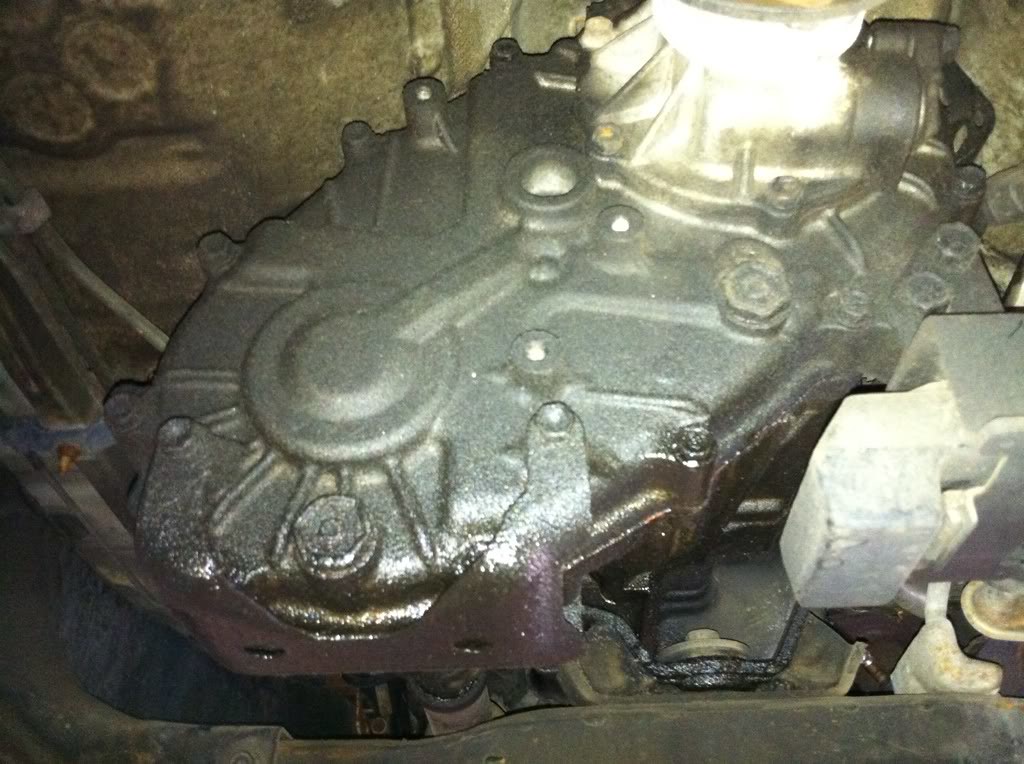
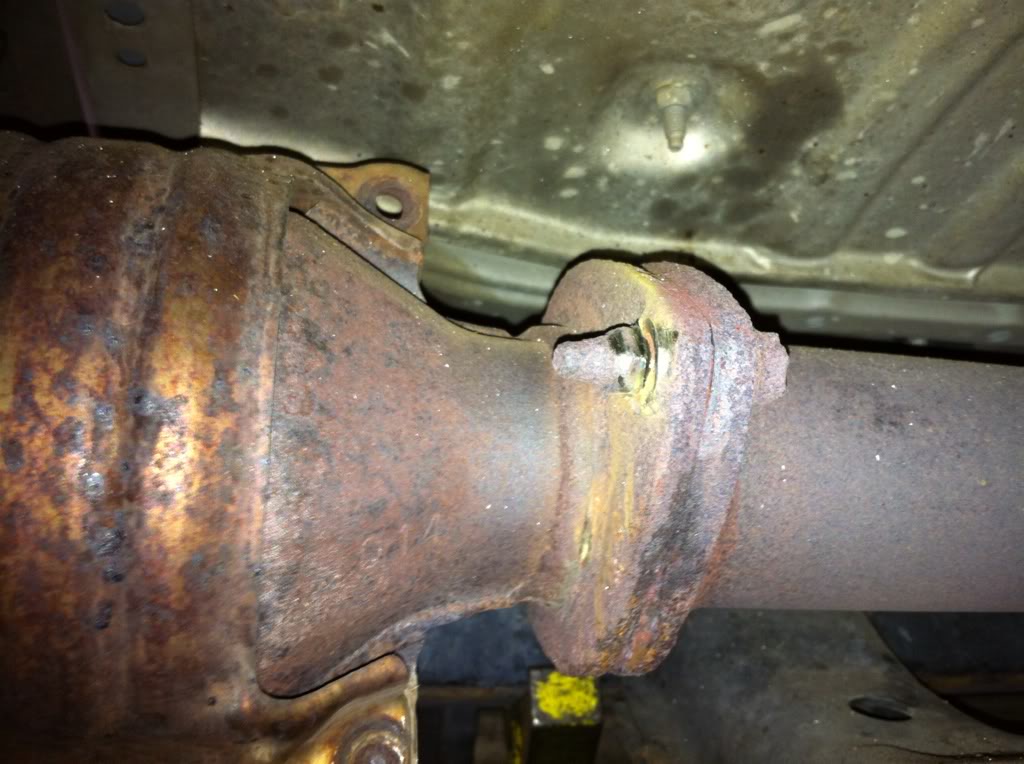
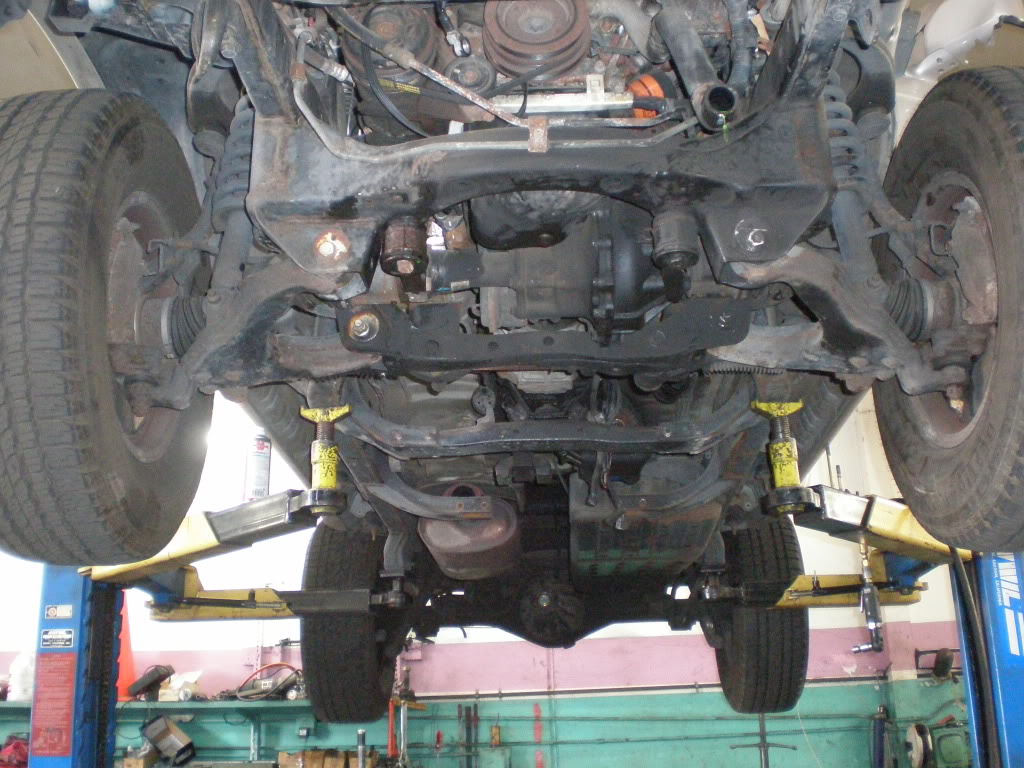
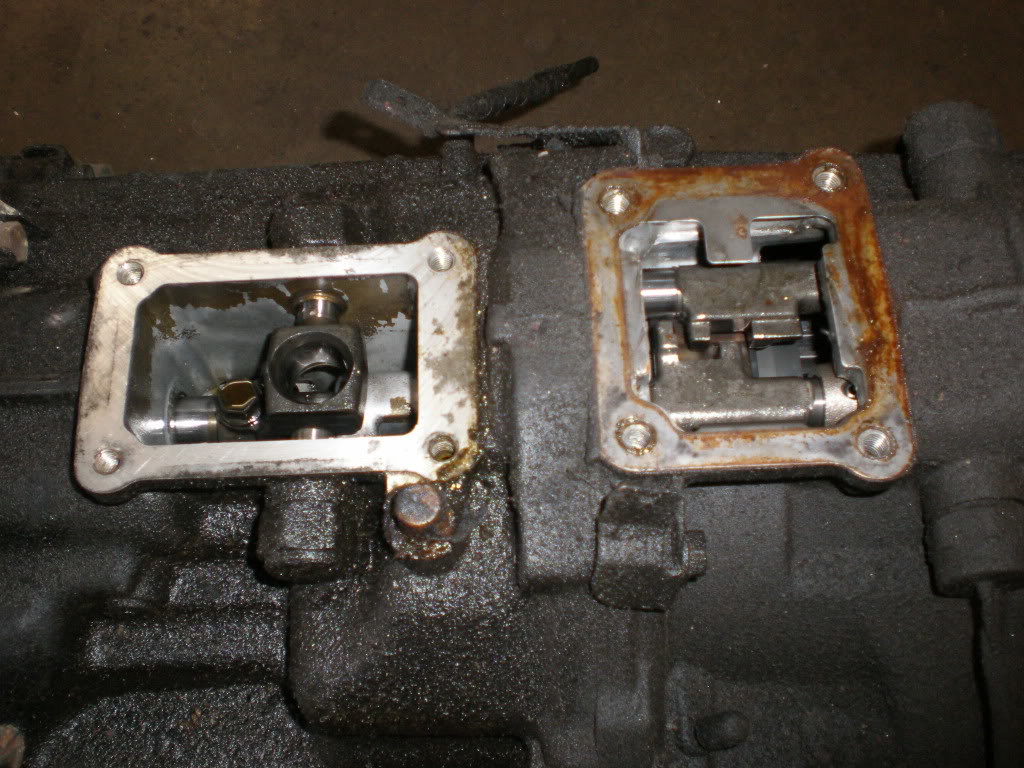
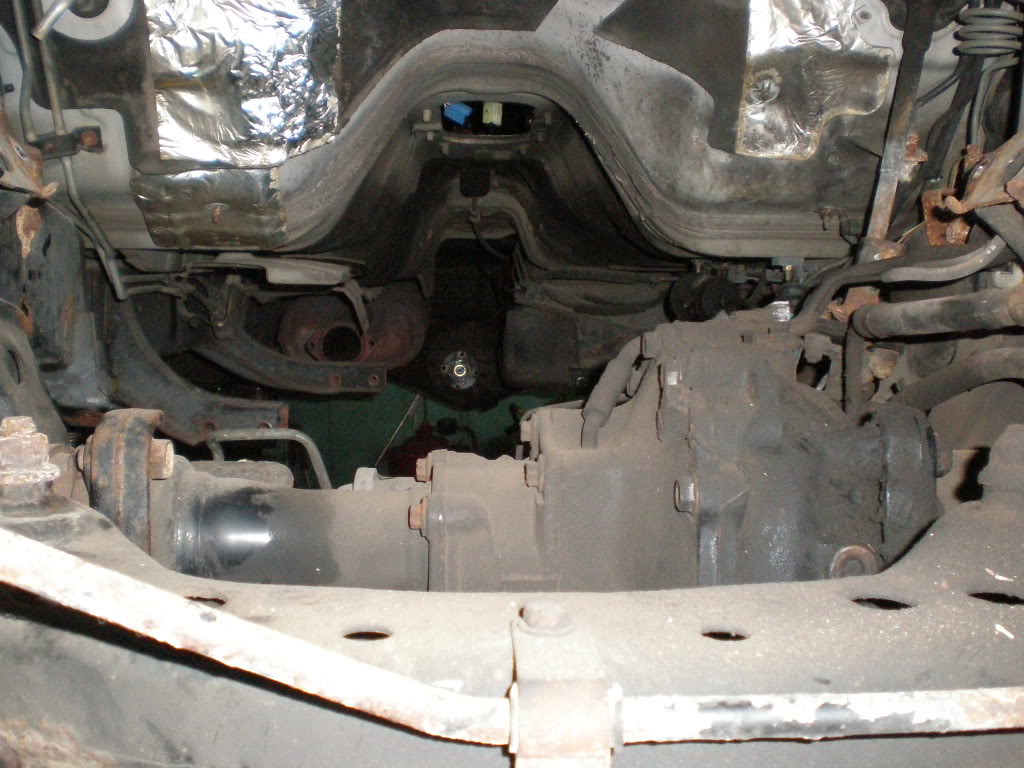
The undercarriage is not badly rusted. There's some slight leaking from the shifter seals on both the transmission and transfer case. The rear axle seals are blown, one of the shocks broke from the top mount, and there's a bit of rust on the exhaust. The parts I need will be fine to use. The leaks will be simple to fix when the transmission is out.

34940972564_ff540c85c0_b.jpg


The exhaust rust is bad enough that the bolts had become one with the cat. Angle grinder time.

35393233150_da321256f2_b.jpg


8AM tomorrow morning, I'm starting on taking out the motor and transmission :guitar3:. I will update with lots of pics.

:driving:
 
Last edited:
Sweet man! Can't believe you're finally doing this! Can't help but think though...the amount of money you've put into this rig....you could have bought 2! Well actually....you did...he he he! This is a great project man! Can't wait to see the updates! :guitar3:
 
This thread is full of awesomeness.

Seriously. You've got some very clean mods. One day when I get the $$ I hope I can mod my T4R cleanly like yours. The attention to detail on your mods is crazy! Keep up the awesome work.
 
You should get someone to come down strictly to take pictures. I'm sure it's going to be hard to work the camera while you're getting your hands dirty, but I know we'd all like to see as much of the process as possible.
 
awesome progress, cant wait for some more pics, btw dibs on the headlight(i had to :p)
thank you man. lol too bad, I stole it!

Cant wait
:zoom: im goin... lol

Sweet man! Can't believe you're finally doing this! Can't help but think though...the amount of money you've put into this rig....you could have bought 2! Well actually....you did...he he he! This is a great project man! Can't wait to see the updates! :guitar3:
I can't believe it either, lol. thanks man update at the bottom of this post for ya :)

This thread is full of awesomeness.

Seriously. You've got some very clean mods. One day when I get the $$ I hope I can mod my T4R cleanly like yours. The attention to detail on your mods is crazy! Keep up the awesome work.
I can't believe you're talking about my 4Runner... haha it means a lot dude. Thank you, I'd love to see your future mods.

You should get someone to come down strictly to take pictures. I'm sure it's going to be hard to work the camera while you're getting your hands dirty, but I know we'd all like to see as much of the process as possible.
lol, I don't know anyone who'd be willing to sit around that long. I got a lot of my own pics to post, I didn't go so far into detail of each item for removing the trans from the donor... `

cant wait to see how this will turn out!
Thank you! also, I got your message, sorry I couldn't answer. You're an awesome dude. I'll try to keep everything updated every night


DAY 1


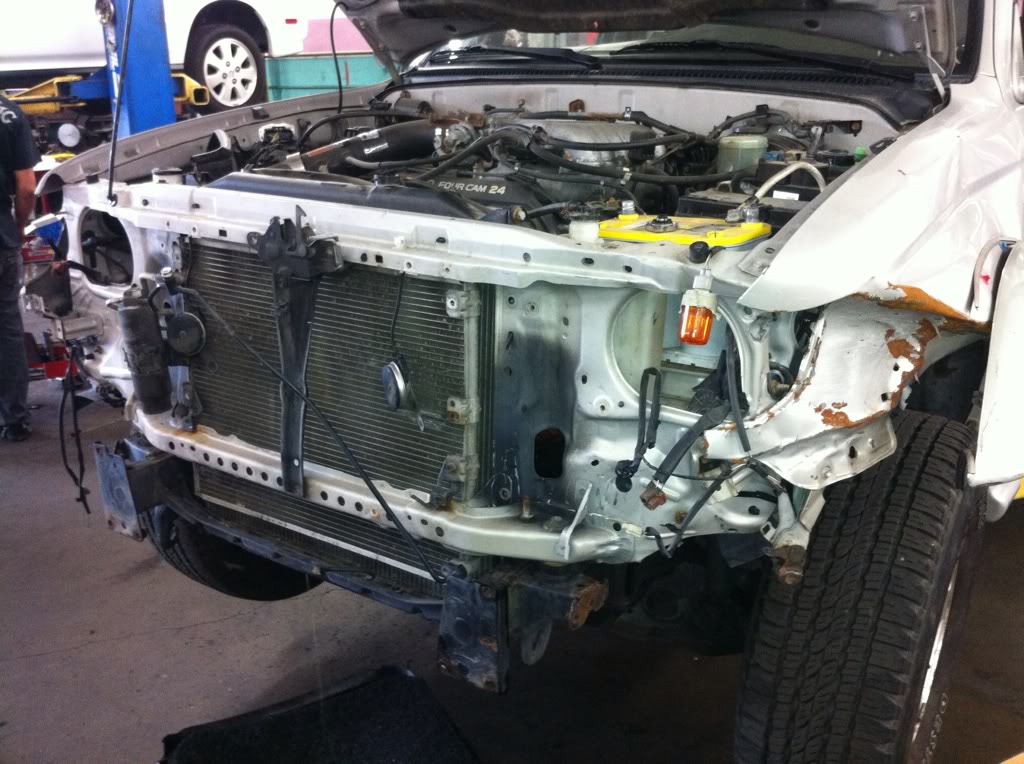
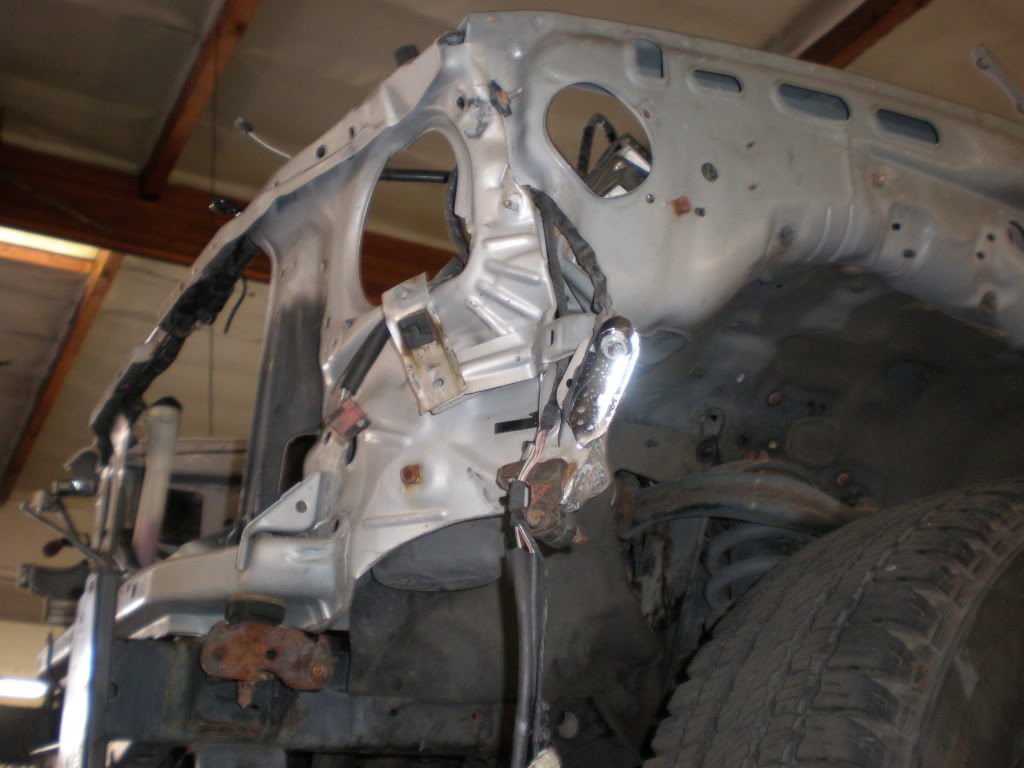
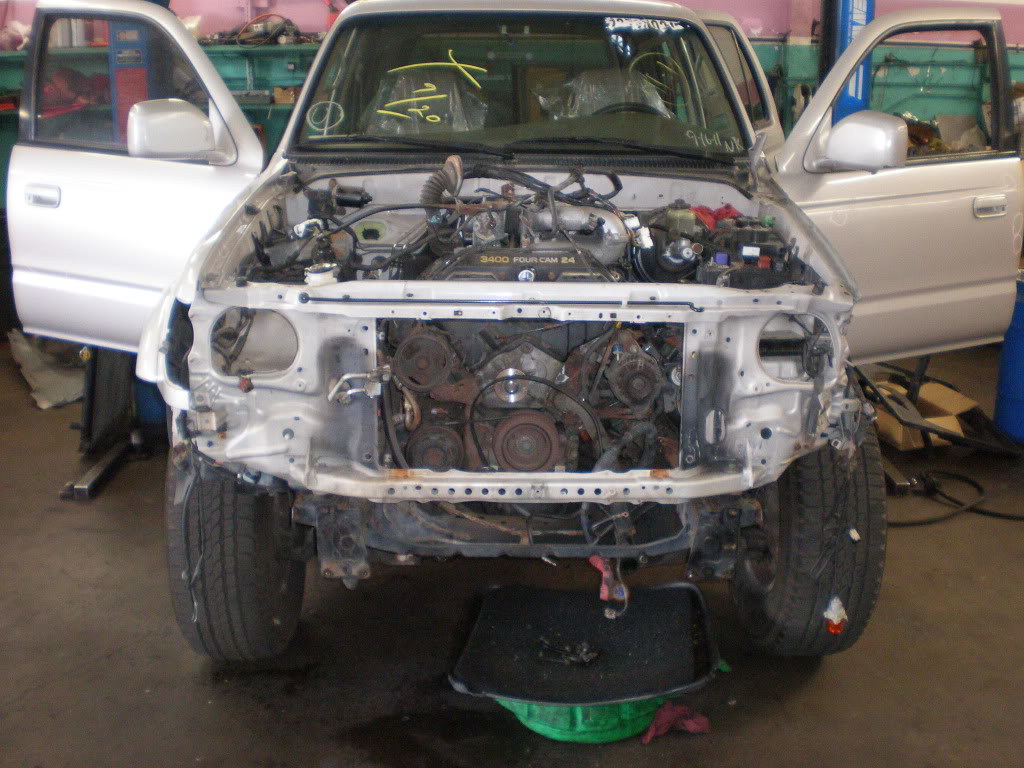
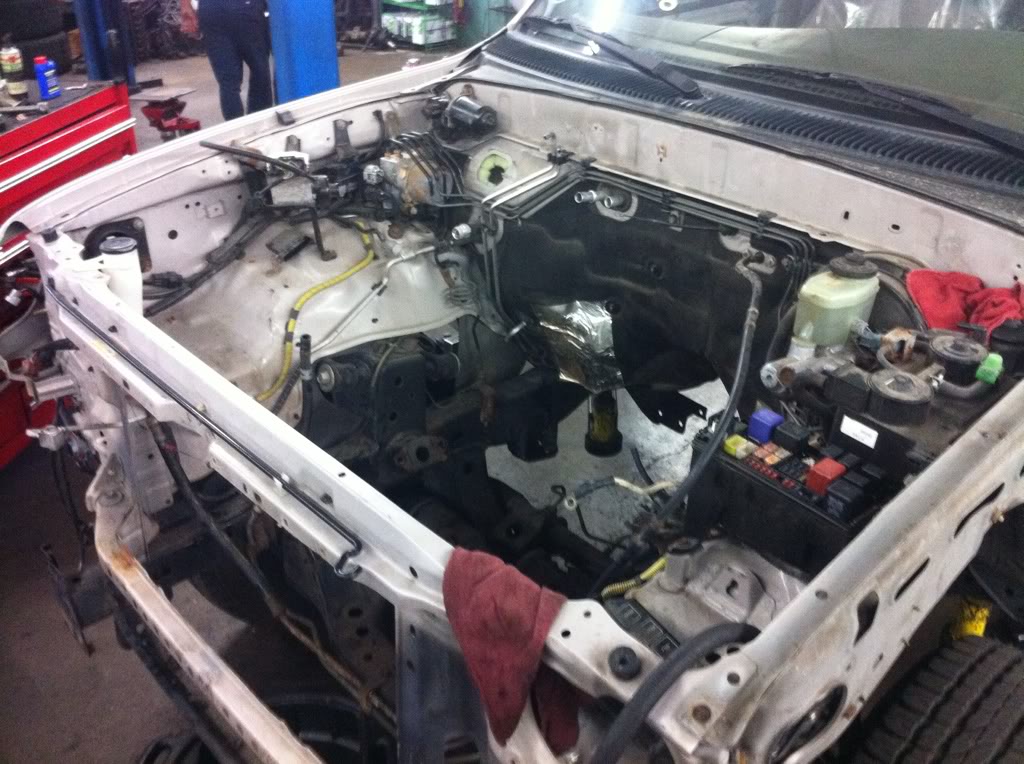
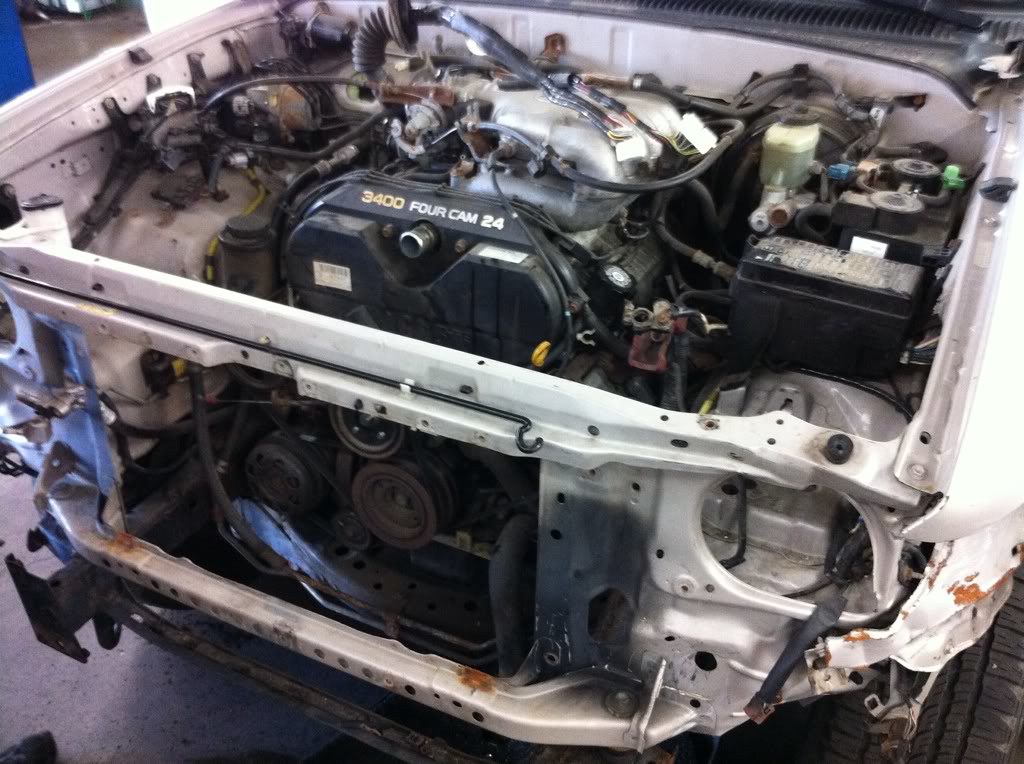
Starting out with stripping the core support area - this truck is never hitting the road ever again.

35393233470_102550b346_b.jpg


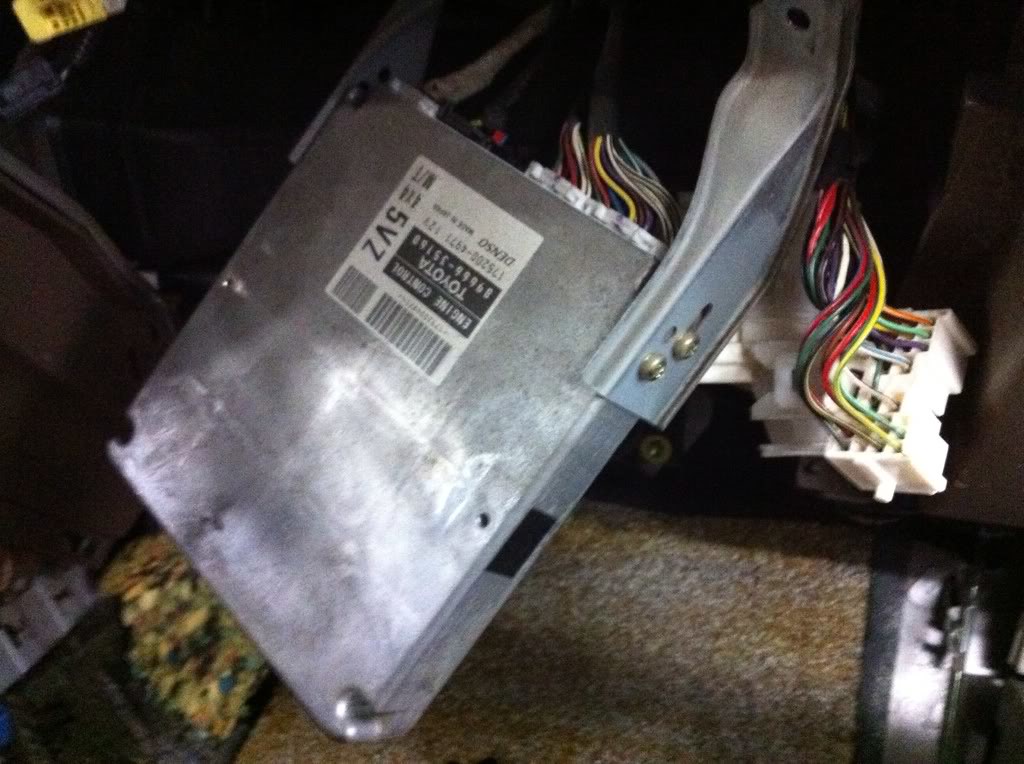
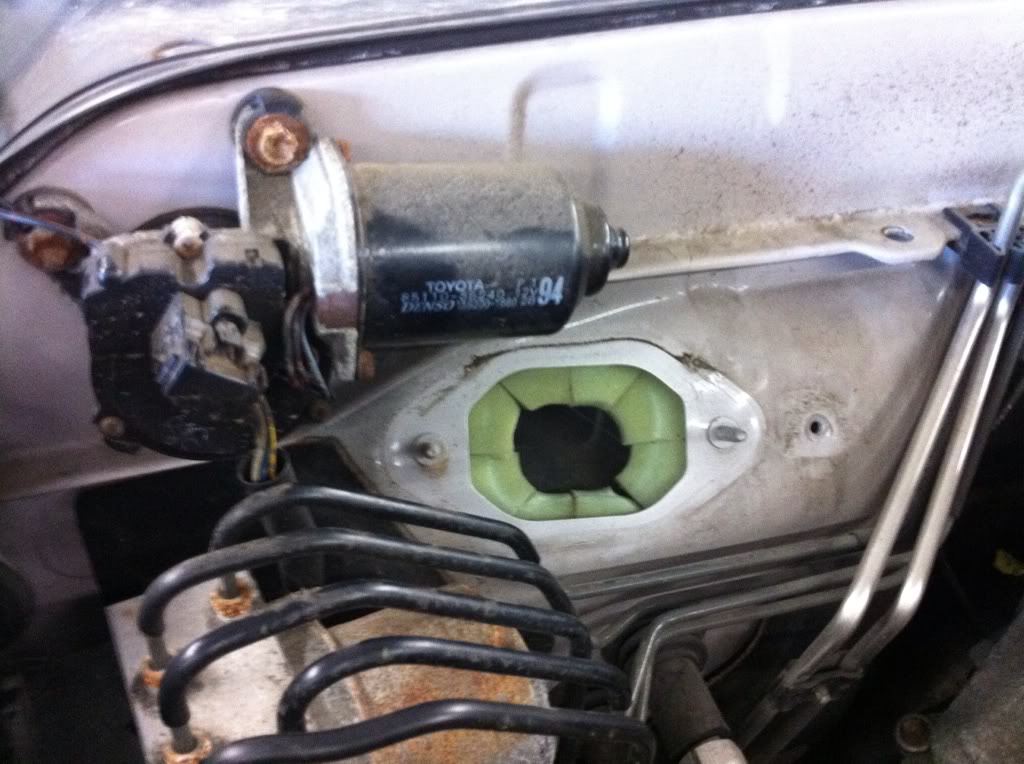
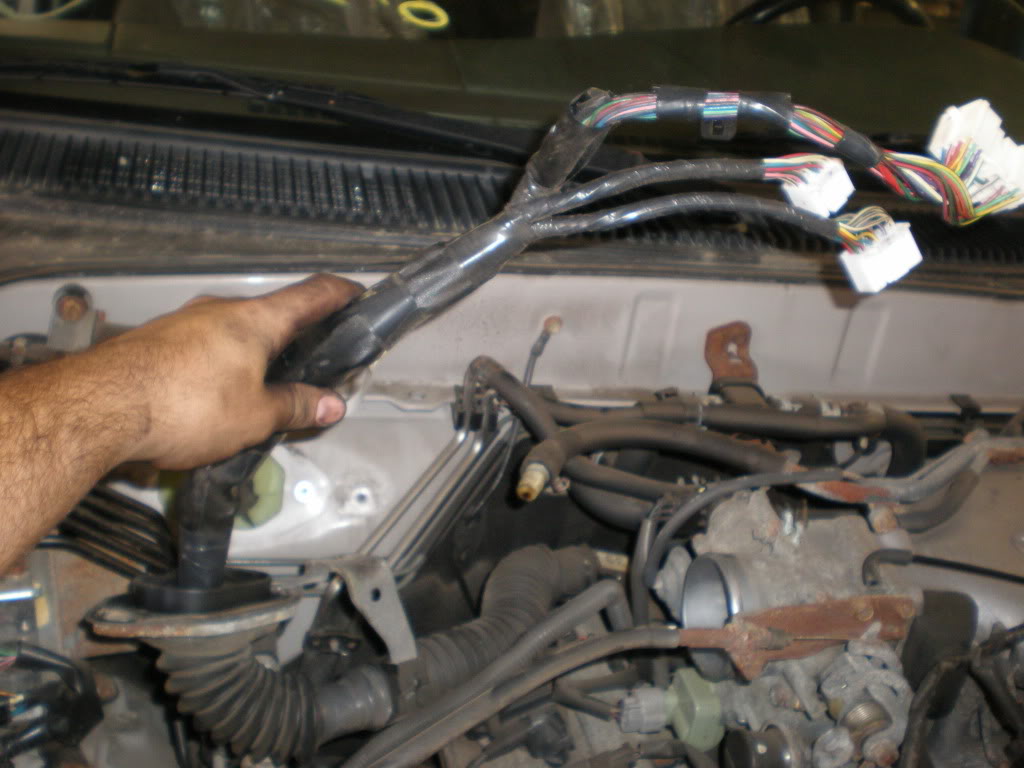
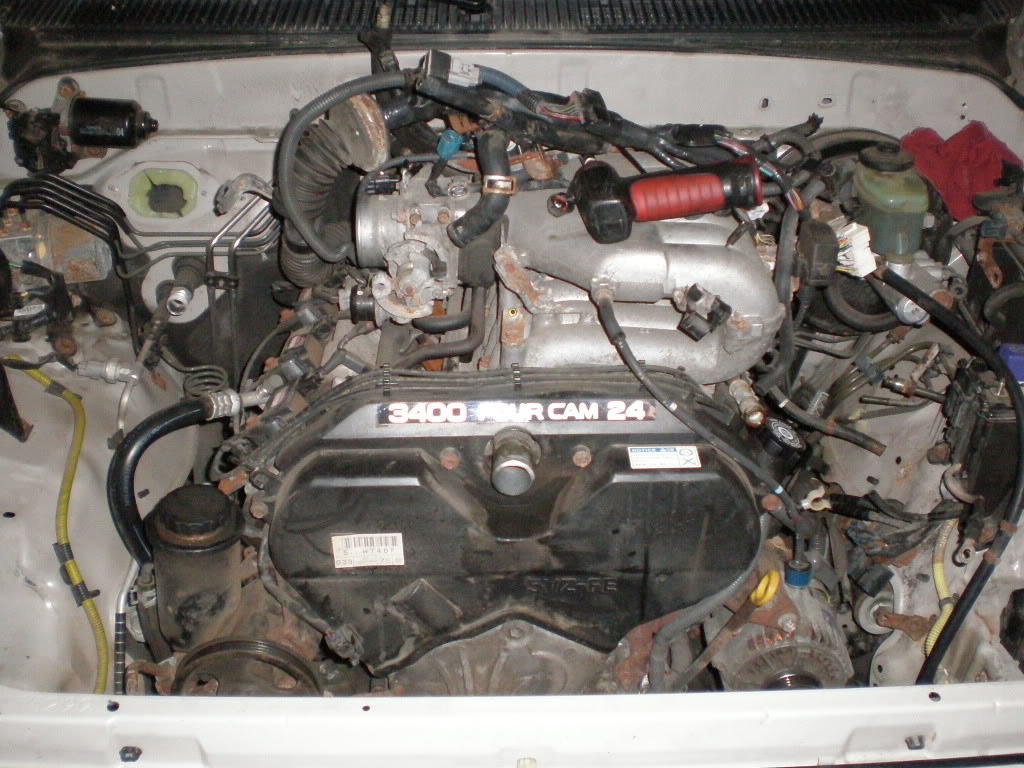
Removed the ECU to get the engine wire harness out. This will allow for the motor to come out with the harness still attached, which is good because the intake manifold and accessories can stay in place.

35781266925_5301e201a0_b.jpg


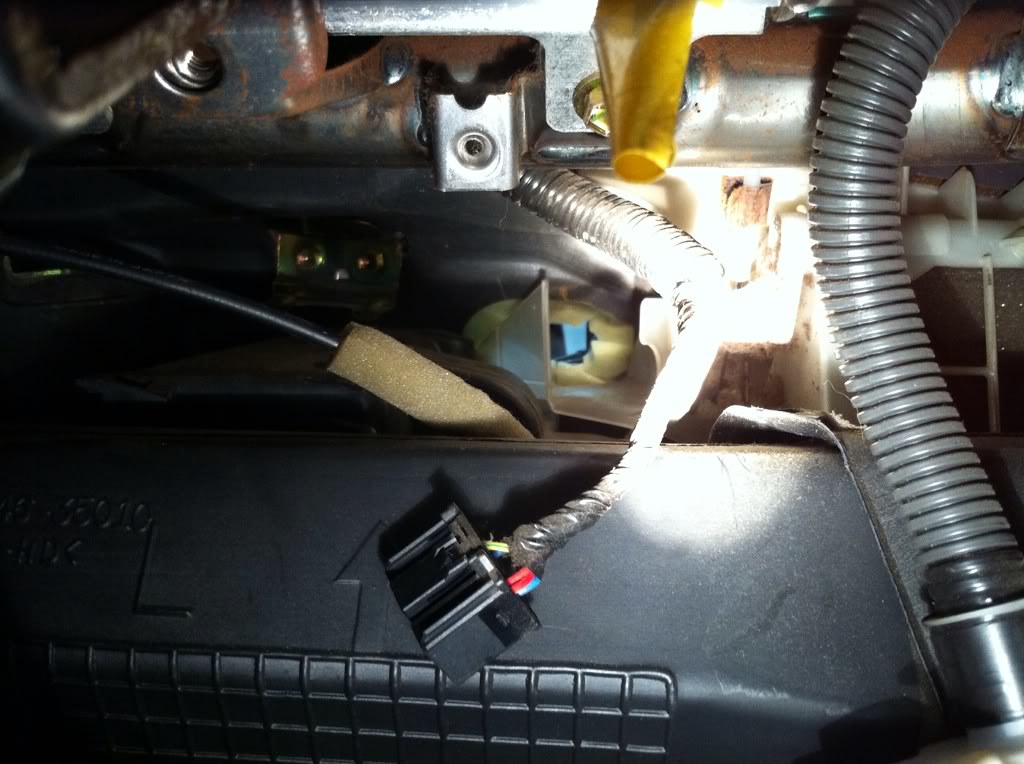
The wires go straight out into the engine bay, much easier to take them through the firewall than to remove the wiring from the motor.

35611892712_495fd89269_b.jpg


35393232920_25a8239931_b.jpg


35649813191_9c065e2685_b.jpg


35649813081_8291d68281_b.jpg


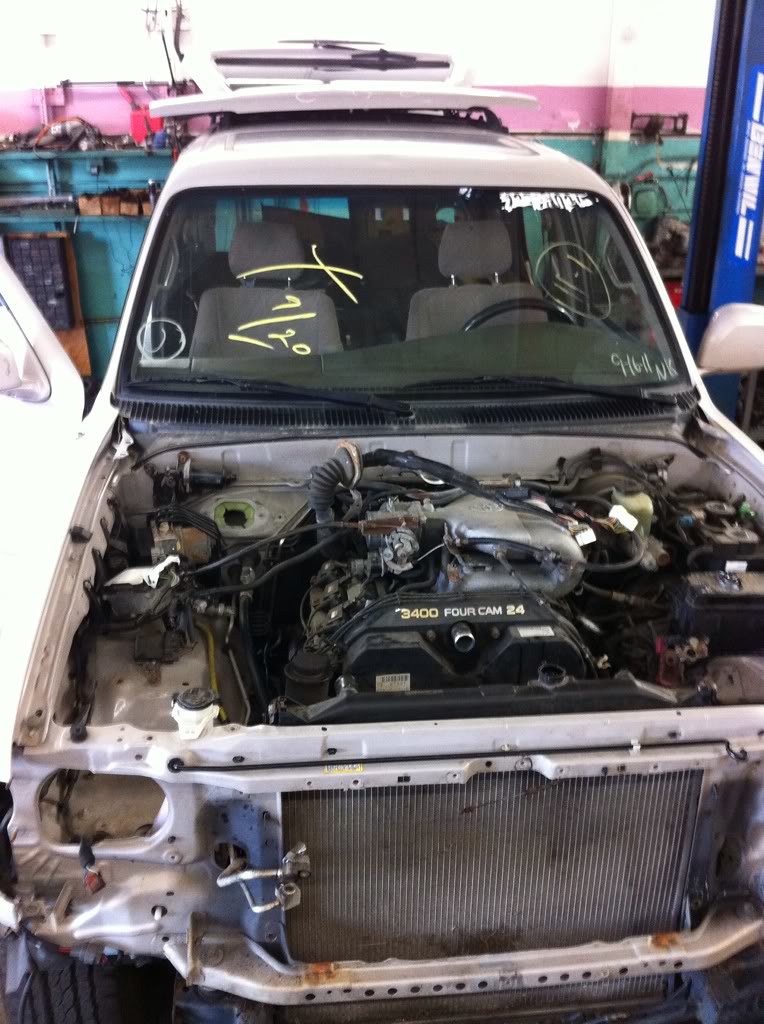
A lot of the bolts and studs broke because of rust. It's led to a lot of wasted time on things that should have been quick. I'm thankful we have no salt on our roads here. This is after pulling the radiator and getting the engine ready to pull, with the exception of the bell housing bolts.

35393233340_4091e3117c_b.jpg


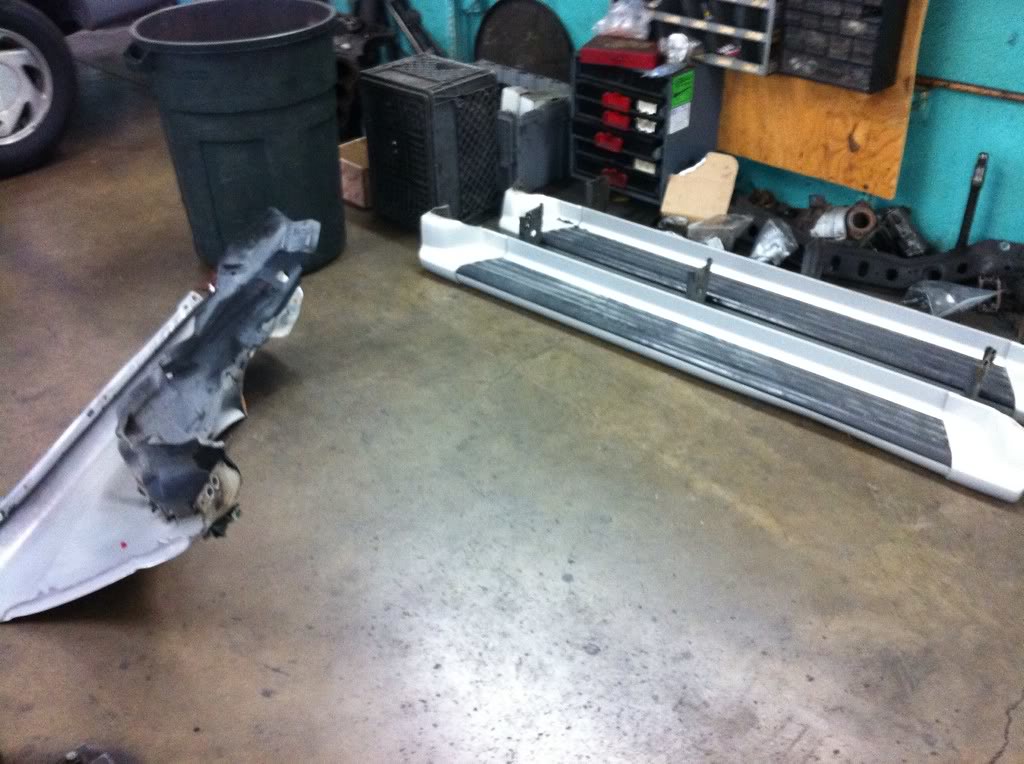
I needed to remove the damaged fender, which meant removing the running board to get access to the lower bolts. Ended up just pulling both off. Air tools are nice.

35781267035_6ccecca912_b.jpg


35649813341_df0654f907_b.jpg


Anyway, the good stuff. Next up, transmission:

35393232700_25974a292f_b.jpg


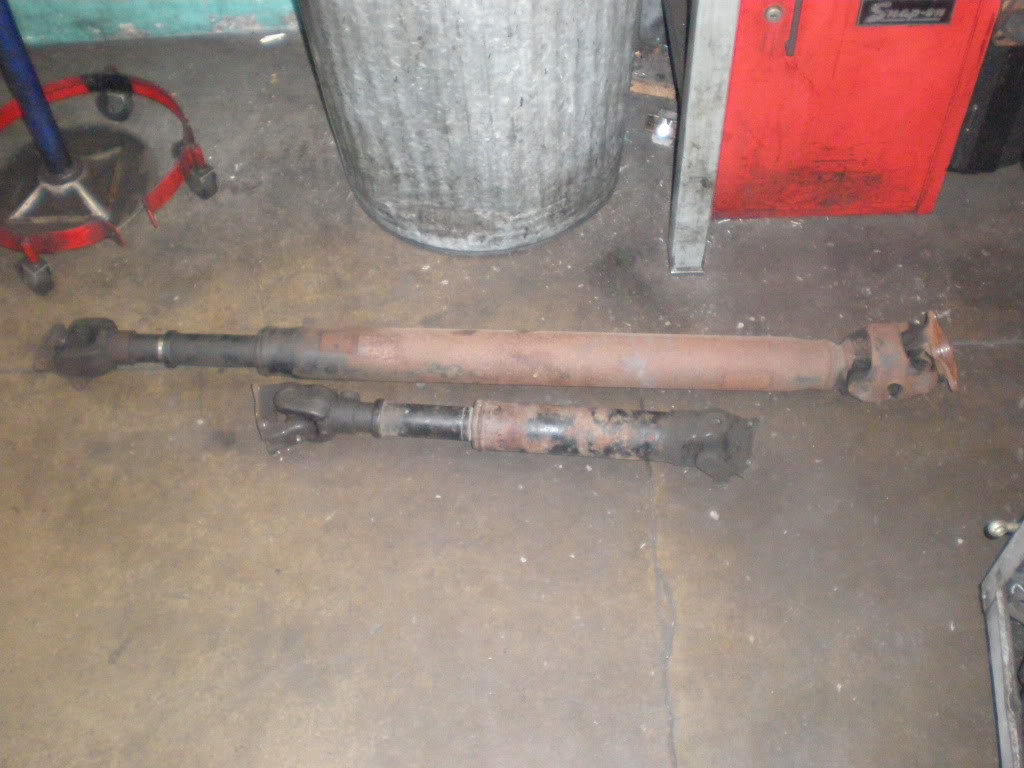
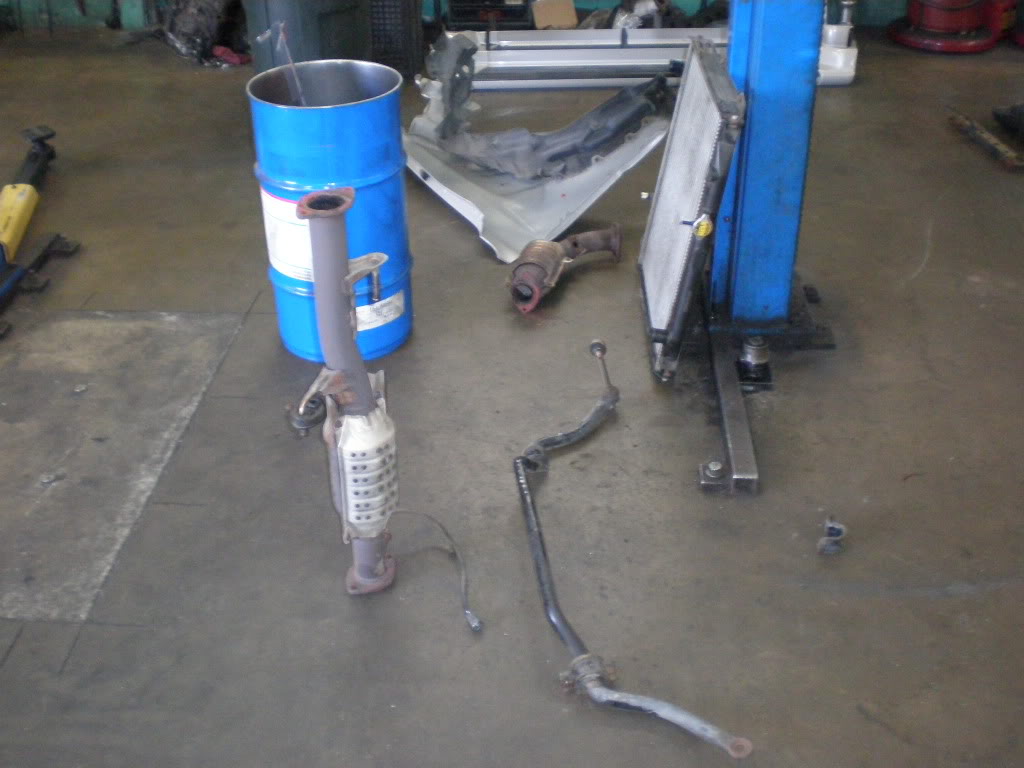
Removed the rust-fused exhaust and CA catalytic converters. Next to come out were the driveshafts, transmission crossmember, and front sway bar:

35393232650_fdfacb821e_b.jpg


34940971814_00fd062074_b.jpg


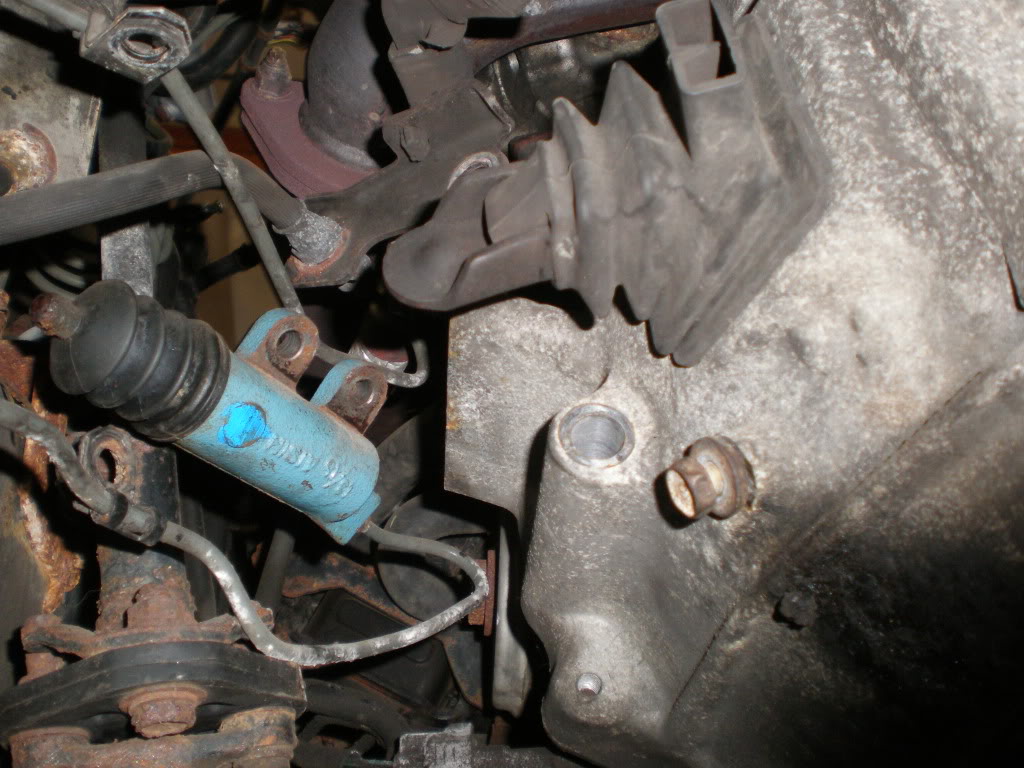
Slave cylinder unbolted:

34940971874_56b69a6521_b.jpg


I had the place to myself basically.

35393228960_208e37022a_b.jpg


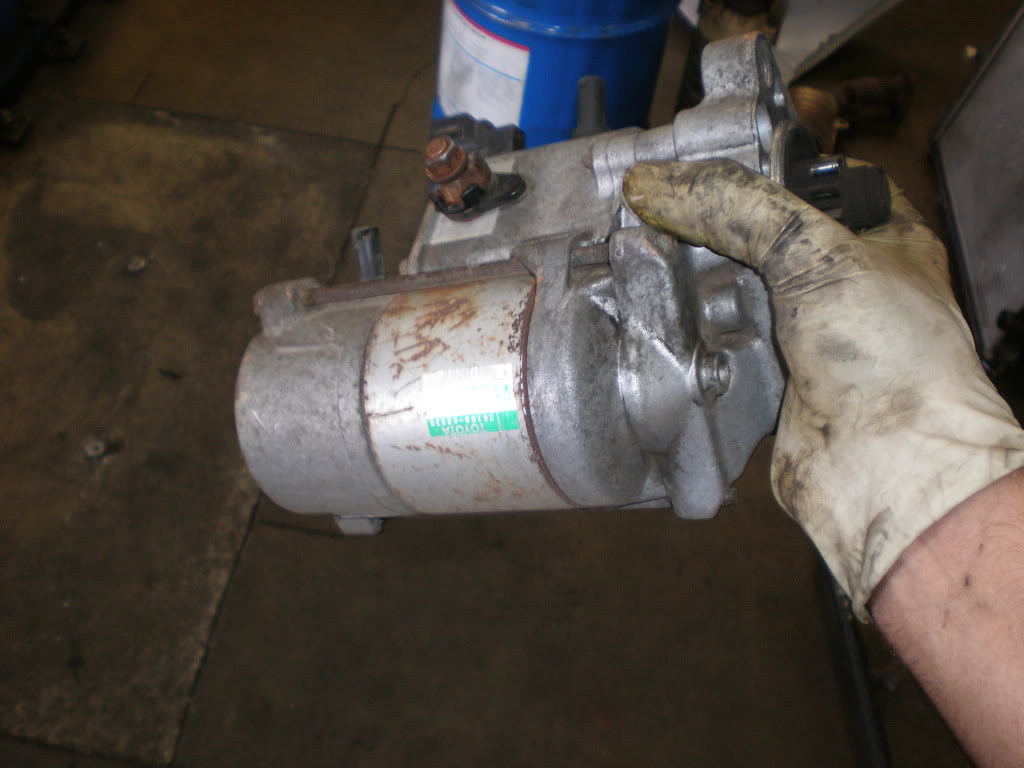
Here's the starter out as the bell housing bolts were removed:

35781272115_b34fbc16e0_b.jpg


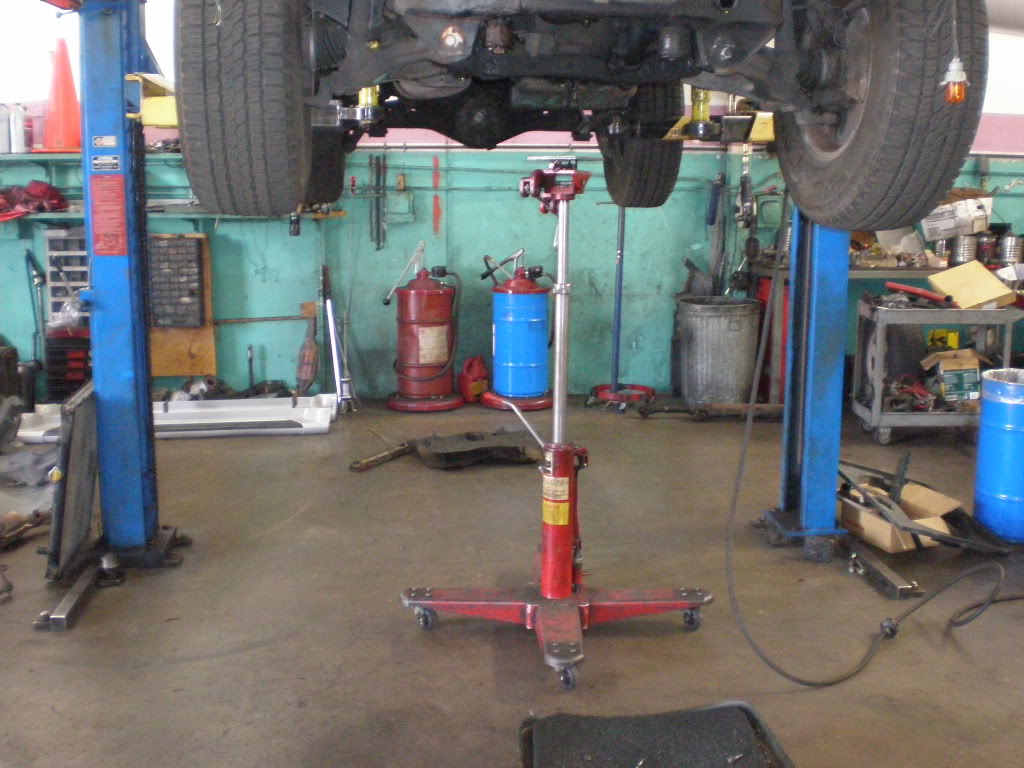
Transmission and transfer case shifters are both removed as we get the transmission jack ready to go.

34940971704_4786230171_b.jpg


continued:
 
Last edited:
Jack in place

35781272215_26c5306102_b.jpg


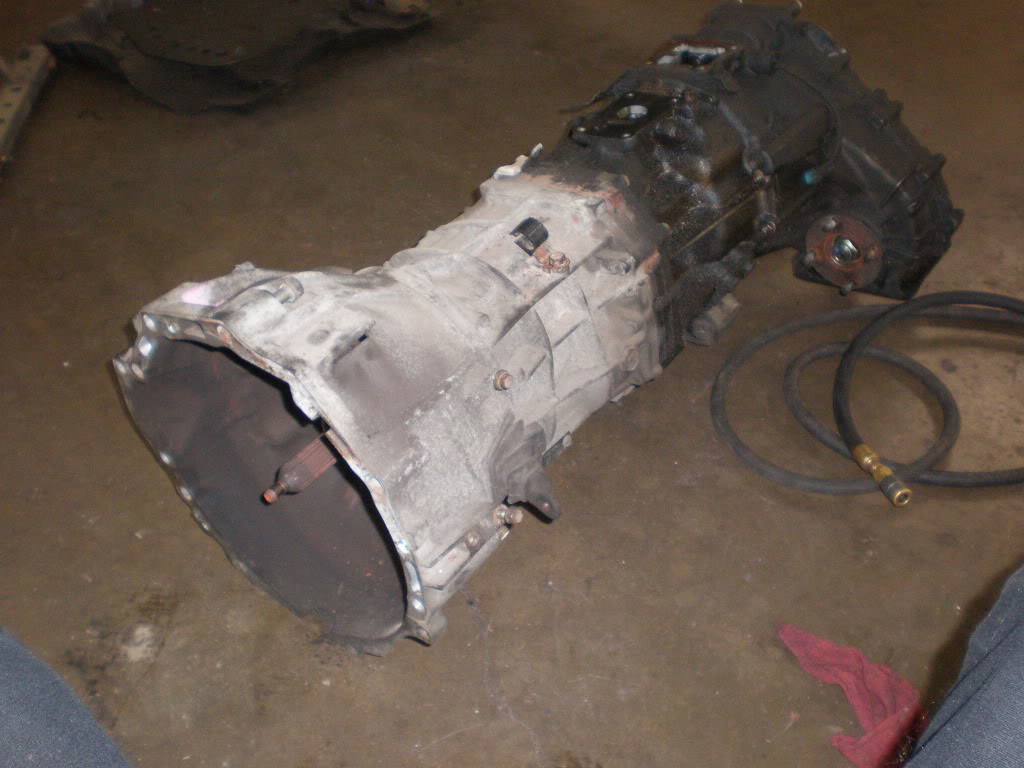
R150F coming out. A little wiggling and it slides out.

34940979984_ac77b64e1d_b.jpg


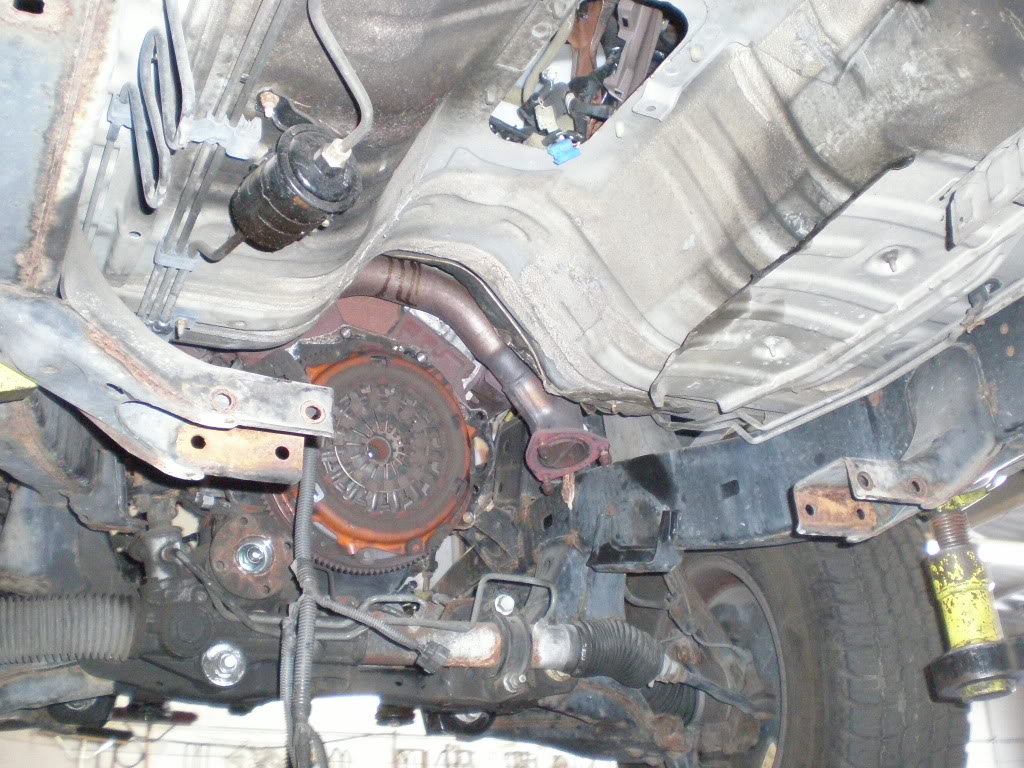
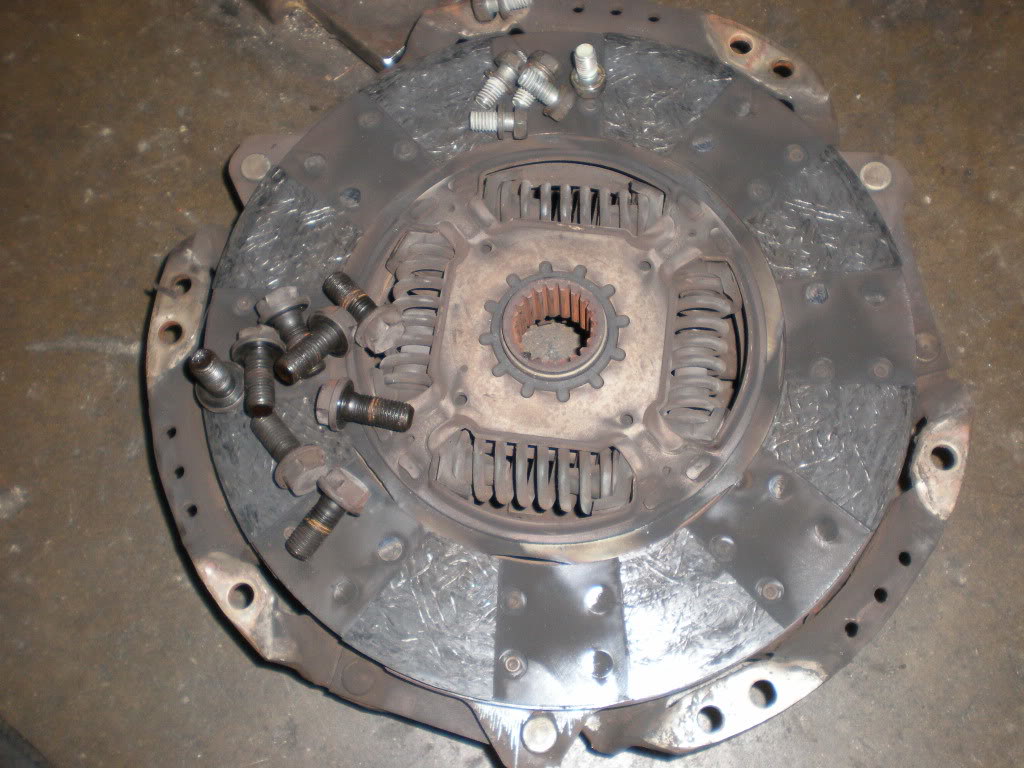
Transmission removed. Original clutch and pressure plate showing. She's an ugly one.

35649569781_a02420ce34_b.jpg


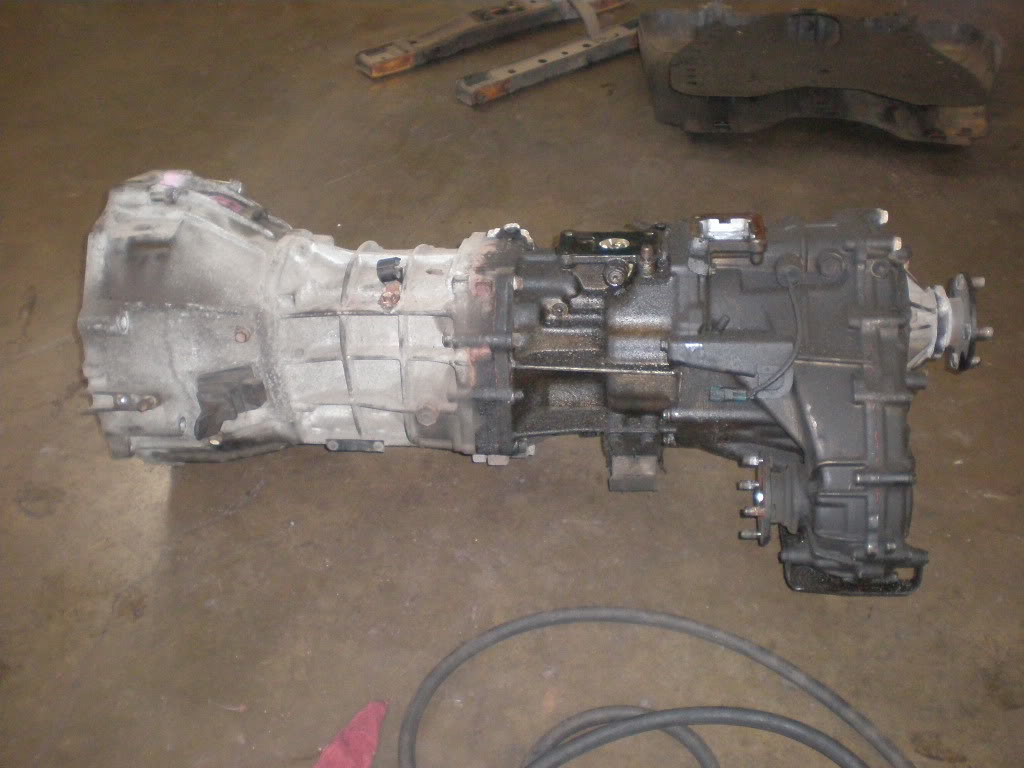
R150F

35611899252_65992ccdb6_b.jpg


34940978544_8d88be08cb_b.jpg


The shifter seal leaks will be easy to solve before installing into the green truck.

34940978204_06fc2f1cb9_b.jpg


Here's the completely fried clutch disk. The rivets in the disk were worn down.

34940979644_222707387d_b.jpg


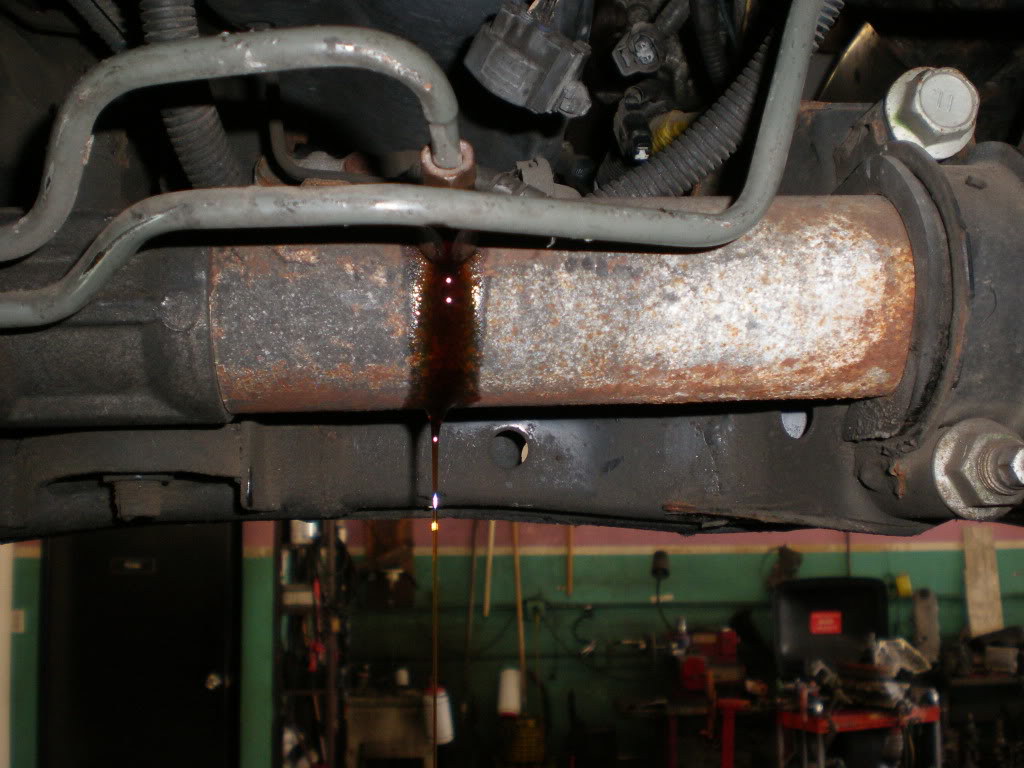
Now it's time to pull the engine. The power steering fluid was drained from the race so the power steering pump wouldn't need to be removed from the motor:

34940979604_65bd5dc5c1_b.jpg


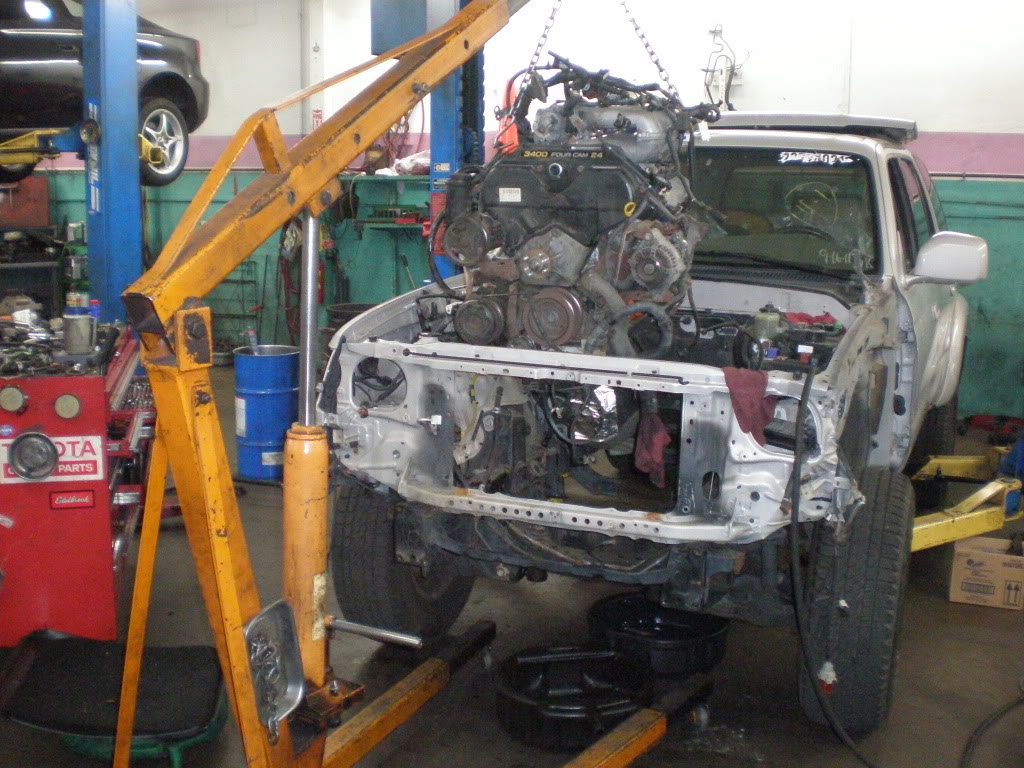
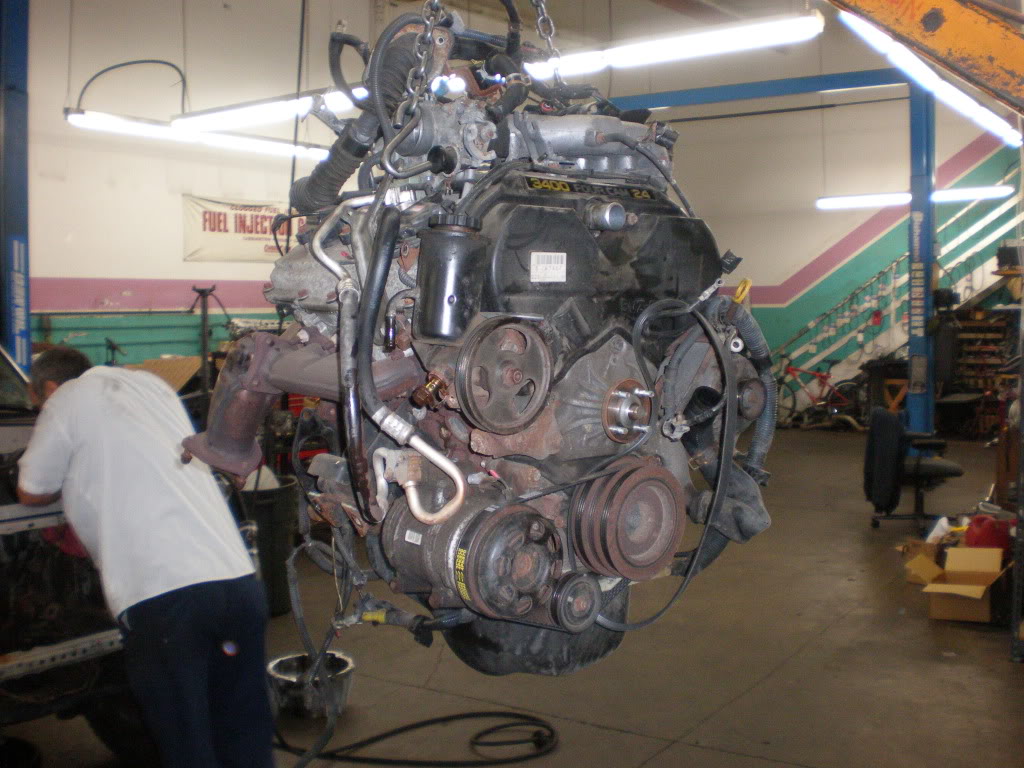
The engine soon followed:

34940972094_deaedfec9d_b.jpg


35781267995_7c88e6e803_b.jpg


34940975274_fc62285fde_b.jpg


34940975074_0fee6c6aaa_b.jpg


34940974984_ac785a505e_b.jpg


35781267135_8df28d9e7d_b.jpg


34940974894_29d7067cf2_b.jpg


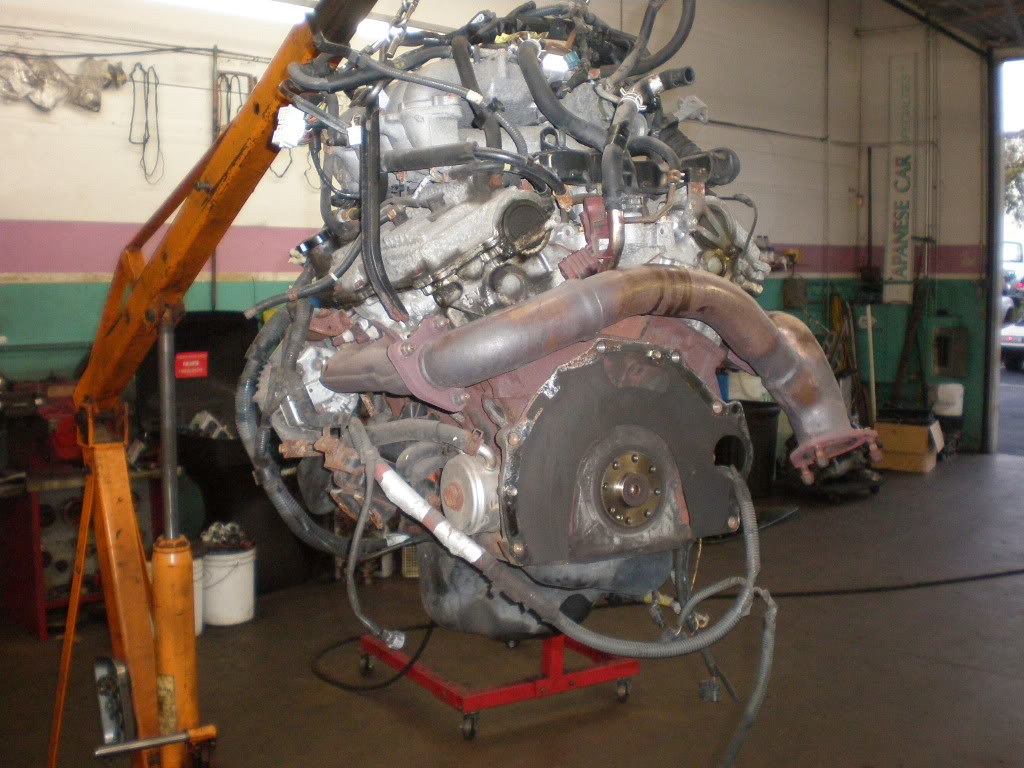
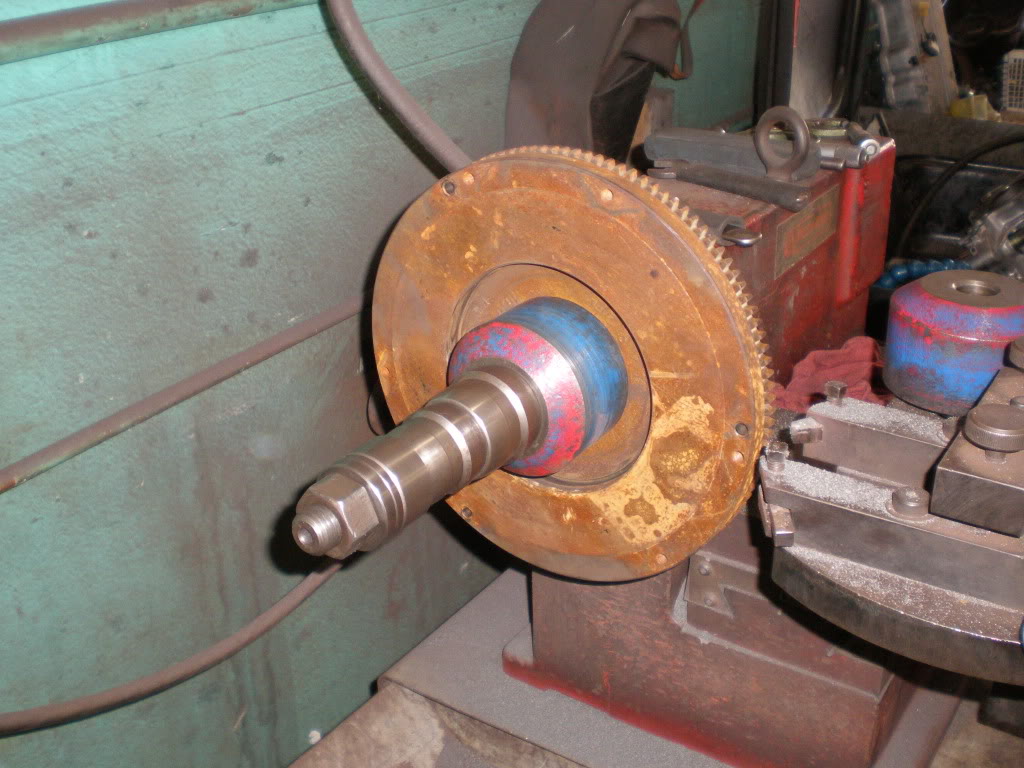
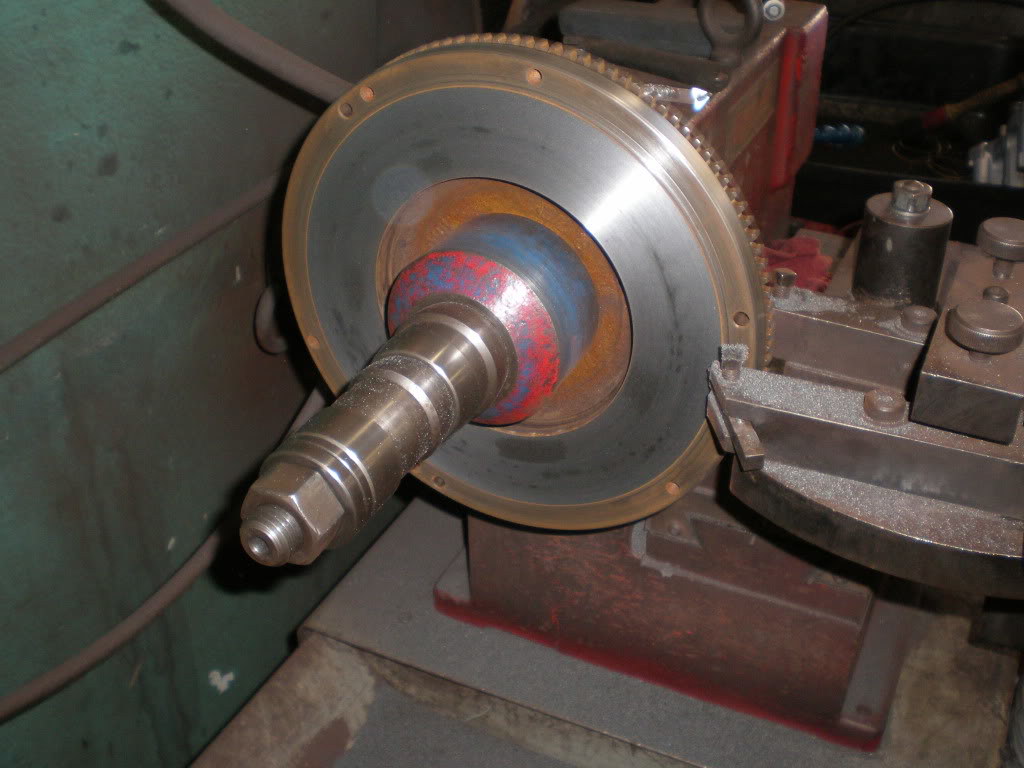
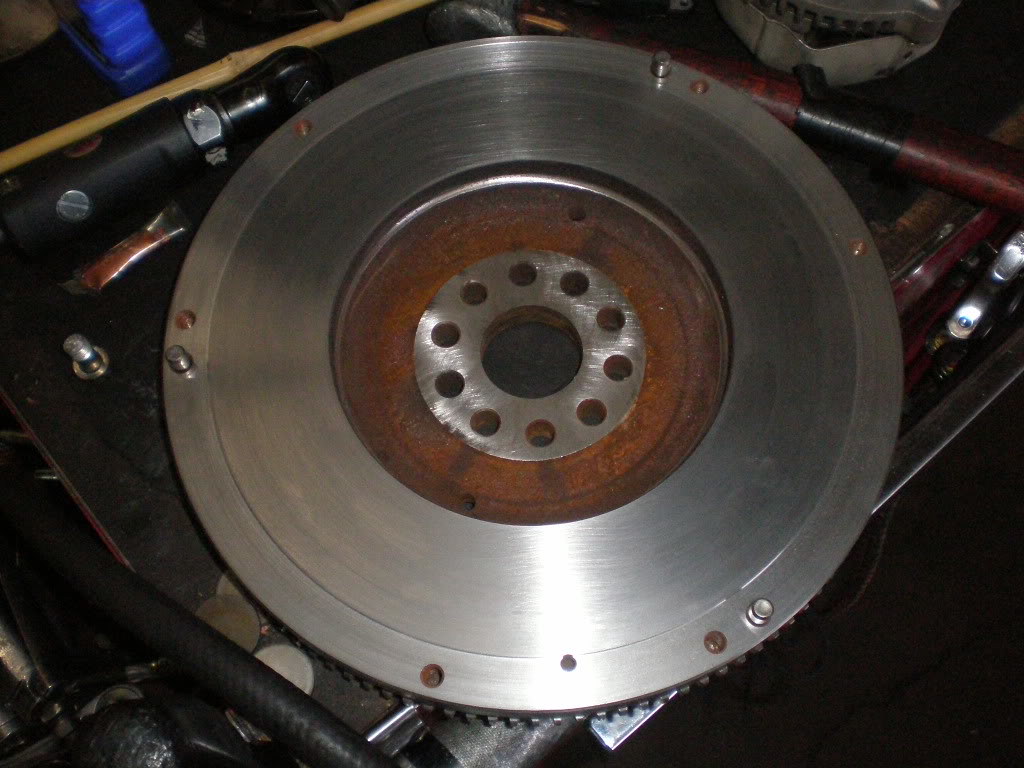
This rusty 3RZ flywheel was $25 used online. It took machining it twice to get it looking clean. There are some heat spots, nothing crazy.

34940978974_178d74f2b8_b.jpg


After the first pass

34940978754_67463d2cb8_b.jpg


After the second pass.

34941649154_ca6b88588e_b.jpg


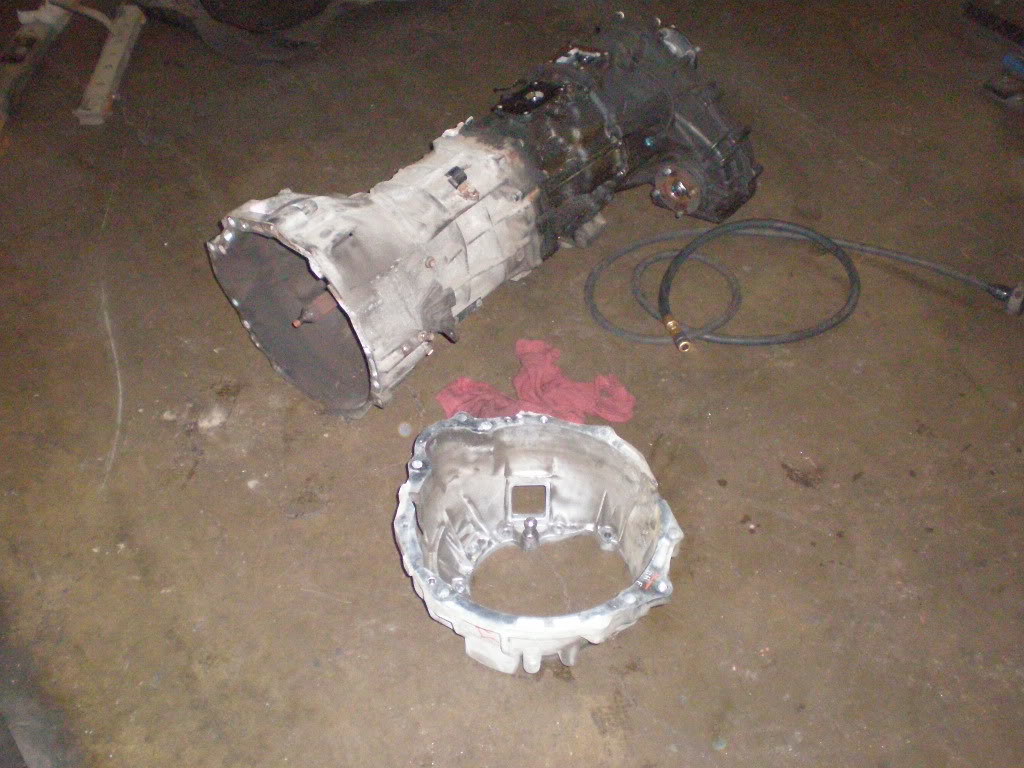
R150F Trans soon to be mated with 2TR-FE bell housing.

35781268995_014fd3df35_b.jpg


8AM Tomorrow, I'll be back in to remove the rest of what I need. I have to get down underneath the donor and cut the transmission crossmember off of the frame soon.
 
Last edited:
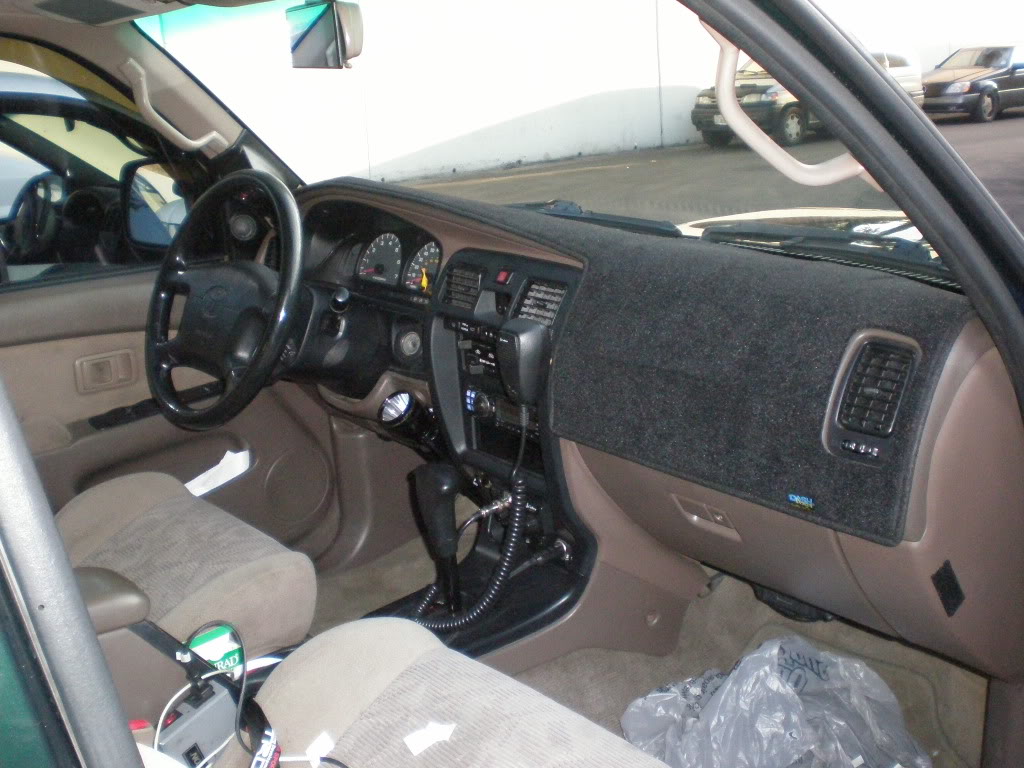
As far as my 2WD goes, I received a Dash Designs cover today. I want to hide my dash, even though it's not cracking. The top part is slightly discolored and there's some obvious sagging. Looks 100% better covered.

34940977644_83980e66f4_b.jpg


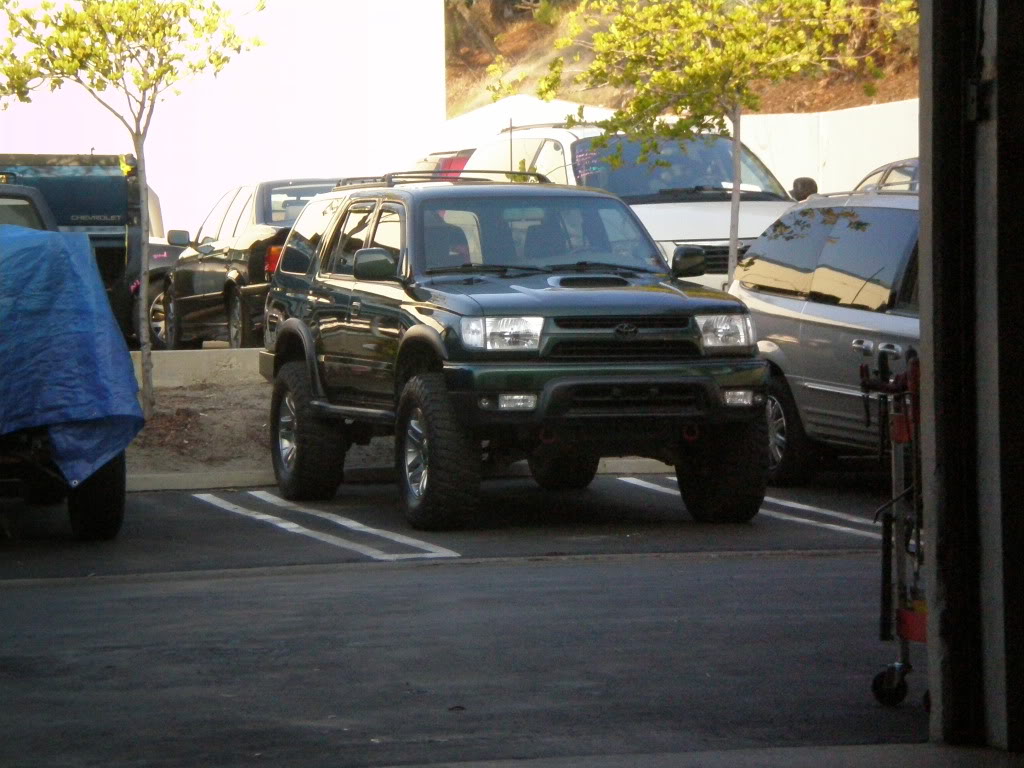
It sat on it's ass outside all day

35611898622_c2e2ba4f9e_b.jpg


I hope you know that she felt neglected, me putting my hands all over another 4Runner... :(
 
Last edited:

Members online

Forum statistics

Threads
278,310
Messages
3,554,080
Members
248,016
Latest member
Advally Service

Trending content

Back
Top