For everyone that hasn't seen what the HVAC screen looks like taken apart, here are some pics. These also show the process I used to take mine apart.
This is what you will see when you remove the circuit board from the housing. The pins you see going up to the lcd screen were run through the plastic and then soldered to the circuit board. The lcd is covered with some blue painters tape in this picture.

Here is what I did to get the pins for the lcd to separate from the plastic housing. This was done using a dremel with a small cutoff wheel and a small pair of snips. Take your time with this part as you can easily damage the pins for the lcd if you get in a hurry.

Here is the whole thing just for reference on where I cut it.

To get the plastic housing separated from the circuit board, there are a few screws that need to be removed on the backside of the board. Then you will need to tilt the plastic away from the board in the direction of the pins on the lcd. The pins will need to be bent a bit to get the lcd to dislodge from the plastic. There are also some leds for the airbag on/off indicators that will need to be bent in the same direction to get the plastic piece out. This is not a great picture for showing how I did this, but this is what you will end up with after you get the white plastic piece out.

There is a white piece of plastic that goes behind the screen and is used to diffuse the light.

Here is what the white plastic piece looks like after everything is taken apart.

I did leave as much plastic as I could where the pins for the lcd screen are so that they stay separated.

Here are some better pics that show how the bulbs are covered.


Here is the backside of the plastic. This is the side where the bulbs are inserted through the board.

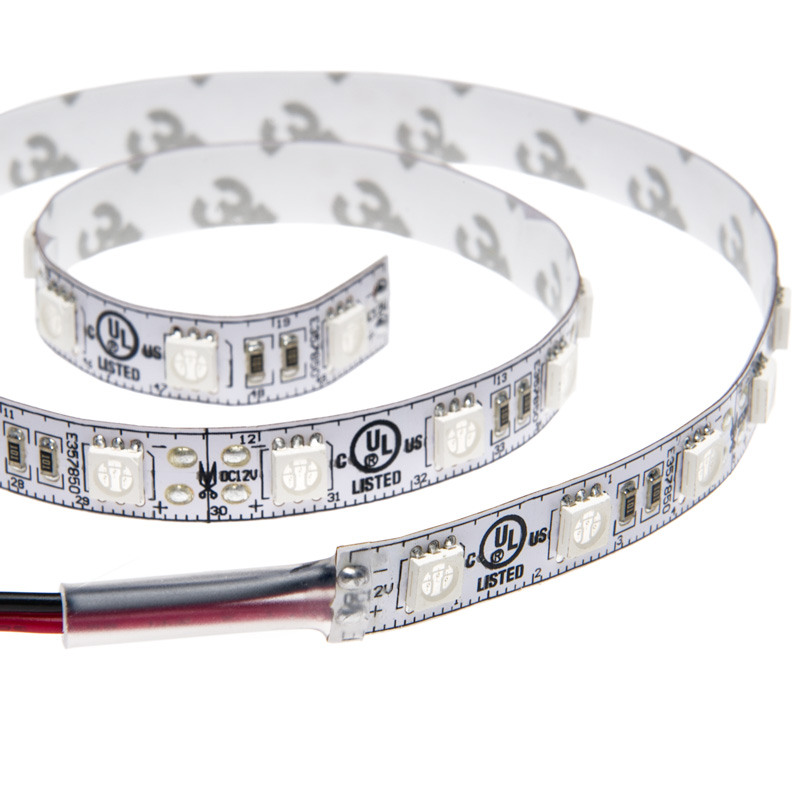
It would take some work with a dremel to get an led strip in there but it could be done.