darkie3495
Moderator
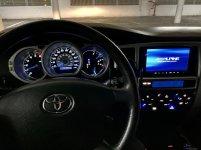
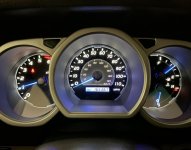
Can you change the color of the indicator needles?
Yes, but you’ll have to scrap off the paint on the back of the needles

Can you change the color of the indicator needles?

So I did a tear down of the entire panel and finally got to the LCD display. Tried a lot of light positions both directly behind the LCD and further back and they all sucked for light distribution with the LEDs. What I ended up doing was drilling out the stupid plastic pieces that block the LEDs from directly shining on the LCD. Once those were off I got MUCH better light distribution.
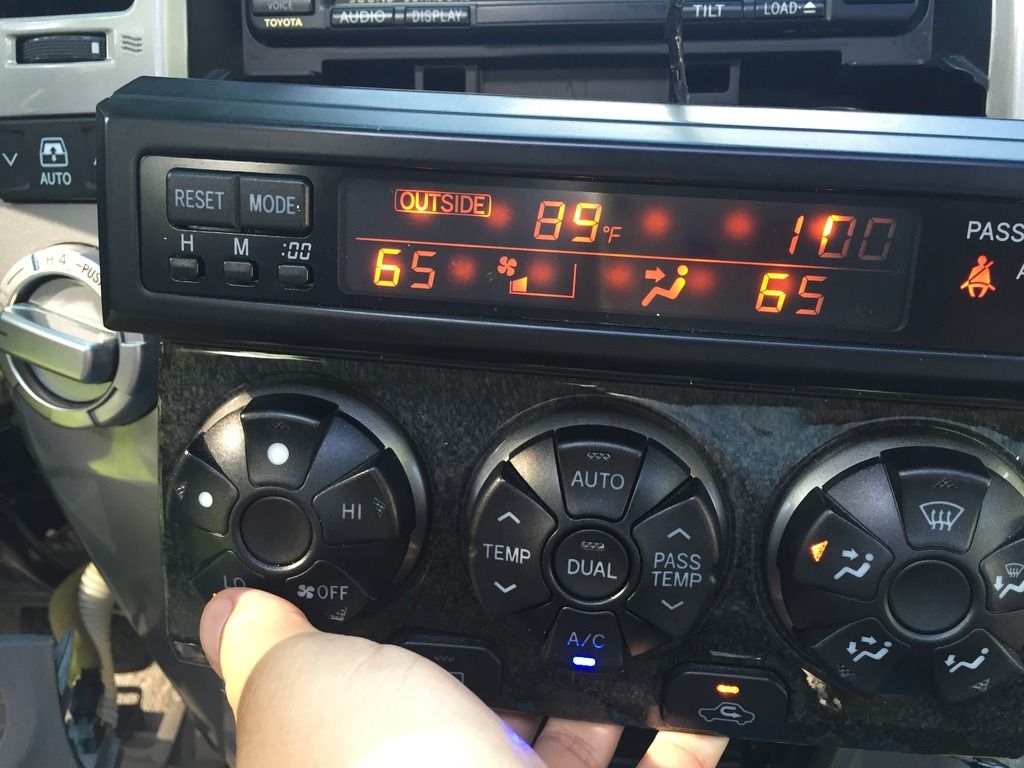
Are you talking about the white plastic ? I ask b/c I installed LED light strips and the light is extremely blotchy, looks bad. What I need a good light diffuser, but there is very little room for one between the LED strips and LCD display. Because I practically destroyed the assembly, i have a spare HVAC cluster I may go back to.
yuk
More on my what i did:
https://www.toyota-4runner.org/2041992-post1246.html
Anyway, I'll be ditching this set up and go back to how it was, but with an LED. I'm scared it may be too dim.
I’m referring to the housing that the screen sits in, not the opaque diffuser directly behind the screen. Directly in front of where the bulb goes in there is a raised part of the housing that has open “vents” directly under it where the light can shine through. This works great for conventional bulbs but cuts half the light off from LEDs giving a dim display. What I did was cut those pieces of plastic off the housing so the LEDs can shine directly onto the screen as backlight. It allows for a much better and even light distribution.
I will say there is still a degree of hotspot on either side, but I feel like a little wax paper glued to the back of the OEM diffuser would get rid of those 2 spots directly in front of the LEDs completely. You can see the hotspots in my pics. I also utilized t3 neowedges that had 2835 LEDs. They seem to give a nice wide spread of light.

Right, these 2 "raise" white plastic covers. They cover the bulb from shining directly onto the LCD display.
Not looking forward to dissecting my HVAC again.
Yep those!
I actually accidentally removed them to begin with. I was trying to just make a hole for a free standing 5mm LED bulb to sit.
You don’t have to remove the display from the assembly either, just manipulate it so you have enough room to let the broken pieces of plastic slide out. What I did was take a drill with a small bit that fit through the bulb mounting holes, and drilled a pilot hole in those “vents”, then came back with a bit that just barely fit the hole and then that snapped them off just by drilling the bigger hole. Then I let the broken pieces just fall out. Just be careful not to hit the screen, but the diffuser acts as a protector anyway.
Very interesting that you wanted to have these floating protectors be a mount for your LEDs, the only issue with that is the diffuser. The closer you get the LED to the screen, the more of a "hot spot" is created unless you have an incredible good light diffuser. Anyway, kudos to your results, it isn't bad at all (compared to mine). Not many folks go as far as we did (dissect the assembly). I like you solution, but like i said previously, and because I did the reverse polarity mod, 2 LEDs MIGHT not be enough to uniformly light up the LCD display (enough for day visibility). i know LEDs can be manipulated (by adding a resistor........ someone correct me if I'm using the wrong terminology), so "adding power" to them is certainly an option.

Yep that’s why I gave up on the 5mm LEDs for that very reason. Ended up with direct spot beams lol, so went back to neowedges in the stock position.
I think if I go back and add some wax paper at the hotspots, or get a high quality acrylic diffuser and place that at the hotspots it would be fixed.
The other idea I toyed with was an LED backlight module but then that becomes a game of more complicated wiring since they take less voltage.
Grab your neo wedge. Run the dome of the acrylic on sand paper. Take a few mm off. This will help with the spots quiet a bit. I have considered painting said sanded part black. But have not tried that yet. Hot spots are very minimal after sanding.
I love all of the mods posted on here, it's really motivated to do my own. Check it out. 1st pic shows the new switches I installed, a switch for the LED light bar and a switch for the rear camera instant on (comes in real handy when try to hook up the trailer). Also installed cup holder led discs as well as 4runner smokers kit with USB chargers with led rings instead of cigarette lighter. I really like how it turned out. Other pics show led swap outs on dash. Pictures don't do it justice.
Thanks to all the tips gained reading this entire thread (no small feat) I did my HVAC cluster plus some others on a rainy Saturday.
Couple minor things I learned to add here:
All my LED's were from Superbright. I emailed them before buying and despite them saying their blue Neo4 should work at 6V for the display, they did not. They did however look great w/ zero hotspots after I did the 12v mod.
Got to work with [MENTION=59048]S p a r k y[/MENTION] and it was a great experience. Pricing was very fair and even though I kept lagging on getting him my cluster, he was very professional and service never faltered. Everyone knows the quality is excellent already, but here are pics of mine after being installed. Thanks again sparky!
[MENTION=143921]Obi Wong Kenobi[/MENTION]
Thanks Brian! It was a pleasure working with you!
[MENTION=312727]dahveeed[/MENTION]
David I’m assuming! Just shoot me a PM and we can talk!