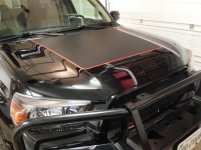
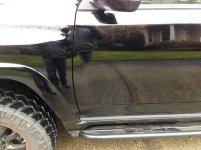
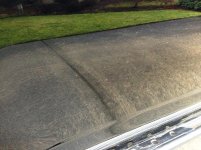
On New Years Eve my family and I took my mom to the Portland Zoo for Zoo Lights Festival. Pretty cool stuff. It's definitely better than the Boo at the Zoo in Washington, DC. Although the one in DC is free as are all the museums. Anyway, long story short, someone really didn't like my paintjob on the 4R so they decided to key the living daylights out of the left front fender and driver's door.
I had the insurance company estimate the repairs and it was going to require painting both panels completely. Realistically, going from a 2 income family to a single, it just wasn't going to happen especially after the holidays. And there's no way I'm gonna look at this everyday and not feel angry. I know it's just a truck but it still makes you mad.
So, I'm going to take matters into my own hands and try to repair this as best as possible. It won't be perfect, but I can't look at that eyesore everyday.
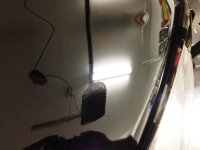
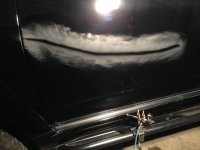
Here's the damage.
Left front fender
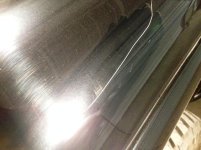
Driver's door
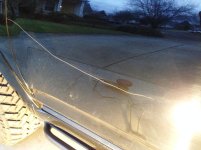
The fender scratch is pretty deep but nothing like the door. They definitely had more leverage when they got to the driver's door.
So I went to the autobody supply store and bought 1200, 1500, 2000, and 3000 grit dry/wet sandpaper. I also picked up a small tube of bondo and hardener because I knew the driver's door wasn't going to be good enough if I had just sanded it down. It was definitely into bare metal. You could see the jagged edges of the paint when you looked up close. I took some pretty detailed macro shots with a DSLR, but I won't bore you guys with that.
After a bunch of sanding and "filling" with touch up paint,
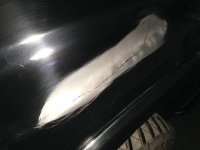
the left front fender turned out ok for now. I'm definitely going to do some more filling with the touch up paint. And wetsand again down to 3000grit.
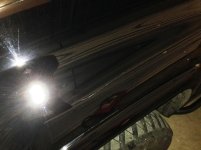
I knew I had a much harder task with the driver's door. This was going to require some bondo to fill in the scratch. Mix the bondo and hardener and get to work gently filling in the scratch.
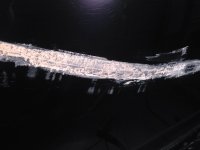
And similar to the fender, I took my time with wet sanding it down. By the time I had sanded down to 2000 grit, it was smooth as glass. If you didn't look at the door and just felt it with your hand, you'd never know there was a scratch there. It's funny how you can see the factory "orange peel" on the paint.
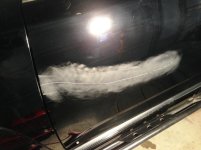
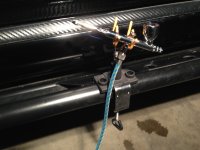
Then it was time to bust out the airbrush. Luckily, I'm a RC nerd too so I have some decent airbrush components. The hardest part here was going to be blending in the paint with the rest of the door. It's not going to be perfect but it has to be better. Now that I've leveled off the surface, it was going to be a challenge to get a light layer of touch up paint onto the door.
The Metal Tech OPOR slider does a great job at holding my airbrush too!