Ducmonsta's Build Thread-very pic heavy!

You could've avoided all this if you were more brand loyal with your cordless tools :hiding:


:jk: by far my favorite mod in your garage build up! May I ask you, how did you screw into the feet? Did you basically get a longer screw and removed the factory screw, and screwed directly it into that?

Good question! It sounds like someone has been doing their homework. Only a person who would've looked underneath their chargers can be asking this.

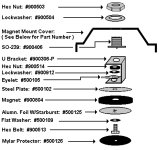
Every charger I have use different "feet". Even between the 2 Makita chargers were different. I took the old screw out and matched it with a longer one. This would only work with the Makitas. But you had to find a screw just long enough to catch. Because this screw holds the case halves together. Too long a of a screw and your cracking the base.

For the Snap-On chargers, I used a 8mm or 10mm bolt to go into the feet. I gently used the bolt as a "tap" before I installed them. The Snap-On chargers use a tamper proof screw and even though I had the bit, my driver wouldn't fit in the feet.
 
Good question! It sounds like someone has been doing their homework. Only a person who would've looked underneath their chargers can be asking this.

Every charger I have use different "feet". Even between the 2 Makita chargers were different. I took the old screw out and matched it with a longer one. This would only work with the Makitas. But you had to find a screw just long enough to catch. Because this screw holds the case halves together. Too long a of a screw and your cracking the base.

For the Snap-On chargers, I used a 8mm or 10mm bolt to go into the feet. I gently used the bolt as a "tap" before I installed them. The Snap-On chargers use a tamper proof screw and even though I had the bit, my driver wouldn't fit in the feet.

This is quite clever! I would've never thought of that. I was actually siting here thinking about how I could mount it without having to undue these darn security torx bolts since like you I have the bit but my driver can't fit into the recess. Thanks for that great tip!
 
I've had some time to actually "work" on the 4R. Nothing spectacular or really that interesting. But this was my first attempt at ONR, Meguiars Clay Bar, Meguiars 3 step cutting compound, polish, and waxing. Not really sure why I took this on since it's supposed to rain here until July 4, 2014. At least, that's what everyone here says.

Anyway, I was pretty impressed with the ONR stuff. Didn't know you could wash your truck without a hose. I also had just purchased a Porter Cable orbital buffer with all the necessary pads. After some clay, cutting, buffing, polishing waxing...
102513 105.jpg

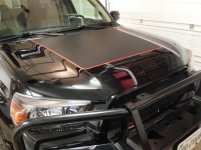
And after all that sweating and breaking in the new toy... Well, you that moment when you're all done doing whatever it is you wanted to do for the day and boredom starts to set in... I still have some red pinstripe left over from the wheels.
102513 106.jpg

I know, I know...but at least it can come off pretty easily. I'll enjoy it for a little bit and see how it goes. Of course, I said the same thing about the carbon fiber di-noc.

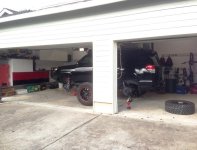
I definitely miss my guys back home. I actually had to rotate my tires without a lift! But at least I had a chance to make some minor coil over adjustments also.
102813 041.jpg
 

Attachments

  • 102513 105.jpg
    102513 105.jpg
    134.8 KB · Views: 3,941
  • 102513 106.jpg
    102513 106.jpg
    67.7 KB · Views: 3,975
  • 102813 041.jpg
    102813 041.jpg
    57.1 KB · Views: 3,962
Do you still have the same suspension that you initially installed? Are you happy with that, does it drive well on the highway? Thanks
 
Do you still have the same suspension that you initially installed? Are you happy with that, does it drive well on the highway? Thanks

Started with 5100s, ended up making a toytec ultimate later because of bumper and winch. The ultimate uses the 5100s. So I ended up just having to buy the coils and perches later.

I know you're on your research phase of your build. Here are some of my opinions. Remember these are just my views.
1. Lifting it will make it stiffer. Most people here agree that it's for the better. Quality of ride is subjective. What you may think is harsh, is butter smooth for someone else.
2. Yon WILL suffer fuel economy. IMO, if anyone is concerned about their fuel economy after lifting, you shouldn't have lifted in the first place. If you're that concerned about 2-3 mpg, you didn't buy the 4runner for what it is.

The 4Runner for some of us is the grocery getter, the weekend warrior, the family van, the road trip machine, the tow vehicle, the commuter, the over lander, the camping wagon, the delivery truck, the mountain escape route, the basecamp, the ski lift, the utility trailer, the company truck, the rolling billboard, the Christmas shopping wagon, and finally, a truck.

When we accept the last part, we will understand that it does all of the above admirably.

Ok, I'm off my soapbox now.

Sorry, Tim. That was not directed towards you.
 
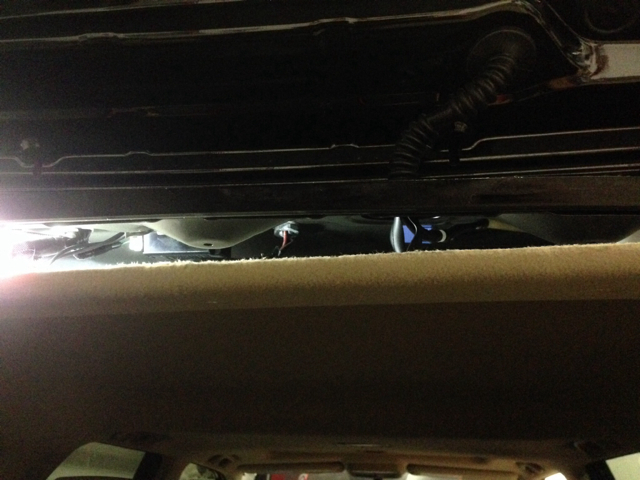
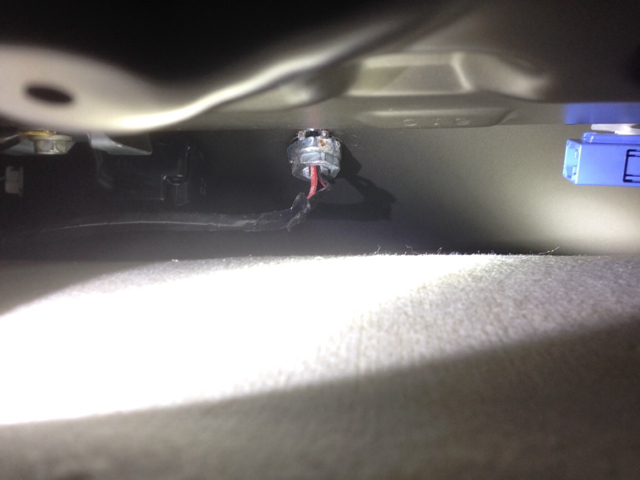
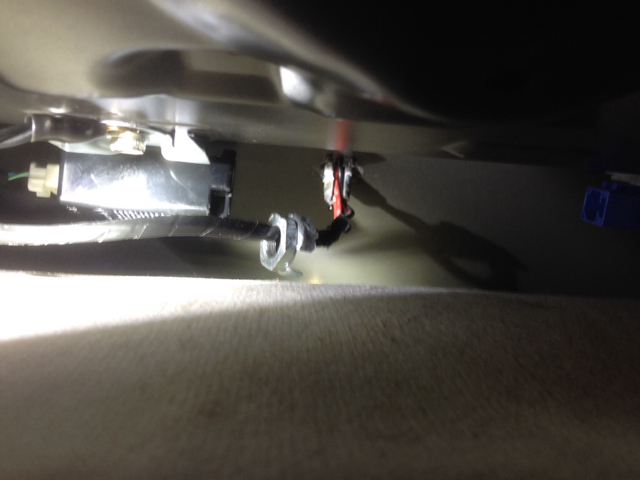
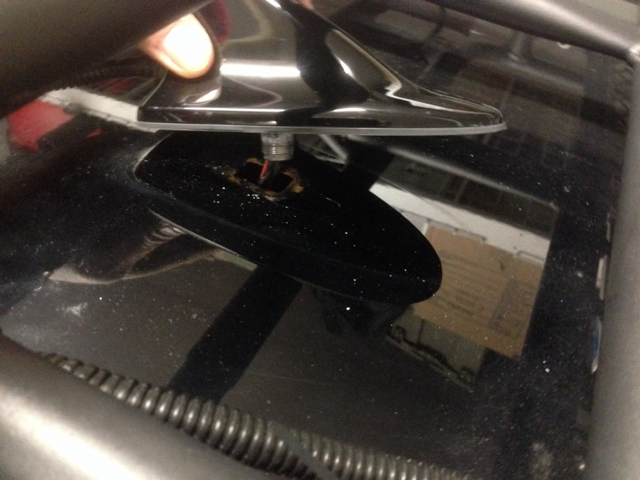
I've had several PMs asking about the wiring to the GOBI rack. I was cleaning some things up and checking grounds to the lights so I thought I would post up some pics.
Here's a shot of the interior with the headliner starting to come down.
7y4u8y9y.jpg


A little closer to the nut that holds the shark fin.
u9a8adez.jpg


With the nut removed. Here you can see the wiring coming through the middle.
hase3y9e.jpg


And finally from the top.
yrezahag.jpg


I just drilled the back of the fin to get the wires through.
 
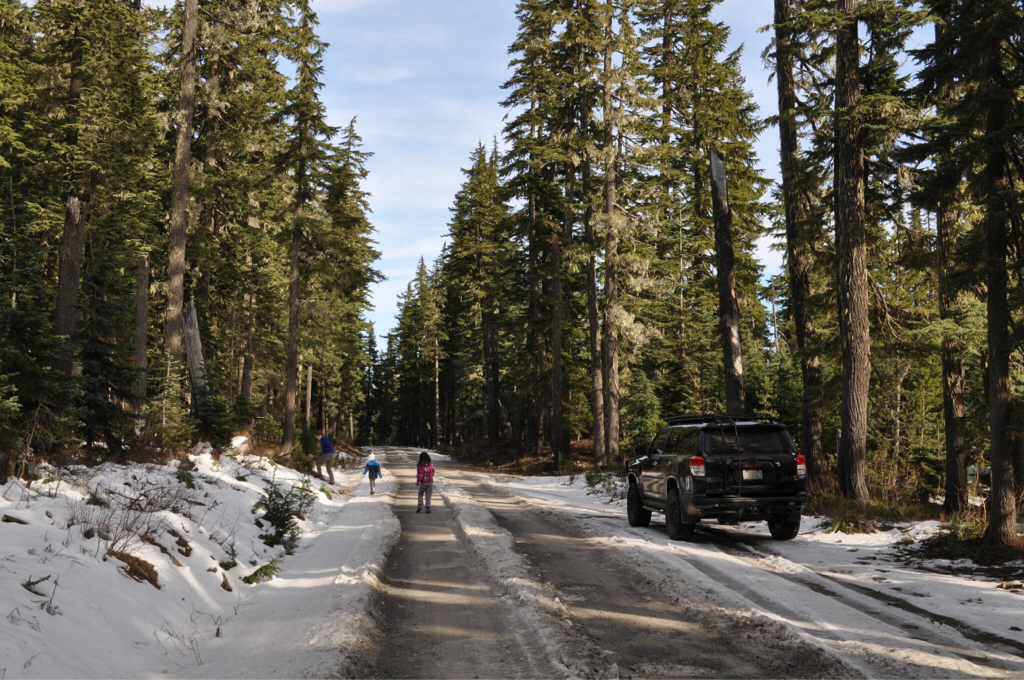
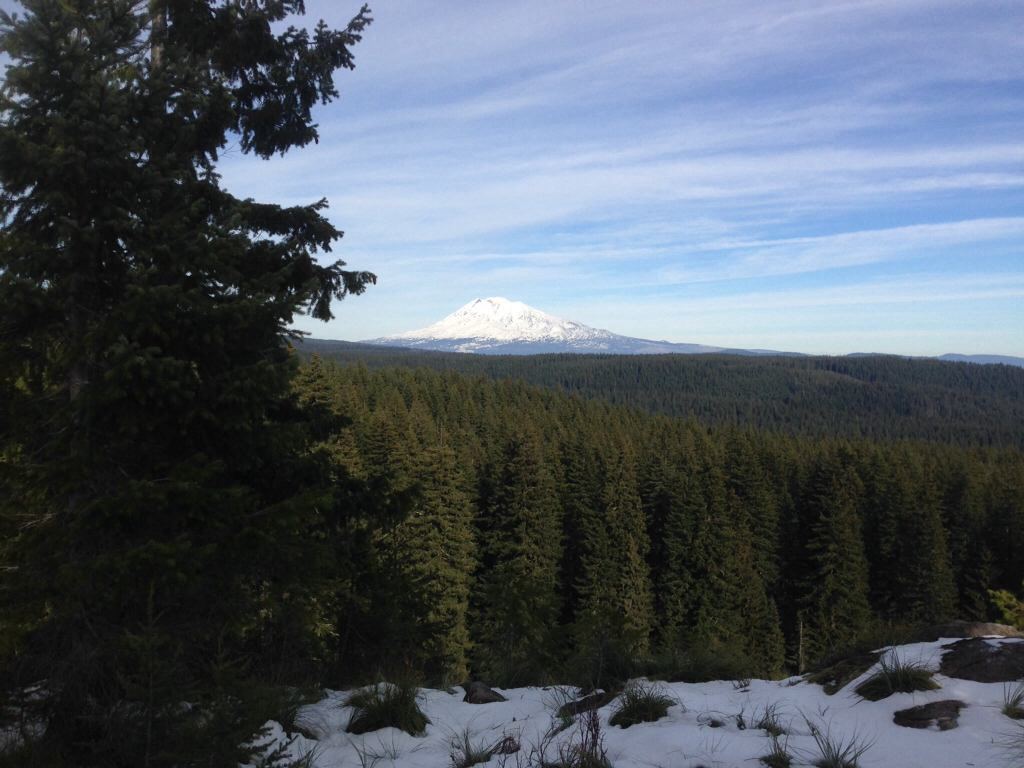
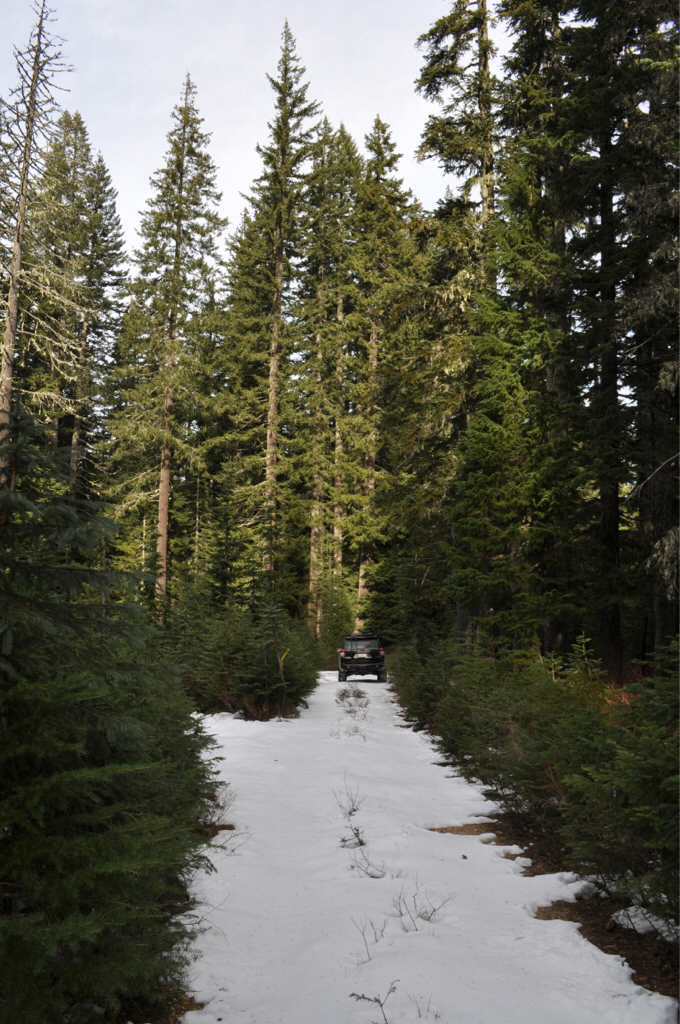
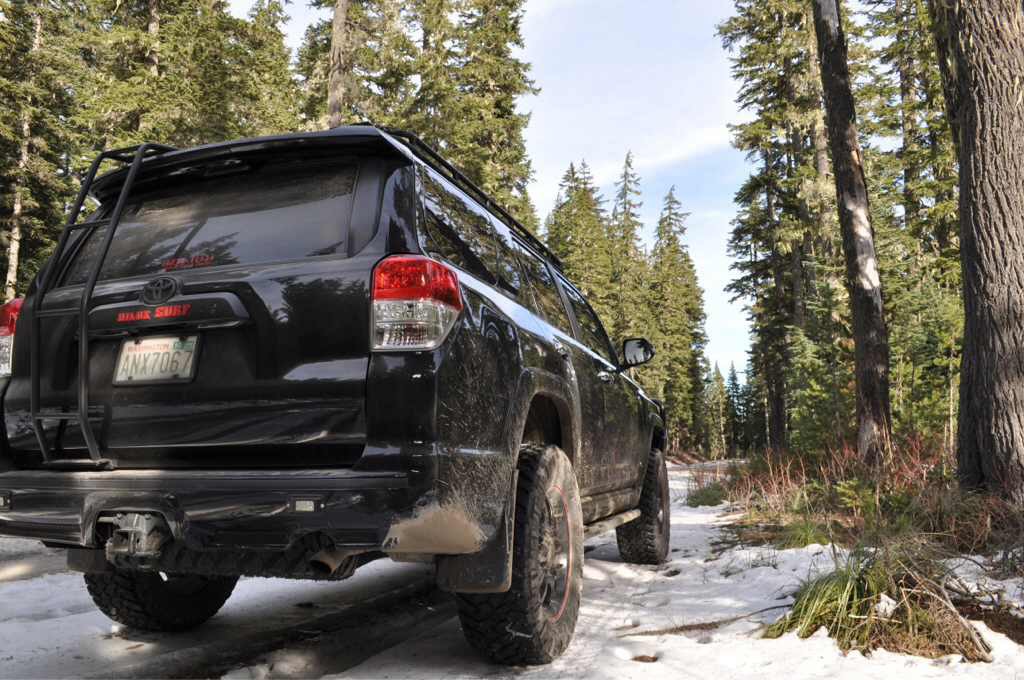
I had a chance to spend some wheeling time with the fam this weekend. My wife is the Community Engagement Officer for the Gifford Pinchot National Forest. So we took some time with the kids to get to know so e of the land she's responsible for. The GP (Gifford Pinchot) has Mt. St. Helens and Mt. Adams on it. This past weekend we explored about 50 miles of forest service roads. For those that don't know, you can easily access these roads most of the year. You can obtain a free MVUM (motor vehicle use map) from your local national forest headquarters. These maps guide you fairly well for dispersed camping sites in your local forest.

So far, my family and I are really enjoying the PNW.
2erygu8e.jpg


gata6a9a.jpg


taqaqyjy.jpg


6u4e9yqy.jpg
 

Can I be a super pain in the ass and ask you if you could tell me approximately how big that rectangular hole and the small front alignment hole span? What I was really wondering is, if I removed my XM antenna do you think a ~2" circular foot print would be able to cover those two holes entirely :)

I want to replace it with a through the roof CB mount and apparently it's only ~2" diameter at the base. I've already seen that write up where a member here used the Wilson 1000 roof mount, but I cannot for the life of me find the dimensions if on the the internet, lol.

Thanks a ton sir!
 
I had a chance to spend some wheeling time with the fam this weekend. My wife is the Community Engagement Officer for the Gifford Pinchot National Forest. So we took some time with the kids to get to know so e of the land she's responsible for. The GP (Gifford Pinchot) has Mt. St. Helens and Mt. Adams on it. This past weekend we explored about 50 miles of forest service roads. For those that don't know, you can easily access these roads most of the year. You can obtain a free MVUM (motor vehicle use map) from your local national forest headquarters. These maps guide you fairly well for dispersed camping sites in your local forest.

Looking good, Bobby! :spy:
 
Last edited by a moderator:
Can I be a super pain in the ass and ask you if you could tell me approximately how big that rectangular hole and the small front alignment hole span? What I was really wondering is, if I removed my XM antenna do you think a ~2" circular foot print would be able to cover those two holes entirely :)

I want to replace it with a through the roof CB mount and apparently it's only ~2" diameter at the base. I've already seen that write up where a member here used the Wilson 1000 roof mount, but I cannot for the life of me find the dimensions if on the the internet, lol.

Thanks a ton sir!

The nut is a 20mm if I remember correctly. So based on that, I bet 2" won't cover both holes.
I would try to get the magnet mount cover and adapt it to the roof mount. That will be big enough to cover both holes. You could even use a foam backing plate and some silicone for weather resistance.
image.jpg
 

Attachments

  • image.jpg
    image.jpg
    67.9 KB · Views: 3,244
hey you wanta come over and fix up my garage?

love your runner...

if you ever get the urge to go exploring in the GP or around other local areas ect let me know, im always up for day trips.
 
one more thing, about that front plate, um i dont know where you read that you need a front plate, idk maybe its true, but i have been told by several officers, both state troopers and local PD/SO that its not a requirement in wa. they do however require a rear plate, and that you replace your plates every 7 years... -Or officers hate Wa drivers cause Or does require a front plate and they enforce it... something about their speed cameras and a red light cameras idk lol
 
I found this build thread today looking for Satoshi grill Toyota emblems and ended up reading 25 pages about Ducmonsta living the good life, moving across country, setting up his new garage, and building one awesome 4R along the way.

Great read. I see that the Toyota emblem from your grill appears, disappears, gets replaced, reappears, and in the latest pictures has disappeared again!

And yes, garage journal rocks... I look forward to seeing your garage flooring installed.
 
hey you wanta come over and fix up my garage?

love your runner...

if you ever get the urge to go exploring in the GP or around other local areas ect let me know, im always up for day trips.

I'm game for a garage makeover!

one more thing, about that front plate, um i dont know where you read that you need a front plate, idk maybe its true, but i have been told by several officers, both state troopers and local PD/SO that its not a requirement in wa. they do however require a rear plate, and that you replace your plates every 7 years... -Or officers hate Wa drivers cause Or does require a front plate and they enforce it... something about their speed cameras and a red light cameras idk lol

Maybe it's a newer law. When I got my plates, the licensing office said I definitely needed one.

I found this build thread today looking for Satoshi grill Toyota emblems and ended up reading 25 pages about Ducmonsta living the good life, moving across country, setting up his new garage, and building one awesome 4R along the way.

Great read. I see that the Toyota emblem from your grill appears, disappears, gets replaced, reappears, and in the latest pictures has disappeared again!

And yes, garage journal rocks... I look forward to seeing your garage flooring installed.

Haha! Sorry to waste part of your day.

Currently, she has the fj40 emblem on.

Garage journal makes me spend too much money. Much like this site does.

The flooring won't be going in until the spring/early summer. It's getting too wet here in the PNW.
 
Great Build Thread man. The truck just has the clean look to it I like. Nothing to over the top and everything you do you can see the taste.

Blue
 
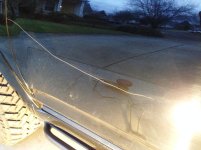
On New Years Eve my family and I took my mom to the Portland Zoo for Zoo Lights Festival. Pretty cool stuff. It's definitely better than the Boo at the Zoo in Washington, DC. Although the one in DC is free as are all the museums. Anyway, long story short, someone really didn't like my paintjob on the 4R so they decided to key the living daylights out of the left front fender and driver's door.

I had the insurance company estimate the repairs and it was going to require painting both panels completely. Realistically, going from a 2 income family to a single, it just wasn't going to happen especially after the holidays. And there's no way I'm gonna look at this everyday and not feel angry. I know it's just a truck but it still makes you mad.

So, I'm going to take matters into my own hands and try to repair this as best as possible. It won't be perfect, but I can't look at that eyesore everyday.

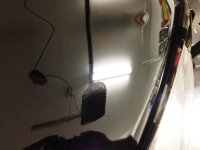
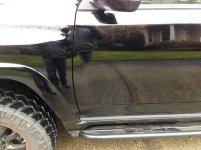
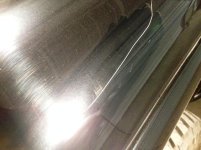
Here's the damage.

Left front fender
scratch 001.jpg

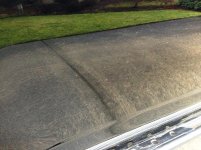
Driver's door
scratch 003.jpg

The fender scratch is pretty deep but nothing like the door. They definitely had more leverage when they got to the driver's door.

So I went to the autobody supply store and bought 1200, 1500, 2000, and 3000 grit dry/wet sandpaper. I also picked up a small tube of bondo and hardener because I knew the driver's door wasn't going to be good enough if I had just sanded it down. It was definitely into bare metal. You could see the jagged edges of the paint when you looked up close. I took some pretty detailed macro shots with a DSLR, but I won't bore you guys with that.

After a bunch of sanding and "filling" with touch up paint,
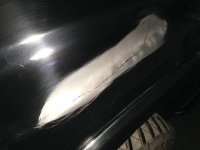
scratch 002.jpg
the left front fender turned out ok for now. I'm definitely going to do some more filling with the touch up paint. And wetsand again down to 3000grit.
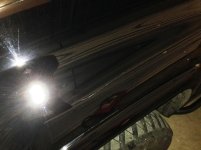
scratch 005.jpg

I knew I had a much harder task with the driver's door. This was going to require some bondo to fill in the scratch. Mix the bondo and hardener and get to work gently filling in the scratch.
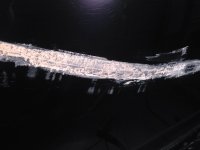
scratch 006.jpg

And similar to the fender, I took my time with wet sanding it down. By the time I had sanded down to 2000 grit, it was smooth as glass. If you didn't look at the door and just felt it with your hand, you'd never know there was a scratch there. It's funny how you can see the factory "orange peel" on the paint.
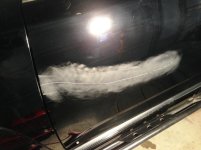
scratch 007.jpg

Then it was time to bust out the airbrush. Luckily, I'm a RC nerd too so I have some decent airbrush components. The hardest part here was going to be blending in the paint with the rest of the door. It's not going to be perfect but it has to be better. Now that I've leveled off the surface, it was going to be a challenge to get a light layer of touch up paint onto the door.
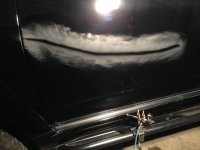
scratch 008.jpg

The Metal Tech OPOR slider does a great job at holding my airbrush too!
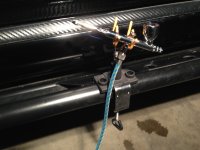
scratch 009.jpg
 

Attachments

  • scratch 001.jpg
    scratch 001.jpg
    62.4 KB · Views: 2,523
  • scratch 002.jpg
    scratch 002.jpg
    105 KB · Views: 2,514
  • scratch 003.jpg
    scratch 003.jpg
    60.9 KB · Views: 2,506
  • scratch 005.jpg
    scratch 005.jpg
    49 KB · Views: 2,495
  • scratch 006.jpg
    scratch 006.jpg
    94.7 KB · Views: 2,527
  • scratch 007.jpg
    scratch 007.jpg
    50.2 KB · Views: 2,531
  • scratch 008.jpg
    scratch 008.jpg
    119.7 KB · Views: 2,514
  • scratch 009.jpg
    scratch 009.jpg
    128.1 KB · Views: 2,497
Ultimately here's what I ended up with. Again, it's not perfect, but at least I can't see it from 30ft away! And with the rain here in the PNW, it makes it even harder to see.
scratch 010.jpg

and a little closer. If you look hard enough you'll find where the scratch is/was.
scratch 011.jpg
 

Attachments

  • scratch 010.jpg
    scratch 010.jpg
    68.5 KB · Views: 2,473
  • scratch 011.jpg
    scratch 011.jpg
    76.8 KB · Views: 2,498
Man they really laid into that sheet metal didn't they, I didn't think it was that bad from the pics in the other thread. As soon as you sand it down, gees...

Nice patch job, at least from your pics :)
 

Members online

Forum statistics

Threads
278,315
Messages
3,554,104
Members
248,016
Latest member
Advally Service

Trending content

Back
Top