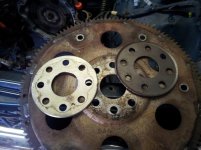
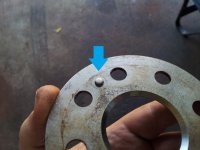
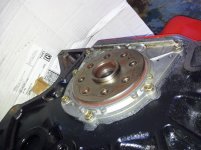
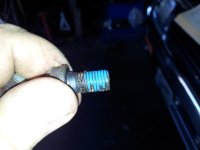
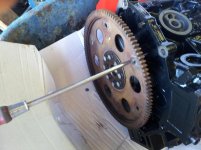
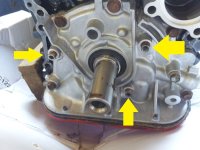
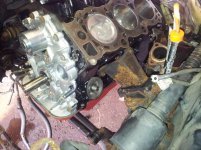
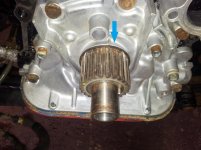
Out of the basement and into the garage! There are two spacers that install with the flywheel. The one on the left goes behind the flywheel (crankshaft side) and the right one goes on in front of the flywheel. This alignment pin matches up with the crank. Before the spacer... After the spacer... Be sure to use threadlocker on these bolts. You DO NOT want these babies coming loose! Use a large screw driver to hold the flywheel in place while you torque the bolts down. The flywheel bolts torque to 61 ft. lbs.
ATTENTION!!! If you replace your oil pump, verify it comes with these spacers. Otherwise, you'll have to rob them off your old oil pump. I found this out as I was getting ready to toss the old oil pump into the scrap pile. Up in the air! My intent at this point was to install the oil cooler.....not a single parts store carrys the seals for it. I know it leaks. Being Sunday, the dealership was closed. Looks like I'm doing it later!
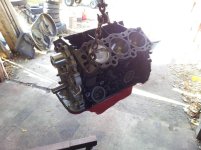
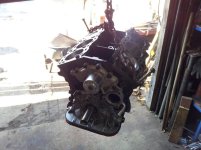
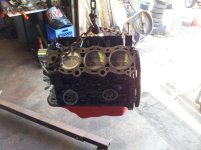
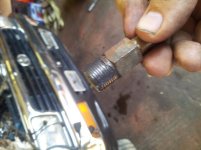
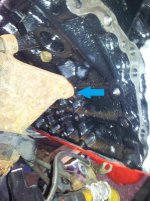
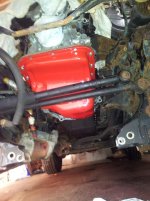
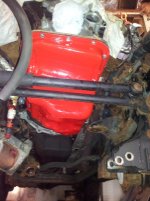
Don't forget to install the coolant drain plug on the passenger side... And the oil coolant outlet on the other side... You can use teflon tape or gasket sealer for this part. I couldn't find the teflon tape, so Ultra Black it is! The passenger side motor mount installed. The other one is in the truck. My dad pulled the block and said it was easier this way...I'm not seeing it... :lmao:
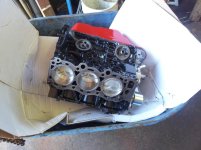
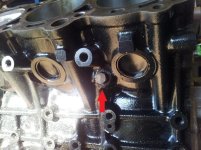
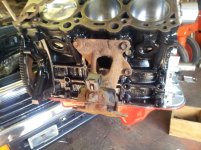
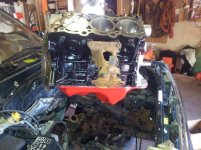
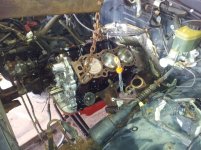
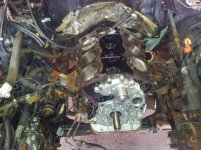
Now...I did decide to install the heads after the block is in. I wanted to be able to have room to work around the block. I have a good plan for getting the heads and exhaust installed, so it shouldn't be a problem. Getting her lined up. Bolted in!!! You'll have to remove this bolt as it goes in the other side. The AC compressor bracket attaches here... Too bad most of this "niceness" will be covered by a bunch of crap.
Where did you get them! I'm ready to give my left kidney for these damn things. Those and the exhaust manifold bolts were the only thing holding me back from putting the heads on...
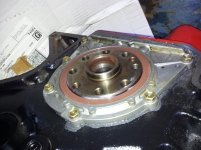
well there's two things I totally forgot to do... no gasket for the pickup tube and I didnt reseal the rear main plate. no wonder it weeps.
good progress... too bad someone junked my spare block. :|
Checked up on that manifold thing for ya... I'd recommend a body lift, it would make it a lot easier but the passenger manifold fits great. it leaves you with two flanges pointing back with no angle... easy enough to work with.
dealer! I am a repair shop though so maybe they like me better? actually I called too late the first day so they didn't deliver it but it came in the next morning. I MIGHT have taken a picture of the part number if thats necessary. trust me you want those gaskets. I thought mine looked fine until I dumped most of my oil out in a matter of seconds.
oh yeah I may have to kill you. I know you're gonna do a red intake manifold. lol
haven't done a body lift but it will probably take a couple hours moving slowly.
on the crossover, just cut back behind the flange enough so you can build and route your exhaust how you'd like. I suggest the lift because its a pretty closed area routing it that way. not sure where the best place is for the y pipe. don't want IT to be the lowest point under the car... not like anything would bend the tubing I use.
edit: the passenger side will be a bit tricky though. if you just do a turn down you're right on your clutch fork.
dealer! I am a repair shop though so maybe they like me better? actually I called too late the first day so they didn't deliver it but it came in the next morning. I MIGHT have taken a picture of the part number if thats necessary. trust me you want those gaskets. I thought mine looked fine until I dumped most of my oil out in a matter of seconds.
oh yeah I may have to kill you. I know you're gonna do a red intake manifold. lol
too bad... it would look pretty good. black then? my red is darker anyway.. and more SPARKLEY! hehe.
agreed though. love the detailed info. now I hope you documented the vacuum lines so I can se what I did wrong. put mine together by sheer luck. it was already disassembled when I got to it.
Are you familiar with the term "cockeyed optimist"? LOL! It'll take a LOT more than those changes to get new stripes on that paper tiger. Sorry. The write-up and pics are awesome!
Are you familiar with the term "cockeyed optimist"? LOL! It'll take a LOT more than those changes to get new stripes on that paper tiger. Sorry. The write-up and pics are awesome!
Great thread, Cap'n. Keep up the good work, you must have done something like this before. I'll have to google earth Manitowoc, WI., but I was wondering if you or your dad every worked in the Jeep factory.




























 .
.


