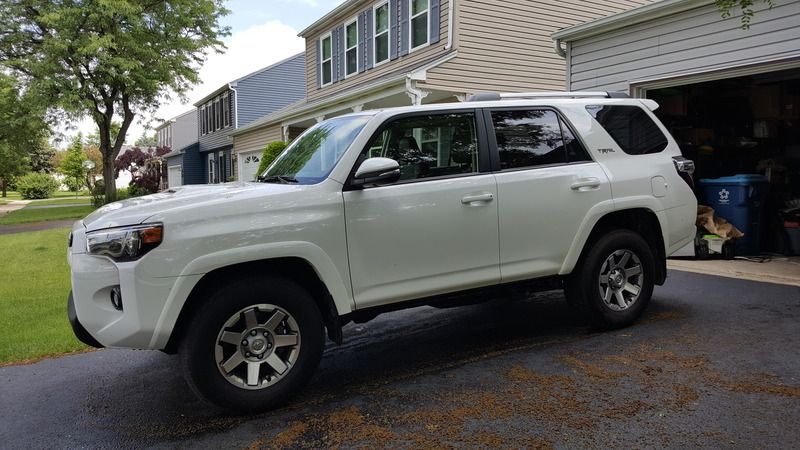
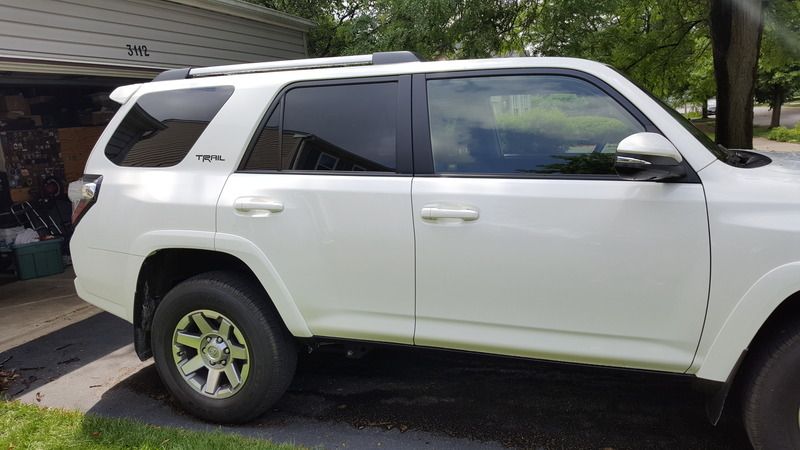
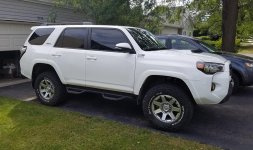
Fire's Trooper 2014 Trail TE 4runner

Were you able to sell your old tires to discount tire? I have heard that they given between $20 to $50 per tire depending on how new they are when you decide to swap. I was planning on swapping at under 10 miles.
 
Truck looks fantastic and sorry I couldn't make it out last night as I had to pick my family up at Midway last night.

No worries senor! im there every second tuesday of the month :)

Were you able to sell your old tires to discount tire? I have heard that they given between $20 to $50 per tire depending on how new they are when you decide to swap. I was planning on swapping at under 10 miles.

No joy :( asked if there was a trade in or anything and the guy rolled it off, which is fine because everyone else told me to just flip them on craigslist.
 
So after hearing about this fabulous feature I had to have it! Especially now that we are going into summer.

Toyota dealership was able to use their scan tool to activate it for me.


you press and hold it for the amount you want it to drop.

What exactly did you ask the dealer so that they know what you were talking about?
 
Very nice write up! If you don't mind, can you please let me know where you got your yellow film for the foglights? Thanks

woops, adding link to original post!

Headlight, Tail Light, Fog Light Film Covers & Paint Protection Products from Lamin-x


What exactly did you ask the dealer so that they know what you were talking about?

They have to plug in the scan tool to access the additional custom options to program into the car. The other option is using a bluetooth OBD dongle and Carista app.
 
ARB Breather install.

You can DIY your own relocated breather for less. But I like the option that I can clean the filter and add more if need be later for any reason so I purchased the ARB Differential Axle Breather from
Arb Diff Breather Kit

Drop your tire to have MUCH more working room. Saves a ton of time by dropping the tire.

Most of my intel for the install came from,
http://www.toyota-4runner.org/5th-gen-t4rs/215741-rear-differential-breather-mod-dummies.html


The ARB Kit included the fittings to plug into the Diff.

I purchased from autozone a Tee fitting kit that included a 3/16 x 3/16 x 1/8 tee fitting.
20160808_182731.jpg~original

I have a trail edition, which has a rear locker and has a breather itself so I wanted to Tee it into the same line going to the ARB breather in the engine bay.


Here you can see where I put in the Tee fitting and the wrench on the old breather.
20160810_135123.jpg~original

You can also see the black ARB hose line, before I moved it higher above everything else and secured it with zip ties to some brackets.

You have to be sure that the hose will stay away from exhaust so you dont melt a hole into your line!


For the breather in the front I was worried about its placement in the engine bay so I put a bar to hold the hood propped open and then disconnected the gas strut.
20160810_120723.jpg~original


once the gas strut was loose I knew that it would clear the breather when the hood is closed.
20160810_120748.jpg~original


If you are doing a DIY relocated breather you can order from toyota a 90404-51319 union.

115471d1295833941-axle-vent-issue-solution-breather-tubes-adapters.jpg~original

this is for the DIY person running 1/2" fuel line hose
 
Last edited:
So after hearing about this fabulous feature I had to have it! Especially now that we are going into summer.


Toyota dealership was able to use their scan tool to activate it for me.


you press and hold it for the amount you want it to drop.


Did the dealership charge you anything to unlock that feature to lower the windows?


Sent from my iPhone using Tapatalk
 
to under take it I removed the hood scoop via the 5x 10mm from underneath the hood. Then there is one Center "Clip" that you need to use needle nose to squeeze together to get it to release, then if you look on either side of that center "in" the hood there are two more blue ones that also need to be released.

Did you have a hood insulator that had to be removed and if so did you have problems taking the plastic clips out without them breaking? I like the look and want to do it to mine but have the insulator to remove first.
 
Were you able to sell your old tires to discount tire? I have heard that they given between $20 to $50 per tire depending on how new they are when you decide to swap. I was planning on swapping at under 10 miles.

I asked and the guy kinda shrugged it off/didn't answer me about trading in. So I sold them on craigslist for 120 with 26k on them.

Did the dealership charge you anything to unlock that feature to lower the windows?

Nah, I just played dumb and said the feature was working on my friends trucks and not on mine.

Did you have a hood insulator that had to be removed and if so did you have problems taking the plastic clips out without them breaking? I like the look and want to do it to mine but have the insulator to remove first.

Interesting. I didn't have to. The pic I took of the underside was and is how she sits. If you break the clips just go to autozone and they have a box of them for like 5 bucks. But as long as you pry them out carefully they should come out without damage.
 
Nice twinsie there! I have the exact same ride with KDSS. Love the super white. I'm at that stage where I will be adding the Trail badges. Let me ask you, what made you run the alignment tape against the back glass vs the rear passenger glass? I've been trying to figure out which one will give me an even badge and it looks like yours is even.. but since I plan on removing some of the rake and lifting I don't want it to look off once that is done.

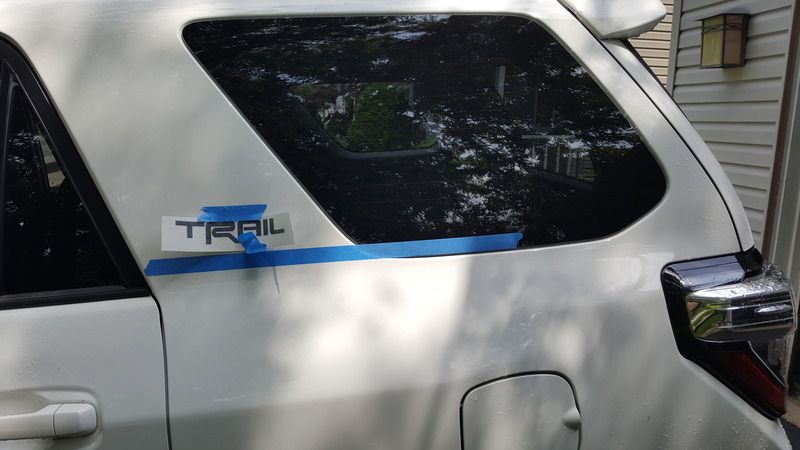
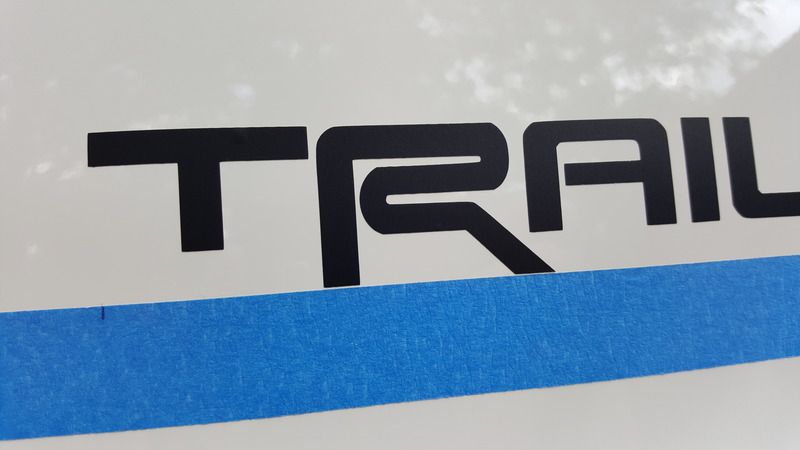
Aligning the sticker in the back.
I took some 1" blue tape and aligned it on the bottom of the window and kept it straight.

20160601_114154.jpg~original


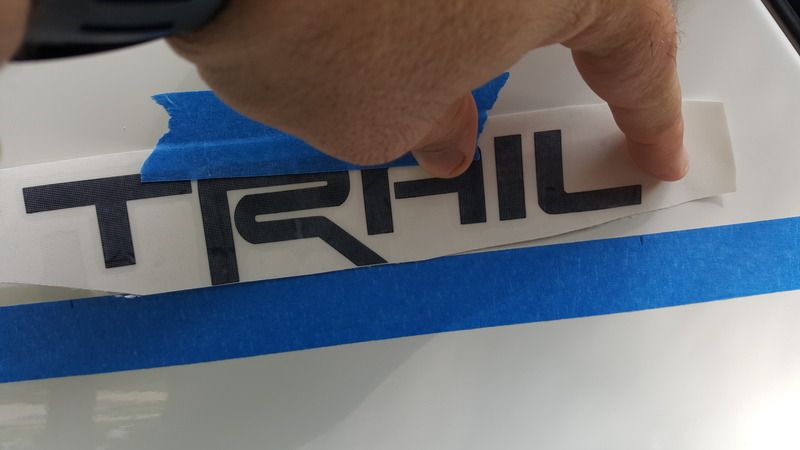
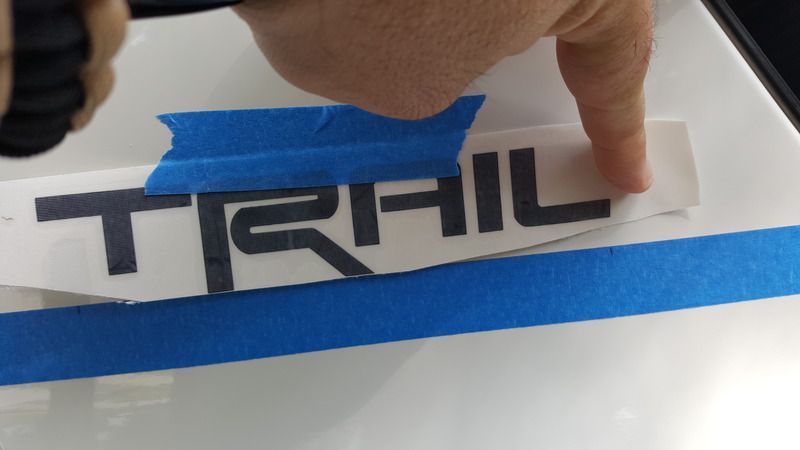
I then bottomed out the R to have an indexing point and then put more pressure on the blue tape at the top to hold it like a perfect hinge.
20160601_114412.jpg~original


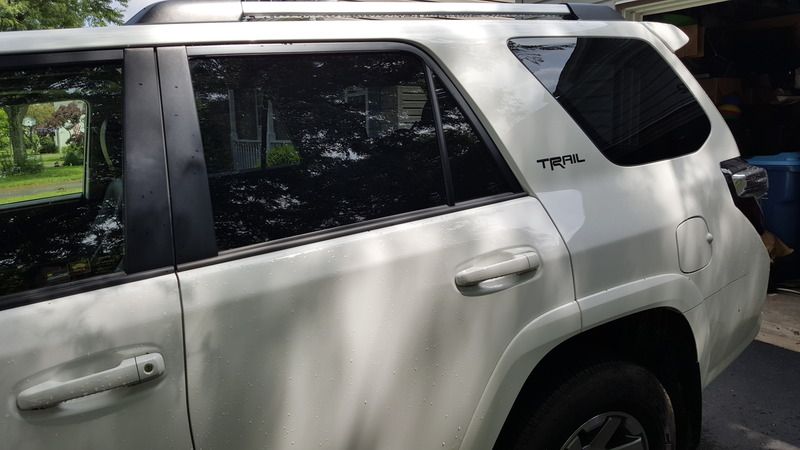
I wanted to have them at the same point on both sides, so I measure 4" from the glass and marked with a pen.
20160601_114414.jpg~original


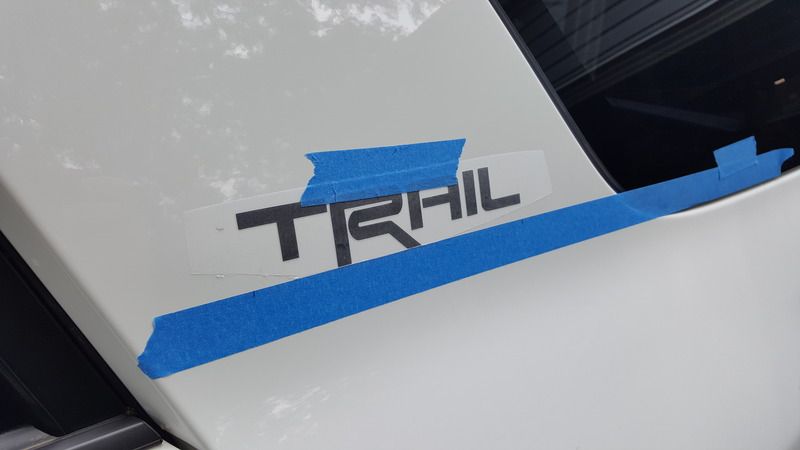
I then flipped the whole decal up, removed the backing carefully and slowly. I then slowly "hinged" it back and then squeegeed it smooth.
20160601_114543.jpg~original


carefully peel away the top transfer sheet. And voila.

20160601_114726.jpg~original


20160601_114803.jpg~original


20160601_115901.jpg~original


20160601_115839.jpg~original
 
Nice twinsie there! I have the exact same ride with KDSS. Love the super white. I'm at that stage where I will be adding the Trail badges. Let me ask you, what made you run the alignment tape against the back glass vs the rear passenger glass? I've been trying to figure out which one will give me an even badge and it looks like yours is even.. but since I plan on removing some of the rake and lifting I don't want it to look off once that is done.


Sorry about that!! Regardless of rake because the vehicle could be vertical, but the logo will be compared to the closest "sharp lines" which would be the windows and not the ground.
So by using the bottom line of the window, gives it "relative" alignment,
I may be talking out my butt, but that was my logic :)
 
Ok, so living in IL a huge factor is SALT!!!

Now when you install the 5160s you'll see this "awesome" cup at the top/Bottom of the resevoir that looks perfect for catching salt to sit in.

So I started looking for a solution and found others who thought the same and used Bearing Buddy covers from Oreilleys to cover it. (Bearing Buddy 17b)
But then when I went to install I realize the other two guys who installed them both were utilizing the Bilstein billet mounts which does not impede install of the cover. So I had to carefully loosen up the clamps and pull out the resevoirs and then clean them before installing the covers.

I cleaned up the bottom as much as possible and added a rust inhibitor (in my case, froglube gun lube)


tossed the cover on.


And reinstalled the resevoir into the clamps!
 
Last edited:
Was really excited to go through your thread hoping to see more pictures like the one in your signature. Unfortunately the pictures are no longer active, either way the subtle changes noticeable on your white 5th gen is exactly what I want to get into once I get a 5th. Cheers from another Midwestern!
 
I couldn't resist a deal I saw on Craigslist today, 100$ for a set of still wrapped and in box siderails.
I feel like im getting closer to getting that lift....
N-Fab T1464R Nerf Bar running boards


Install notes,
Torqued bolts to 15lbs
used a drill with 12mm to remove all old bolts to speed up the job.

are the bars heavier than stock boards?
 
Was really excited to go through your thread hoping to see more pictures like the one in your signature. Unfortunately the pictures are no longer active, either way the subtle changes noticeable on your white 5th gen is exactly what I want to get into once I get a 5th. Cheers from another Midwestern!

I am going to work on moving the photos over to a new host, photobucket went a bit ridiculous with their move to pull the plug on folks.

are the bars heavier than stock boards?

I didnt have any on there previously, but I held them with one hand while bolted them on.
Bent one last weekend while hitting a rock, but still good and took me a while to even realize it.
 
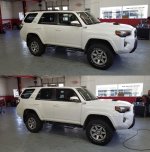
So, I was tired of the missing tint on the front windows.

I went and had 20% installed on the front windows today.
 

Attachments

  • 20170907_110903.jpg
    20170907_110903.jpg
    128.4 KB · Views: 1,574
  • beforeAfter.jpg
    beforeAfter.jpg
    130.8 KB · Views: 1,534
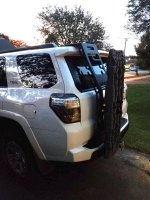
Ecotechne Ladder I picked up from [MENTION=159421]5thGen4Runner2015[/MENTION]


Lotsa gripes with how I installed it, scratched up the top, I think the ladder and brackets were bent a bit and me winging it because of difficult instructions caused me to miss some points. So while lining it up caused me some issues :( I shoulda done better :(

Love the end result.

I had an idea, it failed due to the mounting and I may revisit it. But too many mosquitos and darkness to keep trying this avenue.

TREDpro Recovery Boards.
 

Attachments

  • 21460242_10155773159152743_474548413_o.jpg
    21460242_10155773159152743_474548413_o.jpg
    139.5 KB · Views: 1,569
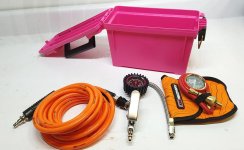
Pink ammo can for ARB stuff! That way a green bin accidentally doesn't get left behind.
 

Attachments

  • 20170905_184304.jpg
    20170905_184304.jpg
    99.7 KB · Views: 2,436
so my install of the CMKA12 ARB compressor and SLEE Bracket

Two screws to attach to the right side.
wJJqpc.jpg


and two in the front. The front had some obstruction so after I hand threaded them in, I just cranked on it a bit to push thru.
YoptIP.jpg


I have no need for the air locker harnesses so I am just going to tape them up and tuck them away.
EcxsqK.jpg


I wrapped the relay with tape to protect it from splashes.
DpKD9g.jpg


I am going to run the switch wire thru the boot, I cut off the end of the nipple on the right side to feed it thru.
JTv9bl.jpg


fed thru the wire on a piece of metal wire pushed thru, coat hanger would work perfectly.
dcMZXw.jpg


poked thru just perfect.
ctUCaF.jpg


grabbing it with some pliers after I tossed some froglube on the switch wires electrical tape before I started pulling on it.
mDf4KX.jpg


spread out the wires to make it easier.
wXLLRl.jpg


Plug the other harness into the switch harness for matching up the wiring.
dLNCz9.jpg


Measure out the length needed to make it to the battery. Remember, measure 14x, cut once.
hI9xzu.jpg


Go ahead and solder the terminals to the wires.

zLWIx6.jpg


tuck the fuse away as well as the wires and put the post nuts back on and good to go!

XRxHSo.jpg
 
Hello from a fellow Illinois, Super White Trail trail owner! Great tip with the Bearing Buddy caps - anything cheap and easy like this to help our rigs survive another winter is :thumb:

Were those the Bearing Buddy 17B's?
 

Members online

Forum statistics

Threads
278,312
Messages
3,554,083
Members
248,016
Latest member
Advally Service

Trending content

Back
Top