Ruby Tuesday - rad4runner's Mods and Restoration

Windshield Replacement and Trim Delete

The Problem:
  • Chrome trim collects debris, catches and retains water, and worse yet, saltwater from ocean sports equipment.
  • Water prevented from draining or evaporation by being absorbed by debris and hidden behind the chrome trim soaks area around windshield. This hastens rusting, possibly by galvanic corrosion: 2 Different metals in an electrolyte (like saltwater or water with debris dissolved in it)

See how much debris it collects?
003_zpsaf0812fb.jpg~original

001_zpsd172d114.jpg~original


Rust is worst around this clip (Perhaps because there is a thin gap between the clip and the body that traps water):

024_zps434590d8.jpg~original

Clip above is near top corners and bottom corners:

026_zps613d9890.jpg~original

018_zps8e1d7d65.jpg~original


For some reason, the areas near this type of clip are not as bad (as you can see, gap between this and body is bigger, less likely to trap water):

002_zps79f9f934.jpg~original


The clips on bottom that hold the trim look like this:

016_zps92a5f82a.jpg~original

015_zpsa0f9034c.jpg~original

Note that white clip above does not touch windshield. On second thought this might actually hold the rear edge of cowl cover in place. Too late for me to check because I already threw this way, thinking it's for the chrome trim :(... Oh well.

The windshield rests on two of this white clip below, so this is probably structural. Needed to keep windshield in position when installing:

017_zps3c7e9df0.jpg~original


Update 20140304:
Safelite has this kind of trim. Although I want to seal with silicone this type trim is good because it will protect edge of glass from accidental stresses. My glass cracked after I pulled chrome trim and dug clips out. BE CAREFUL!

002_zps2cd01f25.jpg~original


Would install like this:
003_zps2e8ea8da.jpg~original

As you can see, probably needs to be installed on glass before glass is attached, therefore would only work If glass were removed (like in my case).

This is how I would fill gap with silicone:
Mark where 'flap" contacts body (around windshield).
Mask with masking tape for cleaner silicone coverage, and ease in removing of excess silicone.
Lift "flap/wing" up and out with finger, Inject silicone bead to fill all gaps.
Inject silicone to fill gap.
007-Copy_zps1779d9fd.jpg~original


Or, to keep it simple although not pretty, cut wing/flap off with X-Axto knife, then fill gap with silicone.

Plan is getting more mature...
I want my windshield installed like a Corolla's rear window... No trim to retain moisture and catch debris. Easy to clean.
_MG_2588_zpsa2c4bf41.jpg~original

_MG_2590_zpsdfd2254e.jpg~original

_MG_2586_zps57f82cd9.jpg~original


A trim attached only to edge of glass, but not touching body/paint like in sketch above ^^^ is still an option to protect glass edge from accidental stresses.
 
Roof Rack Project Using Rail from Chevy Blazer

I'm using roof rack from certain year Blazer.

Will post dimensions soon.
Today, while waiting for paint prep for windshield surround to cure, I verified dimensions and sanded rack feet to follow roof contours...
IMG_3256_zpsacdd9502.jpg~original
 
How the Circuit-Opening Relay Works

The Circuit opening relay is a safety feature. If something happens to the truck where engine stops running, the fuel pump needs to stop pumping fuel out. The COR takes care of this...

Circuit Opening Relay (COR) has two normally-open contacts (open when no power is applied). The relay prevents unintended fuel flow (i.e., when there is no ignition/combustion/airflow). COR is the thing that you'd hear click behind the glovebox when you're trying to start a first gen 4Runner. However, it does not affect cranking system.

(In 1986 Runner) COR is located behind glove compartment near speaker and blower motor. Someone had posted about moisture in COR. Possible because:
a) It's near some body seams,
b) Its below where windshield joins the frame- there could be a leak there, and
c) It's near right side wheelwell, where there could be leaks. There are 2 grommets there. One for engine harness, one for antenna. Check for leaks.

Circ_Open_Relay_001.jpg~original


Circ_Open_Relay_002.jpg~original


MAF-COR-Fuel pump circuit is below. Coil 1 of COR is energized by IGN switch while in START position. Once airflow is established due to combustion, MAF contacts provide ground to coil 2 of COR, keeps COR energized and its contacts closed.

COR_MAF_Fuel_Pump_Notes.jpg~original

4OXvZIdeOYifzKzTgKwTZTUwJPj-WL1TaKJfApzik8cqPbZTCstF_gKOigXdJImCegsnXxBJYCv7f5F9FXrwXJ89ebk0ywKZ1dBzIRJygdl5RfM6c6XcQlDgkteNvWdB31ptLJfHTO2lD9mdsCdJnjgtqUydfeTlUMKRFXKIrXfbX1eqK0zb2ufv5sfnxaI28HUYHO0kjebqxeIfy_oAAURxYMIVAeIW_LM2aAtawF7waQL3h_u4MRu9womFy11jKb9aC6_L-LBqz7oly4630bPlF0DjehlmcKB7IKqLT2tUi3KjCrJfrYAKN829Dq5tgYkNWM-JsXs0BksLxlLFeTViH1zpJTiELOwA6MFA4NQDJ254Sa4OGPajVpdx3_kdemlI9jjk0lYVEOykFSjLz0Legv_eUCbPFsFDlyjA8rPpkiJ-Wse6CyRYR1VFn5w3jRQNc3IQwjdGAMknXravj8HnsLqxilNpXCcUHx4PIlbludsOir42LffPi6NcfU89voVtD6G6UUX4BzQ0aK36RUpmdsmXR1YkVe0d09CK_h3J-vFDnV7-w6LjsTMwNkmGfYJLcUYycaK-2f7ORufqd9oDLD2nWJzjP7J_P_wm=w1270-h731-no


If you suspect MAF malfunction or to test IF fuel pump is working, with Ignition ON, jump terminals of Fuel Pump Check Connector (below. brown and green wires lead to connector). This will bypass MAF contacts and connect fuel pump directly to 12V from EFI relay. You should hear / feel fuel pump run.

yJTjGKo7IO2Q-6AIjItkGwawYiETwJqupNZNrXdbFpWbSQ-UCHjnF_VlzYp2LMz0yiuiLRFssaEVK848-uZ3U0PUIjQHm_k1Ld6xD0Xa-yoZ94ECwSo479uO2NreHFNIMs2dTQjZOrdCfqT83Ihn1I3qIX_ZGEWV4cDDReW7wEdZg-Qf2s-XXio3LxYOUcbRPwlkNu_ZtLppMvAGoIIfWlASiKhq_Nts4ZwWCUvx7Wfd7yIo7uKwWoOzzqwLeNWw4EMsFCY9qg40p8ARfXs_D0zXI1LCemcZWXDeXLiwdkIH5WjZRo-ooEkCbaqPxOhEKKtBuysOtl0jiW8omibgWk5CtcbuJbLSXicW0d28n3euXCZhqi3BI4ftBJJYbUbGEwW7SVjPqQkXb_FwXYF5PumyT_Ic5qmhRHIOaXwVY8iJJkwWFdDm9zGN7uBBKJmp33W1aeSpf7t3vkezKFQxbSRy1m3EWjaGceHfWO7YxGHOi2bJemrX3Npe_HToP1tIRsNpuoYD-BkOQ9S_gF3F2qqx3gaFS9zvNrwkpuJVKskZ8aOLtt8Zf5YvXm_Ha2yPhkZzBUHs405oKk2cFjIy9XEH4EnaeDKzR6RUqCFM=w975-h731-no


NOTE TO SELF:
Pics on Fuel System Photos by rad4runner | Photobucket

Keywords: C.O.R. circuit-opening, how it works
 
Last edited:
Deleting Windshield Chrome Trim (aka-rust magnet)

The Problem:
  • Chrome trim collects debris, catches and retains water, and worse yet, saltwater from ocean sports equipment.
  • Water prevented from draining or evaporation by being absorbed by debris and hidden behind the chrome trim soaks area around windshield. This hastens rusting, possibly by galvanic corrosion: 2 Different metals in an electrolyte (like saltwater or water with debris dissolved in it)

See how much debris it collects?
003_zpsaf0812fb.jpg~original


Rust is worst around this clip (Perhaps because there is a thin gap between the clip and the body that traps water):
024_zps434590d8.jpg~original


The windshield rests on two of this white clip below, so this is probably structural. Needed to keep windshield in position when installing:
017_zps3c7e9df0.jpg~original


Safelite has this kind of trim. Although I want to seal with silicone this type trim is good because it will protect edge of glass from accidental stresses.
My glass cracked after I pulled chrome trim and dug clips out. BE CAREFUL!


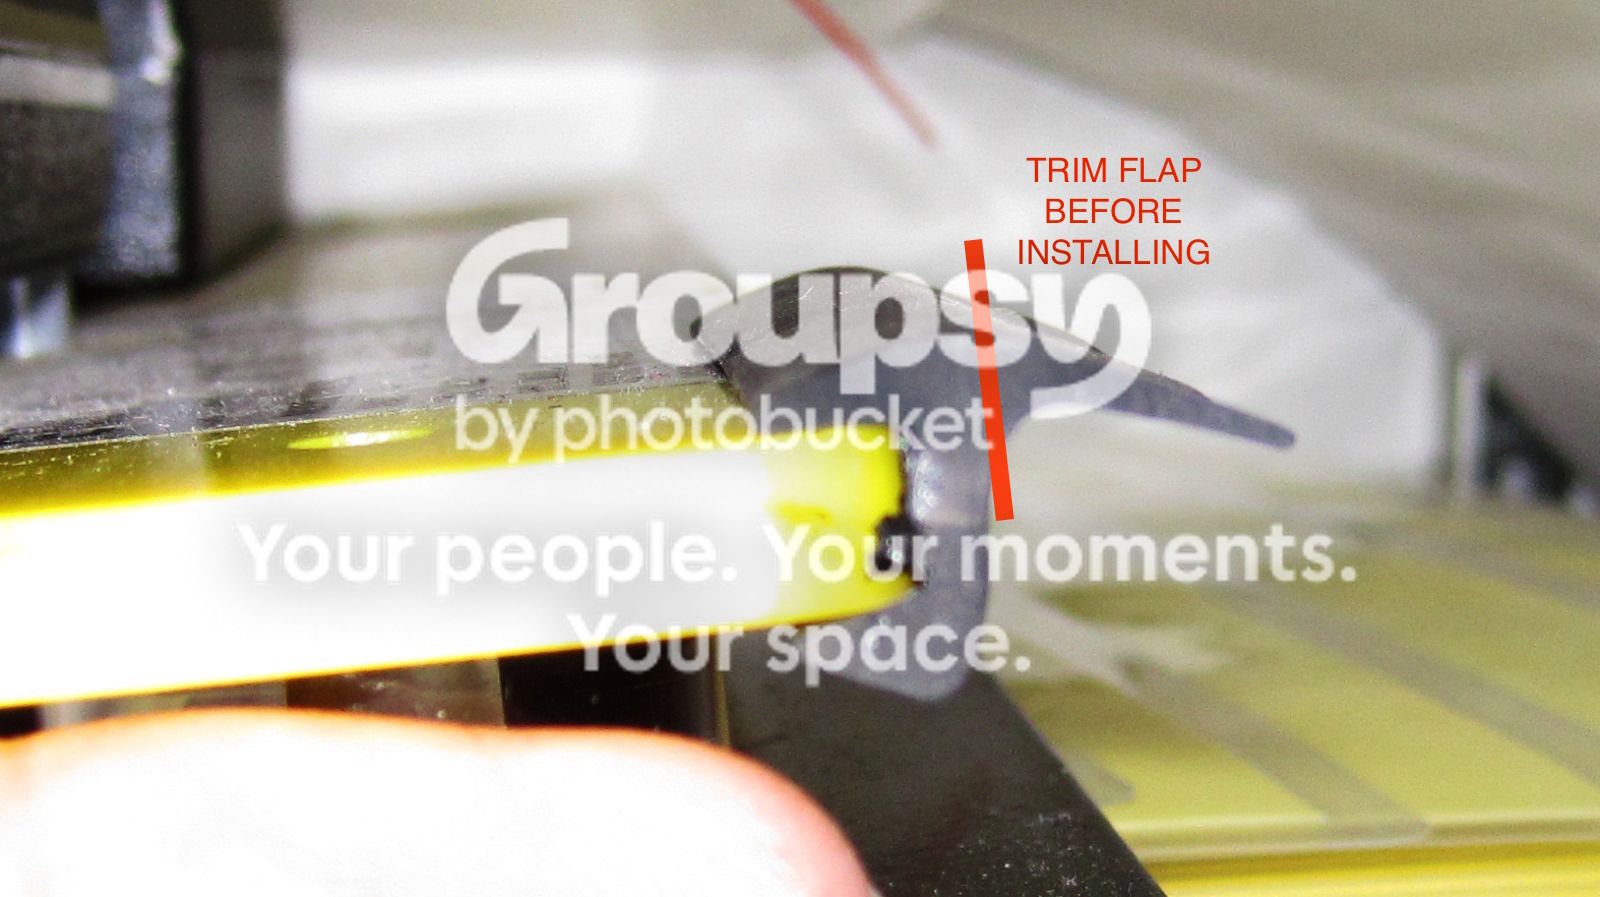
Would install like this:
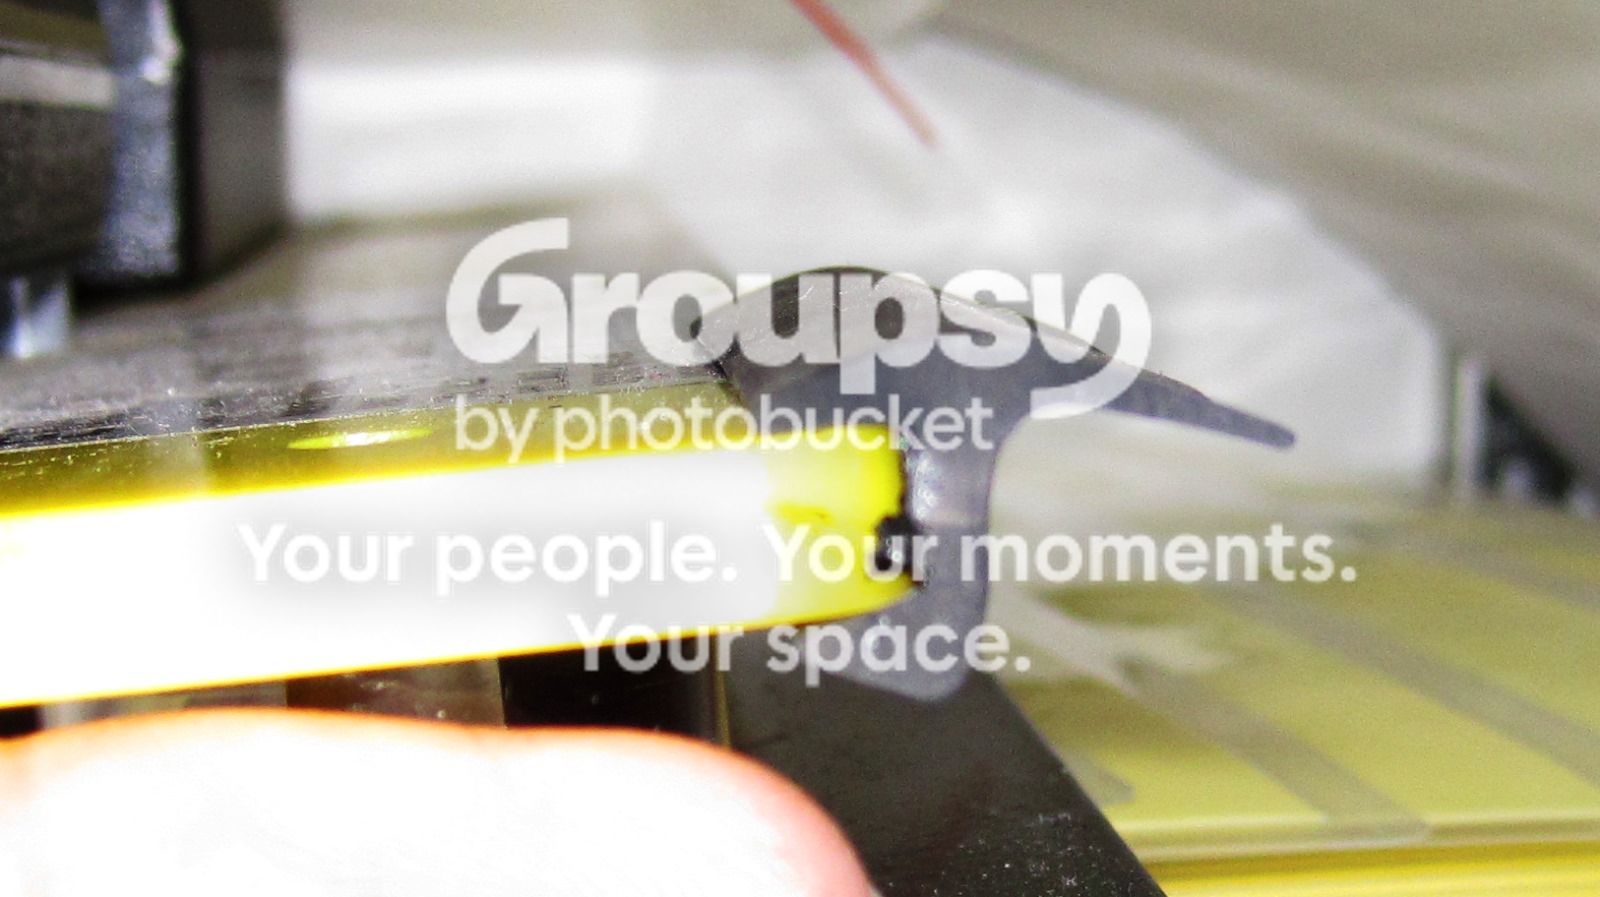
003_zps2e8ea8da.jpg~original

As you can see, probably needs to be installed on glass before glass is attached, therefore would only work If glass were removed (like in my case).

A trim attached only to edge of glass, but not touching body/paint like in sketch above will protect edge of glass from accidental stresses.

Some Pics of Rusted spots. Fortunately, it was only surface rust; no penetration, no leaks.
20140620_007_zps711ba7c6.jpg~original


There are what look like seams near upper corners on both sides that are not welded. potential rust/leak areas. Later, I primed and sealed this with epoxy before painting.
20140620_029_zps4228bace.jpg~original


Before:
20140620_025_zpsd33f96b3.jpg~original


After prime and epoxy fill:
20140623_007_zps64221432.jpg~original


I used Permatex rust converter, readily available at local auto stores. It also works as primer.

I masked good urethane areas per Safelite tech's advise. Urethane sticks better to itself. I only treated and painted areas affected by rust.

Another depression formed by - pinchweld. I filled a little with epoxy.
20140623_004_zps3f07d77d.jpg~original

Thick bead of urethane windshield adhesive will take care of remaining depression.

20140623_009_zpsc965b6ad.jpg~original


Painted spots:
20140625_019_zpse1f36306.jpg~original

20140625_005_zpsc3acef03.jpg~original


Universal rubber trim installed on glass:
20140625_008_zps677df24d.jpg~original


Thin layer of urethane adhesive applied to inside of glass... all the away around:
20140625_012_zps40d96141.jpg~original


Nicely-sized "V" Bead of urethane adhesive applied all the way around:
20140625_023_zps08274f93.jpg~original


Continued to separate post because exceeds number of pics allowed...
 
Last edited:
Special Service Tool for Cranking System

When faced with intermittent "click only" starting issue, the click one hears from behind the glove compartment is that of the circuit opening relay - related but does not affect cranking system.

To verify that power is energizing starter relay (inside engine compartment), and/or relay is energizing solenoid one needs to hear/feel the relay and solenoid click. IF, and only IF, this issue occurs to me while no one is around to help by turning key while I'm standing by right side of engine compartment near the starter relay, here's how I do it.
http://youtu.be/YI-KvaRGyGc
 
Divide and conquer!

The starter solenoid is a good place to divide a cranking issue.

rad4runner-albums-starting+circuit-picture29688-special-service-tool.jpg

This Special Service Tool Will help you troubleshoot and/or get you started If something keeps power from getting to your starter solenoid coil. I used it to verify what my suspected problem was.

For troubleshooting:
To check solenoid and downstream to starter motor, clutch gear and flywheel,
Disconnect this female spade connector from starter solenoid. (This connnector supplies power from starter relay to the starter solenoid)
rad4runner-albums-starting+circuit-picture25100-connector-spade-female-starter-relay.jpg


Connect RAD's Special Service Tool :) as follows:
Alligator clip to battery plussitive :)
Quarter-inch female spade to male spade on solenoid (where you disconnected wire from)

Ensure safety - trans in neutral, your tie not dangling near fans or belts, etc :)
Push button on. Solenoid should clunk, solenoid contacts will close sending cranking current from superthick wire (connected to battery and screwed-on to terminal on solenoid) to starter motor. Motor should turn, solenoid plunger will actuate clutch, engage starter gears with flywheel gears. You should already know how starter alone or starter engaged with flywheel sounds when turning. See what does not do what it's supposed to do, and go from there.

If all from solenoid and downstream works, troubleshoot from that female spade terminal, upstream to your ignition switch.

To start when you know solenoid and downstream is good, but power is not going to your solenoid coil (i.e., clutch switch defective, starter solenoid defective), or not enough power is getting to your solenoid coil (i.e., wiring flaw explained on my thread), and you have no assistant to jump battery directly to solenoid, do same while attempting to start- at the wheel of course.

If you really have to start the engine while you're looking into the engine compartment by yourself, use above in combination with the other Special Service Tool - LOL!
 
Last edited:
Windshield Trim Delete Final Chapter: Glass Re-Installed

Need to revise write-up because original solution failed. During original install the flap of the rubber trim was pushing against the body. I think it prevented proper sealing by the urethane. Even I if I had silicone sealant over the urethane, it still leaked.

Chrome trim is only there for looks. IT IS ACTUALLY BAD for the body. It catches and TRAPS debris and worse yet, saltwater dripping from water sports equipment.
003_zpsaf0812fb.jpg~original


IF you only have freshwater dripping on your windshield, the rubber gasket like on old VW Beetles may work. However, water still seeps into the interface between rubber and body metal and stays there longer than if it were openly exposed to air. For saltwater exposure...

HERE's the FINAL SOLUTION:
Safelite replaced under warranty as follows:

Removed old glass
Removed old sealant
Applied rubber trim around glass. Trim is not used to seal. It is cosmetic but helps protect the edge of glass from accidental stresses.
20140625_008_zps677df24d.jpg~original

20140625_007_zps7ad1df00.jpg~original


Notice how the corners curl up? When glass is placed on bead of urethane, that curl will push glass away from the body, UNLESS something is used to clamp glass toward the body.

I want the gap to be well-exposed to air and not hidden to allow easy cleaning, rinsing and quick drying, so I asked glass tech to CUT OFF the "wings/flap" before installing the glass. No actual pic but here's an illustration:
003_zpsqbepuhgy.jpg~original


Installed glass as usual. Left gap so it does not TRAP debris and is easy to rinse/clean. It does not look bad. Even IF it looked ugly, I'd rather have an ugly gap than rusted body around windshield.

This is what I mean by rinsing the gap. You could not do this thoroughly if it were covered by rubber or chrome trim...
 
Last edited:
Refurbished Quarter Vent Louvers

When rubber slats on the quarter vent louver are gone, water sprayed horizontally (such as from car wash) could get inside the body panels and cause damage such as shorting/corroding the rear window/wiper control relay module.

Could have used mountain bike inner tube but did nothave any handy so, I used rubber sheet from Marshall's Industrial Hardware that's approximately 1/32-inch thick to make the slats...
IMG_3911_zpsc6b49387.jpg~original


Here I marked where to slit/poke holes for mounting...
IMG_3912_zpsfbb0a660.jpg~original


Assembled:
IMG_3924_zps5b90536a.jpg~original


Assembly detail:
IMG_3913_zps42eea2f5.jpg~original

I used soldering iron to remove mushroom head on plastic heat stake and re-staked after installing slats.

Here are retainers needed for First-gen MoreFunner...
IMG_3927_zpsd6b817b3.jpg~original


It is almost impossible to remove vent cover without breaking these retainers so make sure you have some ready before starting the project.

Upper retainers are PN 62955-89101, 4 per side on first-gen MoreFunner
Lowers are PN 62955-91C01, 1 per side on first-gen MoreFunner

_MG_4504_zps5efe6e7a.jpg~original


_MG_4506_zpsad4d0466.jpg~original


Louver re-installed:

IMG_3928_zpsa8bcbdc7.jpg~original
 
Last edited:
Removed and Replaced Starter

Background:
About 2 years ago, I fixed the faulty wiring (by poor Toyota design as explained here) and got rid of the intermittent starting issue.
Recently, I had intermittent issue again, but this time problem must be caused by bad solenoid contacts. When I get the chance, I will perform autopsy on old starter to confirm and update this thread.

Earlier, RustBucket on yotatech mentioned that the 1.4-kW one for the auto transmission (part 280-0131) will plug-and-play on the 22R-E with manual transmission. Furthermore, Toyota Parts Zone does not carry the 1.0-kW starter anymore so, yes, I bought the REMAN STARTER 1.4KW Part Number 28100-35060-84. (Ideally I could simply take out starter, replace the solenoid contacts, and re-install. However, I would not know whether existing starter is O.E.M., or after-market, or 1.0-kW, or 1.4-kW version, and what type contacts to buy, etc. until I removed and inspected the starter so that would mean more down-time for me.)


Replacement Procedure:

Disconnect Positive Battery Connector and ensure there is absolutely no possibility of it moving and touching the positive battery post.

Remove Right-front wheel for easy access, observing all necessary safety precautions- jack stand, proper chock, emergency brake on, Wheel under front axle for added safety.
20141018_0023_zpse5ba7aad.jpg~original

Remove access panel

Close-up of work area.
20141018_0001_zpsc25f24f5.jpg~original


This is the battery positive-to-starter cable.
20141018_0004_zpse4539c10.jpg~original


Disconnect positive battery cable from main positive screw-on terminal of starter.
20141018_0030_Starter_Battery_Positive_zpsde808f22.jpg~original


Here's the starter solenoid coil positive terminal.
20141018_0003_Solenoid_Coil_Positive_zpsb5ffa0a9.jpg~original


Disconnect starter solenoid coil positive terminal and the oil pressure sender connector for extra room to work.
20141018_0024_zps05f076c1.jpg~original


To clearly show how starter is mounted here is picture with starter removed ....
20141018_0008_zps0443ae01.jpg~original

Top is secured with a nut, bottom is secured with a bolt. Bolt diameter is 10mm. Wrench size is 14mm.

I don't get why many say that it is tricky to remove and replace the starter. I found both top and bottom are easily accessible with a combination of:
  • Shallow 14mm socket,
  • 6-inch extension and
  • ratchet or torque wrench

Room for wrench on top mounting nut:
20141018_0033_zpsbce93f17.jpg~original


Room for wrench on bottom mounting bolt:
20141018_0031_zpsbf7b544e.jpg~original


Remove starter and replace in reverse order. The 1.0-kW or 1.4-kW replacement starter is absolutely plug-and-play; absolutely no complications. However,R&R would go smoother if you gathered the following necessary specs before hand (and not get your manual and computer messy like I did when doing it in the middle of the procedure-LOL!)
  • Mounting Bolt Torque: I used 35 foot-pounds. I'm still verifying. FSM appendix B-2 (standard bolt torque specs) does not show this Bolt Class mark that is on the mounting bolt.
  • Positive terminal (Copper) nut torque: Still unknown. I just "felt" mine.

Here's standard bolts specs from FSM:
20141018_0022_Actual_zps9a1801f0.jpg~original

Note that it does not include class mark on my mounting bolts.

Here are torque specs for 10-mm bolt. Based on above, would you think that my mounting bolts are 8T. Any thoughts? For now, I just torqued them to 35 foot-pounds to be safe.
 
Last edited:
RustBucket on yotatech

I hate that jerk. His truck is exactly like [MENTION=69539]Hyde802[/MENTION]'s, I think he stole it from him.

Remove access panel

You mean you put yours back the last time? Dork. :D

Disconnect starter solenoid coil positive terminal and this (oil pressure sender)?
20141018_0024_zps05f076c1.jpg~original

Yup, that's the oil pressure sender. Yours is the DLX idiot light style. Those of us that are awesome and have SR5 gauges have a much bigger sender in the same spot.

I don't get why many say that it is tricky to remove and replace the starter.

That's because you've got an IFS and automatic. Try this chore with a shock tower and a bunch of clutch crap in your way and you'll change your tune. :D

The correct torque setting for those bolts is "good and tight" - that's one of those areas where it's not critical I don't think. The bolts/studs aren't so small that you have to worry about stretching or breaking them, and it's not like a head bolt or oil pan bolt where exact clamping pressure is required, so as long as the lockwashers are in decent shape just I snug 'em up good and get on with it.

Nice writeup.
 
Last edited:
the difficulty wasn't in removing the starter, it was during the reinstallation. the lower starter bolt also serves as the location for one of the clutch slave cylinder mounting points, and it is very difficult to get everything lined up, as it is a tight fit. you cannot access the lower bolt efficiently/readily from the access panel in a 4r equipped with the manual transmission, the tubing for the clutch cylinder prohibit that.
 

Attachments

  • P3010005.jpg
    P3010005.jpg
    112.9 KB · Views: 2,603
Last edited:
interesting that you chose to purchase a starter (somewhat spendy) rather than purchase two sets of contacts for the solenoid (much less spendy, even to purchase a pair that won't work for your solenoid). downtime would have been however long it took to replace the contacts in the solenoid. i had mine out and in in less than 4 hours.
 
That's because you've got an IFS and automatic. Try this chore with a shock tower and a bunch of clutch crap in your way and you'll change your tune...

... the lower starter bolt also serves as the location for one of the clutch slave cylinder mounting points, and it is very difficult to get everything lined up, as it is a tight fit. you cannot access the lower bolt efficiently/readily from the access panel in a 4r equipped with the manual transmission, the tubing for the clutch cylinder prohibit that.

Hi KidV and Wallytoo...
Interesting...
I have a basic manual transmission. Yes, bracket for clutch slave cylinder shares bottom mounting bolt, but nothing gets in the way.
Could you be referring to a truck with the upgraded dual-transfer case? maybe my truck is missing something there? LOL!

interesting that you chose to purchase a starter (somewhat spendy) rather than purchase two sets of contacts for the solenoid (much less spendy, even to purchase a pair that won't work for your solenoid). downtime would have been however long it took to replace the contacts in the solenoid. i had mine out and in in less than 4 hours.

One could not really be sure whether or not the existing starter is stock after-market, or IF OEM whether it is he original 1.0 kW (discontinued) or newer 1.4kW (which I ended up purchasing). So, not sure which solenoid contact to buy.

When I finally had the starter out here it is. it doesn't look nearly like the Denso one I got from Toyota Parts Zone, and it does not have Denso or Toyota label on it. Now I'm afraid it might not qualify for core refund. Oh well, the truck deserves good reliable parts, anyway. Good for another 200k miles, I hope - LOL!

Here's are the new and old side by side. Do you guys know if old one is Toyota/Denso from how it looks?
20141018_0013_zps43ff3efb.jpg~original

20141018_0011_zps49a210eb.jpg~original


Also found the washer that lands on the contact pitted. I'm sure it can be polished/cleaned but IF it were too bad, it would have to be replaced. Couldn't find procedure for removing and replacing washer.
 
RAD,

the starter you removed does not look like a denso unit. the one still in my rig, that i replaced the solenoid contacts for, looks like your new toyota unit, albeit with more corrosion and a slightly longer main body. note how the "cap" attachment is tacked onto the side of the cover, while the toyota has cast lugs integral with the cap. you'd have to pull the solenoid assembly cover off to see if the contacts are the same as the denso type that are commonly available and easy to replace.

as far as getting the wrench on the lower bolt, i was able to do it (not easy, but doable), the issue i ran into was getting the bolt to thread into the bellhousing, since the slave mount kept "torquing" the unit out of alignment. without the slave mount, it would be simple to install. getting the bolt aligned with the hole is difficult, because of the tubing.

i'd be curious about the solenoid contacts in your old starter. what do they look like?

which washer that "lands on the contact"? inside the solenoid body?

wally
 

Members online

Forum statistics

Threads
278,312
Messages
3,554,085
Members
248,016
Latest member
Advally Service

Trending content

Back
Top