cl4Rk
Member
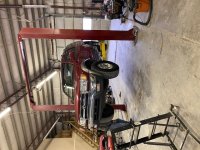
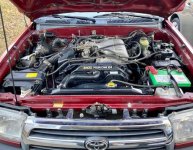
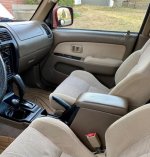
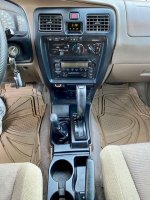
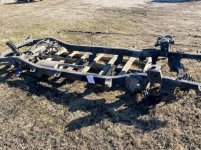
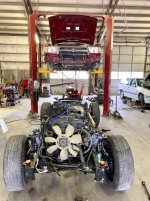
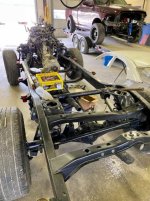
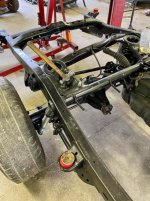
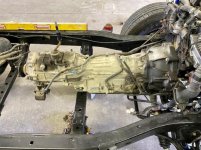
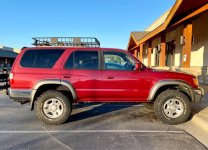
Ol' Ruby's frame off restomod thread.
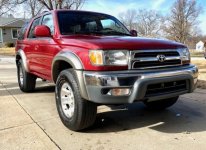
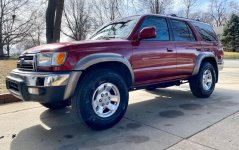
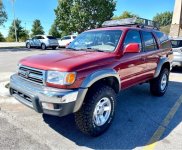
2000 Toyota 4Runner SR-5 3.4L V6 4WD AT Sunfire Red Pearl
(with Topaz Metallic large fender flares)
5VZ-FE engine
A340F transmission
VF2A transfer case (j-shifter)
4.10 axle gear ratio
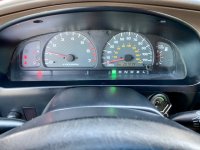
215,xxx miles.

Previous owner (owned from 2011-2020 (105k - 206k miles), work below done in 2018-2020):
- stock everything except 265/75/r16 highway tires.
- radiator
- valve cover gaskets
- timing belt
- battery
- water pump
- rear driveshaft
- catalytic converter (original was stolen!)
- oil change
- front and rear brakes serviced
- rear axle seals
- a few other things
I bought the truck December 2020 with about 206k miles. Came with original sticker and documents, along with about 11 years of service records.
2021 (~206000 - 208500 miles):
Chassis and Body:
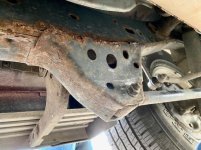
- Full frame swap
- POR-15
- 3M Rust Fighter-I Internal Cavity Wax
- Blasted/painted under floor pan
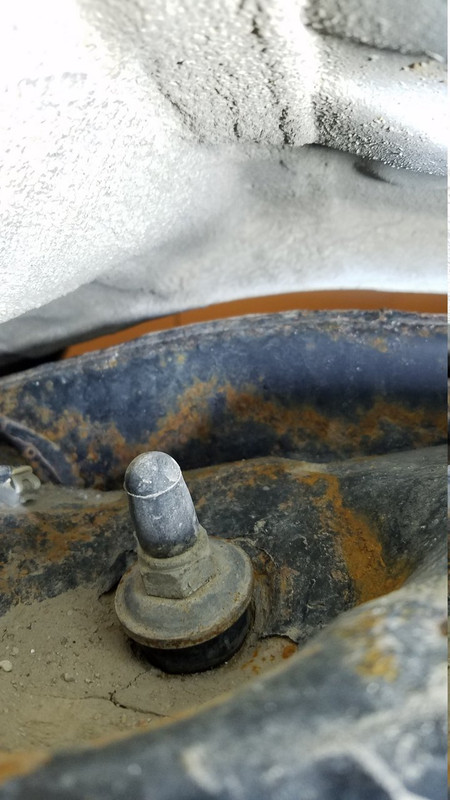
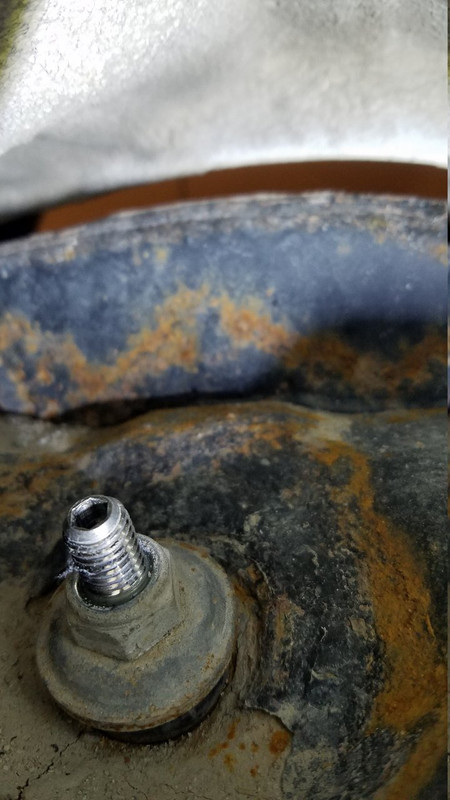
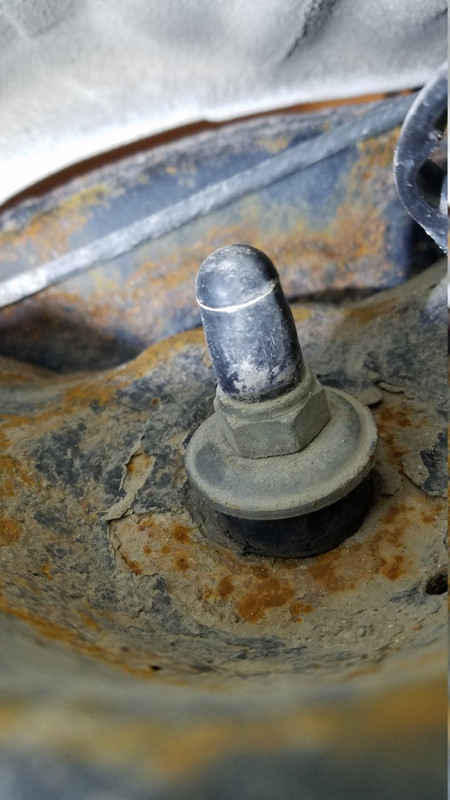
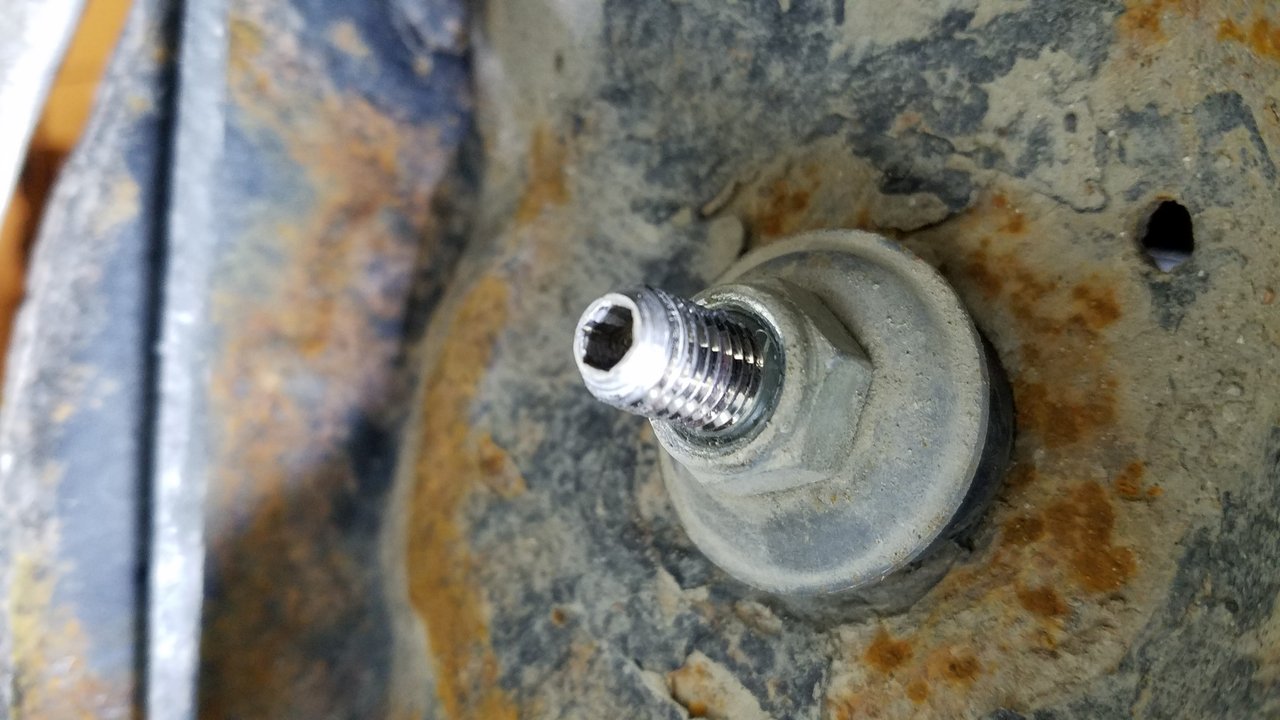
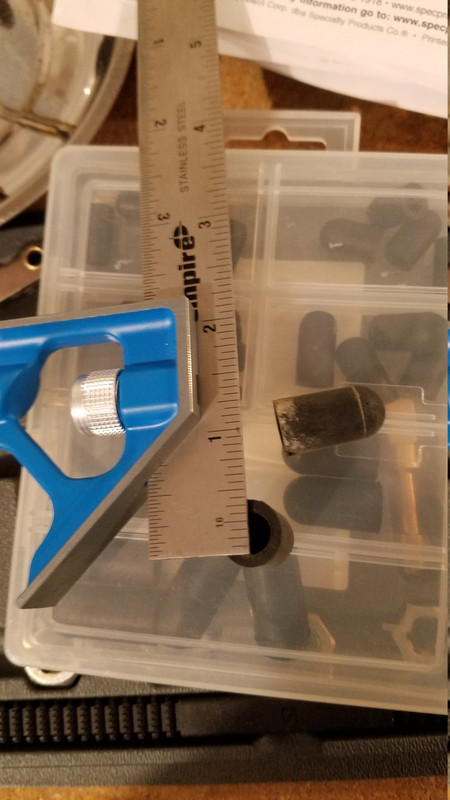
- Enlarged drain holes near the rear shock upper mounts
- New heat shielding along transmission tunnel
- Energy Suspension 8.4111R body mount bushings (instead of 8.4110R because the donor frame is '99, so position #2 body mounts are different)
- New rear chrome bumper sections (kept factory look)
- Running board delete (Limited-style Topaz Metallic running boards)
- Replaced missing factory skid plates
- Replaced skid plate hardware with stainless steel (M8-1.25x25mm flange bolts)
- Front right valence panel plate (tow hook cover, PN 5392535020C0)
- Upgraded recovery points with legokcen's Front Shackle Bracket Set
Suspension and Steering:
- OEM Lower Ball Joints and bolts (Left PN 4334039465, Right PN 4333039585, Bolts 8x PN 9008010066)
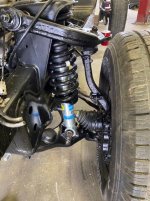
- Bilstein 5100 4Runner front shocks (PN 24-248730)
- Bilstein 5100 4Runner rear shocks (PN 24-249966)
- Old Man Emu 880 springs in front (2880)
- Old Man Emu 906 springs in back (2906, side-specific)
- DuroBumps 3.5” extended, progressive bump stops
- OEM Steering gear assembly, includes assembled inner tie rods (PN 4425035042)
- Energy Suspension 8.10103R steering gear bushings
- OEM outer tie rods (Left PN 4504739215, Right PN 4504639335)
- OEM rear upper control arms (4x4-specific 2x PN 4871035040)
- Whiteline W53377A front lower control arm bushings
- Whiteline W63378 rear trailing arm bushings
- Whiteline W83374 panhard bar bushings
- Prothane 18-1115 red front sway bar bushings
- Moog K90681 greasable front sway bar end links in rear, for extra length
- Moog K100127 greasable caster/camber adjusting kit
- Eimkeith's panhard correction kit
- Alignment
Brakes:
- Extended braided stainless steel brake lines
- Parking brake bracket relocation
- ABS on-the-fly on/off switch (building on others' work, I'm planning a one-switch solution)
Driveline:
- TrakMotive TO8043ET Extended Articulation CV Axles
- Rebooted original OEM CV Axels as spares (2x PN 0443835062 (Outboard: black grease, Inboard: tan grease))
- Greased all zerk fittings (Lucas X-TRA Heavy Duty grease 10301 NLGI #2)
- Replaced front diff fill plug with Lexus PN 9034118060
- Replaced front diff drain plug with Lexus PN 9034124016
Wheels and Tires:
- Added a matching OEM wheel in stock spare location
- Spidertrax 1.25" hub-centric spacers
- 265/75/r16 BFG KO2 all-terrains (~32”) in 5-tire rotation (biggest fully-inflated tire size that still fits in stock spare location)
Air and Fuel:
- Denso MAF sensor
- Fuel filter
- Cleaned throttle bottle
- Gas cap
- ISR (intake silencer removal) (Airaid AIR-510-934 M.I.T., kept original tube/silencer untouched)
- Vacuum hose replacement (Silicone Intakes VAC000308 blue thick-walled hoses)
Engine:
- Engine Oil Pressure Switch
- OEM cam seals (2x PN 9031138051, 2x PN 1118862010)
Cooling, Lubrication, Ventilation, Drainage:
- New radiator
- B&M 70264 SuperCooler external ATF cooler ran in series
- Magnefine 3/8" Magnetic Inline filter for ATF
- Transmission Filter (PN 3533060030)
- Tundra engine oil filter (higher capacity than 4Runner filter, PN 90915YZZD3)
- ARB breather extensions from transmission, transfer case, and rear diff (front diff already vents up high in engine bay)
- PCV valve
- Extended AC Drain mod (Here's the original write up)
- Full synthetic fluids drain & fill
- Shell Rotella T6 5w-40 Heavy Duty diesel engine oil
Electrical and Spark:
- Denso starter
- Starter relay
- Spark plugs
- Ignition coil boots
- Ignition wire set
- Repaired the power steering idle-up switch (PN 9098011428, PN 8299812440)
Other:
- Solenoid Assembly, Four Wheel Drive Control (PN 8544035040)
- Shift lock release button cover (4WD-specific PN 3355435050)
- Marlin Crawler MCTM-523 Heavy Duty Shifter Seat (Blue) for transfer case j-shifter (plus Gasket PN 3634535050 and Oil Deflector PN 3610835060)
- Replaced windshield washer nozzles with Honda PN 76810-TK8-A01
- Repaired pedal-side throttle cable grommet
- Restored center caps
- Windshield wipers
- XCAR Roof Rack Basket with extension
- 4.5 gallon RotoPaX
- Hella two-tone trumpet horns (HELLA 012010901)
- Fire extinguisher mounted under the front of the driver’s seat (Bracketeer UFEB1317/D)
- DIY awning
- Upgraded rear hatch struts and DIY nylon bushings (Strongarm 6815 Liftgate Supports, Hillman 880440 nylon spacers, Hillman 884573 nylon flat washers)
2022 (208600 miles)
- Stubby antenna mod
- Replaced both signal light assemblies (CarLights360 TO2530133 + TO2531133)
Next up:
- OEM HVAC Heater Control Valve (PN 8724035070)
- OEM Heater Hoses (PN 8724535670, 8724535680, 8724535730, 8724535770, 8724535451, 8724535461, 8724535690, 8724535710, 872453D090, 1577762020, 1626162060, 9955610300)
- OEM Engine Coolant Thermostat, with jiggle valve in the 6 o'clock position (Thermostat PN 9091603075, gasket PN 1632562010)
- Coolant system flush with Toyota Red (Genuine Toyota Fluid 00272-1LLAC-01 Long Life Coolant)
- TRD Radiator Cap (PN PTR040000003)
- Fan clutch (AISIN FCT-013 Engine Cooling Fan Clutch)
- Door checker/fixator repair
- Shifter bushings (4x PN 9038511003)
- Replace factory head unit with one that's not broken (backlit, tape deck, tune knob)
- Cat back exhaust repair/replacement (maybe Magnaflow Overland, Gibson, or Northern Stainless)
Down the road:
- Some body work (rear passenger dog leg rust, rocker panel gouges from running boards rubbing)
- Replace seals around rear hatch and driver's door
- Replace transmission mounts (and maybe engine mounts)
- Replace passenger headlight (small chip in glass)
- Auxiliary fuse and relay block with pre-wired loom through the firewall
- Fog lights in factory location
- Light bar behind grill
- Restored seats
- Toyota e-locker retrofit
- Rock sliders
- eimkeith's lower link mount reinforcements
Big thank you to Jason from OPT OFF ROAD and all the extremely knowledgable and helpful forum members here!!
2000 Toyota 4Runner SR-5 3.4L V6 4WD AT Sunfire Red Pearl
(with Topaz Metallic large fender flares)
5VZ-FE engine
A340F transmission
VF2A transfer case (j-shifter)
4.10 axle gear ratio
215,xxx miles.
Previous owner (owned from 2011-2020 (105k - 206k miles), work below done in 2018-2020):
- stock everything except 265/75/r16 highway tires.
- radiator
- valve cover gaskets
- timing belt
- battery
- water pump
- rear driveshaft
- catalytic converter (original was stolen!)
- oil change
- front and rear brakes serviced
- rear axle seals
- a few other things
I bought the truck December 2020 with about 206k miles. Came with original sticker and documents, along with about 11 years of service records.
2021 (~206000 - 208500 miles):
Chassis and Body:
- Full frame swap
- POR-15
- 3M Rust Fighter-I Internal Cavity Wax
- Blasted/painted under floor pan
- Enlarged drain holes near the rear shock upper mounts
- New heat shielding along transmission tunnel
- Energy Suspension 8.4111R body mount bushings (instead of 8.4110R because the donor frame is '99, so position #2 body mounts are different)
- New rear chrome bumper sections (kept factory look)
- Running board delete (Limited-style Topaz Metallic running boards)
- Replaced missing factory skid plates
- Replaced skid plate hardware with stainless steel (M8-1.25x25mm flange bolts)
- Front right valence panel plate (tow hook cover, PN 5392535020C0)
- Upgraded recovery points with legokcen's Front Shackle Bracket Set
Suspension and Steering:
- OEM Lower Ball Joints and bolts (Left PN 4334039465, Right PN 4333039585, Bolts 8x PN 9008010066)
- Bilstein 5100 4Runner front shocks (PN 24-248730)
- Bilstein 5100 4Runner rear shocks (PN 24-249966)
- Old Man Emu 880 springs in front (2880)
- Old Man Emu 906 springs in back (2906, side-specific)
- DuroBumps 3.5” extended, progressive bump stops
- OEM Steering gear assembly, includes assembled inner tie rods (PN 4425035042)
- Energy Suspension 8.10103R steering gear bushings
- OEM outer tie rods (Left PN 4504739215, Right PN 4504639335)
- OEM rear upper control arms (4x4-specific 2x PN 4871035040)
- Whiteline W53377A front lower control arm bushings
- Whiteline W63378 rear trailing arm bushings
- Whiteline W83374 panhard bar bushings
- Prothane 18-1115 red front sway bar bushings
- Moog K90681 greasable front sway bar end links in rear, for extra length
- Moog K100127 greasable caster/camber adjusting kit
- Eimkeith's panhard correction kit
- Alignment
Brakes:
- Extended braided stainless steel brake lines
- Parking brake bracket relocation
- ABS on-the-fly on/off switch (building on others' work, I'm planning a one-switch solution)
Driveline:
- TrakMotive TO8043ET Extended Articulation CV Axles
- Rebooted original OEM CV Axels as spares (2x PN 0443835062 (Outboard: black grease, Inboard: tan grease))
- Greased all zerk fittings (Lucas X-TRA Heavy Duty grease 10301 NLGI #2)
- Replaced front diff fill plug with Lexus PN 9034118060
- Replaced front diff drain plug with Lexus PN 9034124016
Wheels and Tires:
- Added a matching OEM wheel in stock spare location
- Spidertrax 1.25" hub-centric spacers
- 265/75/r16 BFG KO2 all-terrains (~32”) in 5-tire rotation (biggest fully-inflated tire size that still fits in stock spare location)
Air and Fuel:
- Denso MAF sensor
- Fuel filter
- Cleaned throttle bottle
- Gas cap
- ISR (intake silencer removal) (Airaid AIR-510-934 M.I.T., kept original tube/silencer untouched)
- Vacuum hose replacement (Silicone Intakes VAC000308 blue thick-walled hoses)
Engine:
- Engine Oil Pressure Switch
- OEM cam seals (2x PN 9031138051, 2x PN 1118862010)
Cooling, Lubrication, Ventilation, Drainage:
- New radiator
- B&M 70264 SuperCooler external ATF cooler ran in series
- Magnefine 3/8" Magnetic Inline filter for ATF
- Transmission Filter (PN 3533060030)
- Tundra engine oil filter (higher capacity than 4Runner filter, PN 90915YZZD3)
- ARB breather extensions from transmission, transfer case, and rear diff (front diff already vents up high in engine bay)
- PCV valve
- Extended AC Drain mod (Here's the original write up)
- Full synthetic fluids drain & fill
- Shell Rotella T6 5w-40 Heavy Duty diesel engine oil
Electrical and Spark:
- Denso starter
- Starter relay
- Spark plugs
- Ignition coil boots
- Ignition wire set
- Repaired the power steering idle-up switch (PN 9098011428, PN 8299812440)
Other:
- Solenoid Assembly, Four Wheel Drive Control (PN 8544035040)
- Shift lock release button cover (4WD-specific PN 3355435050)
- Marlin Crawler MCTM-523 Heavy Duty Shifter Seat (Blue) for transfer case j-shifter (plus Gasket PN 3634535050 and Oil Deflector PN 3610835060)
- Replaced windshield washer nozzles with Honda PN 76810-TK8-A01
- Repaired pedal-side throttle cable grommet
- Restored center caps
- Windshield wipers
- XCAR Roof Rack Basket with extension
- 4.5 gallon RotoPaX
- Hella two-tone trumpet horns (HELLA 012010901)
- Fire extinguisher mounted under the front of the driver’s seat (Bracketeer UFEB1317/D)
- DIY awning
- Upgraded rear hatch struts and DIY nylon bushings (Strongarm 6815 Liftgate Supports, Hillman 880440 nylon spacers, Hillman 884573 nylon flat washers)
2022 (208600 miles)
- Stubby antenna mod
- Replaced both signal light assemblies (CarLights360 TO2530133 + TO2531133)
Next up:
- OEM HVAC Heater Control Valve (PN 8724035070)
- OEM Heater Hoses (PN 8724535670, 8724535680, 8724535730, 8724535770, 8724535451, 8724535461, 8724535690, 8724535710, 872453D090, 1577762020, 1626162060, 9955610300)
- OEM Engine Coolant Thermostat, with jiggle valve in the 6 o'clock position (Thermostat PN 9091603075, gasket PN 1632562010)
- Coolant system flush with Toyota Red (Genuine Toyota Fluid 00272-1LLAC-01 Long Life Coolant)
- TRD Radiator Cap (PN PTR040000003)
- Fan clutch (AISIN FCT-013 Engine Cooling Fan Clutch)
- Door checker/fixator repair
- Shifter bushings (4x PN 9038511003)
- Replace factory head unit with one that's not broken (backlit, tape deck, tune knob)
- Cat back exhaust repair/replacement (maybe Magnaflow Overland, Gibson, or Northern Stainless)
Down the road:
- Some body work (rear passenger dog leg rust, rocker panel gouges from running boards rubbing)
- Replace seals around rear hatch and driver's door
- Replace transmission mounts (and maybe engine mounts)
- Replace passenger headlight (small chip in glass)
- Auxiliary fuse and relay block with pre-wired loom through the firewall
- Fog lights in factory location
- Light bar behind grill
- Restored seats
- Toyota e-locker retrofit
- Rock sliders
- eimkeith's lower link mount reinforcements
Big thank you to Jason from OPT OFF ROAD and all the extremely knowledgable and helpful forum members here!!
Attachments
Last edited: